How to Attach Slate to Wood: Adhesives That Actually Hold
The most reliable way to attach slate to wood is a flexible polyurethane construction adhesive applied to clean, dry, sound wood, with weight or clamps holding the slate for 24 hours. Bare thinset mortar on ordinary wood is the method most likely to fail.
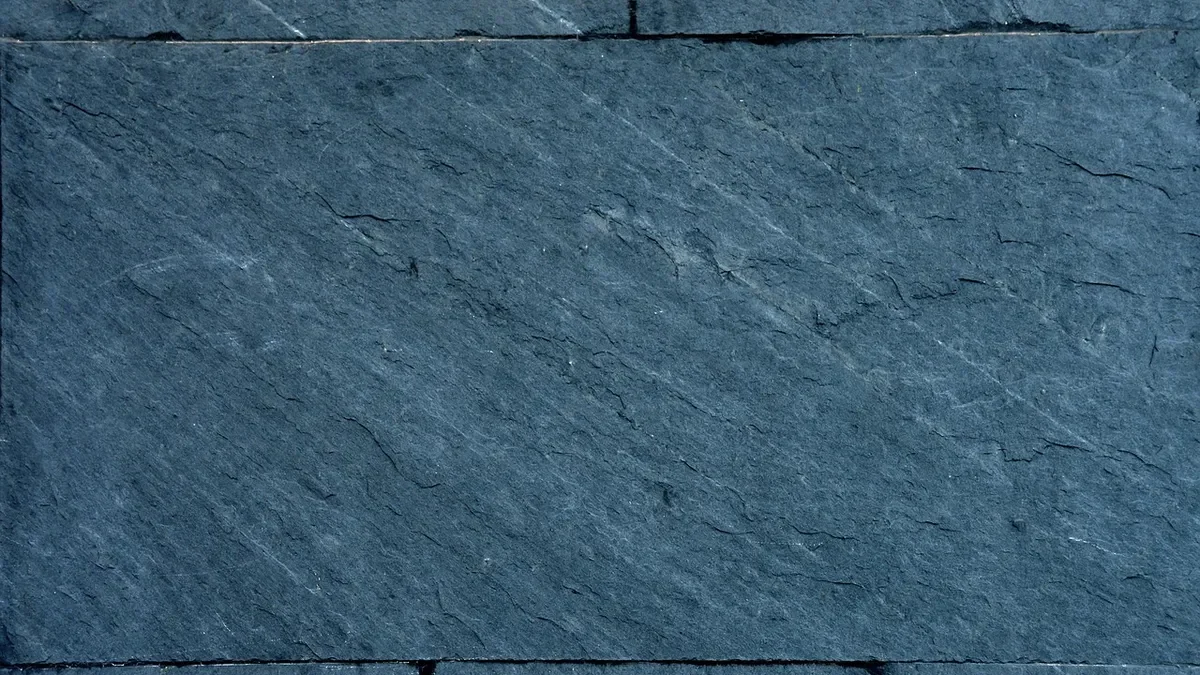
Slate looks like a simple material, but it has three traits that punish a careless glue-up: the back of natural cleft slate is uneven, the stone is heavy, and the wood underneath moves with humidity while the slate does not. A rigid bond that cannot flex, or an adhesive that only touches the high spots, is what lets a coaster, tabletop or wall panel work loose a few months later.
This guide sticks to what manufacturers actually publish. The adhesive numbers below come from the Loctite PL Premium technical data sheet (revision 12/12/2019), the Custom Building Products AcrylPro data sheet (TDS-127) and LATICRETE guidance on tiling over plywood. If your project is a full floor rather than a decorative slate piece, read can you tile over wood first, because floors have deflection rules that small projects do not.
The Short Answer: Use a Flexible Polyurethane Adhesive
Best Slate-to-Wood Adhesive Pick
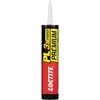 |
Loctite PL Premium Polyurethane Construction Adhesive, 10 fl oz A one-part, moisture-curing polyurethane whose data sheet lists wood, plywood, slate, granite and marble as bondable materials.
|
Why polyurethane? The Loctite PL Premium data sheet says it bonds to wood, plywood, slate, granite and marble, that it is water resistant, and that it cures to a non-flammable, rubbery solid with a service temperature range of -40 F to 160 F. A rubbery cured bead can absorb a little of the seasonal movement that a brittle cement bond cannot. The same sheet lists the real limits: it is not for water submersion, not for high-heat areas such as fireplace openings, and certain natural stone such as limestone, travertine and sandstone can have bonding difficulties.
Slate is not one of the difficult stones on that list, but “slate” covers a lot of ground. Very dusty, flaky or heavily layered pieces can shed a thin layer, which takes your adhesive bond with it. Dry-fit and tap-test every piece, and set aside any that flake when you scrape the back with a screwdriver.
Adhesive Comparison for Slate on Wood
Here is what three common adhesive families actually say on their own data sheets. Note that only the polyurethane sheet gives a strength figure involving wood, and that figure is for granite and marble, not slate itself.
| Adhesive | What the data sheet says | Best use | Watch out |
|---|---|---|---|
| Polyurethane construction adhesive (Loctite PL Premium) | Bonds wood, plywood, slate, granite, marble. Reposition for 30 to 45 minutes. 24 to 48 hour cure at 78 F and 50% humidity. Granite to Douglas fir plywood: 467 psi at 7 days. Marble to plywood: 542 psi. | Decorative slate on wood: tabletops, coasters, panels, planters | Not for submersion. Poor with limestone, travertine, sandstone. Needs 24 hours of support. |
| Acrylic tile adhesive (CBP AcrylPro, TDS-127) | Lists slate as a suitable tile. Exterior grade plywood is an approved substrate for interior residential dry areas. Open time 75 minutes. Tile up to 8 inches on a side recommended. | Small slate tiles on a properly prepared plywood panel indoors | Do not bond directly to luan plywood, particle board, OSB or hardwood. Interior only. |
| Polymer-modified thinset (LATICRETE 254 Platinum or MULTIMAX Lite) | Can go directly on exterior glue plywood if the subfloor is at least 1 1/4 inch thick total, tongue and groove, and meets the L/360 deflection limit. | Real floors and counters built to tile-setting standards | Fails on thin, flexy or ordinary boards. This is a floor system, not a craft glue. |
Match the Method to Your Project
- Coasters and trivets: polyurethane adhesive on a small wood base, or simply glue felt to the slate and skip wood entirely. Loose-fit slate is the easiest to replace.
- Tabletop inlay: polyurethane adhesive into a routed recess sized so the slate sits flush or slightly proud, with a small perimeter gap so the wood can move.
- Wall panels and backsplash boards: mount slate on plywood, then hang the plywood. Use a full grid of adhesive rather than dabs so heavy pieces do not peel from the top edge.
- Planters and outdoor pieces: polyurethane is rated water resistant, but seal the wood and keep the slate from sitting in standing water. The data sheet excludes submersion.
- Floors and counters: follow tile-setting standards, not craft glue. See when construction adhesive is enough for tile and slate flooring in a bathroom.
The Myth: Thinset Works on Any Wood
A common tip, and one the old version of this page repeated, is that thinset is the go-to for slate on wood. The manufacturers say otherwise. Custom Building Products warns not to bond AcrylPro directly to luan plywood, particle board, hardwood or OSB. LATICRETE says its thinset can go directly on exterior glue plywood, but only when the plywood is at least 1 1/4 inches thick in total, tongue and groove, fastened on a schedule and within L/360 deflection. As LATICRETE puts it, if the floor bounces too much the tiles can crack and come loose.
In plain terms, cement-based thinset is a floor system designed around a stiff base. On a hobby-grade board it has no way to absorb movement, so the bond cracks along the edge of the slate first. For a craft piece, pick the flexible adhesive. For a real floor, add a proper backer board and follow the standard.
How to Attach Slate to Wood Step by Step
- Dry-fit everything. Lay the slate on the wood and mark the layout. Tap each piece and scrape the back to reject flaky pieces.
- Prepare the wood. Sand lightly, remove dust and wipe off any oil or wax. The data sheet requires surfaces clean and free of frost, standing water, grease and dust. Keep the adhesive above 41 F and below 95 F.
- Clean the slate back. Brush off stone dust. Dust is a common reason a bead peels away from stone.
- Apply adhesive to one surface. A 10 fl oz cartridge lays about 30.6 feet of 1/4 inch bead or about 13.6 feet of 3/8 inch bead. Work in a serpentine or grid pattern, and go heavier where the slate back is lower.
- Press within 15 to 20 minutes. Set the slate, twist slightly to spread the bead, and adjust within 30 to 45 minutes if needed. Under 30% humidity, the sheet suggests a very light mist of water on the bead.
- Support it for 24 hours. The data sheet calls for mechanical support during the initial cure. Use weights, clamps or masking tape. Expect a full cure in 24 to 48 hours at 78 F and 50% humidity, longer in cold or dry rooms.
- Finish the edges. Fill perimeter gaps with a flexible caulk or grout, not rigid filler, so the wood can move.
Why Uneven Slate Backs Matter
Natural cleft slate is split, not sawn, so the back has high and low spots. A thin skim of adhesive only contacts the high spots and leaves hollow pockets that sound dull when tapped and later crack. Use a thick bead or grid, and press until the adhesive squeezes out at the low areas. For very rough pieces, a simple test works: glue a scrap piece, wait 48 hours, then try to pry it off before committing the real pieces.
Should You Use Screws or Nails?
Drilling through slate is possible, but it is a fast way to crack a piece, and the old advice to nail slate is not a good idea. If you want mechanical backup for a heavy wall panel, screw the wood backer to the wall and let the adhesive hold the slate to the backer. For the reverse job of fixing wood onto stone, see how to attach wood to granite. For loose rocks and river stones, see what glue sticks rocks to wood.
Common Mistakes and Fixes
- Slate peels at one edge: too little adhesive at that edge or dust on the stone. Scrape off, clean both faces and re-bond.
- Hollow sound when tapped: the bead did not reach the low spots. Add more adhesive next time and press until it squeezes out.
- Slate slides during cure: the adhesive is repositionable for only 30 to 45 minutes and needs support for 24 hours. Tape or weight it.
- Wood cupping: moisture imbalance. Seal the underside of the wood as well as the top, so the board does not move on one face only.
- Adhesive smears on the finish: the data sheet warns not to let it cure on a finished surface. Clean uncured residue with mineral spirits and mask edges first.
Safety When Cutting and Handling Slate
Cutting slate produces fine dust that contains crystalline silica, so cut wet if you can and wear a properly rated respirator, safety glasses and gloves. Loctite also advises gloves for the adhesive itself, since cured adhesive on skin will not wash off right away. Lift heavy pieces with your legs and keep the workpiece on a flat surface.
Frequently Asked Questions
What Is the Best Adhesive to Attach Slate to Wood?
A flexible polyurethane construction adhesive is the most practical choice for decorative slate on wood. The Loctite PL Premium data sheet lists wood, plywood and slate as bondable materials and describes a rubbery cured film with a service range of -40 F to 160 F.
Can I Use Thinset to Attach Slate to Wood?
Only on the right base. LATICRETE says thinset can go on exterior glue plywood that is at least 1 1/4 inches thick, tongue and groove and within L/360 deflection. Custom Building Products says not to bond its tile adhesive directly to luan, particle board, OSB or hardwood.
How Long Does It Take Slate to Bond to Wood?
With Loctite PL Premium, expect 15 to 20 minutes of open time, 30 to 45 minutes to reposition, 24 hours of mechanical support and a cure of 24 to 48 hours at 78 F and 50% humidity. Cold or dry rooms take longer.
Can I Screw or Nail Slate to Wood?
It is not recommended. Slate cracks easily when drilled or nailed. Fasten the wood backer to the wall or frame and let adhesive hold the slate to the backer.
Conclusion
To attach slate to wood, match the adhesive to the job: flexible polyurethane for decorative pieces, a stiff and properly built base for anything that behaves like a floor. Dry-fit, clean both faces, load the bead heavy enough to reach the low spots, and give the bond a full day of support before you touch it.
Sponsored / affiliate links. As an Amazon Associate I earn from qualifying purchases. I may earn additional commission from eligible campaigns.