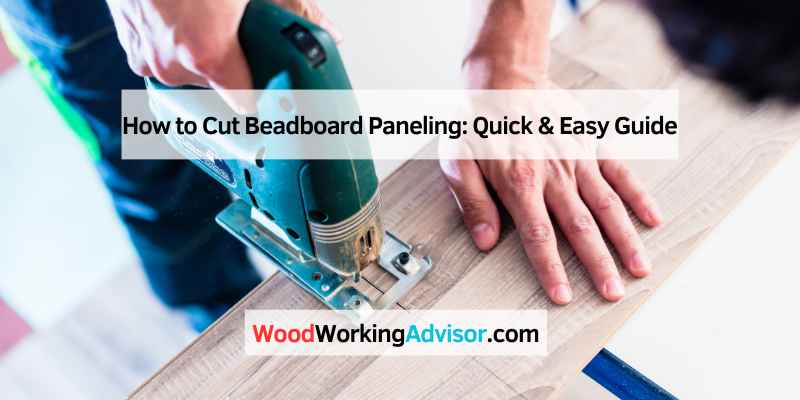
How to Cut Beadboard Paneling: Quick & Easy Guide
To cut beadboard paneling, measure the desired length and mark a straight line on the panel. Use a circular saw or a jigsaw for precise cuts.
Beadboard paneling adds charm and texture to any room. It’s often used for walls, ceilings, or as wainscoting. Cutting beadboard correctly ensures a professional-looking finish. Proper measurement and the right tools are essential for a clean cut. Whether you’re tackling a DIY project or enhancing your home’s décor, understanding how to cut beadboard will save you time and frustration.
This guide will equip you with the knowledge to make accurate cuts, ensuring your installation goes smoothly. Embrace your creativity and transform your space with this versatile material!
Introduction To Beadboard Paneling
Beadboard paneling adds character to any space. It features vertical grooves that create a classic look. This material is versatile and easy to install. Homeowners appreciate its charm and style.
The Charm Of Beadboard
Beadboard brings warmth and texture to interiors. It’s often used in kitchens, bathrooms, and hallways. The design offers a vintage feel, making spaces cozier.
- Timeless appeal: Fits various decor styles.
- Easy maintenance: Simple to clean and care for.
- Customizable: Paint or stain to match your style.
Common Uses In Home Decor
Beadboard is popular for many applications. Here are some common uses:
| Area | Purpose |
|---|---|
| Kitchen | Backsplash and cabinet accents |
| Bathroom | Wall paneling and wainscoting |
| Hallway | Wall treatments and accent walls |
| Living Room | Fireplace surrounds and feature walls |
Many homeowners select beadboard for its beauty and functionality. It enhances any room while providing a unique touch.
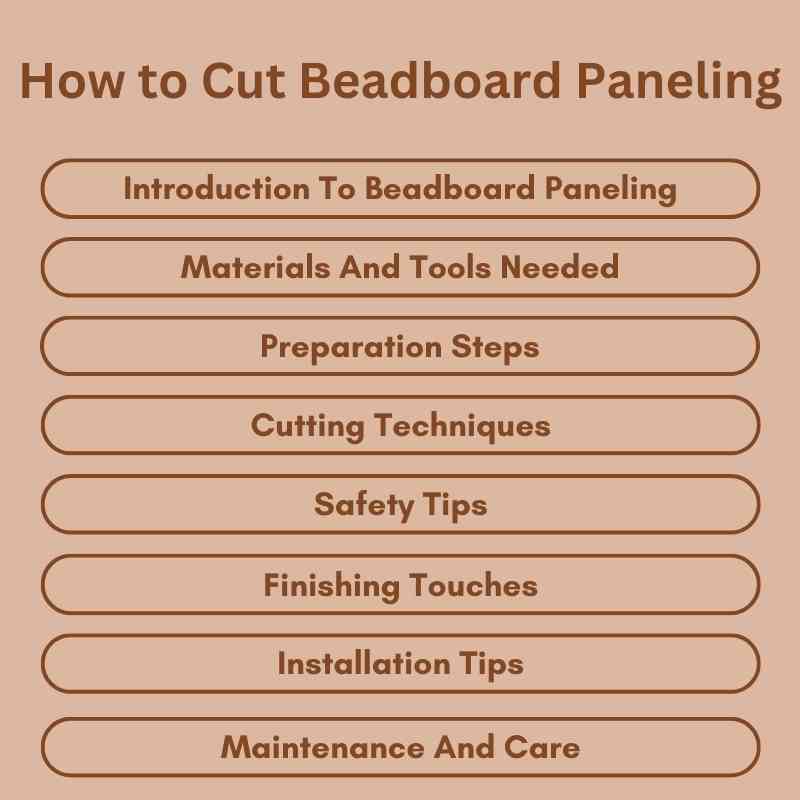
Materials And Tools Needed
Cutting beadboard paneling requires specific materials and tools. Having the right items makes the job easier. Let’s dive into what you need for this project.
Choosing The Right Beadboard
Selecting the correct beadboard is essential. Different types serve various purposes. Here are common options:
- Wood Beadboard: Natural look, easy to paint.
- Medium Density Fiberboard (MDF): Smooth surface, cost-effective.
- Vinyl Beadboard: Durable, moisture-resistant, ideal for bathrooms.
Consider the style and location before choosing. This ensures the best fit for your project.
Essential Tools For Cutting
Gather these tools to cut your beadboard effectively:
| Tool | Purpose |
|---|---|
| Measuring Tape | For accurate measurements. |
| Pencil | For marking cut lines. |
| Square | Ensures straight, accurate cuts. |
| Utility Knife | For scoring the beadboard. |
| Table Saw | For making long, straight cuts. |
| Jigsaw | For cutting curves and intricate shapes. |
| Safety Gear | Protects eyes and ears while cutting. |
Having these tools ready will help you achieve clean cuts. Always prioritize safety while working.
Preparation Steps
Preparing to cut beadboard paneling is vital. Proper preparation ensures accuracy and efficiency. Follow these steps to get started.
Measuring Your Space
Accurate measurements are crucial for a successful project. Follow these steps for precise measuring:
- Use a measuring tape to find the height and width of the area.
- Write down your measurements in a notebook.
- Double-check your measurements for accuracy.
Remember to measure multiple times. This avoids mistakes that could waste material.
Marking The Beadboard
Marking the beadboard helps guide your cuts. Here’s how to do it:
- Place the beadboard on a flat surface.
- Use a pencil to mark the measurements on the back of the panel.
- Draw straight lines using a level or straight edge.
Make sure your lines are clear and visible. This will help you cut accurately.
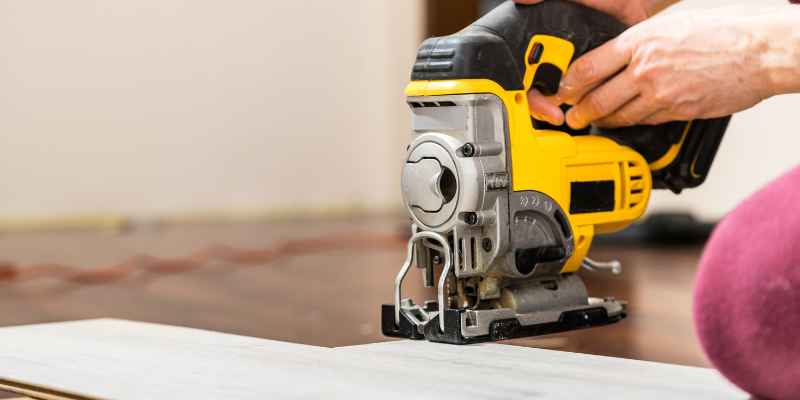
Cutting Techniques
Cutting beadboard paneling requires precision and the right techniques. Mastering these methods ensures clean edges and a professional look. Below are two essential cutting techniques you can use.
Straight Cuts
Straight cuts are common when working with beadboard. Follow these steps for accurate results:
- Use a straight edge or level.
- Mark your cut line with a pencil.
- Clamp the panel securely to your work surface.
- Choose the right saw: a circular saw or a table saw works best.
- Cut along the marked line slowly and steadily.
Ensure you wear safety goggles and a mask. This protects you from dust and debris.
Cutting Around Obstacles
Sometimes, you need to cut around obstacles like outlets or trim. Here’s how:
- Measure the distance from the obstacle to the edge.
- Mark the position on the panel.
- Use a jigsaw for curves and irregular shapes.
- For straight cuts near obstacles, use a circular saw.
Make sure to double-check your measurements. Accuracy prevents mistakes.
Use a piece of scrap wood to practice your cuts. This builds confidence.
Safety Tips
Cutting beadboard paneling requires caution and precision. Always wear safety goggles to protect your eyes from flying debris. Use a sharp utility knife or a circular saw for clean cuts, ensuring your workspace is stable and well-lit. Proper measurements prevent mistakes and enhance the final appearance.
Personal Protective Equipment
Wear safety goggles, gloves, and a dust mask.
Handling Tools Safely
Use a sharp blade and a stable work surface.
Cutting Beadboard Paneling Safely
Cutting beadboard paneling requires careful attention to safety. Always wear the necessary protective gear, including goggles, gloves, and a dust mask to safeguard your eyes, hands, and lungs. When handling tools, ensure you have a sharp blade to make clean cuts and work on a stable surface to prevent accidents.
Finishing Touches
After cutting your beadboard paneling, the next step is to add the finishing touches. This enhances the look and protects your work. Proper sanding and painting or staining will ensure a professional finish.
Sanding The Edges
Sanding is essential for a smooth, clean edge. Follow these steps for best results:
- Use fine-grit sandpaper, around 220 grit.
- Sand all cut edges until smooth.
- Focus on corners and joints for a seamless look.
- Remove all dust with a damp cloth.
Tip: Always wear a mask to avoid inhaling dust.
Painting Or Staining
Choosing paint or stain adds character to your beadboard. Here’s how to do it:
- Painting:
- Select a high-quality primer first.
- Use a paintbrush or roller for even coverage.
- Apply at least two coats for durability.
- Staining:
- Choose a stain that complements your decor.
- Apply with a clean cloth or brush.
- Wipe off excess stain for a more natural look.
Wait for the paint or stain to dry completely. This ensures a flawless finish.
Installation Tips
Installing beadboard paneling can be rewarding. Follow these tips for a smooth process.
Securing The Beadboard
Securing beadboard is vital for a durable finish. Here are steps to ensure it stays in place:
- Use adhesive: Apply construction adhesive to the back of each panel.
- Choose the right fasteners: Use finishing nails or screws.
- Space the fasteners: Place them every 16 inches along the studs.
- Check for level: Ensure each panel is straight before nailing.
Using a nail gun can speed up the process. Be cautious with pressure settings.
Dealing With Corners And Edges
Handling corners and edges properly enhances the look. Here’s how:
- Inside corners: Miter the edges at a 45-degree angle for a seamless fit.
- Outside corners: Use corner trim pieces to cover the seams.
- Top edges: Install a cap rail for a finished appearance.
- Bottom edges: Consider baseboards to hide any gaps.
Always measure twice before cutting. This prevents mistakes and waste.
| Type of Corner | Method |
|---|---|
| Inside Corner | Miter edges at 45 degrees |
| Outside Corner | Use corner trim pieces |
| Top Edge | Install a cap rail |
| Bottom Edge | Use baseboards |
Follow these tips for a professional look. Happy installing!
Maintenance And Care
Maintaining beadboard paneling keeps it looking great. Regular care extends its life. Follow these tips for cleaning and repairs.
Cleaning Your Beadboard
Cleaning beadboard is simple. Use gentle methods to avoid damage. Here are effective steps:
- Dust Regularly: Use a microfiber cloth to remove dust.
- Use Mild Soap: Mix warm water with a few drops of dish soap.
- Wipe Down: Dampen a cloth with the soapy water. Wipe the paneling gently.
- Rinse: Use a clean, damp cloth to remove soap residue.
- Dry: Wipe with a dry cloth to prevent water spots.
Avoid harsh chemicals. They can damage the finish. Keep your beadboard looking fresh and clean.
Minor Repairs
Sometimes, beadboard needs minor repairs. Small dents or scratches are common. Here’s how to fix them:
| Issue | Solution |
|---|---|
| Dents | Fill with wood filler. Sand smooth. |
| Scratches | Use touch-up paint or marker. |
| Loose Panels | Reattach with finishing nails or adhesive. |
| Water Damage | Replace affected panels. Ensure proper sealing. |
Check your beadboard often. Quick repairs prevent bigger issues later. Keep it looking beautiful.
Frequently Asked Questions
How Do I Measure Beadboard Paneling Accurately?
To measure beadboard paneling accurately, use a tape measure. Start at one end and measure the length and width. Mark the measurements on the panel with a pencil. Double-check your measurements before cutting to ensure a perfect fit. Accurate measurements prevent waste and ensure a professional finish.
What Tools Do I Need To Cut Beadboard?
To cut beadboard, you’ll need a circular saw or jigsaw. A straight edge or a square can help guide your cuts. Additionally, safety goggles and a dust mask are essential for protection. Ensure your tools are sharp for clean, precise cuts.
Proper tools make the cutting process easier and safer.
Can I Cut Beadboard With A Hand Saw?
Yes, you can cut beadboard with a hand saw. However, it may require more effort compared to power tools. Use a fine-toothed saw for cleaner cuts. Ensure you measure and mark the panel accurately. Cutting slowly and steadily will help you achieve a smooth finish.
What Is The Best Way To Cut Curved Shapes?
To cut curved shapes in beadboard, use a jigsaw. First, draw your desired curve on the panel. Clamp the panel securely to prevent movement. Follow the line carefully with the jigsaw for an accurate cut. This method allows for greater flexibility in design and shapes.
Conclusion
Cutting beadboard paneling can transform your space with ease. By following the right techniques, you ensure clean edges and a professional finish. Remember to measure twice and cut once for the best results. With practice, you’ll become proficient in this skill, enhancing your DIY projects and home décor effortlessly.