How to Cut Flutes in Wood: Mastering the Craft
To cut flutes in wood, use a router with a straight bit or a specialized flute bit. Ensure you set the depth and spacing accurately for a clean finish.
Cutting flutes in wood adds elegance to your projects and enhances their aesthetic appeal. Flutes are grooves that run along a surface, often seen in columns and furniture. This technique can elevate the design of cabinets, tables, and other wooden pieces.
Proper tools and techniques are essential for achieving precise results. Whether you are a beginner or an experienced woodworker, learning to cut flutes can expand your skill set. Follow specific steps to ensure accuracy and consistency. With the right preparation and practice, your woodworking projects will stand out with beautifully crafted flutes.
Introduction To Fluted Wood Design
Fluted wood design adds beauty to any piece. It creates a sense of elegance. Craftsmen use flutes to enhance the visual appeal of furniture and decor.
The technique dates back centuries. It has roots in ancient architecture and furniture design. Many cultures embraced fluting for its artistic expression. Today, it remains popular in modern woodworking.
Flutes can be found in columns, cabinetry, and even musical instruments. They showcase the skill and creativity of the woodworker. Fluted designs tell a story of tradition and craftsmanship.
Essential Tools For Fluting
To create beautiful flutes in wood, select high-quality router bits. These bits come in various shapes and sizes. Choose the right ones based on your project needs. Flute bits, straight bits, and round-over bits are common choices.
A sturdy workbench is crucial for fluting. It provides stability while working. Ensure your workbench is level and secure. This will help prevent mistakes and improve safety. Always clamp your wood piece tightly. This keeps it in place while you work.
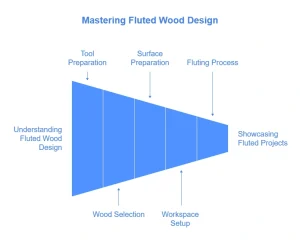
Wood Selection For Fluting
Choosing the right wood is crucial for fluting. Softwoods like pine and cedar are easy to work with. They allow for clean cuts and smooth finishes. Hardwoods such as oak and maple provide durability. These woods offer beautiful grains and textures.
Pine is lightweight and affordable, making it a popular choice. Cedar has a pleasant aroma and resists decay, ideal for outdoor projects. Oak has a strong grain, perfect for decorative fluting. Maple is dense and can hold fine details well.
| Type of Wood | Benefits |
|---|---|
| Pine | Easy to cut, affordable |
| Cedar | Decay-resistant, aromatic |
| Oak | Durable, strong grain |
| Maple | Dense, holds details |
Understanding wood grain helps in the fluting process. Straight grains are best for uniform cuts. Curly or wavy grains can add character. Choose wood based on the desired look and feel.
Preparing The Wood Surface
Start by ensuring the wood surface is clean and dry. Remove any dust or debris. Use fine-grit sandpaper for a smooth finish. Sand in the direction of the wood grain. This helps prevent scratches.
Change sandpaper frequently to maintain effectiveness. Smooth surfaces allow for better flute cutting. Take your time and be gentle during this process.
Applying a pre-fluting finish can enhance the wood. Choose a suitable wood finish like oil or varnish. This step protects the wood and highlights its natural beauty.
Allow the finish to dry completely before cutting. This ensures a clean and precise flute cut. A well-prepared surface makes all the difference in your project.
Setting Up Your Workspace
Creating a safe workspace is essential for cutting flutes in wood. Begin by securing the wood piece to prevent movement. Use clamps to hold the wood firmly in place. This ensures precise cuts and safety while working.
Next, make router table adjustments for the depth and speed. Set the bit to the desired depth for your flutes. Adjust the speed according to the wood type for a smooth finish. Always follow the manufacturer’s instructions for your router.
Check the alignment of the router with the wood. A well-aligned router will create even flutes. Test on a scrap piece of wood before cutting the final project.
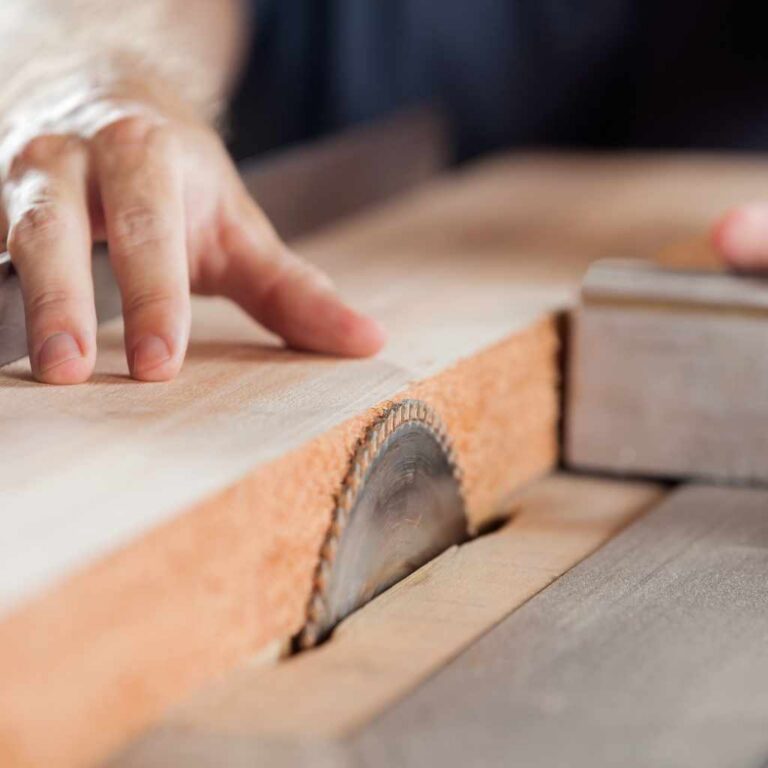
The Fluting Process
Start by measuring the wood carefully. Use a straight edge for accuracy. Mark the flute locations using a pencil. Ensure all marks are symmetrical for a nice look.
Choose the right router bit for fluting. A round-over bit works well for smooth edges. Set the depth of the cut for each flute. Test the router on scrap wood first.
Use a clamp to hold the wood securely. This keeps it steady while cutting. Move the router slowly for even cuts. Clean up any rough edges afterward.
Troubleshooting Common Fluting Issues
To avoid tear-outs and splintering, always use sharp bits. Dull bits can cause damage. A slow feed rate helps prevent these issues. Always secure the wood properly before cutting. This reduces movement and keeps cuts clean.
For router slippage, use clamps to hold the wood tightly. Check the router’s base for stability. A sturdy base prevents the router from moving during cutting. Adjust the depth of the cut gradually. This helps maintain control and accuracy.
Take your time and practice on scrap wood first. This builds confidence and skill. Keeping the wood and router steady leads to better flutes.
Finishing Touches
After cutting flutes, sanding is essential for a smooth finish. Use fine-grit sandpaper to gently polish the flutes. This will remove rough edges and splinters. Always sand with the grain of the wood. This helps maintain the wood’s natural look.
Choosing the right finish is crucial for fluted wood. Oil-based finishes enhance the grain and provide durability. Water-based finishes dry quickly and are easy to clean. Consider using wax for a soft sheen. Test the finish on a scrap piece first.
| Finish Type | Benefits |
|---|---|
| Oil-Based | Enhances grain; Durable |
| Water-Based | Quick drying; Easy cleanup |
| Wax | Soft sheen; Easy to apply |
Advanced Fluting Techniques
Advanced fluting techniques allow for unique designs. Curved and complex patterns can enhance woodwork. Using CNC machines helps achieve precise cuts. These machines control the design with high accuracy.
Customizing flutes becomes easy with CNC technology. The software allows for detailed planning before cutting. This method reduces errors and improves quality. It saves time and ensures consistency across projects.
| Technique | Benefits |
|---|---|
| Curved Designs | Enhances visual appeal |
| Complex Patterns | Shows craftsmanship |
| CNC Precision | Reduces mistakes |
Maintenance And Care For Fluted Woodwork
Fluted woodwork needs regular cleaning to stay beautiful. Use a soft cloth to wipe dust away. For deeper cleaning, mix mild soap with water. Avoid harsh chemicals that can damage the wood.
After cleaning, polish the surfaces. Apply a wood polish with a clean cloth. This helps maintain shine and protects the wood. Always follow the polish instructions for best results.
For long-term care, keep fluted wood out of direct sunlight. Sunlight can cause fading and damage over time. Use coasters under drinks to prevent water rings.
Check for scratches or dents regularly. Lightly sand these areas and reapply polish. This keeps the fluted surfaces looking fresh and new.
Showcasing Your Fluted Projects
Fluted designs can elevate any furniture piece. They add a unique touch to cabinets, tables, and chairs. Using flutes creates depth and visual interest. Think about symmetry and balance in your designs.
Consider using fluted woodwork in various styles. Traditional, modern, or rustic designs all benefit from flutes. They can be painted or stained to match your decor. This makes flutes versatile for any space.
Fluted woodwork is not just functional; it is also artistic. Each groove and curve tells a story. This type of craftsmanship enhances the overall beauty of the piece. Showcasing fluted projects can impress your guests.
Conclusion: The Artistry Of Fluted Wood
Fluted woodwork is a beautiful skill. Mastering it requires practice and patience. Each flute adds a unique charm to the piece.
Reflect on the journey of learning this craft. Every cut brings you closer to perfection. Celebrate the small wins along the way.
To take the next steps in wood fluting mastery:
- Experiment with different tools.
- Join local woodworking groups.
- Study designs and techniques online.
- Practice regularly to improve skills.
With each project, find joy in the process. Let your creativity shine through every flute you cut.

Frequently Asked Questions
How Do You Cut Flutes In Wood?
To cut flutes in wood, you can use a router with a specially designed bit. Start by marking the flute locations on your wood. Secure the wood to prevent movement. Gradually guide the router along the marked lines to create uniform flutes.
Practice on scrap wood first for better results.
What Tools Are Needed For Cutting Flutes?
Essential tools for cutting flutes include a router, flute bits, and clamps. A straight edge can help guide the router for straight cuts. A measuring tape is also crucial for precise markings. Safety goggles and ear protection are recommended to ensure a safe working environment.
Can I Cut Flutes With A Hand Tool?
Yes, you can cut flutes using hand tools like chisels or gouges. This method requires more skill and patience. Start by marking the flutes on the wood surface. Carefully remove wood in controlled strokes to create the desired shape. Practice will improve your technique over time.
What Wood Types Are Best For Flutes?
Softwoods like pine and cedar are ideal for flutes due to their ease of cutting. Hardwoods like oak and maple can also be used but may require more effort. The choice of wood affects the final appearance and sound. Always consider the intended use of the fluted piece.
Conclusion
Cutting flutes in wood can enhance both aesthetics and functionality. With the right tools and techniques, anyone can master this skill. Remember to practice safety and precision throughout the process. By following these steps, you’ll create beautiful fluted designs that elevate your woodworking projects.
Happy woodworking!