How to Cut Wood to Fit a Curved Wall: Expert Tips
To cut wood to fit a curved wall, use a flexible measuring tape to capture the curve’s shape. Transfer this measurement to the wood, then cut along the marked line with a jigsaw.
Fitting wood to a curved wall can be a challenging yet rewarding task. Achieving a seamless look requires precision and the right tools. Curved walls often appear in unique architectural designs, making it essential to adapt materials accordingly. Accurate measurements and proper cutting techniques will ensure that your wood fits snugly against the wall.
This guide will walk you through the steps needed to achieve a professional finish. Whether you’re renovating a room or building a custom installation, mastering this skill can elevate your woodworking projects significantly.
Introduction To Curved Wall Woodworking
Cutting wood for curved walls can be tricky. Curved surfaces require precise measurements. The main challenge is getting the right fit without gaps. Each piece of wood must match the curve perfectly.
Tools are essential for this task. A jigsaw is great for cutting curves. Use a router to smooth edges. A sander helps refine the shape. Clamps hold the wood securely while working. Always measure twice before cutting.
| Tool | Purpose |
|---|---|
| Jigsaw | Cutting curves |
| Router | Smoothing edges |
| Sander | Refining shape |
| Clamps | Securing wood |
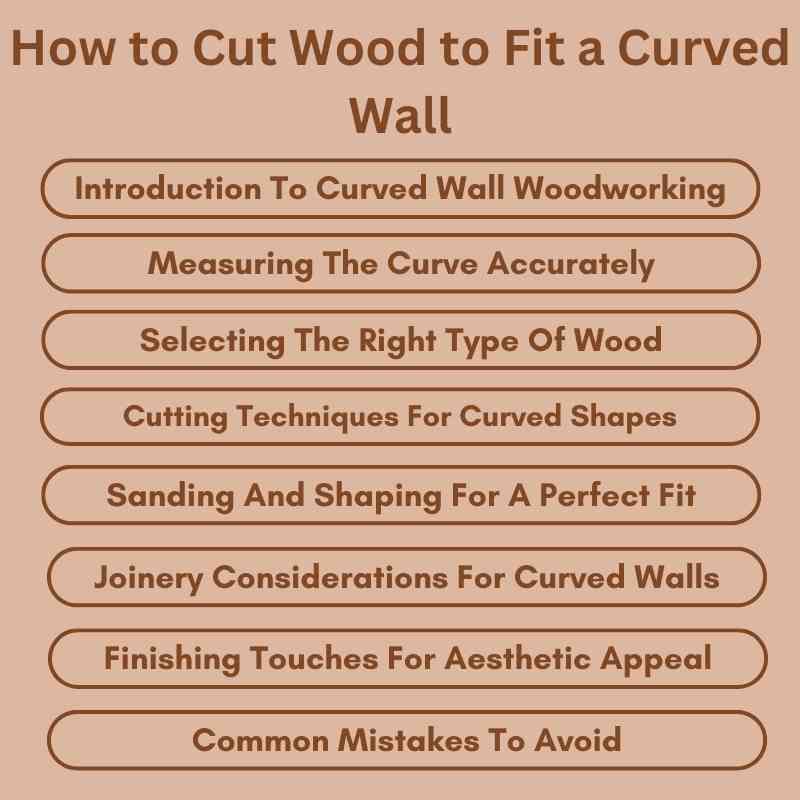
Measuring The Curve Accurately
To measure the curve accurately, use a compass. Place the point on the wall and draw a circle. Adjust the radius to match the curve. This method ensures precise contours.
Creating a template helps with complex curves. Use a flexible material like cardboard or plywood. Trace the curve onto the material carefully. Cut it out to match the wall’s shape.
Check the fit by placing the template against the wall. Make any adjustments needed for a snug fit. Using these methods, cutting wood becomes easier and more accurate.
Selecting The Right Type Of Wood
Choosing the right wood type is important for curved walls. Flexible wood options are ideal for curves. Bending plywood and laminated veneer lumber are great choices. They can easily shape to fit walls.
Hardwoods like oak and maple are strong but may not bend well. Softwoods such as pine and cedar are easier to work with. They can bend without breaking. Consider your project needs when selecting wood.
| Wood Type | Flexibility | Durability |
|---|---|---|
| Hardwood | Low | High |
| Softwood | High | Medium |
Cutting Techniques For Curved Shapes
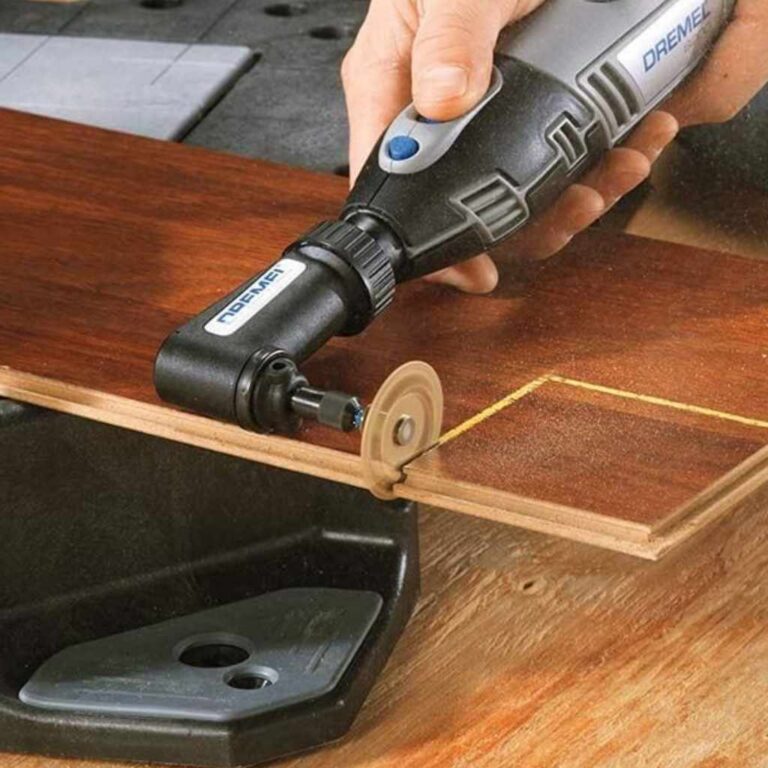
Using a jigsaw allows for precise and detailed cuts on curved shapes. This tool is perfect for creating intricate designs. Choose the right blade for smooth finishes. A fine-toothed blade works best for tight curves.
A band saw is excellent for cutting smooth curves. It provides more control and stability. Adjust the speed and tension for better results. Use this tool for larger projects that need a clean edge.
| Tool | Benefits |
|---|---|
| Jigsaw | Ideal for detailed cuts and intricate shapes |
| Band Saw | Great for smooth curves and larger pieces |
Sanding And Shaping For A Perfect Fit
Hand sanding and <strongpower sanding each have their benefits. Hand sanding offers more control. It allows for careful adjustments on curved surfaces.
Power sanding is faster and more efficient. It is great for larger areas. Use it when speed is more important than precision.
| Sanding Method | Advantages |
|---|---|
| Hand Sanding | Precision and control on curves |
| Power Sanding | Speed and efficiency for larger surfaces |
Shaping tools can make fine adjustments easier. Use chisels and rasps for detailed work. They help create smooth edges and perfect curves.
Always measure twice before cutting. This ensures a better fit and reduces mistakes.
Joinery Considerations For Curved Walls
Joinery for curved walls needs special attention. Traditional joinery uses methods like dovetails and mortise. These techniques ensure a strong bond but can be tricky with curves.
Modern methods often use flexible materials. They allow for easier adjustments and faster assembly. Adhesives and screws work well for securing pieces together.
Choosing between traditional and modern methods depends on your project needs. Consider the tools available and your skill level. Both methods can create strong joints if done correctly.
Always test on scrap wood first. This practice helps avoid mistakes and ensures a good fit.
Finishing Touches For Aesthetic Appeal
Staining and sealing curved wood adds beauty and protection. Choose a stain that matches the wood grain. Test the stain on a small area first. This ensures the color fits your design.
Sealing is important to prevent damage. Use a clear sealant for best results. Apply it evenly with a brush or cloth. Let it dry completely before using the wood.
Matching wood grain creates a seamless look. Select boards that have similar patterns. Lay them out together before installation. This helps you find the best combination.
Common Mistakes To Avoid
One common mistake is miscalculating the curve. This can lead to pieces that don’t fit well. Always measure the curve carefully before cutting. Use a flexible measuring tape for accuracy.
Another issue is inadequate material support during cutting. This can cause the wood to bend or break. Ensure your wood is well-supported on both sides. Use clamps or a sturdy workbench to hold it steady.
Advanced Tips From The Pros
Using heat to bend wood is a great trick. It helps shape the wood to fit curved walls perfectly. Start by using a heat gun or steam box. Apply heat evenly along the wood’s length. This makes the wood flexible and easier to bend.
Use clamps to hold the wood in place while it cools. This will help maintain the desired shape. The wood can be shaped into tight or irregular curves this way. Always wear safety gear to protect yourself from heat and steam.
Test the bendability of the wood before finalizing your cuts. This ensures a better fit for your project. Remember, patience is key when working with heat and wood.
Frequently Asked Questions
How Do You Measure Wood For A Curved Wall?
To measure wood for a curved wall, use a flexible measuring tape. Start at one end of the curve and follow the contour. Mark measurements at intervals and note the lengths. This will help you create accurate cuts that fit the curve perfectly.
What Tools Are Needed For Cutting Wood?
You’ll need a jigsaw or bandsaw for cutting wood. A measuring tape and a square will help ensure accuracy. Additionally, clamps can secure the wood while cutting. Safety goggles and a dust mask are essential for protection during the process.
Can I Use Regular Wood For Curved Walls?
Yes, you can use regular wood for curved walls. However, choose a softer wood that bends easily. Plywood is often preferred due to its flexibility. Ensure the wood is properly treated for durability, especially in humid environments.
What Techniques Help Cut Wood For Curves?
Use the scroll saw for intricate curves and jigsaw for broader cuts. Mark your cut line clearly and take your time. Cutting slowly allows for better control and accuracy. Always check your progress to ensure a proper fit.
Conclusion
Cutting wood to fit a curved wall can transform any space. With the right tools and techniques, achieving a perfect fit is easier than it seems. Practice patience and precision for the best results. Follow these steps, and you’ll create beautiful, seamless woodwork that enhances your home’s aesthetics.
Happy woodworking!