How to Carve a Name in Wood (Letter Size Chart + V-Groove Depths)
To carve a name in wood, size the letters to the board first, then cut each stroke with a V-tool or a V-groove router bit. Basswood and pine cut cleanest, and stroke width should be at least a quarter of the letter height, because thin strokes across the grain crumble. This guide gives a letter-size chart, V-groove depth numbers, and the cutting order.
What Tools Do You Need to Carve a Name in Wood?
Best Beginner Name-Carving Set
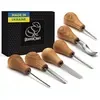 |
BeaverCraft SC05 Wood Carving Gouges Kit (palm gouge, flat chisel, V-chisels, bent chisel) A small palm-handled set that includes V-chisels and a flat chisel, which covers the stop cuts and V-grooves used for letters.
|
As an Amazon Associate we earn from qualifying purchases.
The core hand-carving kit is short: a V-tool (also called a veiner, commonly 60 or 90 degrees) for the letter strokes, a flat chisel or skew for stop cuts and clean corners, a small gouge for curves, a pencil, and a way to clamp the board. A mallet helps on hardwood but is optional on basswood, where hand pressure is enough for shallow cuts.
Two power options exist. A router with a V-groove bit cuts consistent strokes fast, and a rotary tool can follow a pencil line, though a rotary tool wanders easily and needs a steady, practiced hand. If you would rather burn than cut, our wood burning kit comparison covers that route, and the engraving guide covers engraving tools in more depth.
A sharp edge matters more than the brand. Many beginner sets ship with edges that are not razor-sharp, so strop the blade on a leather strip loaded with honing compound before the first cut. A dull V-tool tears the fibers at the top of the groove instead of slicing them, and the letters come out ragged however careful you are.
Which Wood Is Easiest for Carving a Name?
Choose a fine-grained, low-density wood so the tool cuts fibers cleanly instead of crushing them. Basswood is the standard for hand carving, and eastern white pine is the budget alternative. Denser hardwoods hold crisp letters longer but resist the V-tool and need a mallet and very sharp edges.
| Wood | Janka hardness (lbf) | Hand carving | Best use for a name |
|---|---|---|---|
| Basswood | about 410 | Very easy, minimal splitting | First projects, painted signs |
| Eastern white pine | about 380 | Easy, but soft with uneven growth rings | Cheap practice boards, rustic signs |
| Black cherry | about 950 | Moderate, cuts cleanly when sharp | Oiled plaques |
| Black walnut | about 1010 | Moderate to firm, crisp edges | Premium gifts, oil finish |
| Red oak | about 1290 | Hard, open grain tears out | Router carving rather than hand tools |
Practice on a scrap from the same board first. Grain direction changes how the tool behaves, and a name is a set of short strokes running in every direction, so you will meet every grain condition inside a single word.
How Big Should the Letters Be? A Layout Chart
Sketching a name and centering it by eye is the usual advice, and it leaves you finding out mid-carve that the name does not fit. Use this planning rule instead. For block capitals, allow roughly 0.75 times the letter height per letter, including the gap between letters, plus one letter height of blank margin at each end of the board. In other words: board length = letters x 0.75 x height + 2 x height.
| Name length | 1.5 in letters | 2 in letters | 3 in letters |
|---|---|---|---|
| 4 letters (ANNA) | 7.5 in | 10 in | 15 in |
| 6 letters (HANNAH) | 9.75 in | 13 in | 19.5 in |
| 8 letters (MARGARET) | 12 in | 16 in | 24 in |
| 10 letters (CHRISTOPHER) | 14.25 in | 19 in | 30 in |
These are calculated planning numbers from that rule, not measurements from a test. Narrow letters such as I and J take less room and wide ones such as M and W take more, so lay the printed name on the board and adjust before you commit. If the chart says 24 inches and your board is 16, shrink the letters rather than squeezing the spacing, because tight spacing is what makes carved names look cramped.
How Do You Carve a Name in Wood by Hand?
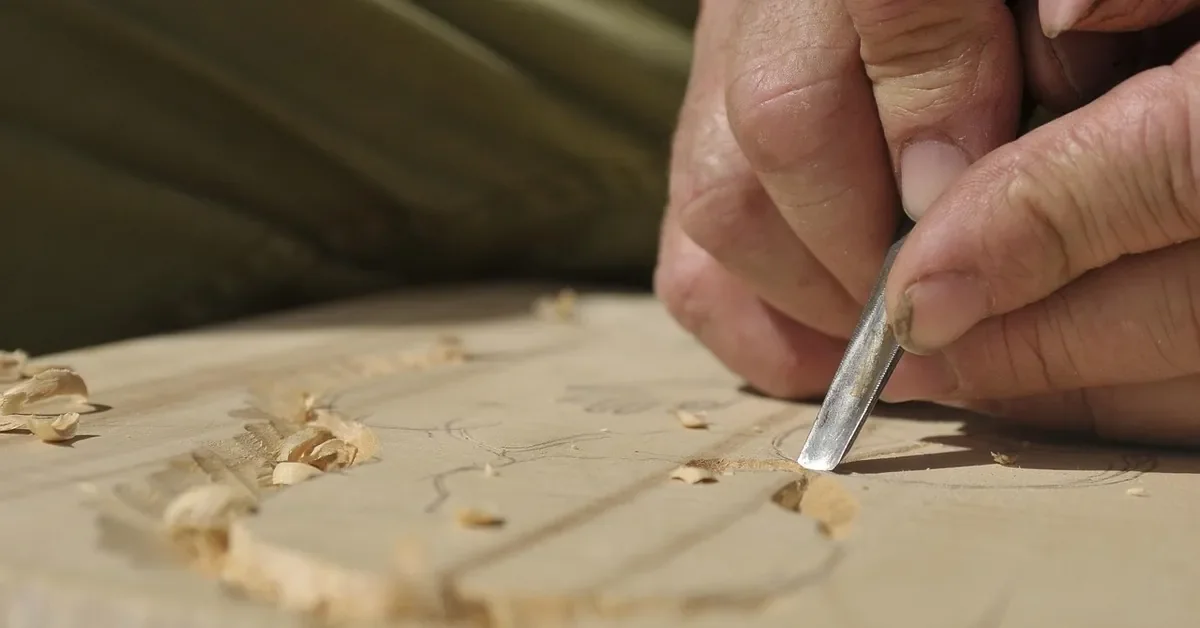
Hand carving with a V-tool follows the same order every time: layout, stop cuts at the ends of strokes, then the V-groove. Print or draw the name in a bold, even-width font, because thin serif fonts have strokes too narrow to carve cleanly.
- Sand the board first: sand to about 180 grit before carving, because sanding afterward rounds over the crisp edges of the letters.
- Transfer the name: tape a printout over graphite or carbon paper and trace it, or draw directly on the wood with a soft pencil.
- Clamp the board: secure it to the bench so both hands are free and stay behind the cutting edge.
- Make stop cuts: at every corner, point, and stroke end, press a flat chisel or knife straight down about 1/16 in. so the groove cannot run past the letter.
- Cut the V-groove: push the V-tool along the center of each stroke in shallow passes, working with the grain where you can, and lift out at each stop cut.
- Clean the corners: use the flat chisel or a small gouge to tidy junctions where two strokes meet.
- Check depth: keep every stroke the same depth so the shadow line looks even.
The video below shows letter carving with a simple utility knife, which is a low-cost way to try the method before buying tools.
How Deep and Wide Should the V-Grooves Be?
A V-groove is a triangle, so its width follows from the tool angle and the depth: width = 2 x depth x tan(half the angle). The same depth therefore gives a much wider stroke with a 90-degree tool than with a 60-degree one.
| Stroke width you want | Depth with a 90 degree V | Depth with a 60 degree V |
|---|---|---|
| 1/8 in | 1/16 in | about 0.11 in |
| 1/4 in | 1/8 in | about 0.22 in |
| 3/8 in | 3/16 in | about 0.32 in |
| 1/2 in | 1/4 in | about 0.43 in |
Use the table to choose the tool. A 90-degree tool reaches a bold stroke while staying shallow, which is safer in soft, splintery pine. A 60-degree tool cuts a narrower line that looks more refined, but it has to go nearly twice as deep to match the width, and deep cuts on thin strokes are where wood breaks out.
How Do You Carve a Name With a Router?
A router carves a name quickly, but freehand routing follows a pencil line only as steadily as your hands do. A trim router with a template guide or a template clamped to the board gives better results than working blind.
- Fit a V-groove bit: a 90-degree bit carves each stroke in one pass on most names.
- Clamp the board and template: the work must not move, and you should never hold a small board by hand under a spinning bit.
- Set a shallow depth: start from the depths in the table above and, in hardwood, take passes of about 1/8 in. at a time.
- Mind the feed direction: as a general rule, feed against the bit rotation, because feeding with it can make the router grab and run. Check your router manual.
- Practice on scrap: confirm depth and stroke width before you touch the finished board.
Wear eye protection, hearing protection, and a dust mask for router work, keep loose sleeves and hair away from the bit, and unplug the router before changing bits.
Why Do Carved Letters Split or Crumble?
A common belief is that soft wood is forgiving in every direction. It is not, and the failure is usually about grain rather than hardness. A stroke that runs with the grain cuts cleanly and holds its edge. A thin stroke that crosses the grain, such as the bar of a T or an E, has short fibers on both sides and can crumble or lift out. The fix is design, not force: choose a bold font, keep stroke width at least a quarter of the letter height, and cut crossing strokes with light passes.
Cut toward the stop cut rather than through it, and never push the tool across an unsupported edge, because that is how a splinter runs past the line. If the tool is tearing instead of slicing, you are cutting against the grain, so turn the tool around and cut from the other direction.
How Do You Finish a Carved Name?
Brush the dust out of the grooves with a stiff brush, then finish. An oil or wax finish keeps the crisp look, while a stain can pool in the grooves and darken them, which looks intentional on some woods and blotchy on others. For a painted look, paint the board first and then carve so the grooves reveal bare wood. The wood finishing guide compares oils, sealers and paint, and softwoods like pine benefit from a sealer before stain to reduce blotching.
Is It Safe to Carve a Name in Wood?
Carving tools are sharp, so build a few habits. Keep both hands behind the cutting edge, and never hold the piece in one hand while cutting toward it. Clamp the work. A cut-resistant glove on the hand that holds the wood (not the hand that carves) is worth wearing, and eye protection is smart for any tool that throws chips. Keep tools sharp, because dull blades slip. If you use a utility knife, remember that its blade is thin and can snap under sideways pressure.
Related Lettering Guides
For burned or engraved lettering instead of cut lettering, use the engraving guide. This page focuses on names: sizing a whole name to a board, spacing, and the plaques most people are making.
Frequently Asked Questions
How can I carve a name in wood?
Sand the board, print the name in a bold even-width font, and trace it onto the wood. Make stop cuts at every corner, then push a V-tool along the center of each stroke in shallow passes. Clean the corners with a flat chisel, then apply oil or wax.
What is the best wood to carve a name into?
Basswood is the easiest for hand carving because its fine, even grain cuts cleanly with little splitting. Eastern white pine is a cheaper option for practice. Cherry and walnut carve well when the tools are sharp and look best with an oil finish.
How deep should carved letters be?
Depth sets stroke width in a V-groove. With a 90-degree V-tool the depth is half the stroke width, so a 1/4 in. stroke needs about 1/8 in. depth. A 60-degree tool needs about 0.22 in. for the same width. Keep every stroke the same depth.
Can you carve a name in wood with a router?
Yes. A V-groove bit in a router or trim router can carve a name in one pass on most letters. Clamp the board, use a template if possible, feed against the bit rotation, and take shallow passes. Always test on scrap first.
Conclusion
Carving a name comes down to three decisions made before you cut: letters sized to the board, a bold font with strokes at least a quarter of the letter height, and a V-groove depth matched to the stroke width. Get those right on scrap first, and the cutting itself is the easy part.
Sponsored / affiliate links. As an Amazon Associate I earn from qualifying purchases. I may earn additional commission from eligible campaigns.