How to Remove Sap from Wood: Expert Tips and Techniques
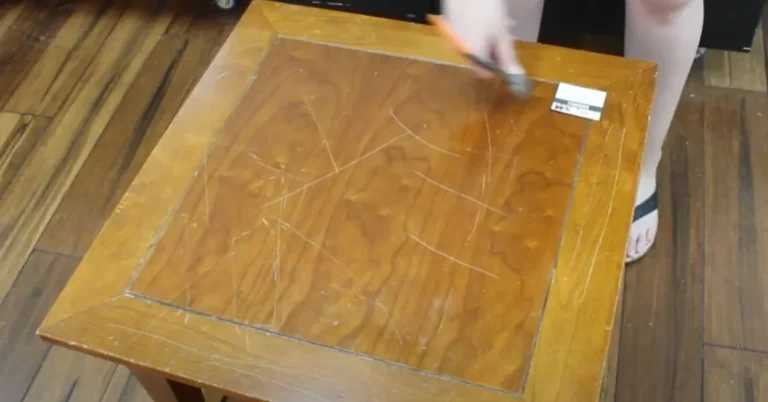
Rubbing alcohol dissolves fresh tree sap on wood fastest, and it’s safe on most finishes when tested on a hidden spot first. For sap that’s hardened or been sitting for weeks, warming it with a hair dryer first makes it soft enough to lift off with a plastic scraper before the alcohol step. Here’s the full process, plus what to reach for when alcohol alone isn’t cutting it.
Tools and Materials You’ll Need
For Stubborn, Hardened Sap
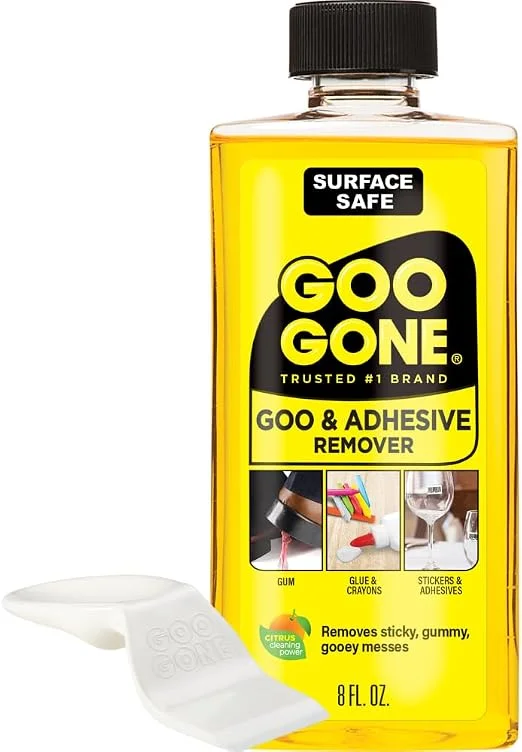 |
Goo Gone Original Liquid Adhesive Remover, 8 oz A citrus-oil formula built for exactly this kind of sticky residue, and gentler on finished wood than straight solvents.
|
Beyond the citrus remover above, gather a plastic putty knife (never metal, which can scratch or gouge finished wood), a clean microfiber cloth, rubbing alcohol, fine-grit sandpaper for any residue that won’t lift, and gloves. A hair dryer or heat gun handles hardened sap; a bucket of warm soapy water is useful for the final cleanup pass.
Step 1: Soften Hardened Sap With Heat
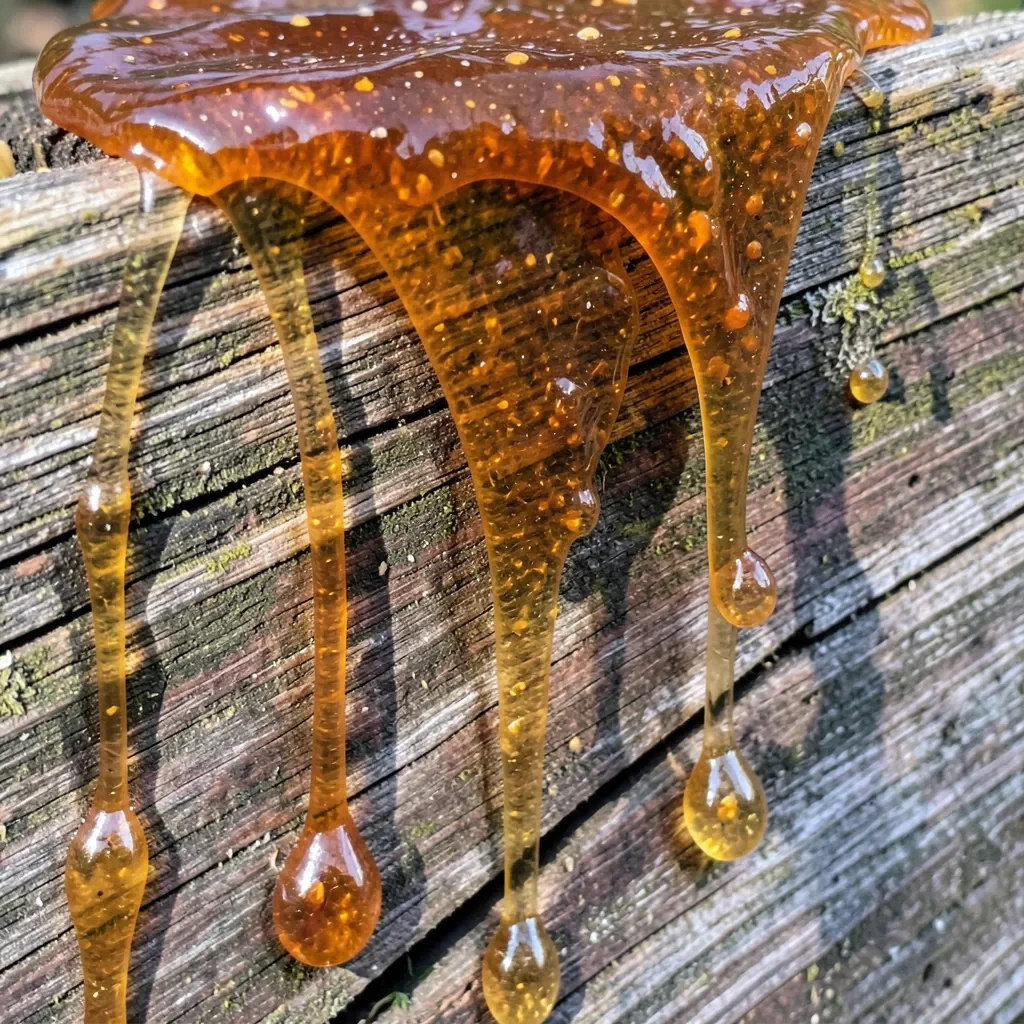
Fresh sap wipes away easily, but sap that’s had days or weeks to cure hardens into a glassy, stubborn deposit. A hair dryer on its highest heat setting, held a few inches away and moved constantly, softens it within a minute or two – a heat gun works faster but needs more caution, since it’s easy to scorch the wood if held in one spot too long. Once the sap looks glossy and slightly tacky rather than hard and matte, it’s ready to scrape.
Step 2: Scrape Off the Excess
Use a plastic putty knife or an old credit card to lift the softened sap, working at a shallow angle so the edge doesn’t dig into the wood. Metal scrapers are tempting because they feel more effective, but they’re the single most common way people scratch or gouge a finish while doing this – plastic is slower but won’t cut into the surface if the angle slips.
Step 3: Dissolve What’s Left
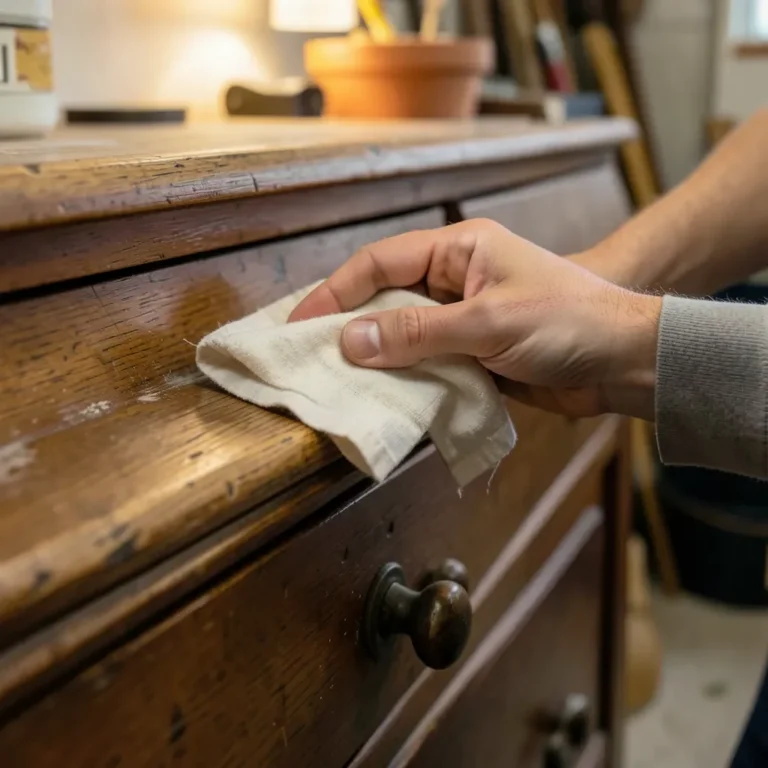
- Rubbing alcohol: The first choice for most finished wood. Apply to a cloth (not directly to the wood), rub the residue in small circles, and it should lift within a minute or two.
- Citrus-based adhesive remover: Reach for this when alcohol alone leaves a tacky film behind – it’s formulated specifically for sticky residues and tends to be gentler on delicate finishes than stronger solvents.
- Mineral spirits: Effective but stronger – test on a hidden spot first, since it can dull some finishes, and always use it in a well-ventilated space.
- White vinegar: A milder, natural option that works on lighter sap deposits; less effective on hardened, old sap than the options above.
Whichever solvent is used, always test a hidden spot first – stains, shellac, and lacquer finishes react differently to alcohol and solvents, and what’s safe on raw pine can dull or cloud a finished tabletop.
Step 4: Clean and Dry the Surface
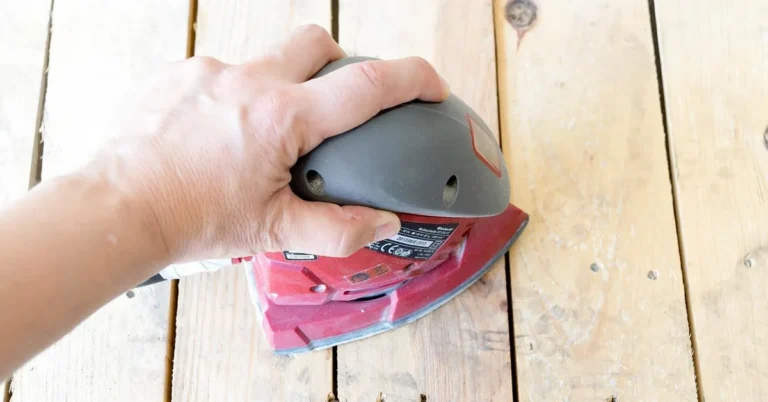
Once the sap is gone, wipe the area with a cloth dampened in warm, soapy water to remove any leftover solvent residue – skipped this step and a solvent film can interfere with wax or oil finishes applied later. Dry thoroughly with a clean cloth. If the wood feels rough where the sap was, a light pass with fine-grit sandpaper (working with the grain, never across it) smooths the spot before any refinishing, and helps that area blend in rather than standing out as a slightly different texture once a new coat of finish goes on.
Removing Sap From Different Surfaces
| Surface | Best Approach | What to Avoid |
|---|---|---|
| Unfinished/raw wood | Rubbing alcohol or mineral spirits, then light sanding if needed | Leaving solvent to soak too long – it can raise the grain |
| Painted wood | Citrus-based remover, tested on a hidden spot first | Strong solvents like acetone, which can dissolve paint |
| Stained or varnished wood | Rubbing alcohol in light circles, not a hard scrub | Prolonged contact – alcohol can dull varnish if left too long |
| Outdoor furniture/decking | Heat plus a plastic scraper, then a deck-safe cleaner | Pressure washing directly on soft, hardened sap – it can drive it deeper into the grain |
The surface matters as much as the sap itself. A painted deck rail and a raw pine shelf both get sap, but the same aggressive solvent that’s fine on bare wood can strip paint or cloud a finish. When in doubt about a specific surface, start with the mildest option (rubbing alcohol, brief contact) and step up to a citrus remover or mineral spirits only if that doesn’t fully work.
Why Some Wood Species Sap More Than Others
Softwoods like pine, spruce, and fir contain resin canals that actively exude sap, especially in warm weather or after the wood is cut or damaged – this is a real structural feature of the wood, not a defect. Oak, maple, and other hardwoods skip the resin canals entirely, which is why they almost never show visible sap. This is worth knowing before buying lumber for a project where sap staining would be a problem: a pine picnic table left outdoors in summer heat will bleed sap in a way an oak one simply won’t. This is also a real factor in choosing lumber for outdoor projects that will sit in direct sun for long stretches, since heat is what triggers most of the visible bleeding.
Preventing Sap Problems Going Forward
A quality sealer or finish creates a barrier that keeps sap from soaking into bare wood in the first place, which matters most for outdoor furniture and structures built from pine or other resinous softwoods. For already-finished pieces, a fresh coat of finish or wax on schedule keeps the surface less porous and easier to wipe clean if sap does land on it. Wiping up fresh sap the same day it appears, before it has time to harden, is by far the easiest point in the process – the techniques above are for when that window has already passed. A damp cloth kept nearby during outdoor projects with fresh-cut pine or fir is a small habit that prevents most sap problems before they start.
What If Sap Gets on Your Hands or Clothes?
The same rubbing-alcohol approach that works on wood works on skin: rub a small amount over the sap and it lifts away within a minute, then wash with soap and water. Cooking oil or hand sanitizer are gentler alternatives that also break down sap without the drying effect alcohol has on skin. For clothing, scrape off what you can with a dull edge first, then treat the spot with rubbing alcohol before washing as usual – running a sap-stained item straight through the wash without pretreating it tends to just set the stain instead of removing it.
Common Mistakes That Make This Harder
- Scraping with a metal blade. It works faster but risks permanent scratches in the finish – plastic is slower for a reason.
- Skipping the spot test. A solvent that’s fine on one finish can cloud or strip another; thirty seconds of testing on an inconspicuous spot, like the underside of a shelf or the back of a leg, saves a much bigger repair down the road.
- Applying heat directly with no movement. Holding a heat gun in one place too long can scorch the wood before the sap even fully softens.
- Ignoring fresh sap. The longer it sits, the harder and more stubborn it becomes – a quick wipe-up when it’s fresh avoids the whole scraping process.
Frequently Asked Questions
What is the best way to remove tree sap from wood?
Rubbing alcohol on a cloth is the best first attempt for most finished wood. For hardened sap, soften it with a hair dryer and scrape gently with a plastic tool before applying alcohol to what remains.
Will Dawn dish soap remove pine sap?
It helps with fresh, light sap and is gentle enough to try first, but it’s usually not strong enough for sap that’s already hardened – rubbing alcohol or a citrus-based remover works better at that stage.
Does vinegar dissolve tree sap?
White vinegar can soften and dissolve lighter, fresher sap deposits, but it’s noticeably weaker than rubbing alcohol or a dedicated adhesive remover on sap that’s had time to harden.
Why does pine wood sap more than other wood?
Pine and other softwoods have resin canals that actively produce sap, especially when the wood is cut or exposed to heat. Hardwoods like oak and maple lack these canals and rarely sap at all.
Conclusion
Most sap comes off with nothing more than rubbing alcohol and a little patience; hardened sap just needs a heat step first and a plastic scraper, never metal. Test any solvent on a hidden spot before treating the visible surface, and a quick soapy-water wipe at the end keeps the finish from clouding.
Sponsored / affiliate links. As an Amazon Associate I earn from qualifying purchases. I may earn additional commission from eligible campaigns.