How Do You Repair Rotted Wood Without Replacing It?
Finding rot doesn’t automatically mean a costly replacement job. Here’s how to tell what you’re actually dealing with, and the real repair method for the cases where a repair is genuinely the right call.
Yes, If the Rot Isn’t Structural
For Non-Structural Rot Only
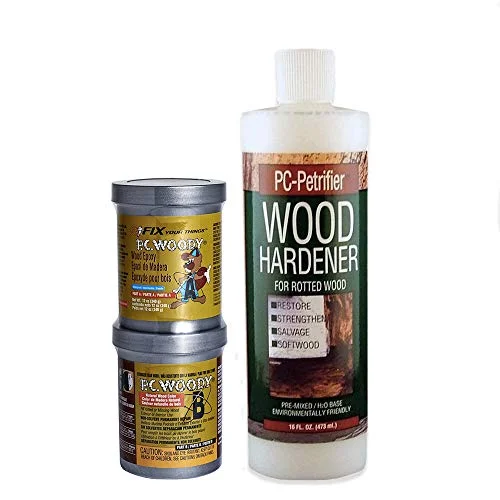 |
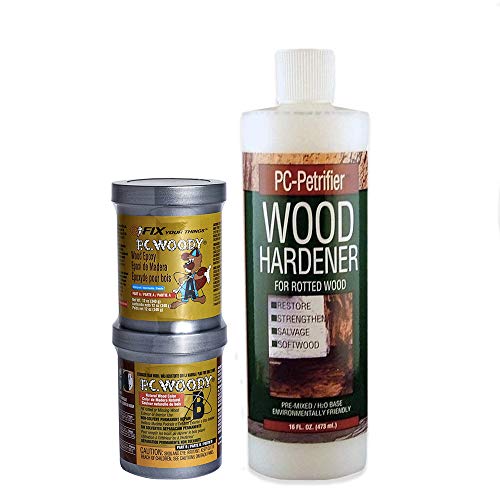
PC-Woody Epoxy Paste + PC-Petrifier Hardener Kit – $23.59 This is the harden-then-fill combo the method below actually depends on — a regular wood filler alone shrinks, cracks, and isn’t waterproof, which is exactly why it fails on real rot.
|
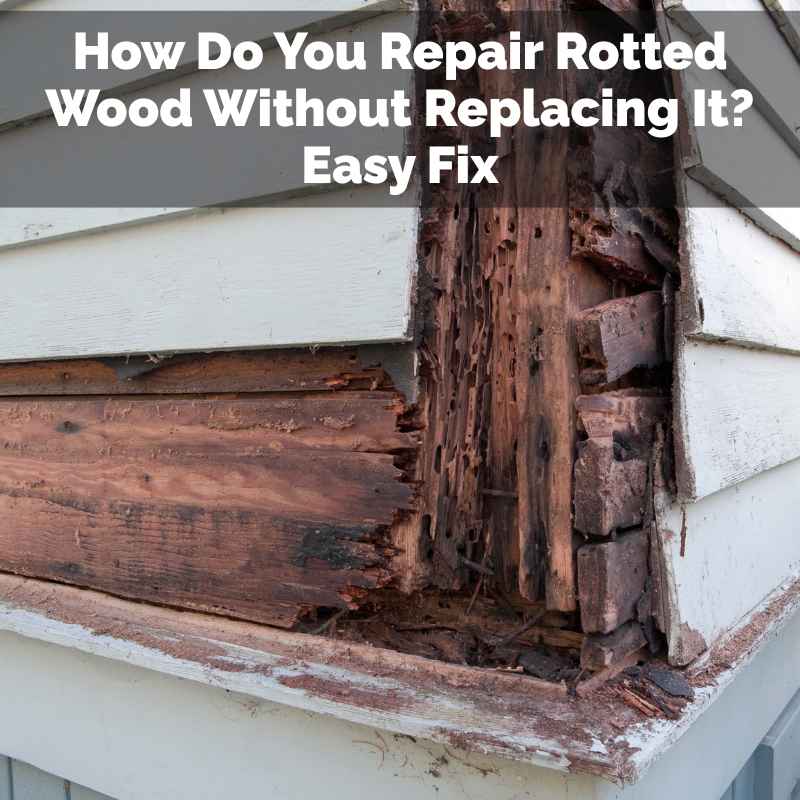
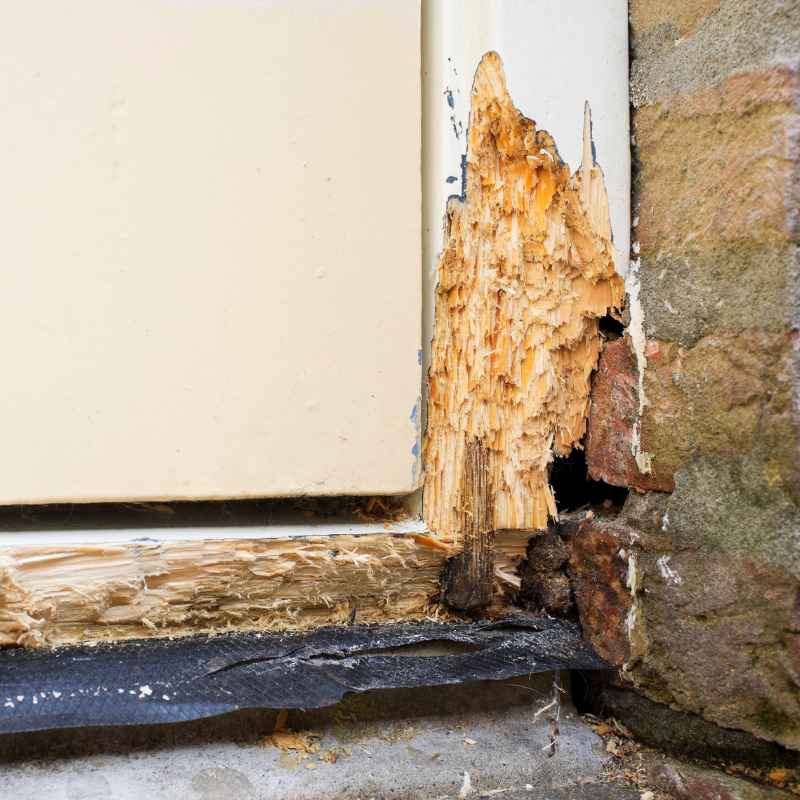
You can repair rotted wood without replacing it by cleaning out the soft, decayed material, treating what’s left with a wood hardener, and filling the gap with epoxy — but this only applies to cosmetic and non-structural rot. Wood rot is fungal decay that breaks down the wood’s cellulose and lignin, leaving it soft, dark, and crumbly, usually smelling musty or earthy. It spreads wherever moisture sits against wood long enough, which is why the same repair that works perfectly on a porch railing is the wrong call entirely on a load-bearing beam.
Step 1: Assess the Damage Honestly
Probe the suspect wood with a screwdriver or awl. If the tool sinks in easily, the wood is rotted; if it meets real resistance, it’s likely sound. Check the wood around the visible damage too, since rot spreads beyond what’s obvious at the surface, and note exactly where the damage is — a small spot on a deck board is a different situation than the same-sized spot on a support beam. That distinction is the most important decision in this entire process.
Step 2: Clean Out the Rot
Dig out all the soft, decayed wood with a chisel or stiff brush until you reach solid material — it’s normal for this to make the visible damage look bigger before it gets better. Brush and vacuum away debris, and let the area dry completely before moving on; trapping moisture under a repair defeats the purpose of doing it.
Step 3: Apply a Wood Hardener
A liquid wood hardener (consolidator) soaks into and stiffens the remaining softened fibers around the repair, giving the epoxy filler a stable base to bond to rather than sitting on wood that’s still partially compromised. Apply according to the product’s instructions and let it fully cure before filling — skipping this step is a common reason a rot repair fails early.
Step 4: Fill With Epoxy
Regular wood filler is fine for small cosmetic dents and holes, but it isn’t built for real rot repair — it shrinks as it cures, can crack over time, and generally isn’t waterproof, which makes it a poor choice for anything exposed to weather or bearing any load. A two-part epoxy filler is the right tool here: mix only what you’ll use before it sets, press it firmly into the void to avoid trapped air, and build up in layers for deep damage, letting each layer cure before adding the next.
Step 5: Sand and Finish
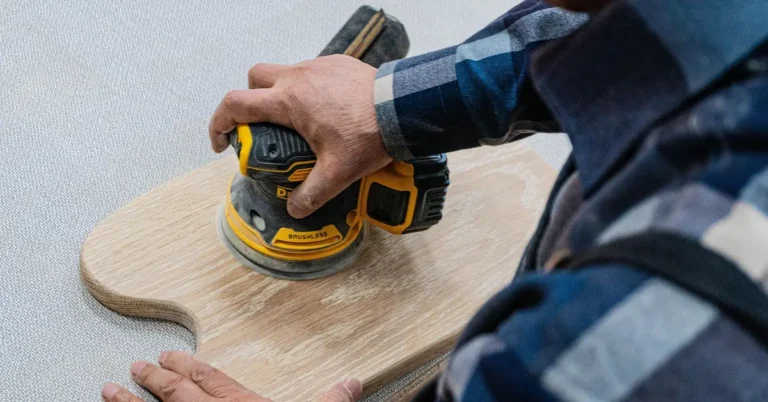
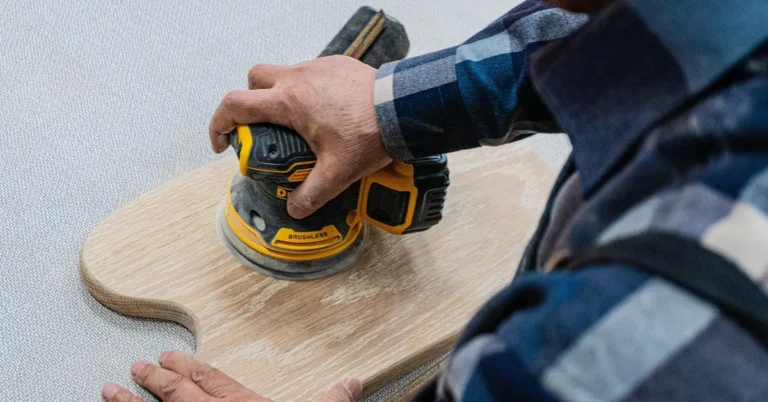
Once fully cured, sand the repair flush with the surrounding wood, then prime and paint or stain to match. This final finish coat is what actually keeps moisture out going forward — the repair isn’t complete until it’s sealed.
What If the Rot Is on a Structural Part?
Rot on a deck joist, porch column, or house framing member needs real caution — in most cases, replacement is the safer choice, and a professional contractor or structural engineer should evaluate the extent of the damage before you decide anything. Patching over rot in a load-bearing member with epoxy can mask a problem that keeps getting worse underneath, which is a genuine safety hazard, not just a cosmetic shortcut. Only consider a repair on a structural member for very minor surface rot where the core of the wood is confirmed sound, and get that confirmation from someone qualified, not a screwdriver test alone.
Preventing Rot From Coming Back
Good airflow around wood keeps it dry, and dry wood doesn’t rot — rot fungi need sustained moisture to establish and spread. Keep the space under decks and around foundation-adjacent wood clear of dense plantings or debris that trap humidity, make sure gutters and downspouts direct water away from wood structures, and reseal or repaint exposed wood before the existing finish fully fails rather than after.
Frequently Asked Questions
Can rotted wood really be repaired without replacing it?
Yes, for small to moderate rot in non-structural wood. Clean out the decayed material, treat with a wood hardener, fill with epoxy, sand, and refinish. Rot on a structural member (joist, beam, column) usually calls for replacement instead, confirmed by a professional.
Can you use regular wood filler for rot repair?
Not for real rot. Standard wood filler is fine for small cosmetic holes but shrinks, can crack, and often isn’t waterproof. A two-part epoxy filler paired with a wood hardener is the right combination for genuine rot damage.
How do I know if rot is structural?
If it’s on a joist, beam, column, or other load-bearing framing member, treat it as structural and get a professional assessment before deciding whether to repair or replace — don’t rely on a screwdriver probe test alone for anything load-bearing.
Conclusion
Repairing rotted wood without replacing it is a genuinely reliable fix for cosmetic and non-structural damage — clean it out, harden it, fill with epoxy, and seal it. The one rule that matters more than any technique: if the rot is on anything load-bearing, get a professional opinion before you decide whether repair is actually safe.
Sponsored / affiliate links. As an Amazon Associate I earn from qualifying purchases. I may earn additional commission from eligible campaigns.