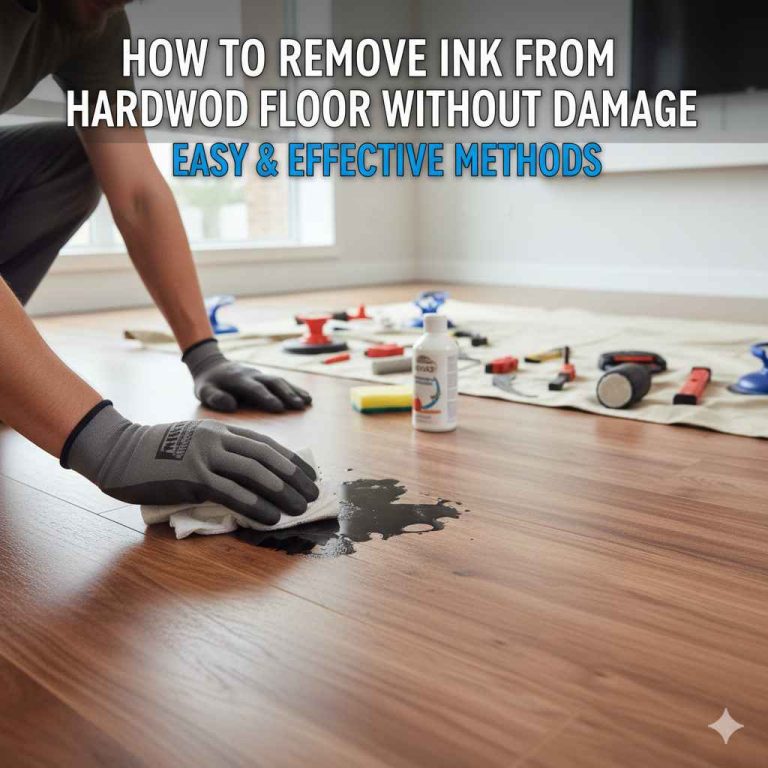
How to Hardwood Floor: Effortless Guide
Learn how to hardwood floor like a pro with this effortless guide. We break down installation into simple, manageable steps. Discover essential tools, material selection tips, and crucial preparation to ensure a beautiful, durable floor you can be proud of, all explained clearly for beginners.
Dreaming of beautiful hardwood floors but worried it’s too tough for a DIY project? Many homeowners feel the same way! Installing hardwood flooring can seem like a complex task, filled with tricky cuts and precise measurements. But what if I told you it’s entirely achievable, even for beginners, with the right guidance? I’m Md Meraj, and I’ve spent years in the workshop helping folks just like you tackle projects that seem daunting. With a little planning, the right tools, and clear, step-by-step instructions, you absolutely can achieve a stunning hardwood floor. This guide will walk you through everything, from choosing your wood to the final nail, making the process feel much simpler than you might imagine. Let’s get your dream floor project started!
Why Choose Hardwood Flooring?
Hardwood floors bring warmth, elegance, and undeniable charm to any home. They are a timeless design choice that can increase your home’s value and create a beautiful foundation for your decor. Unlike carpet, hardwood is durable, easy to clean, and hypoallergenic, making it a practical choice for many families. Plus, the satisfaction of walking on a floor you installed yourself is truly special.
Getting Started: Planning Your Project
Before we grab any tools, a little planning goes a long way to ensure your hardwood flooring project is a success. Think of this as your blueprint for a smooth installation.
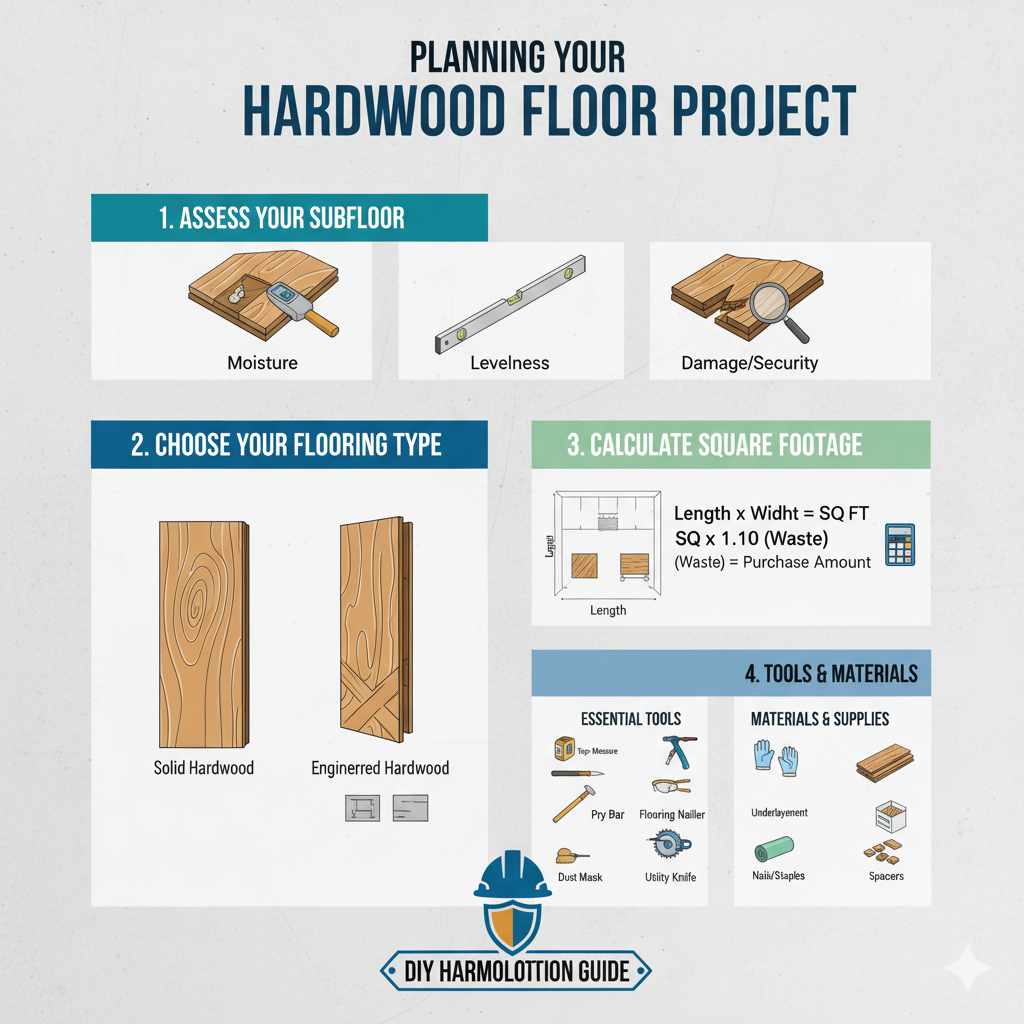
1. Assess Your Subfloor
The subfloor is the layer beneath your new hardwood. It needs to be clean, dry, and level for the new flooring to lay properly and last. Common subfloors are plywood or oriented strand board (OSB). You’ll need to check for:
- Moisture: Use a moisture meter. Excessive moisture can cause hardwood to warp or cup. Make sure your basement or crawl space is properly ventilated. For guidance on subfloor moisture, the US Forest Products Laboratory offers valuable insights.
- Levelness: Use a long, straight edge or a level. High spots can be sanded down, and low spots might need leveling compound.
- Damage: Look for any soft spots, rot, or damage from pests. These areas need repair or replacement.
- Nail/Screw Security: Ensure all subfloor panels are securely fastened to the joists. Loose subfloors can lead to squeaking.
2. Choose Your Hardwood Flooring Type
There are two main types of hardwood flooring, each with its own installation methods and benefits:
- Solid Hardwood: This is a single piece of solid wood, typically ¾ inch thick. It can be sanded and refinished many times, offering a floor that can last a lifetime. Solid hardwood is best installed over a wooden subfloor. It should generally not be installed in basements or over concrete slabs because of its susceptibility to moisture changes.
- Engineered Hardwood: This flooring has a top layer of real hardwood veneer glued to several layers of plywood or composite material. This construction makes it more stable and less prone to expanding and contracting with humidity changes, making it suitable for installation in basements and over concrete slabs.
3. Calculate the Amount of Flooring Needed
It’s crucial to buy a little extra flooring to account for mistakes, difficult cuts, and future repairs. The general rule of thumb is to add 5% to 10% for waste.
Calculation:
- Measure the length and width of your room in feet.
- Multiply these numbers to get the square footage of the room (Length x Width = Square Footage).
- Add your waste percentage. For example, if your room is 200 sq ft and you’re adding 10% waste: 200 sq ft x 1.10 = 220 sq ft.
- Purchase flooring in the calculated square footage. Flooring is usually sold by the square foot or in boxes that cover a specific square footage.
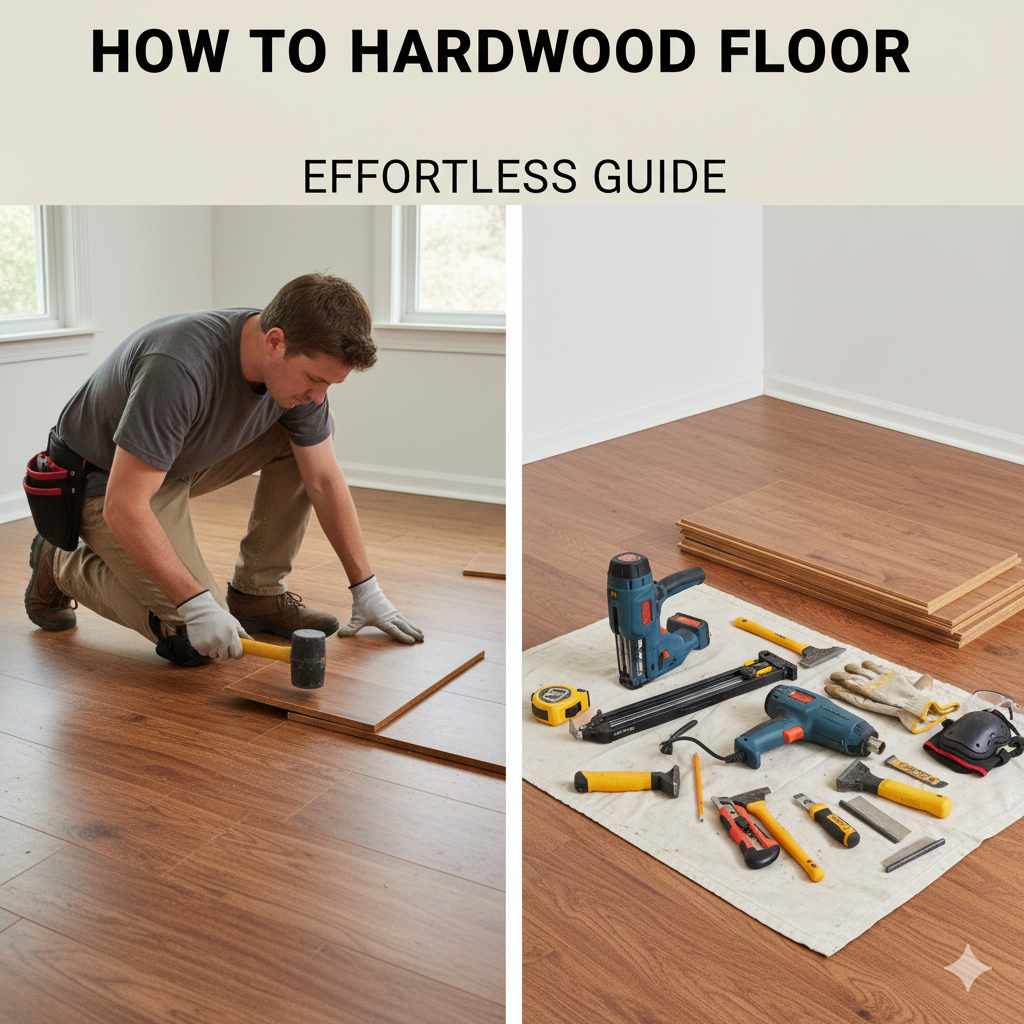
4. Gather Your Tools and Materials
Having everything ready before you start will make the installation process much smoother. Here’s a list of essential items:
Essential Tools:
- Tape Measure
- Pencil
- Safety Glasses
- Work Gloves
- Pry Bar
- Hammer
- Flooring Nailer (for solid hardwood) or Stapler
- Air Compressor (if using a pneumatic nailer/stapler)
- Miter Saw or Circular Saw (for cutting boards)
- Jigsaw (for intricate cuts, around vents or doorways)
- Chisel
- Broom and Vacuum
- Dust Mask
- Utility Knife
- Underlayment (appropriate for your flooring type)
- Moisture Barrier (if installing over concrete or in damp areas)
- Flooring Adhesive (if required for your product)
- Sanding Block or Scraper
- Straight Edge
- Level
- Nails or Staples (specifically designed for hardwood flooring)
- Expansion Gap Spacers (e.g., 1/4 inch or 3/8 inch trim scraps)
Materials:
- Chosen Hardwood Flooring
- Underlayment
- Moisture Barrier (if needed)
- Nails or Staples
- Finishing nails (for baseboards if you remove them)
Preparing the Room
This is a critical step that many beginners overlook. Proper preparation prevents headaches down the line.
- Clear the Room: Remove all furniture, rugs, and any other items from the room.
- Remove Existing Flooring: Take up old carpet, vinyl, tile, or any other flooring down to the subfloor. If you have old wood flooring and plan to lay new wood on top, you’ll need to ensure it’s level and securely fastened.
- Remove Baseboards: Gently pry off the baseboards using a pry bar. It’s a good idea to label them so you can reinstall them in the correct locations. You can also choose to leave them on and cut a gap at the top of the wall to slide the flooring under, but removing them often gives a cleaner finish.
- Acclimate the Flooring: This is vital! Hardwood needs to adjust to the temperature and humidity levels of your home. Leave the unopened boxes of flooring stacked flat in the room where they will be installed for at least 72 hours (check manufacturer recommendations, some require longer). This prevents excessive shrinking or expanding after installation.
- Clean Thoroughly: Sweep and vacuum the subfloor to remove all dust, dirt, debris, and staples. A clean subfloor is essential for a good bond with adhesives and to prevent an uneven surface.
Installation Methods: What You Need to Know
The installation method depends on the type of hardwood flooring you’ve chosen. Most solid hardwood and many engineered wood floors are installed by nailing or stapling. Some engineered floors can also be glued down or floated.
Nail-Down Installation (Most Common for Solid Hardwood)
This is the traditional method and provides a very secure floor. It requires a specialized flooring nailer or stapler that drives fasteners through the tongue of the wood planks into the subfloor.
- Start the First Row: You’ll typically start along one of the longest straight walls, often perpendicular to the direction of your floor joists. Some prefer to lay the planks parallel to the longest wall for a more expansive look. For the very first row, you may need to trim off the tongue on the side and end that will face the wall to create a clean fit. Place the boards with the pre-finished side up.
- Blind Nailing: Use your flooring nailer to drive nails through the tongue of the plank at an angle. This hides the fasteners from view. Drive a nail within 1-2 inches of each end of the board and every 6-8 inches along the length.
- Use Spacers: Maintain an expansion gap around the perimeter of the room. Use spacers (often 1/4″ or 3/8″ scraps of wood) between the wall and the flooring planks. This gap allows the wood to expand and contract naturally with changes in humidity without buckling or damaging your walls.
- Continue Rows: For subsequent rows, stagger the end joints of the boards. Aim for a random pattern with a minimum of 6 inches between the end joints of boards in adjacent rows. This gives the floor strength and a natural look. Use a miter saw or circular saw to cut boards to fit. Measure carefully for each cut.
- The Last Row: The final row will likely require you to rip (cut lengthwise) the boards to fit. You may need to use a pry bar to gently tap the last boards into place. Ensure you maintain your expansion gap.
- Finishing Touches: Once all boards are installed, reinstall your baseboards to conceal the expansion gaps. You can also install quarter-round molding for an extra layer of concealment.
Glue-Down Installation (Common for Engineered Hardwood)
This method is often used for engineered hardwood and is suitable for concrete subfloors, as it creates a moisture barrier.
- Prepare the Subfloor: Ensure the concrete subfloor is clean, dry, and perfectly level. Follow the adhesive manufacturer’s instructions for any specific preparation needed.
- Spread Adhesive: Using a notched trowel (the size specified by the adhesive manufacturer), spread a thin, even layer of wood flooring adhesive onto a manageable section of the subfloor. Don’t cover too large an area at once, as the adhesive can dry out.
- Lay Boards: Place the first plank into the adhesive, ensuring the pre-finished side is up and maintaining the expansion gap along the walls. Press down firmly to ensure good contact.
- Continue Laying: Add subsequent boards, staggering joints as with the nail-down method. Ensure each board is firmly pressed into the adhesive. You may need a rubber mallet to gently tap boards into place alongside each other.
- Clean Up Excess Glue: Wipe away any excess glue immediately with a damp cloth or as recommended by the adhesive manufacturer. Dried glue can be very difficult to remove.
Floating Floor Installation (Some Engineered Hardwood)
A floating floor is not attached to the subfloor. Instead, the planks are clicked or glued together, and the entire floor “floats” as one piece. This is generally considered the easiest DIY installation method for eligible flooring types.
- Install Underlayment and Moisture Barrier: Lay down your underlayment and moisture barrier according to the product instructions. Ensure they meet at the seams appropriately.
- Start the First Row: Begin in a corner, leaving an expansion gap along the walls.
- Click or Glue Planks: Follow the specific locking system of your flooring. This usually involves angling the tongue of one board into the groove of another and pressing down to lock them together. If it’s a glue-together system, apply the glue to the edges and join them.
- Stagger Joints: Just like other methods, stagger your end joints for stability and aesthetics. You’ll often need to cut the last plank in a row to size and then use the offcut to start the next row, provided it’s long enough (check manufacturer guidelines for minimum length of starter pieces).
- Maintain Gaps: Always remember to use spacers to maintain the expansion gap around the entire perimeter of the room, including doorways and built-in cabinets.
Cutting Hardwood Planks
Cutting is where measurements and precision really matter. Don’t be intimidated; with a little practice on scrap pieces, you’ll get the hang of it.
- Straight Cuts: For cutting boards to length or ripping them to width, a miter saw is ideal. A circular saw with a guide can also be used. Always measure twice and cut once!
- Complex Cuts: For cutting around doorways, vents, or irregular shapes, a jigsaw is your best friend. Trace the shape you need to cut onto the board before cutting.
- Safety First: Always wear safety glasses when cutting. Make sure your work area is clear and that you have a stable surface to cut on. For intricate cuts, try to cut from the underside of the board to minimize chipping on the finished surface.
Pros and Cons of DIY Hardwood Flooring Installation
Doing it yourself can be rewarding, but it’s good to weigh the benefits against the drawbacks.
| Pros | Cons |
|---|---|
| Cost Savings: Significant savings on labor costs. | Time Commitment: Installation can take considerably longer than if done by professionals. |
| Sense of Accomplishment: The pride of a job well done. | Potential for Errors: Mistakes can be costly and time-consuming to fix (e.g., improper acclimation, incorrect expansion gaps). |
| Control Over Schedule: Work at your own pace. | Tool Investment: May require purchasing or renting specialized tools like a flooring nailer. |
| Learning New Skills: A great opportunity to expand your DIY capabilities. | Physical Demand: It’s a physically demanding job, involving bending, kneeling, and lifting. |
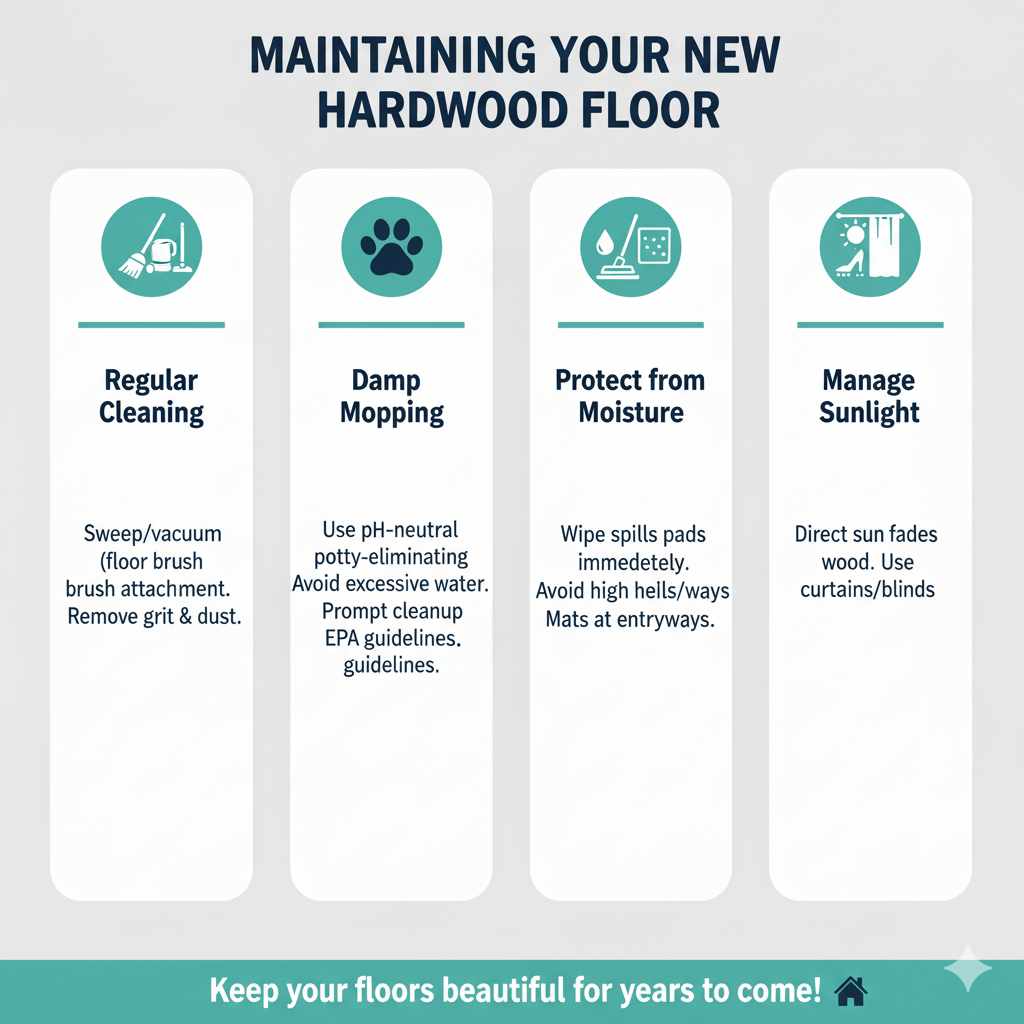
Maintaining Your New Hardwood Floor
Once your beautiful new floor is installed, taking care of it will ensure its longevity and keep it looking its best.
- Regular Cleaning: Sweep or vacuum (with a floor brush attachment, not a beater bar) regularly to remove grit and dust that can scratch the finish.
- Damp Mopping: Use a damp mop with a pH-neutral cleaner specifically designed for hardwood floors. Avoid excessive water, as it can damage the wood. Check EPA guidelines for maintaining indoor air quality, which includes proper floor cleaning.
- Protect from Moisture: Wipe up spills immediately. Use mats at entryways to catch dirt and moisture.
- Prevent Scratches: Use furniture pads on the legs of all furniture. Avoid walking on floors in high heels or cleats.
- Manage Sunlight: Direct sunlight can fade and dry out wood over time. Use curtains or blinds to minimize exposure.
Frequently Asked Questions (FAQ)
Q1: How long does it take to install hardwood floors?
A1: For a beginner, a typical room might take 2-5 days, depending on the size of the room and the complexity of cuts required. Professionals can often do it faster, but taking your time as a beginner is key.
Q2: Can I install hardwood floors myself if I’m a complete beginner?
A2: Absolutely! This guide is designed for beginners. With careful planning, the right tools, and patience, you can achieve fantastic results. Start in a smaller, less visible room if you want to build confidence.
Q3: What’s the most challenging part of hardwood floor installation?
A3: Many find cutting the boards accurately, working around obstacles like doorways and trim, and ensuring the final row is fitted correctly to be the most challenging. Staggering the seams correctly also requires attention.
Q4: Do I need special tools?
A4: Yes, a flooring nailer/stapler is often essential for solid hardwood. You might need to rent this. Other tools like a good miter saw and jigsaw greatly simplify the process.
Q5: How do I deal with doorways and transitions?
A5: You’ll typically need to undercut door casings with a handsaw or oscillating multi-tool so the hardwood can slide underneath, creating a clean transition and maintaining your expansion gap. Transition strips are used for changes in flooring height or material.
Q6: Is it okay to install hardwood in a bathroom?
A6: It is generally not recommended. Bathrooms have high moisture and humidity. While some engineered hardwoods are more stable, they still aren’t ideal for areas with direct water exposure. For bathrooms, tile or luxury vinyl plank (LVP) are better, more waterproof choices.
Conclusion
Embarking on a DIY hardwood flooring project might seem ambitious, but as we’ve explored, it’s a deeply rewarding endeavor that’s well within reach for beginners. By carefully planning each step, from subfloor preparation and material acclimation to precise cutting and installation, you create a foundation for a beautiful, durable floor. Remember the key principles: patience, attention to detail, and always maintaining that essential expansion gap.