How to Install Laminate Flooring: Genius Guide
Installing laminate flooring is a manageable DIY project! With careful preparation, the right tools, and this step-by-step guide, you can achieve a beautiful, durable floor that transforms your space. We’ll cover everything from subfloor prep to cutting and locking planks securely, ensuring a professional-looking finish.
Dreaming of a fresh new floor but worried about the cost or complexity? Laminate flooring is a fantastic option for homeowners looking for beauty, durability, and affordability. Many people find the idea of DIY flooring a bit daunting, wondering if they have the skills or the right tools. Perhaps you’ve seen those intricate click-together systems and felt a pang of doubt. You’re not alone! But I’m here to tell you that with a little guidance and some patience, you absolutely can install laminate flooring yourself. It’s a rewarding project that can significantly boost your home’s appeal. Let’s walk through it together, step by step, and unlock the secrets to a perfectly laid laminate floor.
Tools and Materials You’ll Need
Before we even think about laying the first plank, let’s gather our tools and materials. Having everything ready will make the installation process much smoother. Think of this as your workshop setup – being organized is key to a great result!
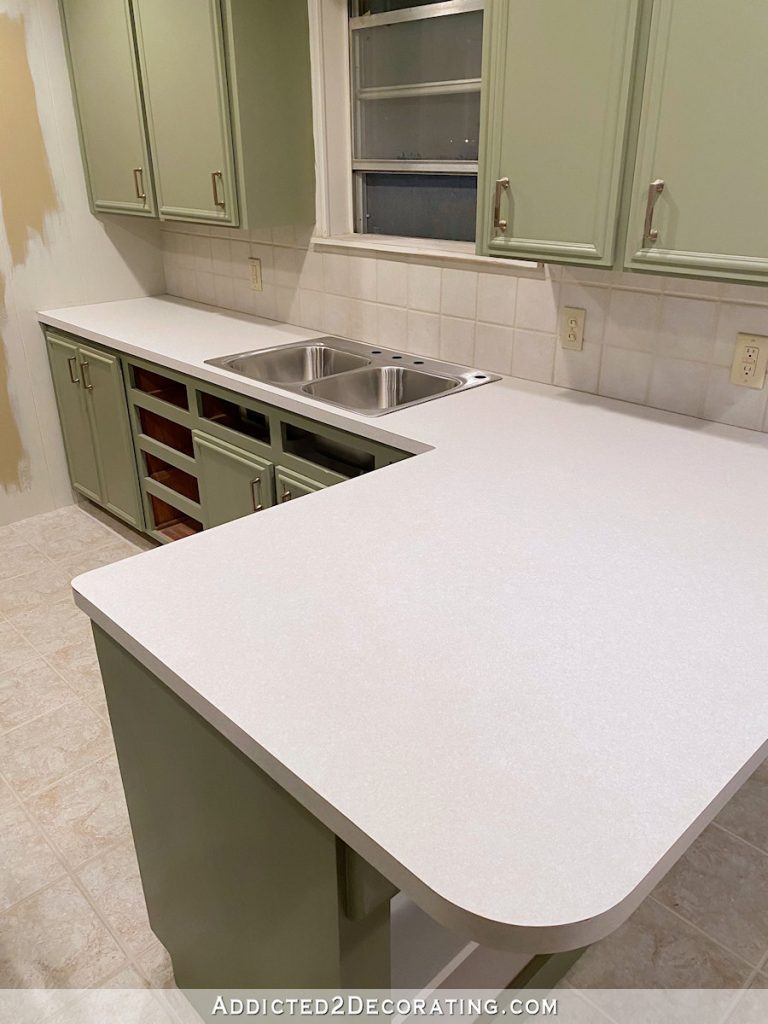
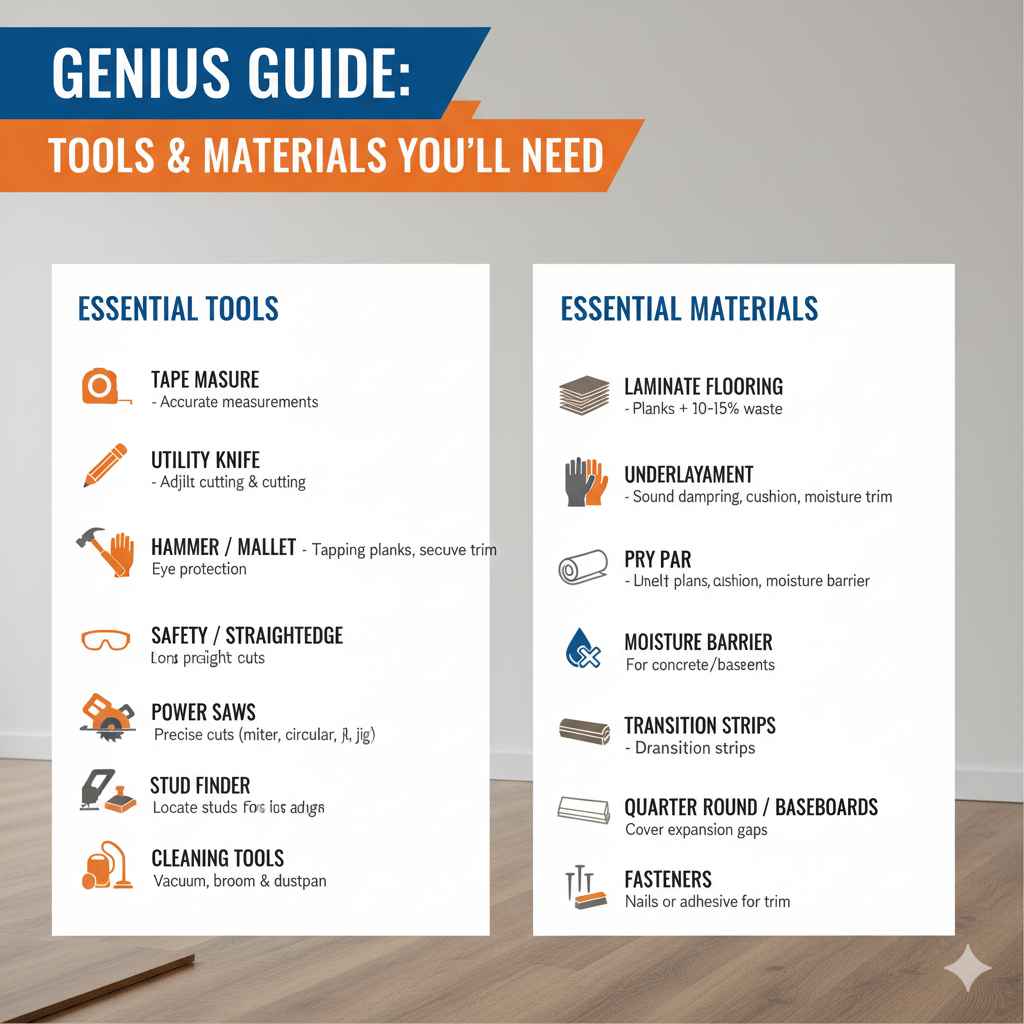
Essential Tools
- Tape Measure: For accurate room and plank measurements.
- Pencil: To mark cutting lines.
- Utility Knife with Blades: For scoring and cutting smaller pieces or underlayment.
- Pry Bar: To gently pull planks into place and remove old trim.
- Hammer: For tapping planks and securing trim. A rubber mallet is ideal to avoid damaging planks.
- Safety Glasses: Always protect your eyes, especially when cutting.
- Work Gloves: To protect your hands.
- Knee Pads: Your knees will thank you!
- Chalk Line or Long Straightedge: For marking long, straight cuts.
- Miter Saw or Circular Saw with Fine-Tooth Blade: For precise cuts. A jigsaw is useful for fitting around obstacles like door frames. Ensure the blade is suitable for laminate to prevent chipping.
- Tapping Block: Specifically designed to protect the edges of laminate planks when tapping them together.
- Pull Bar: To secure the last row of planks against the wall.
- Stud Finder: To locate studs for attaching quarter round molding later.
- Vacuum Cleaner: To keep the work area clean.
- Broom and Dustpan: For initial cleanup.
Essential Materials
- Laminate Flooring: Measure your room and add about 10-15% extra for cuts and mistakes.
- Underlayment: This is crucial for sound dampening, cushioning, and moisture protection. Check your laminate manufacturer’s recommendations.
- Moisture Barrier (if required): Especially important for basements or concrete subfloors.
- Transition Strips: For doorways and where laminate meets other flooring types.
- Quarter Round Molding or Baseboards: To cover the expansion gap around the perimeter.
- Flooring Nails or Adhesive: Depending on how you’ll secure the molding.
Getting Started: Prep Work is Key!
Think of this stage like building a solid workbench – a strong foundation makes everything else much simpler. Proper preparation isn’t just a suggestion; it’s critical for a beautiful and long-lasting laminate floor. Let’s make sure the stage is perfectly set.
Subfloor Preparation
Your existing floor is your subfloor. Whether it’s plywood, concrete, or even an existing vinyl or tile floor (in some cases), it needs to be right.
- Cleanliness: Sweep and vacuum thoroughly. Remove any debris, dust, or grit.
- Levelness: Laminate needs a flat surface. Most manufacturers allow for a tolerance of about 3/16 inch over a 10-foot span. You can use a leveling compound to fill low spots. High spots might need to be sanded down. A long, straight edge is your best friend here.
- Dryness: Ensure the subfloor is completely dry. A moisture meter can be helpful, especially on concrete. If you’re installing over concrete, a proper moisture barrier is a must. For guidance on subfloor requirements, check resources like those from The National Wood Flooring Association for general subfloor prep principles that apply to many flooring types.
- Existing Flooring: If you have old carpet, remove it and the padding. For vinyl, tile, or linoleum, you might be able to install laminate directly over it if it’s well-adhered, clean, and level. Consult your laminate manufacturer’s guidelines.
Acclimation of Flooring
This is a crucial step that many beginners overlook! Laminate planks can expand and contract with changes in temperature and humidity. They need to get used to the environment they’ll be installed in before you start laying them.
- Bring your unopened boxes of laminate flooring into the room where they’ll be installed.
- Let them sit for at least 48 hours (check your manufacturer’s recommendation, some may say 72 hours).
- Store them flat, not on end.
Planning Your Layout
Where will you start? Which direction will the planks run? These decisions matter.
- Direction: For a small room, laying planks parallel to the longest wall can make the room appear larger. In most cases, running planks perpendicular to the joists (if you can see them or know their direction) can help prevent the floor from feeling springy. If you’re installing over an existing wood subfloor, running planks perpendicular to the direction of the existing floorboards is often a good idea.
- Starting Wall: Begin installation along your longest, straightest wall.
- First Plank: The first plank is key. Ensure it’s perfectly straight, as any error here will compound down the line.
- Plank Placement: Avoid laying planks with the same pattern of seams in adjacent rows. Stagger the end joints by at least 6-8 inches (or as recommended by the manufacturer) for a more natural and random look. This also adds strength to the floor.
Step-by-Step Installation Guide
Alright, we’ve prepped the space, gathered our gear, and planned our attack. Now, let’s get down to business with the actual installation. Remember, take your time, measure twice, and cut once. We’re building something great!
Step 1: Installing the Underlayment
This layer goes down first, directly on your prepared subfloor. It acts as a cushion, sound barrier, and moisture barrier. Follow the specific instructions for your underlayment, as installation methods vary.
- Roll out the underlayment perpendicular to the direction you plan to lay your laminate planks.
- Butt the edges of the underlayment together – don’t overlap them, as this can create an uneven surface.
- If your underlayment has an attached moisture barrier and tape, use it to seal the seams. If not, use a compatible moisture barrier tape to seal all seams.
- Trim excess underlayment with a utility knife.
Step 2: Laying the First Row
This is arguably the most important row. You want it perfectly straight and snug.
- Expansion Gap: Laminate needs space to expand. You’ll need to leave a gap of about 1/4 to 1/2 inch (check manufacturer specs!) between the planks and all walls, pipes, or any fixed objects. Use spacers for this.
- Starting Row: Place your first plank with the tongue side facing the wall. If your planks have a “click and lock” system, you might need to trim off the tongue on the wall-facing side of the first row for a cleaner fit.
- Locking Planks: Angle the second plank’s tongue into the groove of the first plank and gently lower it to lock. Tap lightly with a tapping block and rubber mallet if needed to ensure a tight seam.
- Cutting for Length: Measure the length needed for the last plank in the row. Remember to account for your expansion gap on the end wall too. Cut the plank and lock it into place. The offcut from this plank can often be used as the starter for the next row if it’s long enough (at least 6-8 inches).
Step 3: Laying Subsequent Rows
Now we build upon that solid first row, staggering the seams as planned.
- Starting the Next Row: Take your first plank for the second row. “Stagger” the end joint by placing it so its end is at least 6-8 inches away from the end joint of the plank in the first row.
- Locking Long Sides: Angle the long edge of the new plank into the groove of the plank in the previous row and lower it to lock.
- Locking Short Sides: Once you have a few planks in the second row, you can then lock the short ends together. It can sometimes be easier to lock the long sides first, then insert the next plank from the end, angling it to connect the short ends.
- Tapping: Use the tapping block and rubber mallet to ensure tight, flush seams along both the long and short sides. Be gentle but firm.
- Cutting Obstacles: If you encounter pipes or other built-in features, measure carefully and cut notches into your planks using a jigsaw or utility knife. Remember to maintain the expansion gap around these objects.
Step 4: Installing the Last Row
This row can be a bit trickier due to the limited space between the wall and the installed planks. You’ll likely need to angle planks in or use a pull bar.
- Measure and Cut: Measure the width needed for the planks in the final row, remembering the expansion gap. You’ll typically need to cut off the locking tongue on the edge that will face the wall.
- Locking Plank: Often, you’ll angle the plank into the groove of the previous row and then use the pull bar and tapping block to draw it tight against the wall.
- Working Around Obstacles: For radiators or door frames, you might need to cut planks to fit precisely.
Step 5: Installing Trim and Molding
This is the finishing touch that really makes your new floor look complete and professional.
- Remove Old Trim (if necessary): Carefully pry off existing baseboards and quarter round using a pry bar and hammer. If they are in good condition, you might be able to reattach them.
- Install New Trim:
- Quarter Round: This small molding is ideally suited to cover the expansion gap. Nail it into the wall studs (not the floor!), ensuring it presses down on the laminate and hides the gap.
- Baseboards: If you’re installing new baseboards, they function similarly by covering the gap.
- Transition Strips: Install these at doorways or where your laminate meets another flooring type according to the manufacturer’s instructions. These are often screwed into the subfloor or glued down.
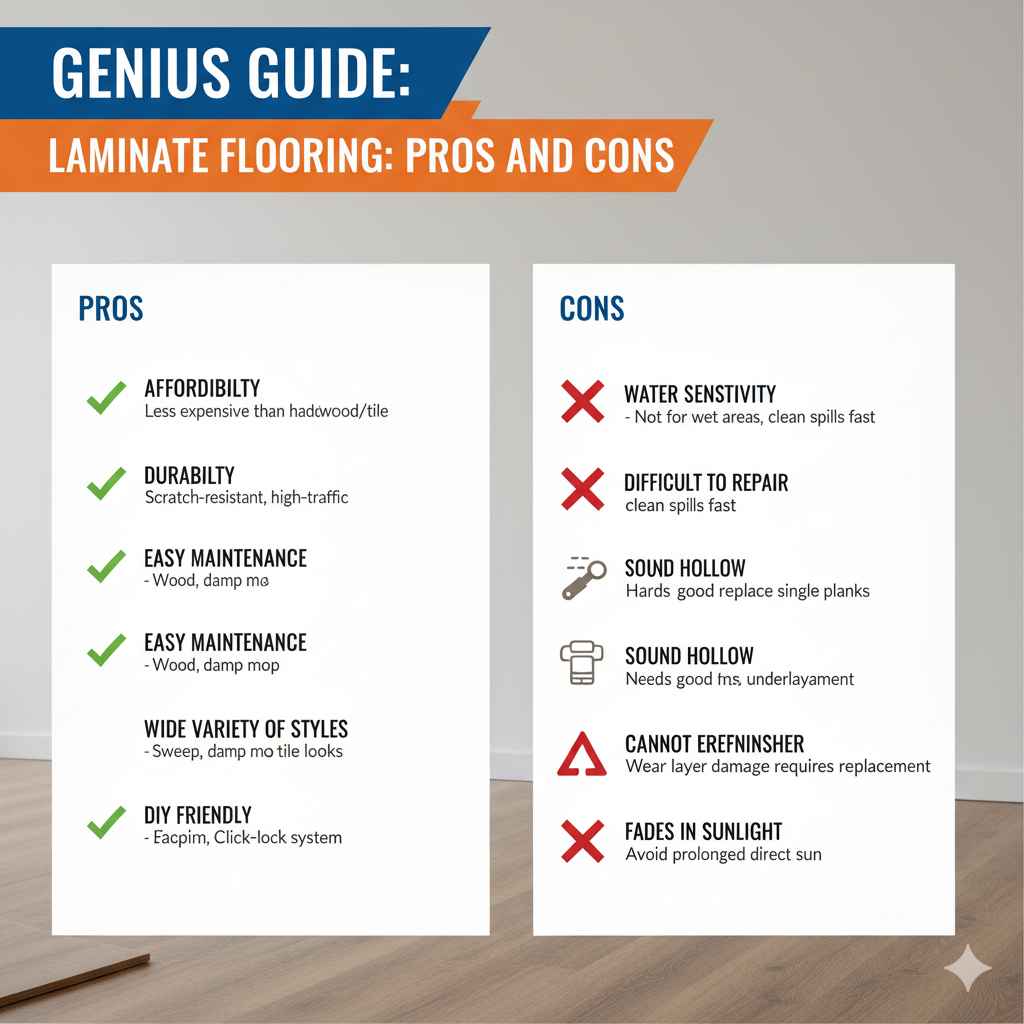
Laminate Flooring: Pros and Cons
Like any building material, laminate flooring has its strengths and weaknesses. Understanding these can help you decide if it’s the right choice for your project and manage your expectations. Here’s a quick rundown:
| Pros | Cons |
|---|---|
| Affordability: Generally less expensive than hardwood or tile. | Water Sensitivity: Not ideal for very wet areas like full bathrooms or laundry rooms unless specifically rated as waterproof. Spills should be cleaned up immediately. |
| Durability: The top layer is very scratch-resistant and durable, making it good for high-traffic areas. | Difficult to Repair: Unlike hardwood, individual damaged planks can be very difficult to replace without redoing a large section. |
| Easy Maintenance: Simple to clean with sweeping and damp mopping. | Can Sound Hollow: Without good underlayment, laminate can sometimes sound hollow or noisy when walked upon. |
| Wide Variety of Styles: Available in countless designs that mimic wood, stone, and tile. | Challenging to Refinish: Cannot be sanded and refinished like hardwood. If the wear layer is damaged, it needs replacement. |
| DIY Friendly: The click-lock system makes it relatively easy for homeowners to install. | Can Fade in Sunlight: Prolonged exposure to direct sunlight can cause some laminate to fade. |
Important Considerations for Installation
Beyond the basic steps, there are a few other key details to keep in mind for a top-notch laminate floor installation. These are the little things that make a big difference in the long run.
Expansion Gaps Are Non-Negotiable
I can’t stress this enough! Laminate flooring must have room to expand and contract with temperature and humidity changes. Failing to leave adequate expansion gaps around the perimeter of the room and at all fixed objects (like cabinets, door frames that reach the floor, and pipes) will cause your floor to buckle or warp. Always check your manufacturer’s specific requirements for gap size, typically ranging from 1/4″ to 1/2″. Use spacers during installation and remove them only after the molding is in place.
Dealing with Doorways and Obstacles
Door Frames: The cleanest way to handle door frames is to undercut them. Slide a piece of laminate flooring (plus underlayment if applicable) under the frame using a handsaw or oscillating multi-tool. This allows the plank to slide neatly underneath, creating a seamless look without having to notch around the frame.
Pipes: For pipes, you’ll need to drill a hole in the laminate slightly larger than the pipe diameter to allow for expansion. Then, cut a V-shaped notch from the edge of the plank to the hole. Install the plank and use a tiny bit of wood glue in the V-notch to hold the piece together, ensuring the expansion space remains around the pipe.
Waterproof Laminate Options
While traditional laminate can be sensitive to moisture, newer technologies have introduced waterproof and water-resistant laminate options. These are excellent choices for kitchens, entryways, and basements where spills or higher humidity are a concern. Even with waterproof options, it’s still good practice to clean up standing water promptly and maintain expansion gaps.
How to Install Laminate Flooring on Wood Floor
Installing laminate over an existing wood subfloor is very common and generally straightforward. Ensure the wood subfloor is solid, level, and free of rot or damage. If the wood floor has significant squeaks or loose boards, address those first by screwing them down securely to the joists. A good quality underlayment will help further cushion and soundproof the floor. You can install laminate directly over a well-maintained existing hardwood or plywood subfloor after it has been cleaned and leveled.
Frequently Asked Questions (FAQ)
Q1: Do I need to remove my old flooring before installing laminate?
A1: It depends on what your old flooring is. Carpet and padding must be removed. Vinyl, linoleum, or tile might be suitable to install over if they are well-adhered, flat, and clean. Always check your laminate manufacturer’s guidelines first. Existing wood floors are often excellent subfloors.