How to Install LVP Flooring That Looks Like Hardwood
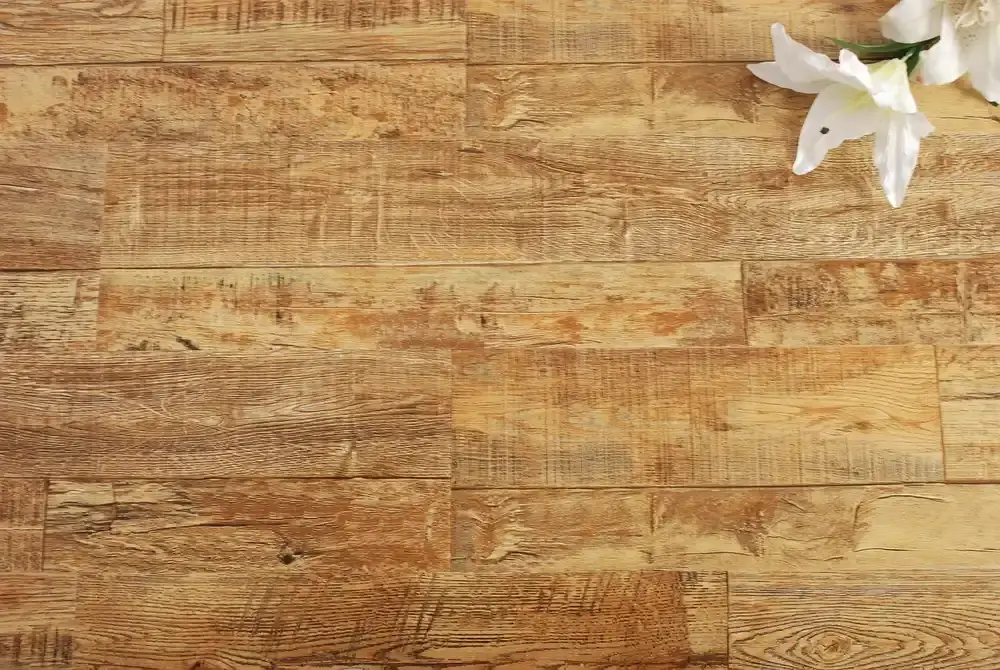
“Vinyl hardwood flooring” isn’t a real product category – what most people mean by that phrase is luxury vinyl plank (LVP) flooring, a waterproof vinyl floor manufactured with a wood-grain finish so it looks like real hardwood. The installation process is genuinely different from nailing or gluing down solid wood: most LVP uses a click-lock floating floor system that snaps together over an underlayment, with no nails, no glue, and no flooring nailer required. This guide walks through that click-lock installation from subfloor prep to the final row, plus where a real underlayment actually matters.
What Makes LVP Flooring Different From Real Hardwood Installation
Real hardwood is installed one of two ways: nailed down through tongue-and-groove boards into a wood subfloor, or glued directly to concrete. Both are slow, physically demanding, and not something most homeowners attempt themselves. LVP skips both methods. The planks have the same tongue-and-groove shape as hardwood, but instead of nails or adhesive, the edges click together and the finished floor simply “floats” on top of the subfloor – held in place by its own weight and the wall trim around the perimeter, not fasteners. That’s what makes it realistic for a weekend DIY project. LVP also solves hardwood’s biggest weakness: moisture. Solid wood swells, cups, and stains when it gets wet, which is why installers steer it away from bathrooms, basements, and laundry rooms. Most LVP is built on a waterproof core (SPC or WPC), so it can go in those same rooms without the risk.
Best Click-Lock Pick For This Guide
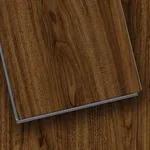 |
Suntecwood SPC Click-Lock Vinyl Plank Flooring – $78.60 A 100% waterproof SPC rigid core with an attached IXPE underlayment, built for exactly the click-lock installation covered in this guide.
|
Tools and Materials You’ll Need
Most of this list is either already in a homeowner’s toolbox or available to rent for a few dollars. Confirm what your specific plank’s manufacturer instructions call for before you buy anything – requirements vary slightly between brands.
Tools:
- Tape measure and pencil
- Utility knife with spare blades, for scoring straight cuts
- Jigsaw or handsaw, for cutting around door jambs and pipes
- Chalk line, for a straight starting row
- Tapping block and pull bar (often included with the flooring)
- Rubber mallet
- 1/4″ to 1/2″ spacers, for the expansion gap
- Safety glasses and knee pads
Materials:
- LVP planks – buy 10% extra for cuts and waste
- Underlayment, if your planks don’t already have one attached
- 6-mil plastic moisture barrier, for concrete subfloors without one built in
- Quarter-round molding and finish nails, to hide the expansion gap at the walls
Step 1: Check the Subfloor and Decide on Underlayment
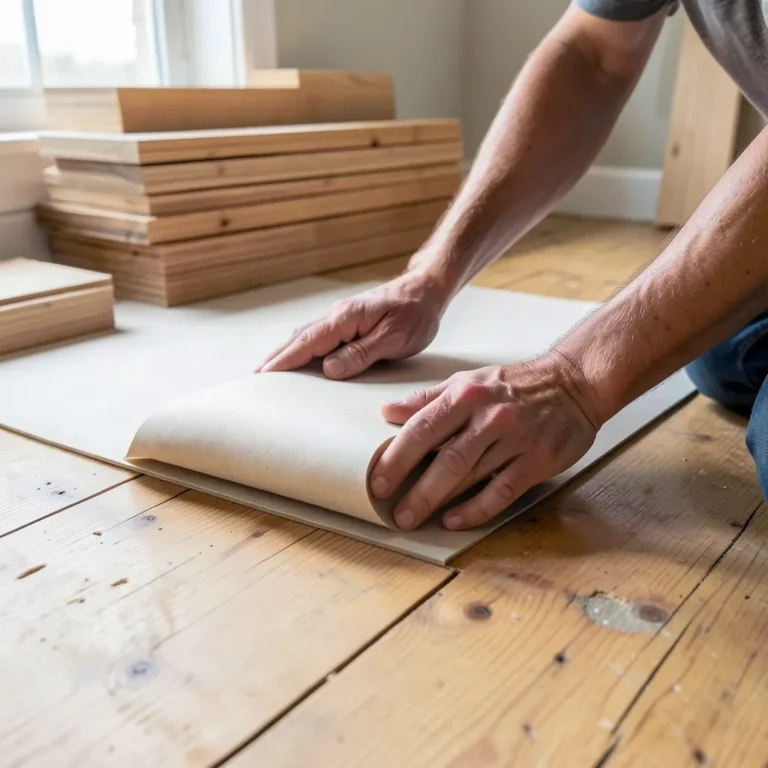
A floating click-lock floor telegraphs every bump and dip in the subfloor beneath it, so this step matters more than it looks like it should. Sweep the subfloor clean, pull up any protruding nails or staples, and check for flatness with a straightedge: most manufacturers want no more than 3/16″ of variance over a 10-foot span. Small dips get filled with a floor-leveling compound before you start. On concrete, do a moisture check before you commit: tape a 3-foot square of plastic sheeting to the slab, wait 24 hours, and look for condensation underneath. If it’s damp, install a plastic moisture barrier before the flooring goes down, even if the planks themselves are waterproof – trapped moisture under the planks can still cause problems long-term. This is also where you decide on underlayment. If the planks already have an attached pad (check the product listing or the box), you can usually skip a separate layer. If they don’t, a thin foam or cork underlayment does two real jobs: it dampens footstep sound between floors, and it smooths over minor subfloor imperfections the flooring itself can’t hide.
Step 2: Let the Planks Acclimate
Vinyl expands and contracts with temperature and humidity, just like wood does, so don’t open the boxes and start installing the same day they arrive. Leave the sealed cartons flat in the room where they’ll be installed for 48 to 72 hours, with the HVAC running at normal living conditions. Skipping this step is one of the more common reasons DIY LVP floors develop gaps or slight buckling a few weeks after installation.
Step 3: Plan Your Starting Row
Start along the longest, straightest wall in the room, and snap a chalk line to keep that first row honest – everything after it follows from how straight this line is. You’ll typically cut the tongue off the first row’s wall-facing edge so it sits flush against your spacers. Set 1/4″ to 1/2″ spacers between the planks and every wall (check your specific manufacturer’s recommended gap – it varies) to leave room for the floor to expand and contract. That gap gets hidden later by quarter-round or baseboard, not left visible.
Step 4: Click-Lock the First Row Into Place
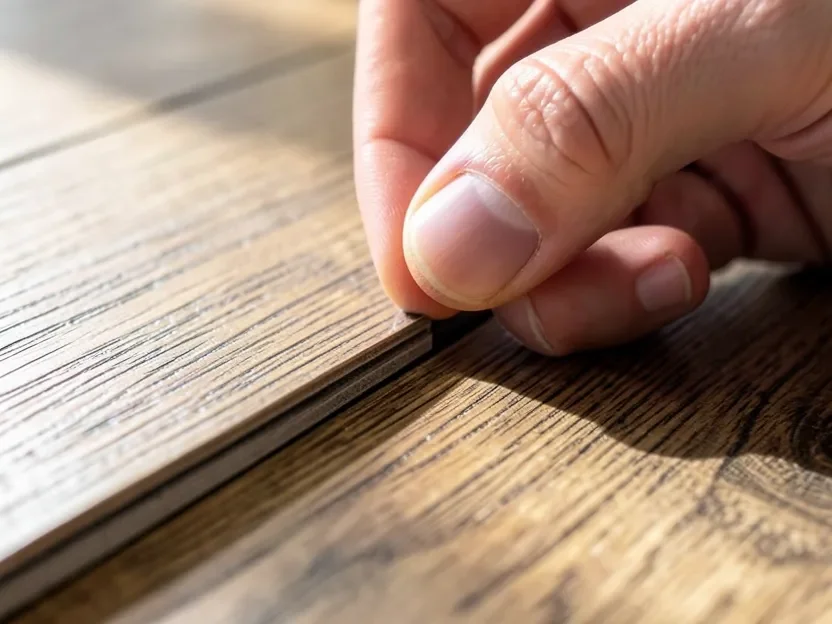
This is the step that makes LVP a realistic weekend project instead of a multi-day one. Angle the tongue edge of each new plank into the groove of the one before it, then lay it flat – most systems click audibly when they’ve seated correctly. If a seam won’t sit tight, use the tapping block and rubber mallet, tapping gently against the block rather than the plank edge itself, which can chip the locking mechanism. Keep spacers between the row and the wall as you go.
Step 5: Cut Planks for Fit
Measure the gap left at the end of each row, marking your cut line and remembering to leave the expansion gap on that side too. For straight cuts, score the plank’s top face deeply with a utility knife against a straight edge, flip it, score the back the same way, and snap it cleanly along the line. For notches around door casings or pipes, a jigsaw is more reliable than trying to force a straight-cut score. Keep offcuts of at least 6-8 inches – they become the starting piece for your next row, which is how you get a staggered pattern without extra waste.
Step 6: Handle Doorways and Obstacles
At doorways, undercutting the door jamb is cleaner than trying to scribe the plank around it. Lay a scrap piece of flooring flat against the jamb as a height guide, and cut the jamb with a handsaw so the plank can slide underneath for a seamless look. For pipes, drill a hole slightly larger than the pipe’s diameter to allow for expansion, then cut a notch from the plank’s edge to that hole so it fits around the pipe. A bead of color-matched caulk or a small offcut piece closes the gap afterward.
Step 7: Continue the Remaining Rows
Work row by row the same way as the first, staggering the seams between rows by at least 6 inches so they don’t line up – that stagger is what makes a floating floor read as a natural hardwood pattern instead of an obvious grid. The offcut from the end of one row usually becomes the starting piece of the next, as long as it’s long enough.
Step 8: Finish the Last Row and Add Trim
The final row is usually the trickiest, since it often needs both a length and a width cut to fit the remaining space – measure carefully and keep the expansion gap on that last wall too. Use the pull bar to seat these final planks tight, since there’s no room to swing a mallet against the wall. Once the floor is fully installed, pull every spacer, then nail quarter-round molding to the baseboard (never through the floor itself) to cover the expansion gap around the room’s perimeter.
Where a Waterproof Floor Actually Pays Off
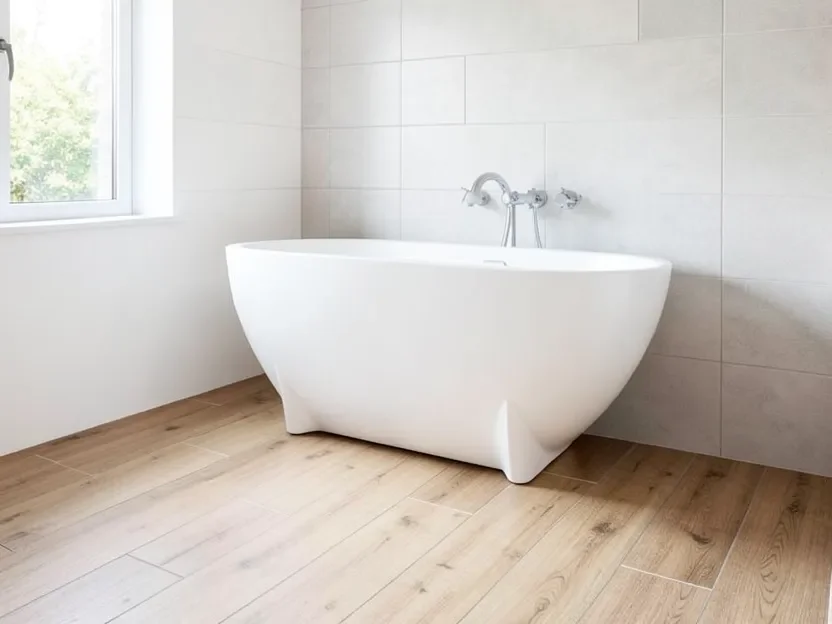
The waterproof claim on SPC and WPC vinyl planks isn’t just marketing – it’s the main reason LVP gets specified in rooms where real hardwood never should be. A sealed SPC core won’t swell, cup, or stain the way solid wood does when water sits on it, which is why it’s a common choice for bathrooms, laundry rooms, and basements with occasional humidity or slab moisture. That doesn’t mean standing water is fine indefinitely – pooled water should still get wiped up, and any water that gets past the surface seams and sits against a subfloor for days can still cause problems underneath. But for the kind of everyday moisture exposure that ruins real hardwood (a dripping pet bowl, bathroom humidity, a basement that runs a little damp), a properly installed click-lock LVP floor tolerates it in a way solid wood simply can’t.
Installation Checklist
| Task | Notes |
|---|---|
| Subfloor cleaned, flat, and moisture-checked | Within 3/16″ over 10 feet; test concrete for moisture first |
| Underlayment decision made | Skip only if planks have an attached pad |
| Planks acclimated | 48-72 hours flat in the install room |
| First row straight, spacers in place | Chalk line against the longest wall |
| Rows staggered at least 6″ | Prevents seams from lining up |
| Cuts measured before cutting | Account for the expansion gap on both ends |
| Doorways and pipes handled | Undercut jambs; drill oversized holes at pipes |
| Spacers removed, quarter-round installed | Nail into baseboard, never through the floor |
Frequently Asked Questions
Is Vinyl Hardwood Flooring the Same Thing as LVP?
Yes. It’s LVP (luxury vinyl plank) or LVT (luxury vinyl tile) manufactured with a wood-grain finish. Vinyl hardwood is a common search phrase, not an actual flooring category – the material is vinyl, not wood, which is exactly why it installs and behaves differently from real hardwood.
Do I need underlayment for click-lock LVP flooring?
Only if your planks don’t already have an attached pad. Many rigid-core LVP products ship with a built-in underlayment for sound dampening and minor subfloor tolerance. If yours doesn’t, a separate foam or cork underlayment is worth adding, especially over concrete or between floors of a multi-story home.
Is LVP flooring actually waterproof, or just water-resistant?
SPC and WPC rigid-core LVP is genuinely waterproof at the plank level – the core itself won’t swell or warp from moisture. Standing water sitting against the seams for an extended period can still work its way to the subfloor underneath, so spills should still be wiped up, but everyday moisture that would ruin real hardwood is exactly what this material is built to handle.
Can I install LVP over an uneven subfloor?
Minor unevenness, up to about 3/16″ over 10 feet, is usually fine with a standard underlayment absorbing the difference. Anything beyond that needs a self-leveling compound or subfloor repair first – installing over a subfloor that’s too uneven stresses the click-lock joints and can cause the seams to separate over time.
What expansion gap does LVP flooring need?
Most residential installations call for a 1/4″ to 1/2″ gap around the room’s perimeter, but this varies by manufacturer, so check your specific product’s instructions. The gap gets covered by quarter-round or baseboard trim, not left exposed.
Final Thoughts
Once the terminology is sorted out, the rest of this project is genuinely approachable: LVP’s click-lock system was designed specifically so homeowners could skip the nailing, gluing, and specialized tools that real hardwood installation requires. Get the subfloor flat and dry, let the planks acclimate, keep your expansion gaps consistent, and stagger your seams – those four habits prevent almost every common problem with a floating floor. The payoff is a wood-look floor that also tolerates the moisture and traffic that would damage the real thing, in rooms where solid hardwood was never a realistic option to begin with.
Sponsored / affiliate links. As an Amazon Associate I earn from qualifying purchases. I may earn additional commission from eligible campaigns.