How to Sand Sappy Wood Without Clogging Your Sandpaper
To sand sappy wood without gumming up your paper, chill or scrape off soft resin first, then use an open-mesh or clog-resistant sandpaper starting around 80 grit and working up to 220. Standard paper packs solid with sap within a few strokes; mesh-backed or Clog-Shield-coated sheets let the resin dust fall through instead of building up.
Sap is the reason pine, fir, and spruce have a reputation for ruining sandpaper. It’s not dirt or dust, it’s a sticky terpene-based resin that softens under the heat and friction of sanding and smears across the abrasive instead of turning into powder like the surrounding wood does. Once a few grains of grit get coated in melted resin, the whole sheet stops cutting and starts polishing the wood instead, which is why a sheet that should last twenty minutes on oak can die in under two on a resinous pine board. None of this means sappy wood can’t take a smooth finish, it just means the standard sand-and-go approach needs a couple of extra steps built in.
Below is what actually works: why the resin behaves the way it does, which sandpaper genuinely resists clogging instead of just claiming to, a pre-treatment step most guides skip entirely, and how to seal sap pockets so they don’t bleed back through your finish months later.
Why Sap Makes Sanding So Frustrating
Softwoods like pine, fir, and spruce store resin in pitch pockets, small pockets between growth rings where the tree sealed off a wound or a knot. That resin is mostly a mix of terpenes and rosin acids, chemically closer to turpentine than to the cellulose fibers around it. At room temperature it can already feel tacky, and the friction heat generated by sanding, even hand-sanding, is often enough to soften it further. Once softened, it doesn’t cut into a fine powder the way dry wood does. It smears, coating the abrasive grains and gluing sawdust to them, and the sheet effectively stops working long before the grit itself is worn out. This is also why sap-heavy boards feel gummy under a sander long after the surrounding wood already feels smooth, the paper is riding on a film of resin rather than actually abrading anything.
Best Sandpaper for Sappy, Resinous Wood
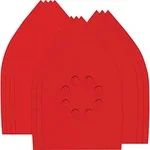 |
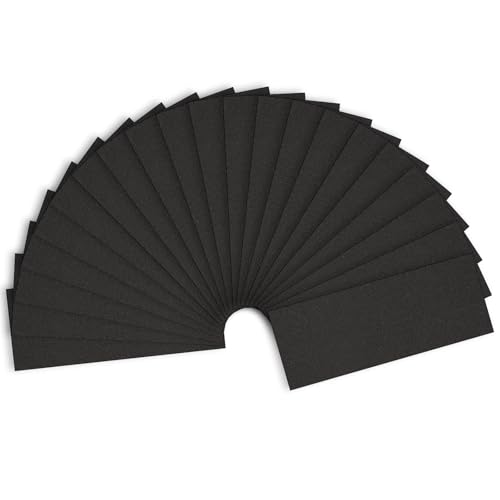
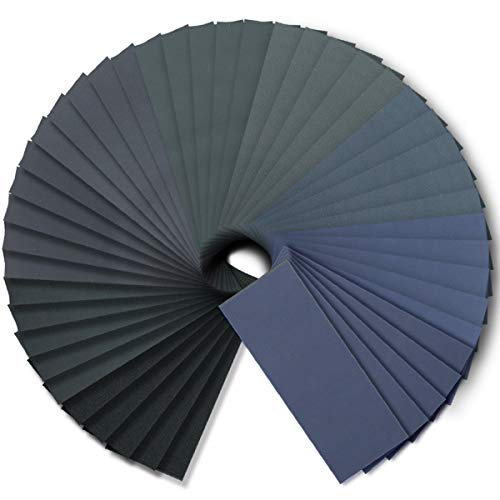
Diablo Assorted MegaMouse Detail Sanding Sheets – $8.50 A Clog-Shield coating is built specifically to resist pitch buildup, which is exactly the problem sappy pine and fir cause on ordinary sandpaper.
|
The Grit Progression and Sandpaper That Actually Resist Clogging
Start coarser than you would on a clean hardwood, 60 or 80 grit, since the extra cut helps power through soft resin before it has time to smear. Move to 120 to clean up the coarse scratch pattern, then finish at 180 or 220. Skipping straight from 80 to 220 on sappy wood tends to leave the surface looking sanded but feeling waxy, because the finer grit alone can’t cut through a resin film that thick.
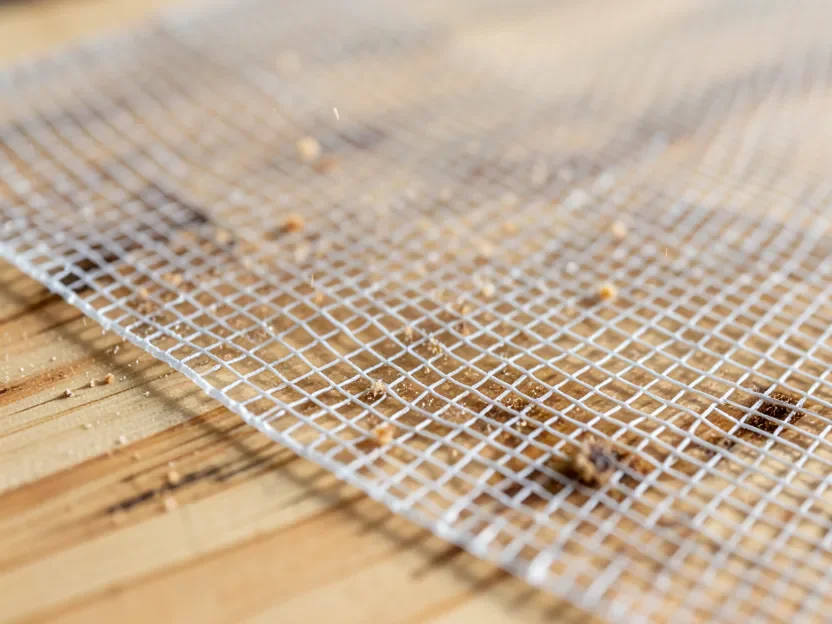
Standard paper-backed sandpaper works, but expect to burn through sheets fast on the sappiest boards. Two upgrades genuinely change that math. Open-mesh or net-style sanding sheets have holes running through the entire abrasive, so resin-loaded dust falls through instead of packing onto the surface, the same way a mesh drywall screen resists clogging with joint compound dust. Separately, several manufacturers now sell paper with an anti-clog or clog-resistant coating baked into the grit bond, marketed specifically against pitch and resin buildup rather than just general sawdust. Either one lasts noticeably longer on resinous softwood than a plain uncoated sheet.
Chill the Sap First: The Step Most Guides Skip
Resin behaves like a lot of other sticky substances: it gets harder and more brittle as it cools, and softer and gummier as it warms. That’s the same reason chilled candle wax scrapes off a tablecloth in flakes while warm wax smears. Before sanding a board with a visible sap pocket or a wet, tacky knot, set an ice pack or a frozen gel pack directly on the sappy area for ten to fifteen minutes. The chilled resin firms up enough to lift or scrape away in solid pieces with a plastic putty knife instead of smearing under the first pass of sandpaper. This one step, done before you ever pick up the sander, is the difference between burning through three sheets on a single knot and barely loading the first one.
Removing Sap Before You Sand
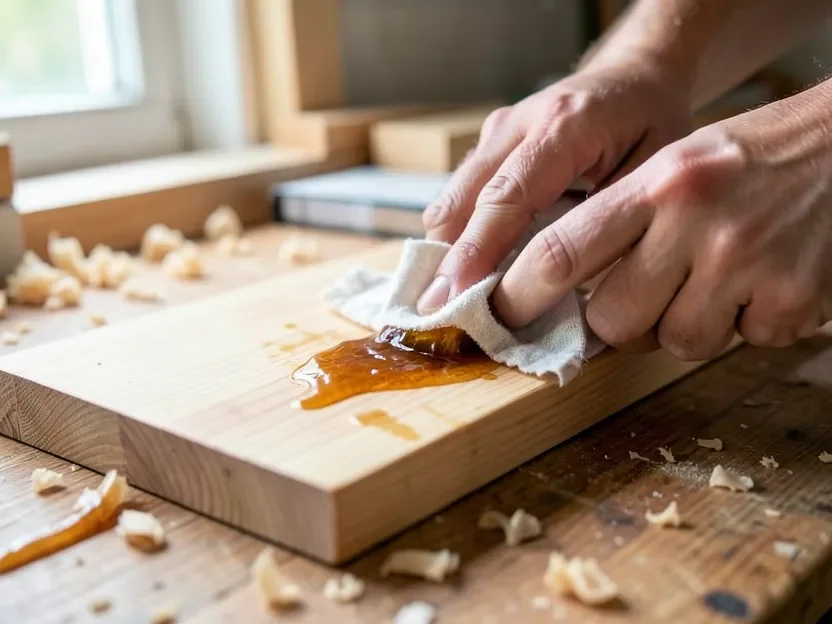
After chilling and scraping off what you can, wipe the remaining sap with a rag dampened in mineral spirits. Mineral spirits dissolve resin without raising the grain the way water can, and they evaporate cleanly without leaving a residue that would interfere with stain or finish later. Work in a ventilated area, let the surface dry for a few minutes, and check for any leftover tacky spots before sanding. On a heavily sapped board, this pre-treatment pass can cut your sanding time by more than half, since you’re no longer asking the sandpaper to remove liquid resin along with wood fiber.
Which Softwoods Cause the Most Sap Problems
Not every softwood is equally sappy. Species with the most resin canals and the largest pitch pockets give sandpaper the hardest time, while others sand almost like a typical hardwood.
| Species | Sap Level | What to Expect |
|---|---|---|
| Southern Yellow Pine | Very high | Large pitch pockets, resin can weep for weeks even after milling |
| Douglas Fir | High | Frequent pitch pockets around knots, resin hardens harder than pine’s when aged |
| Eastern White Pine | Moderate | Softer, more even resin content, generally easier to sand than yellow pine |
| Spruce | Low to moderate | Occasional sticky knots but far less overall resin than pine or fir |
| Cedar | Low | Naturally low resin, aromatic oils rather than sticky pitch |
Sealing Knots and Sap Pockets After Sanding
Sanding removes the resin that’s already on the surface, but it doesn’t stop resin still inside a knot or pitch pocket from slowly bleeding through paint or clear finish months later, a common complaint on pine trim and cabinetry. The standard fix is a dewaxed shellac sealer brushed directly over knots and any area that showed sap, since dewaxed shellac blocks resin migration without the wax content that can interfere with some topcoats. Let it dry fully, then sand it lightly with 220 grit before applying your finish. Skipping this step is the most common reason a finished pine project develops amber staining around the knots weeks after it looked perfect.
Common Mistakes When Sanding Resinous Wood
- Sanding a warm board. Wood left in direct sun or near a heater has softer, more mobile resin. Let it cool to room temperature first.
- Pressing harder when the paper clogs. More pressure generates more friction heat, which softens the resin further and clogs the sheet faster, not slower.
- Jumping straight to fine grit. Fine grit alone can’t cut through a resin film; you’ll polish over sap instead of removing it.
- Skipping the sealer step. Sanding a knot smooth doesn’t stop the resin inside it from bleeding through paint or clear finish later.
- Using water to clean sap. Water doesn’t dissolve resin well and can raise the grain; mineral spirits are the better cleanup choice before finishing.
Frequently Asked Questions
What’s the best sandpaper for sappy wood?
An open-mesh or Clog-Shield-coated sandpaper in an 80/120/180 progression works best on resinous softwoods. Standard uncoated paper works too, but it clogs and wears out much faster once it hits a pitch pocket.
Should I chill or freeze sap before sanding?
Yes. Holding an ice pack on a sappy knot for ten to fifteen minutes firms the resin up enough to scrape away in pieces instead of smearing across your sandpaper on the first pass.
How do I stop sap from clogging my sandpaper?
Chill or scrape off soft resin first, wipe the area with mineral spirits, and use an open-mesh or clog-resistant sandpaper. Sanding a warm board or pressing harder when the paper starts to clog both make the problem worse, not better.
What removes sap from wood before finishing?
Mineral spirits on a rag dissolve residual resin cleanly without raising the grain the way water does, and they evaporate without leaving a residue that would interfere with stain or finish.
Do I need to seal knots before staining sappy wood?
Yes. Brushing dewaxed shellac over knots and sap pockets before staining or painting blocks resin migration, which prevents the amber bleed-through that otherwise shows up around knots weeks after finishing.
Sponsored / affiliate links. As an Amazon Associate I earn from qualifying purchases. I may earn additional commission from eligible campaigns.