How to Install Wood Flooring on Concrete Stairs (Moisture-Safe Method)
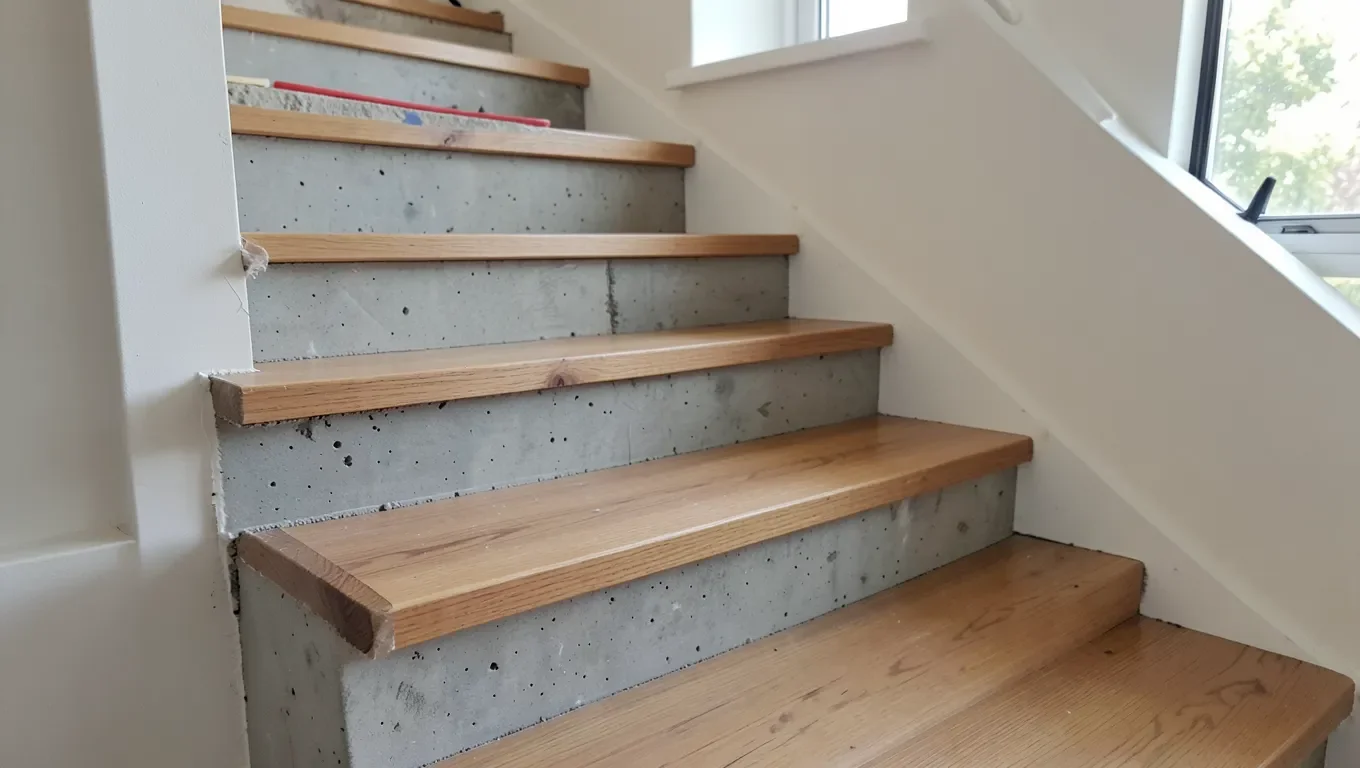
To install wood flooring on concrete stairs, test the slab for moisture first, then glue the treads and risers down with a polyurethane construction adhesive rather than nailing – concrete stairs take too much foot-traffic impact for a nail-only bond to hold long term.
Most guides skip straight to “clean the surface and glue down the wood,” but concrete stairs behave differently than a slab floor. The mass of concrete in a staircase – especially one poured against a foundation wall or over a basement – can wick moisture up into the stringers for months after it looks and feels dry. If you glue engineered flooring straight onto a stair tread that’s still releasing vapor, the adhesive bond fails from underneath, usually the same year the finish starts to bubble. A real installation on concrete stairs needs a moisture check, the right adhesive, and pre-made nosing pieces for a finished edge – not just a tape measure and a tube of glue.
Why Concrete Stairs Need a Different Approach Than a Slab Floor
A basement or main-floor slab gets a moisture test and a vapor barrier before anyone touches it with flooring. Stairs get skipped constantly, even though the concrete is the same material and the failure mode is identical: trapped vapor breaks down the adhesive bond and warps the wood from below. The difference on stairs is that a loose or lifting tread isn’t just a cosmetic problem – it’s a fall hazard on the step people use the most. That’s exactly why the glue matters here. A product like the one below, Loctite PL Premium polyurethane construction adhesive, is rated for wood-to-concrete bonding specifically and stays flexible enough to handle the slight seasonal movement a stair tread sees that a floor plank doesn’t.
Best Adhesive for Wood-to-Concrete Stair Treads
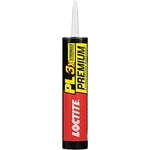 |
Loctite PL Premium Polyurethane Construction Adhesive – $6.48 A one-component polyurethane adhesive built to bond wood to concrete, stone, and masonry – the right glue for gluing treads and risers directly to a stair’s concrete substrate.
|
Test the Concrete for Moisture Before You Glue Anything Down
This is the step most DIY guides leave out entirely, and it’s the one that determines whether the flooring lasts five years or fifteen. Flooring pros use two ASTM-standard tests on concrete before installing wood over it: a calcium chloride test (ASTM F1869), which measures how much moisture vapor is leaving the surface, and an in-situ relative humidity test (ASTM F2170), which uses a probe set into a small drilled hole to read the moisture deep inside the slab. Industry guidance from the National Wood Flooring Association calls for in-slab relative humidity below 75% before wood flooring goes down; above that, the concrete needs moisture mitigation before you install anything.
You can buy an inexpensive calcium chloride kit for a rough check, but stairs are small, irregular surfaces, so a simpler practical test works for most homeowners: tape a 2-foot square of clear plastic sheeting to a few treads and risers, seal all four edges, and leave it for 24 to 48 hours. Condensation on the underside of the plastic or a darkened concrete patch means the slab is still releasing moisture and isn’t ready. If the stairs are new construction (less than 60-90 days old) or sit directly over a basement or unconditioned crawlspace, assume they need testing – new concrete can take a month or more per inch of thickness to fully dry.
Once the concrete tests dry, roll on a concrete moisture barrier/sealer rated for flooring prep, or use a vapor-retarding primer under the adhesive. For a full plywood subfloor approach on a landing, the National Wood Flooring Association and APA specify a minimum 6-mil polyethylene vapor retarder (ASTM E1745 Class A is the higher-grade option) between the slab and the subfloor. On individual stair treads glued directly to concrete, a liquid-applied moisture barrier or a moisture-blocking primer coat under the adhesive line serves the same purpose in a thinner profile that won’t throw off your riser height.
Choose Engineered Wood, Not Solid Hardwood, for This Job
Solid hardwood expands and contracts with humidity more than engineered flooring does, and a stair tread sitting directly on concrete sees more humidity swings than a tread over a wood-framed subfloor. Engineered flooring’s plywood or HDF core is dimensionally more stable, which matters most right at the nosing edge – that’s the thinnest, most exposed part of the tread, and it’s the first place a solid board will cup or crack if moisture gets under it. Engineered hardwood in a 3/4-inch thickness gives you enough material to shape a proper nosing profile while keeping that stability.
Tools and Materials You’ll Need
- Engineered wood tread and riser stock (3/4-inch is standard for treads)
- Pre-fabricated matching stair nosing pieces – not cut-to-fit flat boards
- Polyurethane construction adhesive rated for wood-to-concrete bonding, plus a caulking gun
- Concrete moisture barrier/sealer or vapor-retarding primer
- Notched trowel for spreading adhesive evenly
- Concrete patching compound and a level, for repairing and leveling the slab first
- Miter saw or circular saw with a fine-tooth blade
- Painter’s tape, cardboard for templates, safety glasses and gloves
Step-by-Step: Gluing Wood Treads and Risers to Concrete Stairs
1. Prep and repair the slab. Strip old carpet, tile, or adhesive residue down to bare concrete. Patch chips, cracks, and low spots with a concrete patching compound, then let it cure fully and check the surface with a level – the adhesive can’t bridge more than a small gap without weakening the bond.
2. Run the moisture test and apply the barrier. Confirm the slab is dry (see above), then roll on your moisture barrier or primer and let it cure per the manufacturer’s instructions before moving to adhesive.
3. Template each step. Concrete stairs are rarely perfectly square or uniform. Cut a cardboard template for every tread and riser individually rather than assuming they’re identical, then trace and cut your wood pieces.
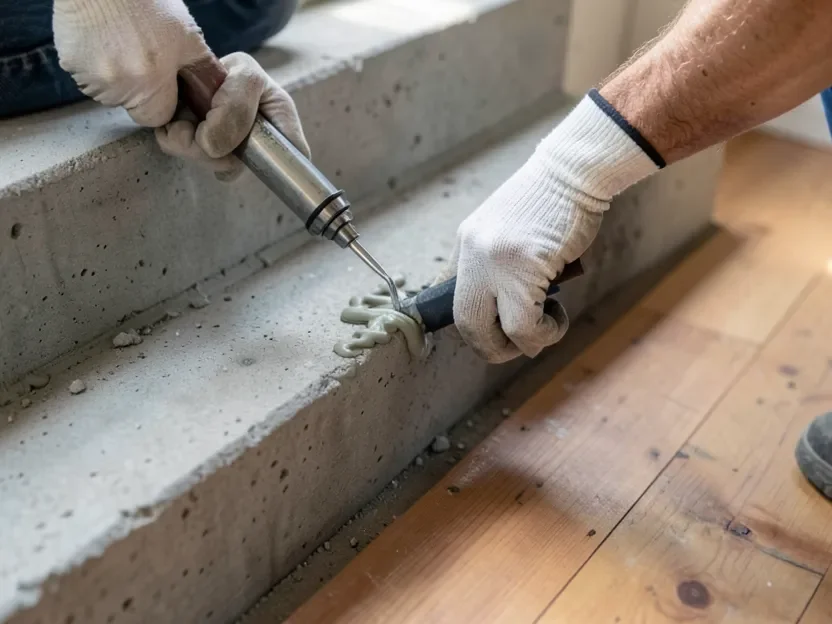
4. Spread the adhesive and set the risers first, then the treads. Use a notched trowel or a zigzag bead from the caulking gun to spread adhesive evenly across the back of each piece – a few dabs of glue leaves gaps that flex and eventually squeak. Risers go on first since the tread overhang sits on top of them; press each piece firmly into place, working from the top of the staircase down so you’re not kneeling on wet glue.
5. Weight or clamp each tread while the adhesive sets. Most polyurethane construction adhesives are repositionable for 15-20 minutes and reach a strong initial grab within 30 minutes, but full cure takes 24 hours – use sandbags, weights, or painter’s tape bracing to hold treads flush against the nosing line while the bond develops. Don’t walk on a step until it’s had its full cure time.
Install Pre-Fabricated Stair Nosing – Don’t Cut Your Own
The nosing is the rounded front lip of the tread that overhangs the riser, and it’s the single most stressed part of any staircase – it’s where feet actually land. A plain board cut square and glued flush leaves a thin, unsupported edge that chips and splinters within a year of daily use. Manufacturers sell pre-fabricated nosing pieces matched to their flooring’s exact species, stain, and finish specifically because that front edge needs a thicker, rounded, factory-milled profile for both durability and grip. Buy nosing pieces in the same run/lot as your flooring so the color and grain match, and glue them into place using the same adhesive as the treads, mitered where they meet the tread’s straight run.
Finishing and Ongoing Maintenance
Once every tread, riser, and nosing piece has fully cured, sand any high spots or glue squeeze-out with fine-grit paper and wipe the stairs down before finishing. If your engineered flooring came pre-finished, skip straight to a light buff and a coat of floor wax or polyurethane refresher rather than sanding through the factory finish. For ongoing care, sweep or vacuum regularly – grit is what actually scratches a wood stair, not foot traffic itself – and clean with a barely-damp mop, never a wet one, since standing water at the tread-to-concrete joint is exactly the failure point you just spent a weekend preventing. Reapply a finish coat every couple of years on high-traffic stairs, and check the nosing edges periodically since that’s the first place wear will show.
Budgeting for the project? Our breakdown of wood flooring installation costs covers material and labor ranges that apply to stair projects too, and if you’re weighing this against a full flooring renovation, it’s worth planning stairs and adjoining rooms together so the transitions line up.
Frequently Asked Questions
Do I really need to test concrete stairs for moisture before installing wood flooring?
Yes. Concrete that looks and feels dry can still be releasing enough moisture vapor to break down adhesive and warp wood from underneath. Pros use ASTM F1869 (calcium chloride) or ASTM F2170 (in-situ relative humidity) testing, with NWFA guidance calling for in-slab RH below 75% before installing wood flooring. A simple taped-plastic-sheet test over 24-48 hours works as a rough DIY check on stairs.
Should I glue or nail wood flooring to concrete stairs?
Glue-down, not nail-down. Concrete doesn’t hold a nail or staple the way a wood-framed subfloor does, and stair treads take repeated impact right at the nosing edge, so they need the full, even bond a polyurethane construction adhesive provides rather than a few mechanical fasteners.
What type of wood flooring is best for concrete stairs?
Engineered hardwood, typically 3/4-inch thick. Its plywood or HDF core is more dimensionally stable against the humidity swings that come with sitting directly on concrete, which matters most at the thin, exposed nosing edge where solid hardwood is more prone to cupping or cracking.
Why not just cut my own stair nosing from flat flooring boards?
A flat board cut square leaves a thin, unsupported front edge that chips and splinters quickly under foot traffic. Pre-fabricated nosing pieces are milled thicker and rounded specifically for that high-wear edge, and buying them in the same lot as your flooring keeps the color and grain matched.
Sponsored / affiliate links. As an Amazon Associate I earn from qualifying purchases. I may earn additional commission from eligible campaigns.