How to Join Wood With a Router: Edge Joints, Grooves, and Using It as a Jointer
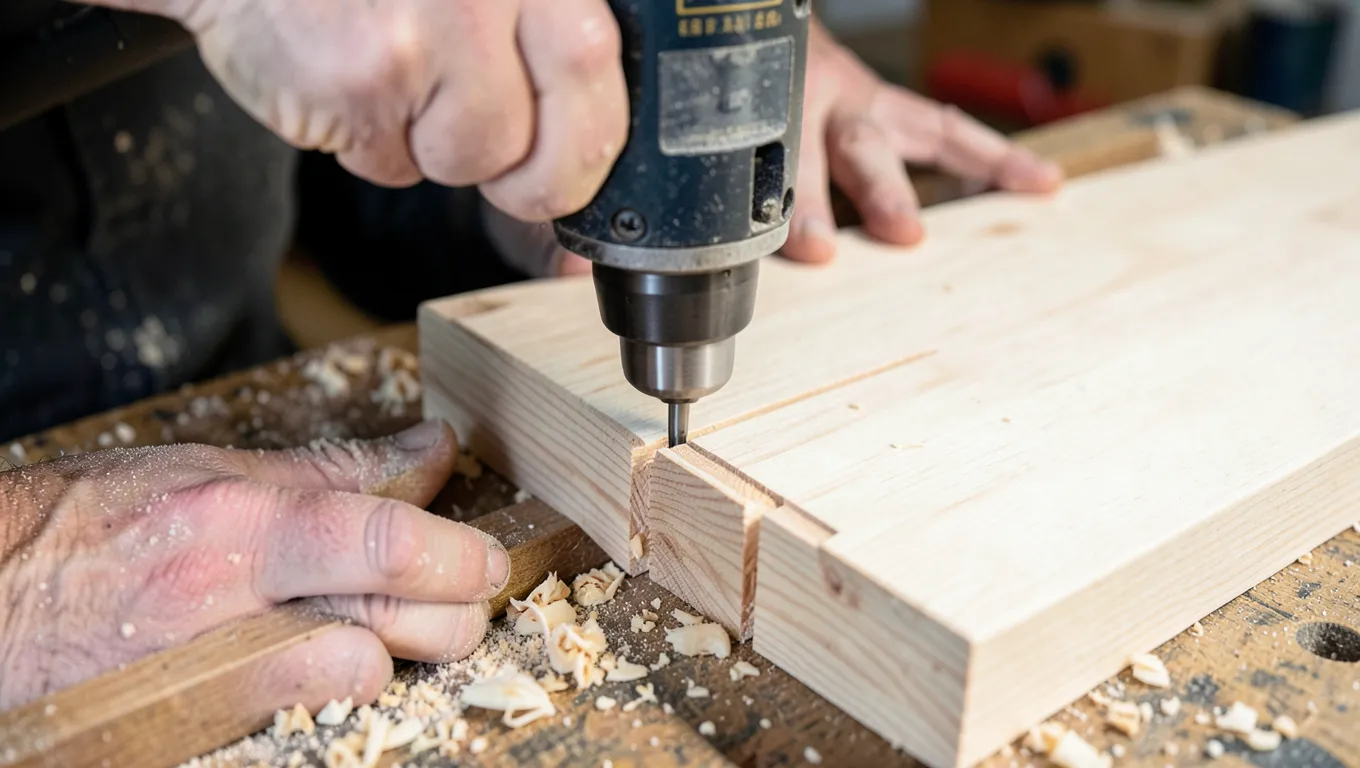
A router can join wood two different ways: it can cut an actual joint (tongue-and-groove, rabbet, dado, box, or dovetail) that locks two pieces together, or it can be used like a jointer to straighten a rough board edge before you glue that edge to another board. Most guides only cover the first meaning and skip the second, even though “jointing a board with a router” is one of the most common ways people search for this exact task.
Using a Router as a Jointer to Straighten an Edge
Best Router Bit Set for Joinery
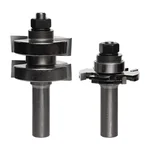 |
Freud 99-036 Adjustable Tongue and Groove Router Bit Set – $78.81 This two-bit set cuts both halves of a tongue-and-groove joint from the same setup, which is the fastest way to join boards edge to edge with a router.
|
If you don’t own a jointer, a router table with a straight bit and a split fence does the same job on a board edge that’s already reasonably close to straight. Set the outfeed half of the fence flush with the bit’s cutting circle and the infeed half offset back by a hair, about the depth you want to remove. Feed the board past the bit with steady pressure against the fence, and the outfeed side of the fence supports the freshly cut edge exactly the way a jointer’s outfeed table does.
Aligning a Router Table for Jointing
The single most common mistake is leaving both fence halves in the same plane. If the infeed and outfeed fence aren’t offset, the bit either won’t remove enough material to true a bowed edge or will let the board wander away from the fence mid-cut. Take a very light pass, no more than 1/16 inch, and run the board through twice on stubborn high spots rather than trying to remove it all in one heavy cut.
Jointing With a Handheld Router
Without a router table, clamp a straight board or a dedicated edge guide to the workpiece as a fence, and run a handheld router with a straight bit along it in one continuous pass. This works well for boards too long or too heavy to safely feed across a table, though it takes more setup care to keep the guide perfectly parallel to your intended edge.
Cutting Real Joints With a Router
Tongue-and-Groove Edge Joints
For joining boards into a wider panel, a matched tongue-and-groove bit set cuts the tongue on one board’s edge and the groove on the other’s in two passes at the router table, using the same fence setting for both. The joint self-centers during glue-up, which makes for stronger, easier-to-align panels than a plain edge-to-edge butt joint held only by glue.
Rabbets and Dadoes for Case Joinery
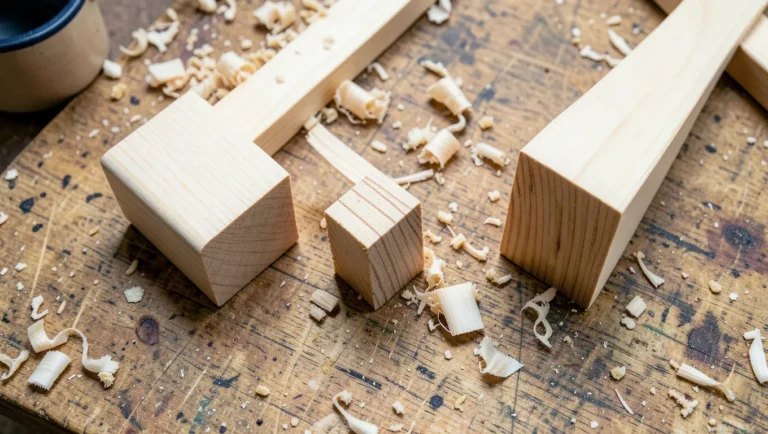
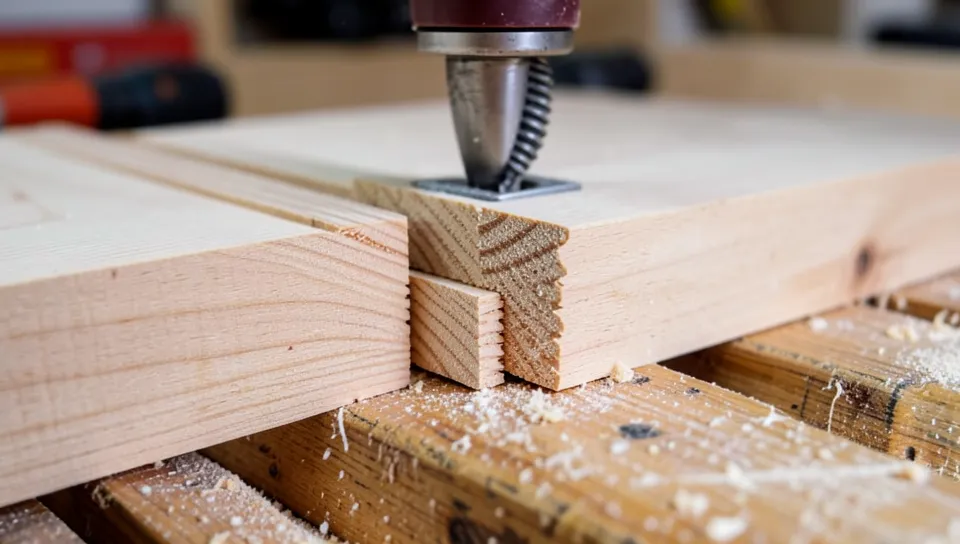
A rabbet, an L-shaped step cut into an edge, lets one board’s end tuck into another’s face, which is the standard way to join cabinet sides to a back panel. A dado, a slot cut into the middle of a board rather than its edge, does the same job for shelves that need to sit inside a cabinet side rather than on top of it. Both cuts are made with a straight or spiral bit and a straightedge clamped as a guide, with the bit depth set to about half the material’s thickness for a rabbet and matched to the mating board’s thickness for a dado.
Box Joints and Dovetails
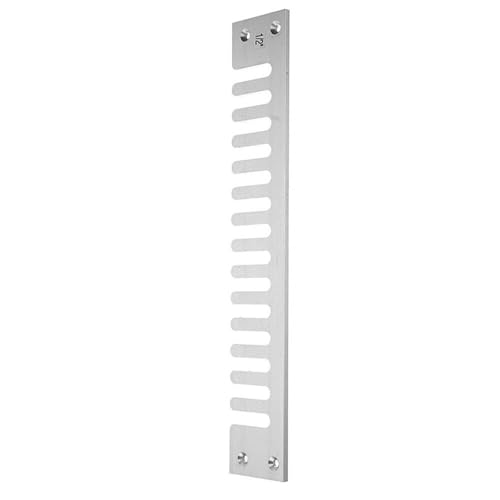
Interlocking box joints and dovetails need a jig, either a simple shop-made comb jig for box joints or a dedicated dovetail jig, because the fingers have to land at consistent, repeatable spacing. These joints take more setup time than an edge or rabbet joint but produce corners strong enough to hold a drawer together with glue alone, no fasteners required.
Choosing the Right Bit and Router
Straight bits handle edge jointing, rabbets, and dadoes. Rabbeting bits with a bearing built in follow a curved or irregular edge automatically. Slot-cutter bits cut a groove without needing a separate fence pass on each face. A fixed-base router mounted in a table is the more stable, more accurate setup for joinery work; a handheld plunge router earns its keep on cuts that start in the middle of a board or on pieces too big to move across a table safely.
Getting a Seamless, Glue-Ready Fit
Dry-fit every joint before glue touches it. A tongue-and-groove or rabbet joint should slide together with light hand pressure, not require a mallet, and shouldn’t have visible daylight at any point along the joint. If it’s too tight, take one more very light pass rather than forcing it, since forcing a router-cut joint together often splits the tongue or the rabbet’s thin wall. Apply glue evenly along the joint faces, clamp across the joint line (not just at the ends), and wipe squeeze-out before it skins over.
Safety Notes
Router bits spin at 10,000 to 24,000 RPM, so always feed the workpiece against the direction the bit rotates (right to left on a router table, left to right with a handheld router along a fence on your right) to avoid the bit grabbing and pulling the board. Wear eye and hearing protection, keep push blocks or push sticks on hand for narrow stock, and unplug the router before changing bits or adjusting the fence.
Frequently Asked Questions
How do I join wood with a router?
Pick the joint type your project needs (edge tongue-and-groove, rabbet, dado, or box/dovetail), set the router or router table fence and bit depth, dry-fit the pieces, then glue and clamp. For straightening a rough edge before joining, use a router table with an offset split fence the same way you’d use a jointer.
What router bits are best for joining wood?
Straight bits cover edge jointing, rabbets, and dadoes. Matched tongue-and-groove bit sets are the fastest way to edge-join panel boards. Bearing-guided rabbeting bits follow curved edges without a separate fence.
Can I use a router as a jointer?
Yes. A router table fitted with a straight bit and a split infeed/outfeed fence, offset by the amount you want to remove, straightens a board edge the same way a jointer’s infeed and outfeed tables do.
Is a router better than a table saw for joining boards?
A table saw cuts straight lines and simple dadoes with a stacked dado set, but a router handles a wider range of joint profiles, including rabbets, tongue-and-groove, and dovetails, with more precise depth control on each pass.
Bottom Line
A router earns its place as a joinery tool because it does two jobs a jointer and a table saw normally split between them: it straightens a rough edge, and it cuts the actual joint that locks two boards together. Get the fence offset right for jointing, dry-fit every joint before glue, and you’ll get panel and case joints that close up tight with no visible gap.
Sponsored / affiliate links. As an Amazon Associate I earn from qualifying purchases. I may earn additional commission from eligible campaigns.