How to Laminate Curved Wood: The Bent Lamination Method, Step by Step
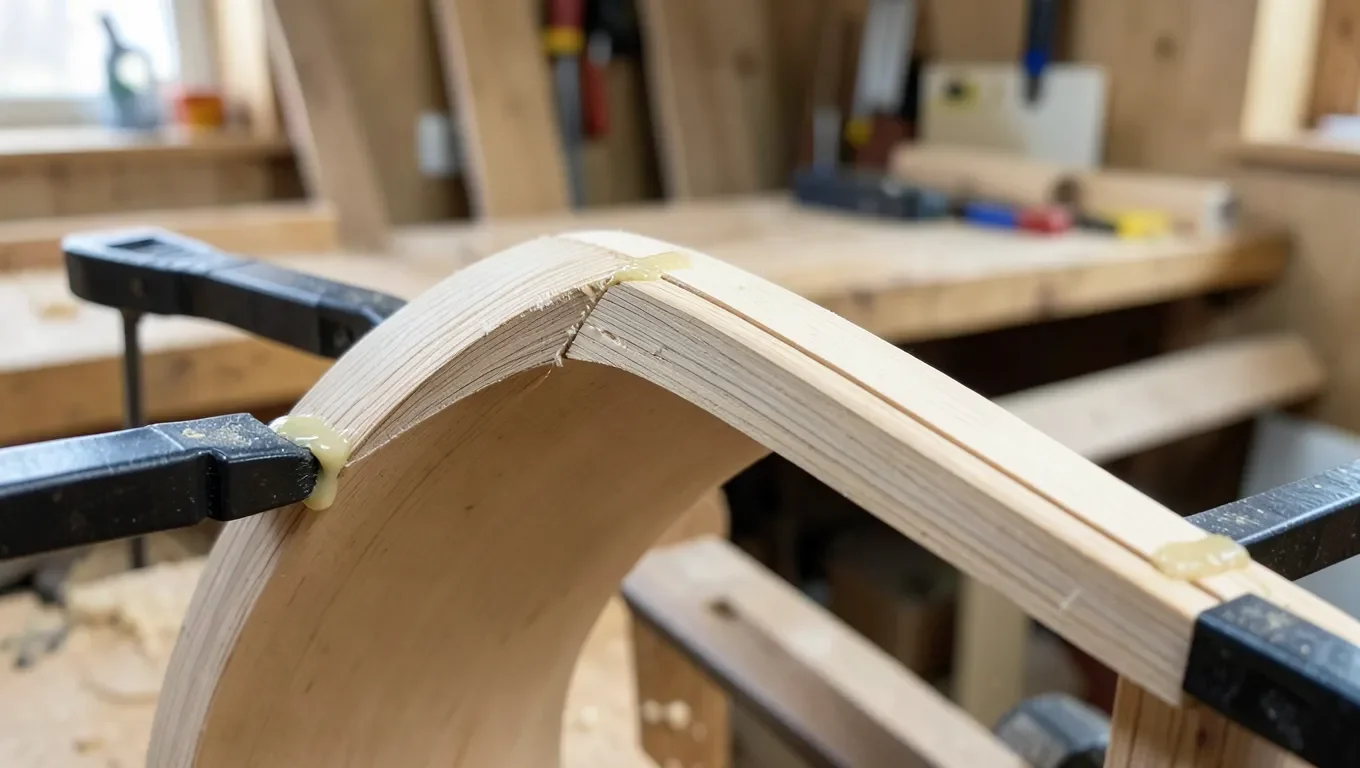
Bent lamination bends wood by gluing several thin strips together around a curved form, not by softening a single solid piece. You resaw or plane the wood down to thin, flexible plies (commonly 1/8 inch or thinner), coat each one with glue, stack them against a purpose-built bending form, and clamp or vacuum-press the stack until the glue cures. Once it sets, the strips “remember” the curve permanently, which is a genuinely different mechanism from steam bending and, for tight radii, a stronger and more stable one.
What Bent Lamination Actually Is
Best Glue Pick for Bent Lamination
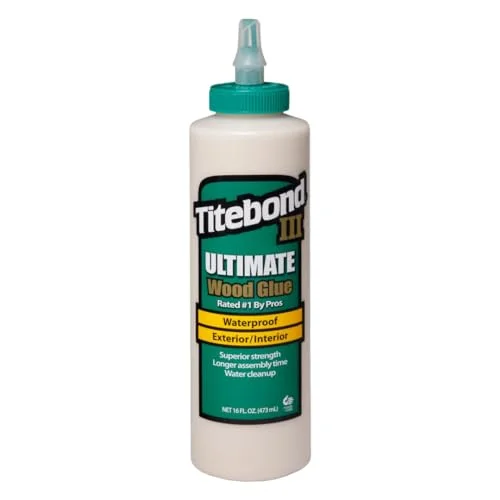 |
Titebond III Ultimate Wood Glue, 16 oz – $9.58 The strong, water-resistant bond and roughly 30-minute open time this article recommends for gluing up multiple laminated strips before clamping them to the form.
|
Bent lamination is a real, distinct woodworking technique, not just another name for steam bending. You start by resawing or planing wood down to thin, flexible plies, typically 1/8 inch or thinner for anything but the gentlest curves. Each strip is coated with glue and stacked against a curved mold, sometimes called a bending form or jig, which is a purpose-built piece of shop-made tooling, usually cut from MDF or layered plywood to the exact curve you want. The stack is then held against that form with either bar clamps spaced along the curve or a vacuum bag press that pulls even pressure across the whole surface, and left clamped until the glue fully cures.
Once the glue sets, you remove the clamps and lift the laminated piece off the mold. Because every ply was glued in the curved position, the assembly holds that shape on its own from then on. That is a fundamentally different result than bending a single board.
Bent Lamination vs. Steam Bending: The Real Mechanism Difference
Steam bending works by softening the lignin, the natural polymer that holds wood fibers together, with heat and moisture, then physically forcing that single solid piece around a form while it is pliable and holding it there as it dries and cools. You can read the full process, including a steam-time chart by thickness, in our guide to using a wood steamer. It works, and it is the right choice for a lot of projects, but the wood fibers on the outside of that curve are still under real tension after it dries, and a steam-bent piece can relax back toward straight over time, especially with seasonal humidity swings. That relaxation is usually called spring-back.
Bent lamination avoids that problem by never asking a single piece of wood to hold internal stress on its own. Each thin ply only has to bend a little (thin strips flex far more easily than a thick board), and once the glue between the plies cures, the cured adhesive itself is what locks the curve, not the wood’s own memory of being forced into shape. That is why a laminated bend generally holds a tighter radius more permanently and with more strength than a comparable steam-bent piece; if you want the broader comparison across all common bending methods, including kerf-cutting and hot-water soaking, see our full guide to bending wood.
Materials You Will Need
- Thin strips or veneer: resawn or planed to about 1/8 inch or thinner for tight curves; slightly thicker is fine for gentle, wide-radius bends
- Wood glue: a strong, water-resistant PVA glue such as Titebond III gives enough open time to coat several strips before clamping
- A bending form (mold): a shop-made jig, usually MDF or layered plywood, cut to the exact curve you need
- Clamps or a vacuum bag press: enough bar clamps to space evenly along the whole curve, or a vacuum bag setup for even pressure on wider pieces
- A release layer: wax paper or packing tape between the outer strip and the form so the glued-up piece does not bond to the mold itself
Step 1: Build or Choose Your Bending Form
The form is what actually shapes your laminated piece, so get the curve right before you cut a single strip. Draw the curve full-size, transfer it to MDF or layered plywood, and cut and sand it smooth, since any bump or flat spot in the form telegraphs straight into the glued-up piece. Many woodworkers build the form slightly tighter than the final curve they want, a small over-bend allowance, because even a well-laminated bend with only a few plies can relax a hair once it is off the mold. Cover the working face of the form with wax paper or packing tape so cured glue squeeze-out does not lock your finished piece to the jig.
Step 2: Resaw or Plane Your Strips
Cut your stock down to thin, uniform strips on the bandsaw or table saw, then clean them up to a consistent thickness with a planer or drum sander. A dedicated thin strip jig for the table saw makes this step far more consistent than eyeballing a fence setting, and consistent thickness matters more here than in almost any other part of the process: a strip that is even slightly thicker than the rest will fight the curve and can crack, or leave that one glue line under more stress than the others.
Step 3: Glue Up and Clamp (or Vacuum Bag)
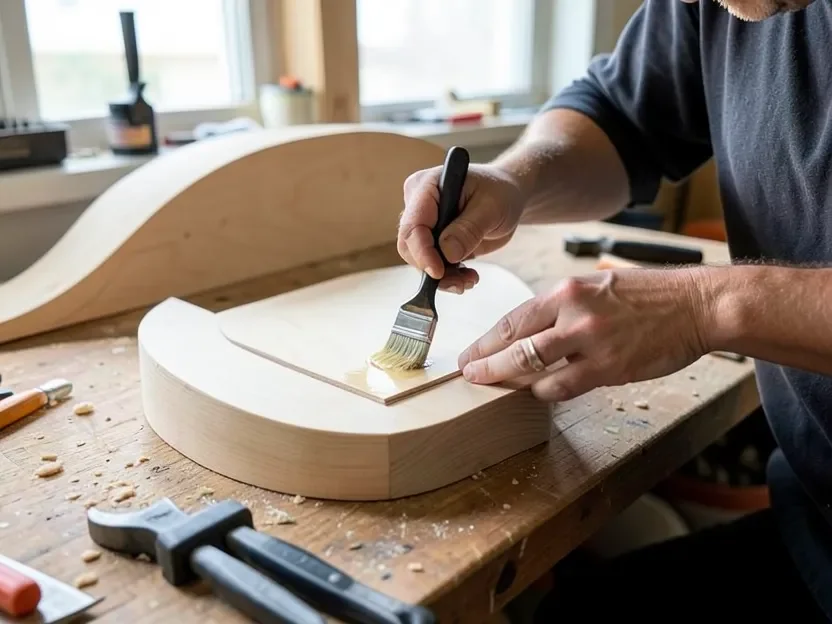
Work on a flat surface next to the form so you can move fast. Coat every mating face of every strip with an even, full layer of glue, not just a few beads, since a starved glue line is one of the most common places a laminated bend fails later. Stack the coated strips together, lay the whole assembly against the form over your release layer, and start clamping from the center of the curve outward, or seal the stack into a vacuum bag and let the bag pull even pressure across the entire piece at once. Either way, you want firm, even pressure along the whole length, not just at a couple of tight spots, so the plies are pulled fully against both the form and each other.
Step 4: Cure Time and Removing From the Mold
Leave the piece clamped to the form for the glue’s full cure time, not just its initial clamp time. Titebond III, for example, tacks up quickly but needs about 24 hours to reach full strength, and pulling the piece off the form early is a common way to let it spring back further than it should. Once cured, release the clamps or open the vacuum bag, peel the piece off the release layer, and check the curve against the form; a well-executed laminated bend with enough plies should sit tight against it with only the smallest amount of spring-back, if any.
Common Mistakes That Ruin a Laminated Bend
- Strips cut too thick: they resist the curve, stress the glue line, and can crack right at the tightest point of the bend
- Uneven glue coverage: a starved spot in the glue line is a weak point that can delaminate later, even if the rest of the piece looks fine
- Too few plies for the radius: more, thinner plies distribute the bending stress better and hold a tight curve with far less spring-back than two or three thicker ones
- Skipping the release layer: squeeze-out glues the workpiece to the form itself, and forcing it off can crack the outer ply
- Pulling clamps before full cure: the glue needs its full rated cure time, not just its initial clamp time, or the piece can relax once it is unclamped
Planning a large curved ceiling piece rather than a small bend? See our guide to making arched wood beams for the radius math and the limits on structural use.
Frequently Asked Questions
Is bent lamination stronger than steam bending?
For tight radii, yes. A laminated bend is made of several thin plies glued together in the curved shape, so the cured glue lines lock the curve in place. A steam-bent piece is a single solid piece that was softened and physically forced into a curve, so it keeps more internal stress and can relax, or spring back, over time more than a laminated bend will.
How thin do the strips need to be for bent lamination?
About 1/8 inch or thinner for most curves you would bend by hand with clamps. Tighter radii need thinner strips so each ply bends without cracking; a vacuum bag press can sometimes handle slightly thicker strips because it applies even pressure across the whole curve instead of at a few clamp points.
Can you use a vacuum bag instead of clamps for laminating curved wood?
Yes, and for anything wider than a narrow strip a vacuum bag press is usually easier. It pulls even pressure across the entire glued-up stack at once, so you avoid the gaps and glue-starved spots that can happen between individual clamps on a long curve.
Does laminated bent wood still spring back at all?
A small amount, especially with only two or three plies. Using more, thinner plies and slightly over-bending the form to compensate are the two standard ways to minimize it. Once cured, a properly laminated bend with enough plies holds its shape far more reliably than a single steam-bent piece.
Bottom Line
Bent lamination and steam bending both put a curve in wood, but they get there in genuinely different ways. Steam bending softens and reshapes a single solid piece, which stays under some internal stress and can relax over time. Bent lamination glues multiple thin plies together in the curved shape, so the cured glue itself locks the curve in place. For tight radii or anything that needs to hold its shape permanently, that makes lamination the more reliable choice, provided you use thin enough strips, full glue coverage, and even clamping pressure the whole way through.
Sponsored / affiliate links. As an Amazon Associate I earn from qualifying purchases. I may earn additional commission from eligible campaigns.