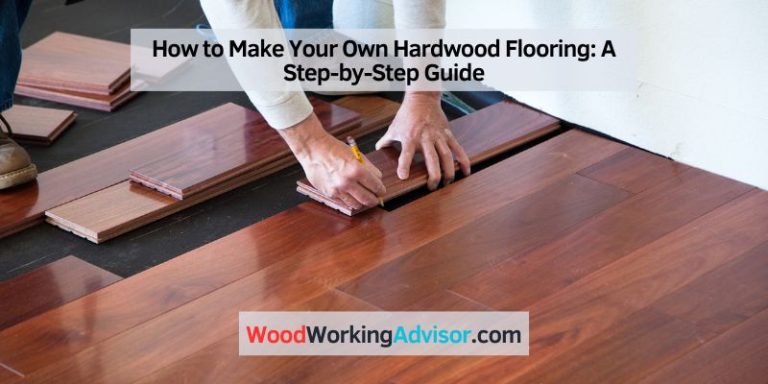
How to Lay Hardwood Floor on Concrete Slab: Easy Step-by-Step Guide
Are you ready to transform your space with the timeless beauty of hardwood floors but worried about installing them over a concrete slab? You’re not alone.
Many homeowners face this challenge and wonder if it’s even possible. The good news is, it absolutely is—and you can do it yourself with the right guidance. You’ll discover simple, step-by-step methods to lay hardwood flooring on concrete that will make your floor look stunning and last for years.
Keep reading to unlock the secrets to a smooth, durable installation that will boost your home’s value and charm. Your dream floor is closer than you think!
Preparing The Concrete Surface
Preparing the concrete surface is a key step before laying hardwood floors. A clean, dry, and level base ensures the floor stays strong and beautiful. The concrete slab must be ready to support the wood without problems.
Cleaning And Drying
Remove all dirt, dust, and debris from the concrete. Sweep or vacuum the floor thoroughly. Use a mop with a mild cleaner to remove stains or grease. Let the surface dry completely before moving on. Moisture can cause wood to warp or buckle.
Checking For Moisture
Test the slab for moisture using a moisture meter or plastic sheet. Tape a plastic sheet to the concrete and wait 24 to 48 hours. Look for water droplets or dark spots under the plastic. High moisture levels can damage hardwood floors. Use a moisture barrier if needed to protect the wood.
Leveling The Slab
Check the concrete for uneven spots or cracks. Use a long level or straightedge to find low or high areas. Fill cracks and low spots with a concrete patch or self-leveling compound. Smooth the surface until it is flat and even. A level slab prevents gaps and squeaks in the hardwood floor.
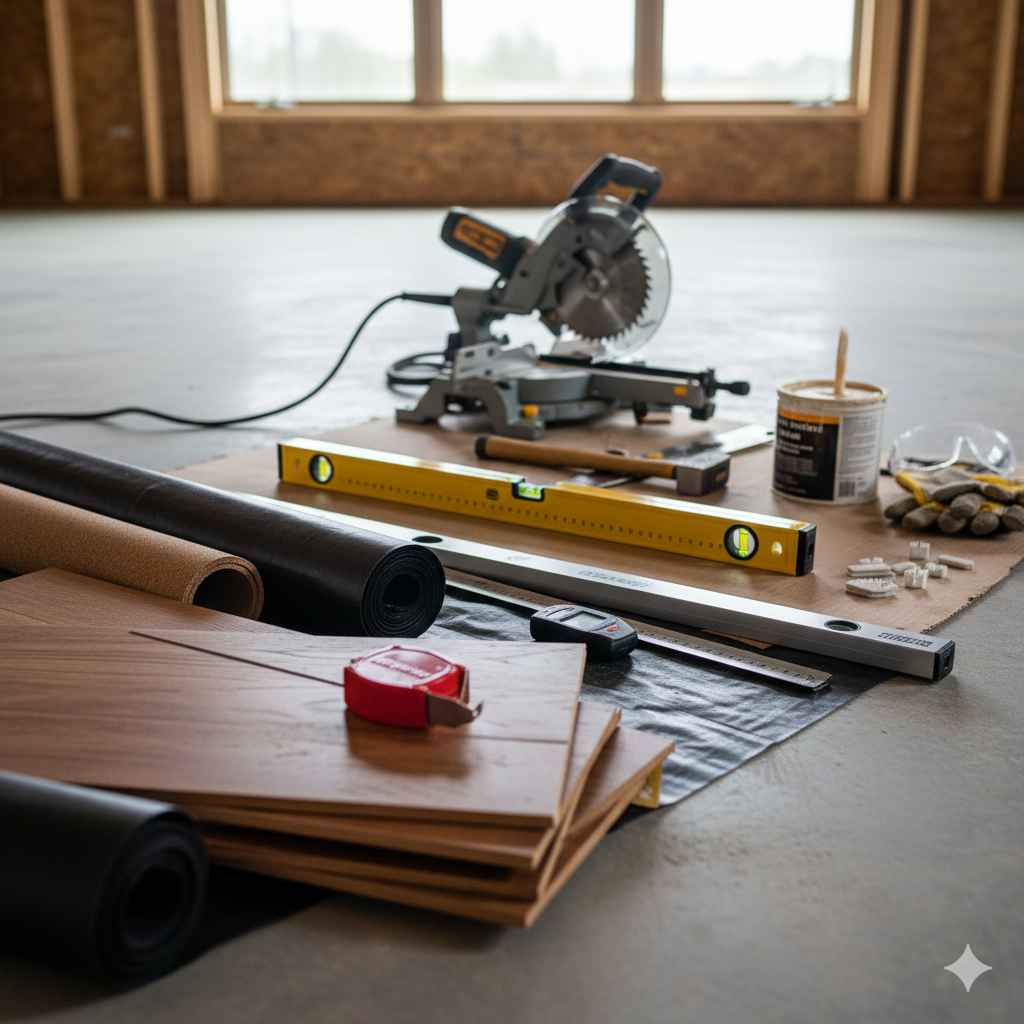
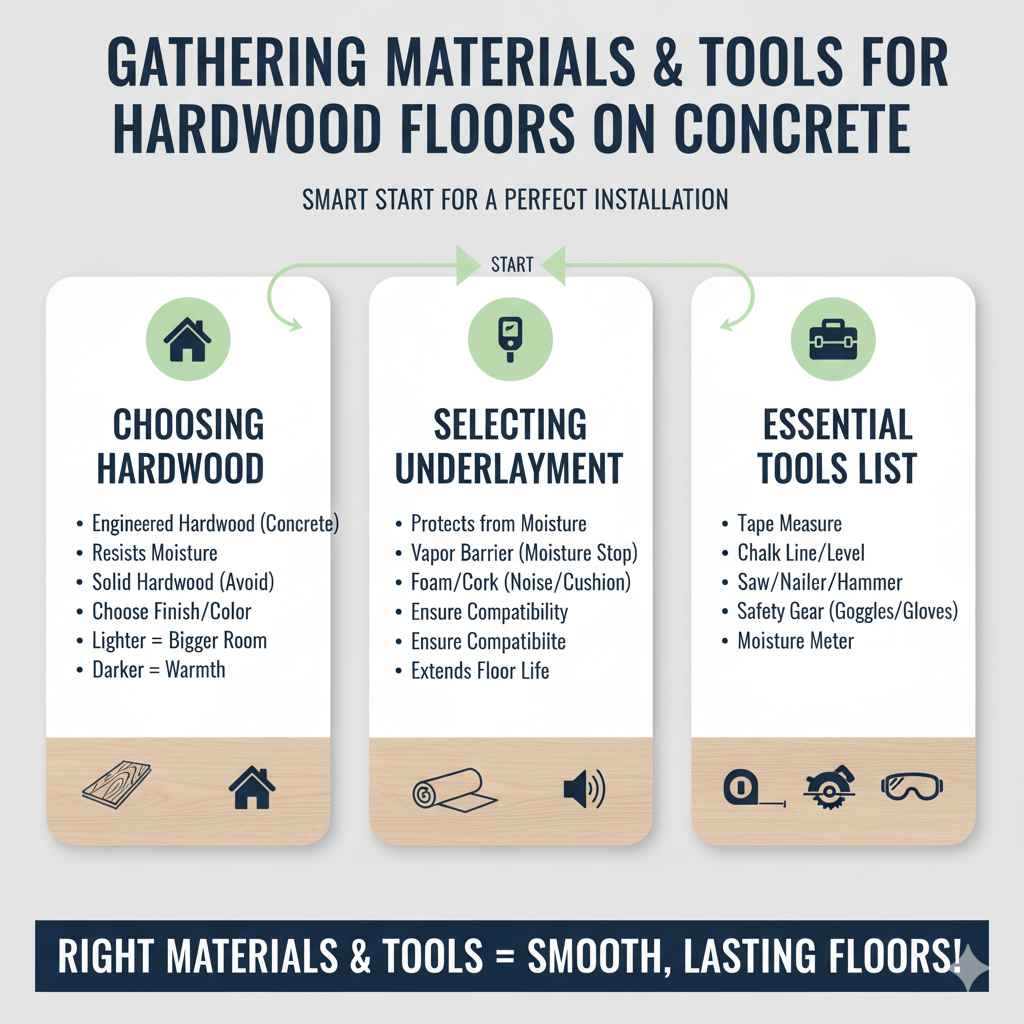
Gathering Materials And Tools
Gathering the right materials and tools is the first step in laying hardwood floors on a concrete slab. Proper preparation saves time and avoids mistakes. It ensures a smooth, long-lasting finish. This section covers choosing hardwood, selecting underlayment, and listing essential tools.
Choosing Hardwood Flooring
Select hardwood that fits your room’s style and use. Engineered hardwood works best on concrete slabs. It resists moisture and temperature changes. Solid hardwood can warp if moisture enters. Choose a finish that matches your taste. Lighter colors make rooms appear bigger. Darker tones add warmth and elegance.
Selecting Underlayment
Underlayment protects wood from moisture and adds comfort. Use a vapor barrier to stop moisture from the concrete. Foam or cork underlayments reduce noise and provide cushioning. Ensure the underlayment is compatible with your hardwood type. Proper underlayment extends floor life and improves comfort.
Essential Tools List
Gather all tools before starting work. You will need a tape measure, chalk line, and level. A saw, nailer or stapler, and hammer are necessary. Safety gear like goggles and gloves protects you. Also prepare spacers, adhesive, and a moisture meter. Having tools ready keeps your project on track.
Installing A Moisture Barrier
Installing a moisture barrier is crucial when laying hardwood floors on a concrete slab. Concrete can release moisture over time, which damages wood. A moisture barrier stops this moisture from reaching the hardwood, keeping it dry and safe.
Types Of Moisture Barriers
Plastic sheeting is a common moisture barrier. It is affordable and easy to install. Use 6-mil polyethylene plastic for best results. This plastic prevents moisture from coming through the concrete.
Foam underlayment with a built-in moisture barrier adds extra cushioning. It helps with sound and temperature control. This option is good for comfort and protection.
Rubber or peel-and-stick membranes provide strong moisture protection. These are thinner but very durable. They work well in areas with high moisture.
Proper Installation Techniques
Clean the concrete surface before laying the moisture barrier. Remove dust, dirt, and debris to ensure good contact. Roll out the barrier smoothly without wrinkles.
Overlap seams by at least 6 inches and tape them securely. This prevents moisture from seeping through gaps. Extend the barrier up the walls slightly to seal edges.
Do not puncture or tear the moisture barrier during installation. Place hardwood flooring carefully to avoid damage. Use spacers to maintain expansion gaps around the room.
Laying The Underlayment
Laying the underlayment is a key step in installing hardwood floors on a concrete slab. It creates a smooth, even surface for the wood. Underlayment also helps protect the floor from moisture and noise. Taking time to lay it properly ensures your hardwood floor lasts longer and looks better.
Purpose Of Underlayment
Underlayment acts as a barrier between concrete and wood. It stops moisture from reaching the hardwood. Without it, wood can warp or swell. The underlayment also cushions the floor. This reduces noise when you walk on it. It helps keep the floor warm and comfortable.
Cutting And Fitting
Measure the room carefully before cutting the underlayment. Use a sharp utility knife to make clean cuts. Fit the pieces tightly, leaving no gaps. Stagger the seams to avoid weak spots. Tape the seams with moisture-resistant tape. Smooth out any wrinkles or bumps for a flat surface.
Acclimating Hardwood Planks
Acclimating hardwood planks is a key step before installation. It helps the wood adjust to the room’s temperature and moisture. Hardwood can expand or shrink if not acclimated. This causes gaps, warping, or buckling later. Taking time to acclimate ensures a smooth, long-lasting floor.
Importance Of Acclimation
Wood is a natural material that changes with humidity. It absorbs or loses moisture based on the environment. Hardwood planks stored in a different climate need time to balance moisture. Without acclimation, the floor might not fit well after installation. This can lead to costly repairs and an uneven surface. Proper acclimation reduces these risks and improves durability.
Recommended Time Frame
Place hardwood planks in the room where they will be installed. Leave them for at least 3 to 7 days. This period allows the wood to reach the room’s moisture level. Keep the boxes open and stacked flat. Avoid direct sunlight or heating vents during this time. Check the wood for any signs of damage before starting installation.
Starting The Flooring Installation
Starting the installation sets the tone for the entire hardwood floor project. Careful steps here make the rest easier and the finish better. Proper preparation ensures the floor will stay strong and look great for years.
Focus on accuracy and patience. Measure twice, cut once. Small mistakes now can cause big problems later. The goal is a smooth, even surface that fits perfectly over the concrete slab.
Planning The Layout
Begin by planning the floor layout carefully. Decide the direction of the hardwood planks. Usually, planks run parallel to the longest wall or main light source. This choice helps the room look larger and brighter.
Measure the room’s length and width. Calculate how many planks fit in each row. Account for expansion gaps along walls. Mark guidelines on the concrete to keep rows straight.
First Row Placement
The first row is critical. It sets the alignment for the whole floor. Place the first plank along the longest, straightest wall. Use a chalk line to ensure a straight start.
Cut planks as needed to fit corners and edges. Keep the tongues facing the room’s center. This makes it easier to lock the next rows in place.
Using Spacers
Spacers create the expansion gap between the wall and the floor. Hardwood expands with changes in temperature and humidity. Without this gap, planks can buckle or warp.
Insert spacers along the walls before placing planks. Keep the gap consistent, usually ¼ inch. Remove spacers only after the floor is fully installed and secured.
Securing Hardwood To Concrete
Securing hardwood flooring to a concrete slab requires careful choice of installation method. Concrete is hard and does not allow nails easily. The right method ensures the floor stays strong and looks great for years. Below are common ways to attach hardwood to concrete.
Adhesive Method
The adhesive method uses strong glue made for hardwood and concrete. First, clean the concrete surface well. Spread the adhesive evenly using a trowel. Place each hardwood plank firmly onto the glue. The glue holds the wood tight and stops movement.
This method works well for solid and engineered hardwood. It creates a stable floor without nails. Allow the adhesive to dry fully before walking on the floor. This method is quiet and keeps floors flat.
Floating Floor Method
The floating floor method means the hardwood is not glued or nailed down. Instead, planks lock together using a tongue and groove system. A thin foam or felt layer goes between wood and concrete. This layer stops moisture and adds cushioning.
Floating floors are easier to install and can expand with temperature changes. They work best with engineered hardwood. This method is good for basements or rooms with slight moisture. No glue or nails means less mess and damage.
Nail-down Considerations
Nail-down hardwood on concrete needs a wood subfloor or plywood layer. Nails cannot go directly into concrete. The subfloor is attached with concrete screws or fasteners. Hardwood planks are then nailed into the wood layer.
This method adds height to the floor and can be strong. It requires more materials and time. Make sure the subfloor is level and dry before nailing. Nail-down floors can be sanded and refinished easily.
Cutting And Fitting Around Obstacles
Cutting and fitting hardwood flooring around obstacles on a concrete slab requires careful attention. These obstacles can include vents, pipes, doorways, and corners. Properly measuring and cutting ensures a clean, professional finish. Mistakes can lead to gaps or uneven edges. This section guides you through precise steps to fit your hardwood floor perfectly around these challenges.
Measuring For Accuracy
Start by measuring the space around each obstacle carefully. Use a tape measure to get exact distances. Mark the hardwood planks with a pencil before cutting. Double-check your measurements to avoid mistakes. Take note of irregular shapes and angles. Use a cardboard template for complex cuts. This helps transfer the shape onto the wood accurately. Accurate measuring saves time and material.
Handling Doorways And Corners
Doorways and corners need special care to ensure a good fit. Cut planks to fit snugly against door frames without forcing. Leave a small expansion gap around edges for wood movement. Use a jigsaw or coping saw for detailed cuts around corners. Sand edges smooth to prevent splinters. Test fit pieces before fixing them in place. Proper fitting around doorways and corners improves the floor’s look and durability.
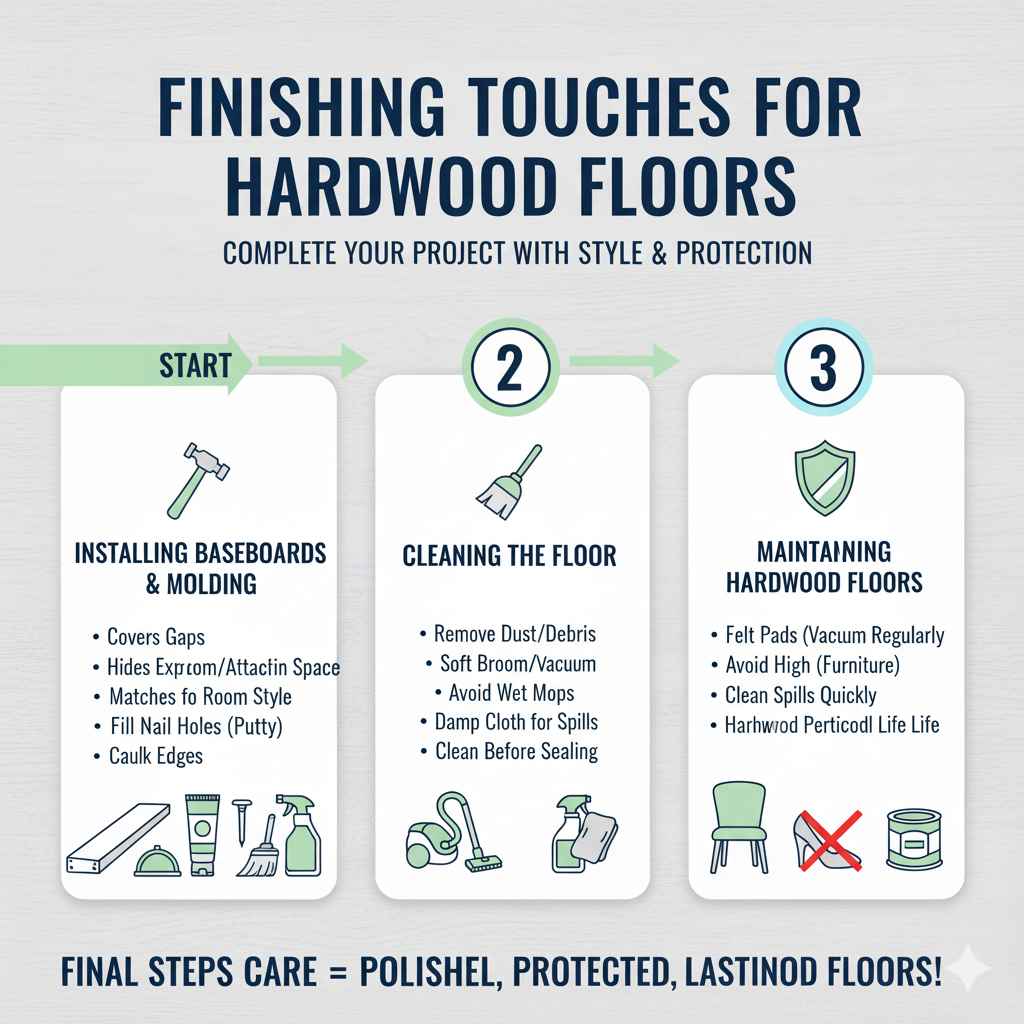
Finishing Touches
Finishing touches bring your hardwood floor project to life. These final steps protect your floor and add style. They help the floor look clean and polished. Let’s explore the key finishing tasks to complete your hardwood floor on concrete slab.
Installing Baseboards And Molding
Baseboards cover gaps between the floor and wall. They hide expansion space and rough edges. Choose molding that matches your room’s style and wood color. Nail baseboards carefully to avoid damaging the new floor. Use a nail gun or hammer with finishing nails. Fill nail holes with wood putty for a smooth look. Caulk edges for a tight seal and neat finish.
Cleaning The Floor
Remove dust and debris left from installation. Use a soft broom or vacuum with a floor attachment. Avoid wet mops that can damage hardwood. Instead, use a damp cloth for spots and spills. Clean the floor before any sealant or finish is applied. This step ensures a clear, bright surface without dirt trapped underneath.
Maintaining Hardwood Floors
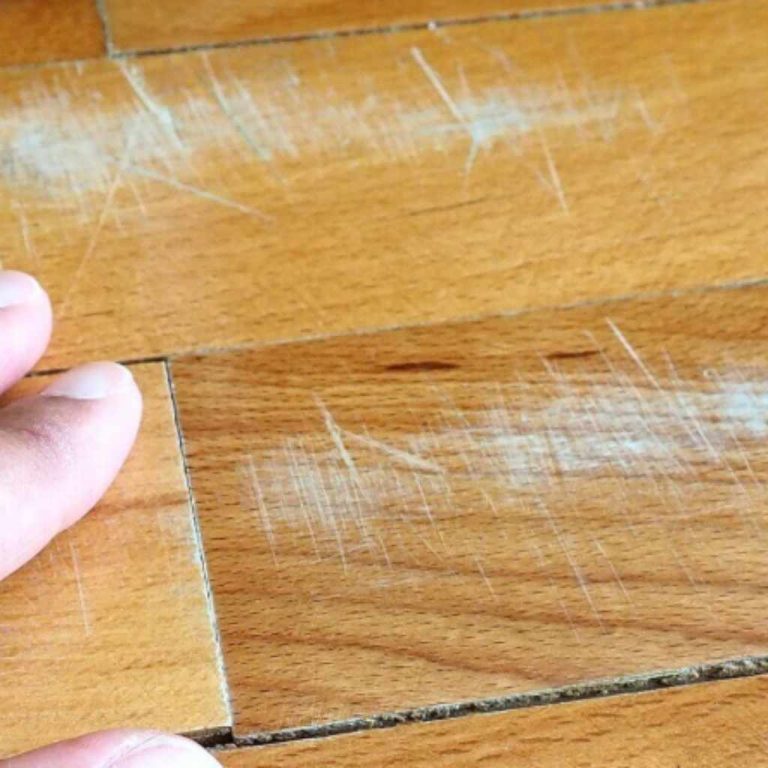
Proper care keeps hardwood floors beautiful for years. Sweep or vacuum regularly to avoid scratches. Use felt pads under furniture legs. Avoid walking on floors with high heels or cleats. Clean spills quickly to prevent stains or warping. Apply recommended hardwood floor cleaner for deep cleaning. Refinish floors every few years to restore shine and protection.
Frequently Asked Questions
What Is The Best Method To Install Hardwood On Concrete?
The best method is to use a moisture barrier and plywood underlayment. This prevents moisture damage and ensures a stable base for hardwood flooring on concrete slabs.
How Do I Prevent Moisture Under Hardwood Floors?
Install a vapor barrier directly on the concrete slab. Use a polyethylene sheet to block moisture and protect hardwood from warping and mold.
Can I Glue Hardwood Directly To Concrete?
Yes, but only with proper adhesive and moisture barrier. Use a high-quality urethane adhesive designed for hardwood floors on concrete surfaces.
Do I Need A Moisture Test Before Installation?
Absolutely. Test concrete moisture levels using a calcium chloride test or moisture meter. High moisture can damage hardwood floors if not addressed.
Conclusion
Laying hardwood floors on a concrete slab takes careful steps. Preparing the slab well helps avoid future problems. Using the right materials makes the floor last longer. Take your time to measure and fit the boards properly. A good installation improves your home’s look and value.
Small efforts now save you from big repairs later. Enjoy your new hardwood floor for years to come.