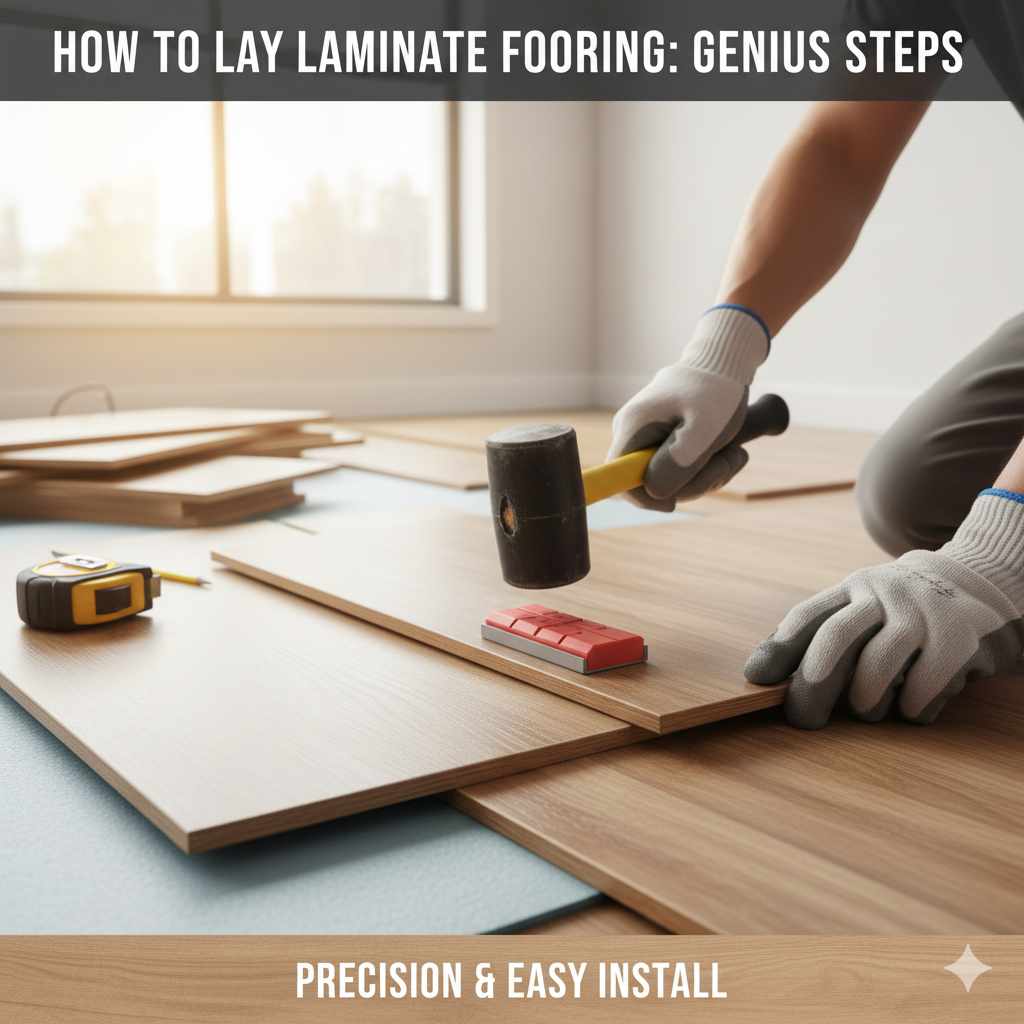
How to Lay Laminate Flooring: Genius Steps
Learning how to lay laminate flooring yourself is achievable! Follow these genius steps for a beautiful, durable floor. This guide breaks down preparation, installation, and finishing, making it simple for any DIYer to get professional-looking results without the high cost.
Hey there, DIY friends! Md Meraj here, ready to tackle another home improvement project that’s totally within your reach. Ever look at a worn-out floor and dream of giving it a fresh, modern look without breaking the bank? Laminate flooring is a fantastic choice – it’s durable, stylish, and surprisingly easy to install yourself. Many folks find floor renovation a bit daunting, picturing complicated steps and tricky cuts.
But trust me, with the right approach and a little bit of patience, you can absolutely lay laminate flooring like a pro. We’ll walk through everything, from getting your room ready to those satisfying final clicks of the planks. Let’s get started and transform your space!
Why Choose Laminate Flooring? Genius Benefits for Your Home
Before we dive into the how-to, let’s chat about why laminate is such a brilliant option for DIYers. With its layered construction, laminate offers a great blend of beauty, toughness, and affordability. It’s designed to mimic the look of real wood or stone without the hefty price tag or the demanding maintenance. Plus, its click-lock system makes installation a breeze, even for those who are new to flooring projects.
Unlocking Durability and Style
- Tough Surface: Laminate has a protective wear layer that’s incredibly resistant to scratches, dents, and fading. This makes it ideal for busy homes with kids and pets.
- Aesthetic Variety: You can find laminate in countless styles, colors, and textures, perfectly replicating the look of hardwood, tile, or even stone.
- Budget-Friendly: Compared to its natural counterparts, laminate flooring is significantly more cost-effective, offering excellent value.
- Easy Maintenance: A simple sweep or damp mop is usually all it takes to keep laminate looking its best. No waxing or special polishes needed!
- DIY-Friendly Installation: The popular click-lock system means planks snap together easily, often without the need for glue or nails.
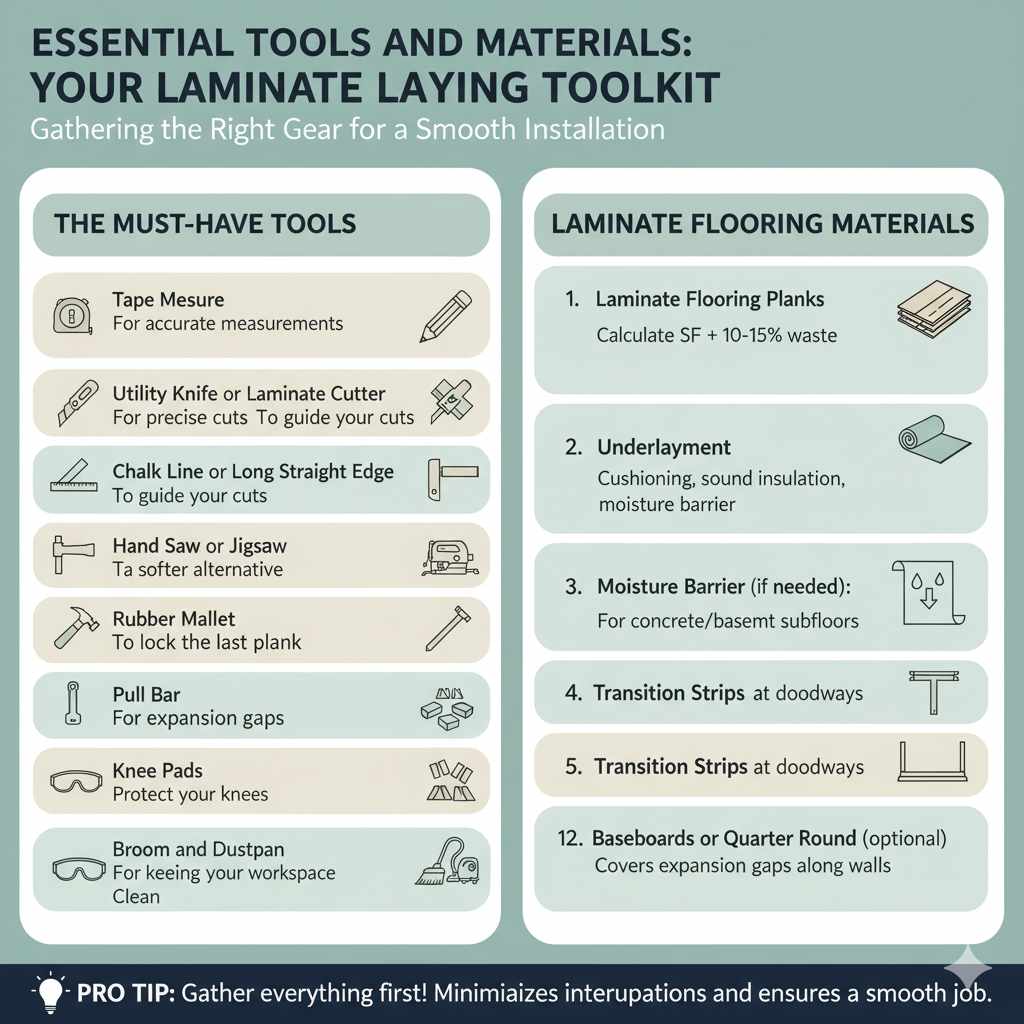
Essential Tools and Materials: Your Laminate Laying Toolkit
Gathering the right tools and materials before you start is key to a smooth installation. Having everything on hand minimizes interruptions and ensures you can complete the job efficiently. Think of this as your project starter pack!
The Must-Have Tools
- Tape Measure: For accurate measurements of your room and planks.
- Pencil: For marking cuts.
- Utility Knife or Laminate Cutter: Essential for precise cuts. A specialized laminate cutter makes cleaner cuts easier.
- Chalk Line or Long Straight Edge: To guide your cuts.
- Hand Saw or Jigsaw: For more complex cuts, like around door frames or obstacles.
- Hammer: To gently tap planks into place if needed.
- Rubber Mallet: A softer alternative to a hammer for tapping planks.
- Pull Bar: To help lock the last plank in each row.
- Spacers: To maintain the necessary expansion gap around the edges of the room.
- Safety Glasses: Always protect your eyes when cutting or hammering.
- Knee Pads: You’ll be spending a lot of time on the floor, so save your knees!
- Broom and Dustpan or Vacuum Cleaner: For keeping your workspace clean.
Your Laminate Flooring Materials
- Laminate Flooring Planks: Calculate the square footage of your room and add 10-15% for waste and potential mistakes.
- Underlayment: This provides cushioning, sound insulation, and a moisture barrier. Check your laminate manufacturer’s recommendations for the type of underlayment needed.
- Moisture Barrier (if needed): Especially important for installation over concrete subfloors directly on the ground or in basements.
- Transition Strips: To bridge gaps between flooring types or to cover expansion gaps at doorways.
- Baseboards or Quarter Round (optional): To cover the expansion gap along the walls.
Genius Step-by-Step Guide to Laying Laminate Flooring
Now for the exciting part! Laying laminate flooring yourself is a rewarding process. We’ll break it down into simple, manageable steps. Remember, patience and attention to detail are your best friends here.
Step 1: Prepare Your Room Like a Pro
This is the foundation of a great installation. Don’t skip this! A clean, level, and dry subfloor is crucial.
- Clear the Room: Remove all furniture, rugs, and anything else from the floor.
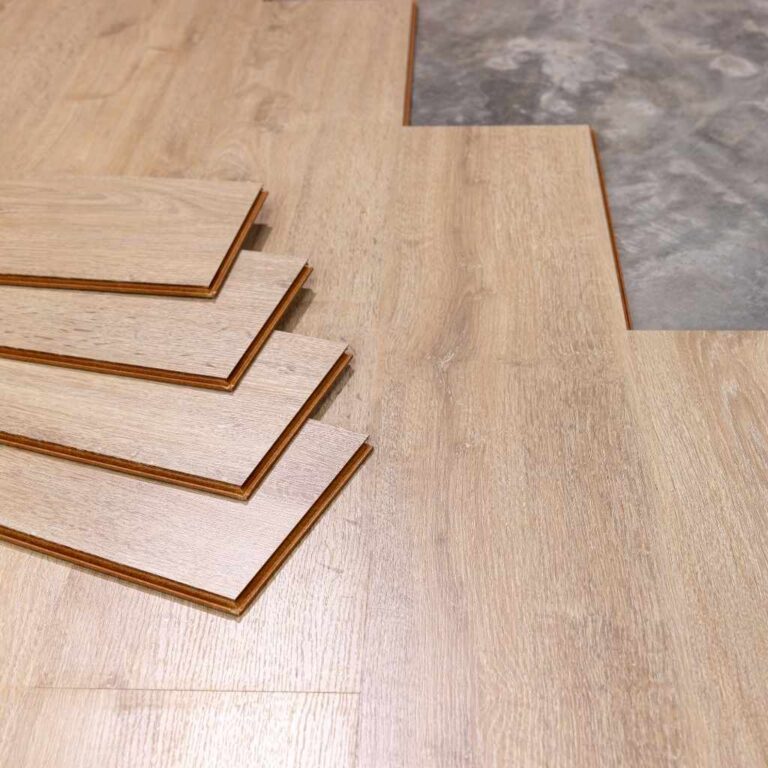
- Remove Existing Flooring: If you have old carpet or vinyl, remove it. If you’re laying laminate over existing hardwood or tile, ensure it’s in good condition and well-secured. For installing laminate flooring on wooden floors, make sure the wood is smooth and free of damage.
- Inspect and Prepare the Subfloor: Your subfloor needs to be clean, dry, and level. Sweep or vacuum thoroughly to remove all dust and debris. Check for any high spots or low spots. High spots can be sanded down, and low spots might need a self-leveling compound. Most manufacturers require the subfloor to be within 1/8 inch of level over a 6-foot span. Check the manufacturer’s guidelines of your laminate flooring. Formaldehyde, while a common component, can off-gas, making a properly ventilated and sealed subfloor important.
- Acclimate the Flooring: Let the laminate planks sit in the room where they will be installed for at least 48-72 hours. This allows them to adjust to the room’s temperature and humidity, preventing expansion or contraction issues later.
Step 2: Lay Down the Underlayment and Moisture Barrier
The underlayment is your floor’s secret weapon for comfort and longevity. The moisture barrier protects against dampness, especially crucial over concrete.
- Install Moisture Barrier (if required): If you’re installing over concrete or in a basement, lay down a plastic moisture barrier. Overlap seams by about six inches and tape them securely. Roll out sections, running them up the wall slightly.
- Roll Out the Underlayment: Lay your chosen underlayment over the subfloor. Many underlayments have a tape or adhesive strip to connect the seams. Follow the manufacturer’s instructions for your specific underlayment. Trim any excess with a utility knife.
Step 3: Plan Your Layout and Start Laying Planks
Proper planning here saves a lot of headaches. You’ll want to decide your plank direction and how you’ll handle those tricky first and last rows.
- Choose Your Direction: For most rooms, laying planks parallel to the longest wall or towards the main light source (like a window) makes the room look larger and more open.
- Dry-Fit Your First Row: Lay out a few planks without locking them to get a feel for the fit and spacing.
- Start the First Plank: Place your first plank with the tongue side facing the wall. Make sure it’s perfectly straight. Use your spacers to create an expansion gap of about 1/4 to 3/8 inch between the plank and the wall. This gap is vital because laminate expands and contracts with changes in temperature.
- Connect the Second Plank: Angle the tongue of the second plank into the groove of the first plank and lay it down.
- Lock the Plank: Gently tap the seam with a rubber mallet and a tapping block (a scrap piece of laminate) to ensure a tight, flush fit.
- Continue the Row: Repeat this process for the entire first row. You’ll need to make a cut on the last plank to fit the end of the row. Keep the cut-off piece if it’s longer than 12 inches, as it can be used to start the next row.
- Prepare the Second Row: Start the second row with the cut-off piece from the first row (if it’s at least 12 inches long). Offset the seams between rows by at least 6 inches. This staggered look adds strength and visual appeal. If your cut-off piece is too short, start with a new plank and make a lengthwise cut.
Step 4: Cutting and Fitting for a Perfect Finish
Cutting is where you’ll spend a bit of time, especially around obstacles. Take your time here for that craftsman-level finish.
- Cutting Planks: For straight cuts, measure the space, mark your plank with a pencil, and use a laminate cutter or a utility knife and straight edge. Score deeply several times, then snap the plank. For more intricate cuts (like around door frames or pipes), use a jigsaw. Always measure twice and cut once!
- Fitting Around Obstacles: For door frames, you might need to cut the plank to fit underneath. You can often cut off the tongue of the plank facing the frame, making it easier to slide into place. Make a cardboard template for complex cuts.
- Chasing Door Jams: A handy trick for door jams is to place the laminate plank next to the jam, then slide a piece of scrap wood (the thickness of your underlayment plus plank) under the jam. Place your plank on top of the scrap wood flush against the jam, and cut the jam at the bottom. This allows the plank to slide smoothly underneath for a clean look.
Step 5: Completing the Installation and Finishing Touches
You’re in the home stretch! These final steps secure the floor and hide the expansion gaps.
- Install the Last Row: This can be the trickiest part. You’ll likely need to use your pull bar tool to lock the last row into place against the wall. Angle the planks and gently tap with a rubber mallet to secure them.
- Remove Spacers: Once the floor is laid, carefully remove all the spacers from around the perimeter.
- Install Baseboards or Quarter Round (Optional but Recommended): To cover the expansion gap along the walls, attach new baseboards or quarter-round molding. Nail these to the wall, not to the laminate flooring, so the floor can still expand and contract freely.
- Install Transition Strips: Use transition strips to cover expansion gaps at doorways or where your laminate meets another type of flooring. Follow the manufacturer’s instructions for installation.
Table: Laminate Installation Checklist
Here’s a quick checklist to ensure you haven’t missed any crucial steps for a successful laminate flooring installation.
| Step Category | Key Tasks | Notes |
|---|---|---|
| Preparation | Clear room, prep subfloor, check levelness, acclimate planks | Subfloor must be clean, dry, and flat. |
| Underlayment | Lay moisture barrier (if needed), lay underlayment | Ensure seams are taped; follow manufacturer’s guide. |
| First Row | Position first plank, use spacers, lock planks | Ensure first plank is straight and has expansion gap. |
| Subsequent Rows | Offset seams (min 6″), use pull bar for tight fits | Maintain 6″ seam offset for stability. |
| Cutting | Measure accurately, use appropriate tools (cutter, jigsaw) | Plan cuts for tricky areas like doorways. |
| Finishing | Remove spacers, install baseboards/quarter round, install transitions | Nail trim to walls, not floor. |
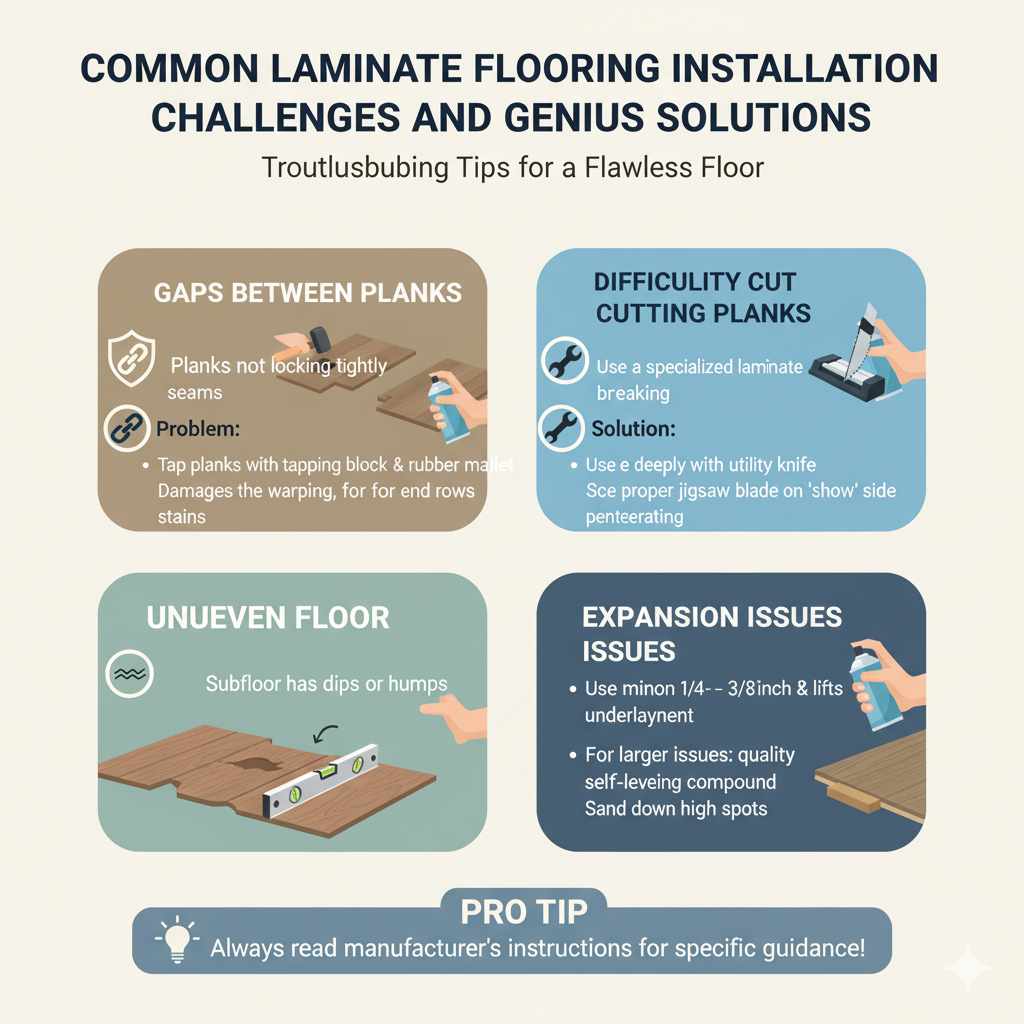
Common Laminate Flooring Installation Challenges and Genius Solutions
Even with the best planning, you might encounter a few bumps. Here are some common issues and how to solve them.
Gaps Between Planks
Problem: Planks aren’t locking tightly, leaving small gaps.
Solution: Ensure your underlayment is even and not bunched up. Check that the locking mechanisms on the planks are clean and undamaged. Use a tapping block and rubber mallet to gently but firmly tap the planks together. If you’re struggling with the end of a row, the pull bar is designed specifically for this.
Difficulty Cutting Planks
Problem: Planks are chipping or breaking unevenly when cut.
Solution: A dedicated laminate flooring cutter offers the cleanest and easiest cuts. If using a utility knife, score the top layer deeply multiple times before attempting to snap the plank. For jigsaws, ensure the blade is appropriate for laminate and that you’re cutting on the “show” side of the plank if possible to minimize chipping. Always take your time and use a steady hand.
Uneven Floor
Problem: The subfloor has noticeable dips or humps.
Solution: For minor unevenness (less than 1/8 inch over 6 feet), a good quality underlayment can sometimes compensate. For larger issues, you’ll need to level the subfloor using a self-leveling compound or by sanding down high spots. Refer to the U.S. Department of Housing and Urban Development (HUD) guidelines on floor leveling for best practices.
Expansion Issues
Problem: The floor buckles or lifts, especially near walls or doorways.
Solution: This is almost always due to insufficient expansion gaps. Ensure you have maintained the recommended 1/4- to 3/8-inch gap around the entire perimeter of the room, including against any fixed objects like cabinets or fireplaces. Also, confirm that baseboards and moldings are nailed to the walls, not the floor, allowing for movement.
Frequently Asked Questions About Laying Laminate Flooring
Q1: Can I lay laminate flooring directly over my old vinyl flooring?
A1: In most cases, yes, as long as the old vinyl is smooth, flat, well-adhered, and in good condition. Remove any loose pieces and ensure the surface is clean. Check your laminate manufacturer’s specific guidelines, as some do not allow installation over existing vinyl.
Q2: Do I need a special underlayment for laminate?
A2: Yes, most laminate flooring requires an underlayment. It acts as a cushion, sound dampener, and moisture barrier. Some click-lock laminates come with attached underlayment, but for others, you’ll need to purchase it separately. Always check the manufacturer’s recommendations.
Q3: How do I measure my room for laminate flooring?
A3: Measure the length and width of your room in feet. Multiply these two numbers together to get the square footage (Length x Width = Square Footage). Always add 10-15% extra for cuts, waste, and potential future repairs.
Q4: How do I lay laminate flooring in a small space, like a closet?
A4: The process is the same, but pay extra attention to door jams and tight corners. Measure carefully and make precise cuts. You might find a jigsaw particularly useful for intricate shapes in small areas.
Q5: What is the best direction to lay laminate planks?
A5: Generally, laying planks parallel to the longest wall in the room or in the direction of the main light source (like a window) will make the room appear larger and more cohesive. However, for specific subfloor requirements or aesthetic preferences, consult your laminate manufacturer’s guide.
Q6: Can I lay laminate in a bathroom or kitchen?
A6: While some laminate floors are highly water-resistant, traditional laminate is not waterproof. It’s generally not recommended for areas prone to standing water. However, many newer laminate products are designed with enhanced moisture resistance. Always check the product specifications and consider a waterproof alternative if excessive moisture is a concern.
Conclusion: Your Beautiful New Floor Awaits!
See? You’ve got this! Learning how to lay laminate flooring is a fantastic DIY skill that can truly transform your living space. By following these steps – from thorough preparation and careful planning to precise cutting and final finishing touches – you can achieve a professional-looking result that you’ll be proud of for years to come. Remember to take your time, wear your safety glasses, and enjoy the process of bringing a fresh, beautiful new floor into your home. That click-lock system is designed to make your life easier, and with a little practice, you’ll be an expert navigator of planks