How to Make a Wooden PC Case: A Real DIY Build Guide
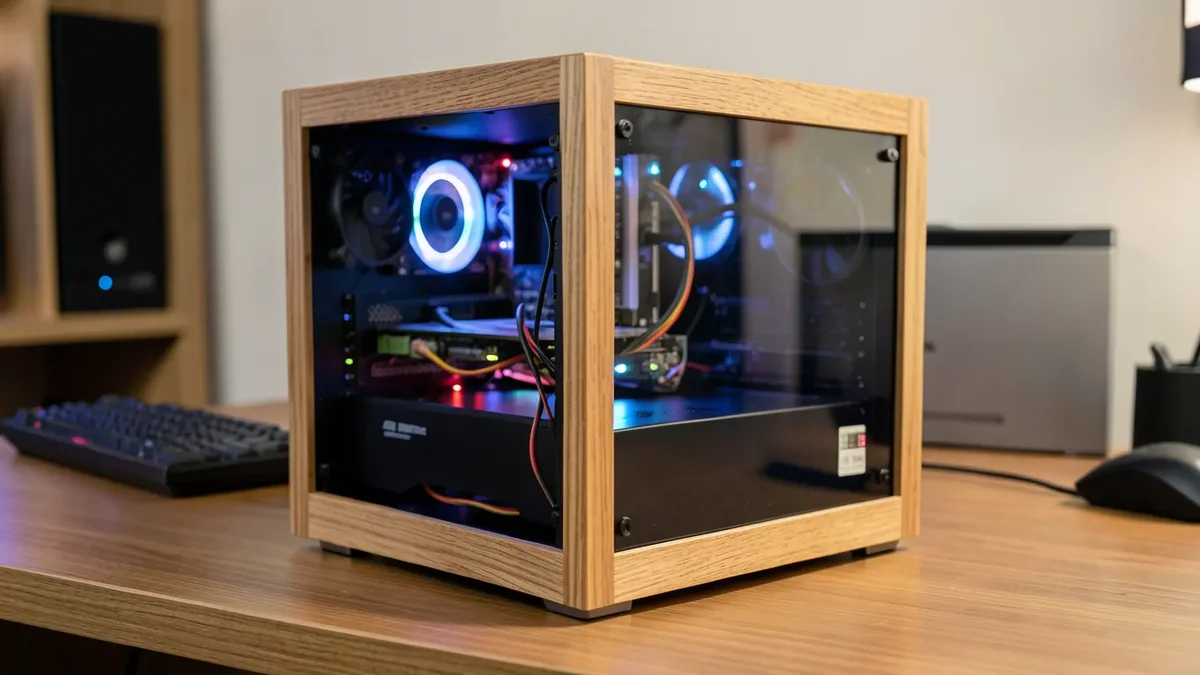
A wooden PC case is a genuinely doable weekend-to-week project with basic woodworking tools, but airflow is the part most first-timers get wrong. Wood doesn’t dissipate heat or shield electromagnetic interference the way a metal case does, so ventilation cutouts, fan placement, and clearance around hot components need more attention than they would in a plastic or aluminum build.
Hey there, fellow DIYers, Md Meraj here. Baltic birch plywood is the material of choice for this build for a reason: it’s void-free (no gaps in the internal plies), which means cleaner edges when you cut vent holes and drill mounting points, and it’s more dimensionally stable than solid wood, so panels won’t warp under normal temperature swings inside a case. Let’s walk through designing, cutting, and finishing a case that actually keeps your components cool.
Materials and Tools Needed
FOR CLEAN, FASTENER-FREE CORNER JOINTS
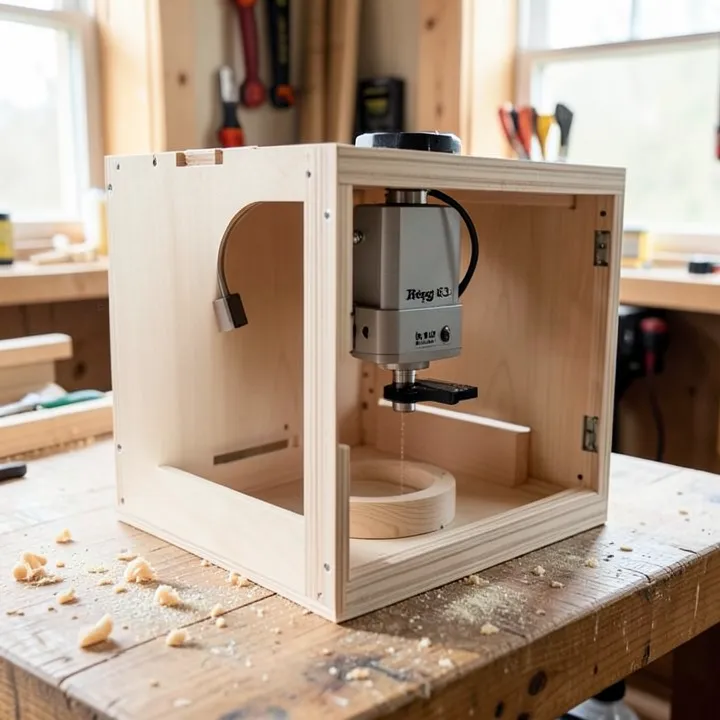 |
Kreg R3 Jr. Pocket Hole Jig System – $22.55 Makes strong, hidden corner joints on plywood panels without external brackets that would interfere with a clean case exterior.
|
- Baltic birch plywood, typically 1/2 inch for structural panels (sides, top, bottom) and 1/4 inch for smaller trim pieces
- A track saw or table saw for straight panel cuts, plus a jigsaw or router for vent cutouts and curves
- A pocket-hole jig or dowel joinery for clean, strong corner joints without visible external fasteners
- Wood glue, clamps, and wood screws for standoffs and motherboard tray mounting
- Threaded brass inserts for motherboard standoffs (these thread into the wood and hold up to repeated screw-in/out cycles far better than screwing directly into bare plywood)
- Case fans, a fan filter mesh, and finish materials (sandpaper, wood finish or paint)
Designing Your Wooden PC Case
Start from your actual component list, not a generic template. Motherboard form factor (ITX, mATX, or ATX) sets your minimum interior footprint, and GPU length plus CPU cooler height are the two dimensions that most often get underestimated on a first build. Sketch the layout to scale, including cable routing space behind the motherboard tray, before cutting a single panel. A case that’s 10-15mm too tight on GPU clearance is a genuinely common and avoidable mistake.
Cutting and Assembling the Wood
- Cut all structural panels to size, checking every panel for square before assembly. An out-of-square panel compounds into a case that won’t sit flat or seal properly.
- Cut ventilation openings and fan mounting holes before final assembly, when the panel is still flat and easy to clamp. This is far easier and more accurate than trying to cut vents on an assembled box.
- Dry-fit every joint before gluing anything. Wood movement and small cutting errors are much easier to correct before glue is involved.
- Glue and clamp the frame, checking for square again before the glue sets.

Adding Components and Ventilation
Positive air pressure (slightly more intake airflow than exhaust) is the standard approach and it matters even more in a wood case, since wood doesn’t wick heat away from the interior the way metal does. Front or bottom intake fans pulling filtered air in, with rear or top exhaust fans pushing warm air out, keeps dust down and airflow moving in one consistent direction. Leave real clearance around the CPU cooler and GPU, at least the manufacturer’s recommended clearance plus a margin, since wood panels can’t serve as a heatsink surface the way some metal cases do.
Route cables through drilled grommet holes rather than open notches for a cleaner build and better airflow, and mount the motherboard on brass threaded inserts rather than driving screws directly into plywood, which strips out after a few mount/remount cycles.
Finishing Touches
Sand progressively through 120, 180, and 220 grit before finishing. A clear polyurethane or lacquer shows off the plywood’s edge-grain pattern and is easy to wipe clean; paint works too but consider that repeated heat cycling near vents can eventually cause a painted finish to yellow or crack faster than it would on a piece of furniture that doesn’t run warm.
Customization and Personalization
A tempered glass or acrylic side panel is a popular way to show off both the woodwork and the components inside, mounted with the same brass insert approach used for the motherboard. Wood veneer accents, laser-engraved panels, or contrasting wood species for trim are all realistic ways to personalize the build once the core structure and airflow are dialed in.
Maintenance and Upkeep
Clean dust filters regularly. Dust buildup is a bigger problem in a wood case since you can’t rely on a bare metal interior to shed heat as easily when airflow gets restricted. Keep the case away from high humidity, and touch up the finish if you notice any panel edges looking raw or absorbing moisture, since exposed plywood edges are the most vulnerable spot for swelling over time.
Frequently Asked Questions
How do I start building a wooden PC case?
Start with your exact component list and dimensions (motherboard size, GPU length, cooler height), sketch a scaled layout, then choose a void-free plywood like Baltic birch for the panels.
What wood is best for a PC case?
Baltic birch plywood is the most common choice because it’s void-free, cuts cleanly for vents and mounting holes, and stays dimensionally stable compared to solid wood.
How do I cool a wooden PC case?
Set up positive air pressure with filtered intake fans and matching exhaust fans, and leave more clearance around the CPU cooler and GPU than you would in a metal case, since wood doesn’t help dissipate heat.
What tools do I need for a wooden PC case?
A track saw or table saw for panel cuts, a jigsaw or router for vent cutouts, a pocket-hole jig or dowel joinery for corners, and a drill for mounting hardware and brass inserts.
Sponsored / affiliate links. As an Amazon Associate I earn from qualifying purchases. I may earn additional commission from eligible campaigns.