How to Making a Wooden Spokeshave: Master Craft Tips
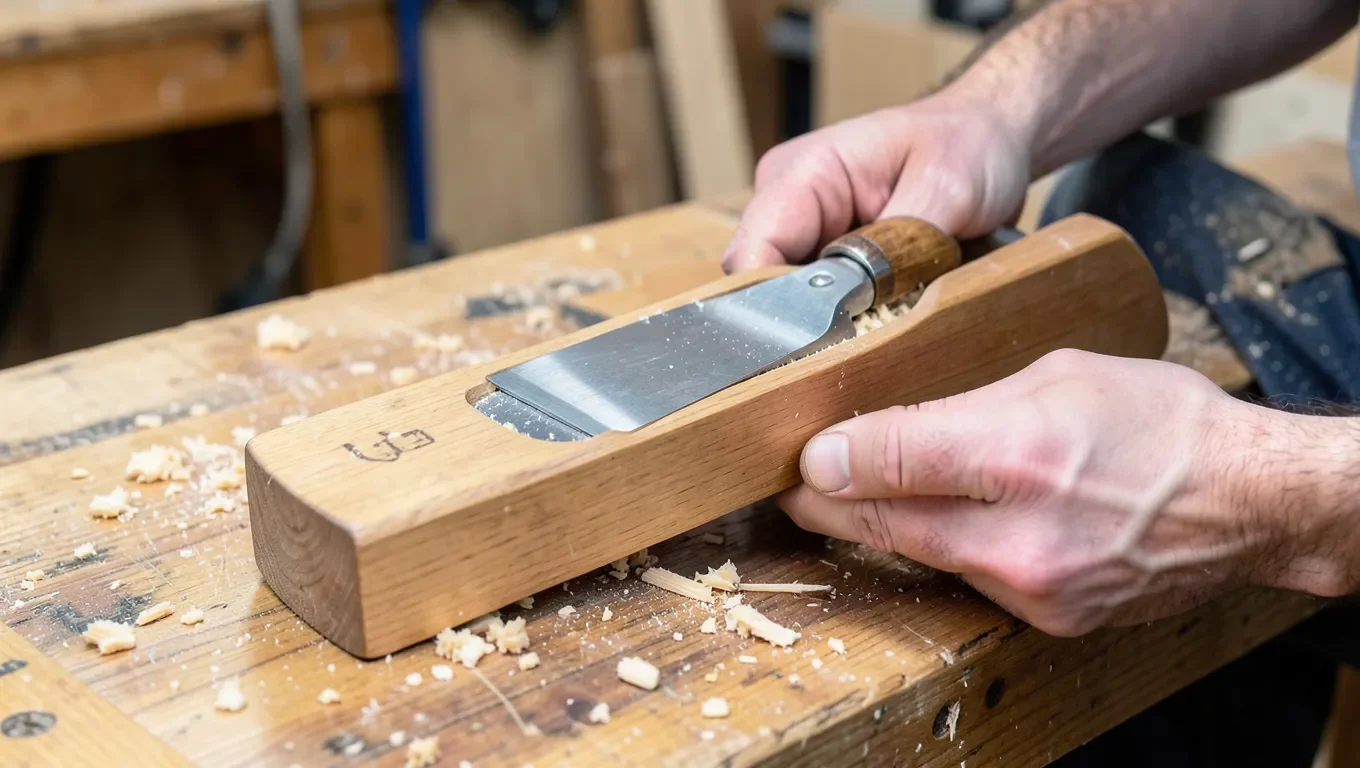
A wooden spokeshave is a wood body with two handles (“wings”), a bedded blade set at roughly 45 degrees, and two thumbscrews riding in slotted holes in the blade so you can adjust depth of cut. Buy the blade rather than making one – a replacement flat spokeshave iron is inexpensive and already properly hardened, which a shop-made blade almost never matches. The wood body is the real DIY project here.
The Detail Most Guides Skip: Grain Direction In The Wings
Best Sharpening Stone For This Build
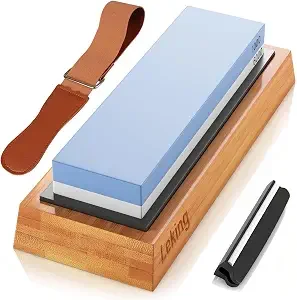 |
1000/6000 Grit Dual-Sided Whetstone Set – $19.99 A dull spokeshave blade tears wood instead of shaving it – this handles both the initial edge and ongoing touch-ups.
|
This is the single most important structural detail in a wooden spokeshave, and it’s the reason so many homemade ones snap at the handles within weeks. The two wings (handles) stick out at an angle from the body and take real lateral force every time you push the tool – if the wood grain runs straight along the wing, it splits off right where the wing meets the body. The traditional fix is to orient the grain diagonally through each wing, following the angle of the wing itself, not the centerline of the body. This is why traditional wooden spokeshaves are shaped from a single wide blank with the wings cut at an angle to the grain, not built up from straight-grained stock.
- Use a wide, flat blank at least 2 inches thick so you have room to orient the wing grain diagonally.
- Sketch the wing angle on the blank BEFORE cutting, and check that the grain runs roughly parallel to each wing’s length, not perpendicular to it.
- Hardwood with a straight, predictable grain (beech, maple, hornbeam) works better here than figured or wild-grain wood, which is harder to read and orient correctly.
Choosing The Right Wood
- Beech and hornbeam are the traditional choices for good reason – dense, tight, predictable grain that holds up to repeated flexing at the wings.
- Maple is a solid, readily available substitute with similar hardness and grain predictability.
- Oak works but its more open, coarser grain is harder to read for correct wing orientation – usable, but less forgiving for a first attempt.
- Avoid softwoods like pine for the body – they compress and wear at the thumbscrew holes and mouth opening much faster than a hardwood body.
Shaping The Body
- Lay out the mouth opening (where the blade edge protrudes), the bed angle (roughly 45 degrees, bevel-down is the traditional setup), and the two wing shapes on the blank before any cutting.
- Drill and chisel the mouth opening first, then cut the wing profiles with a saw, followed by rasps and a spokeshave (a metal one, if you have access to one, makes shaping a wooden one easier) to refine the curves.
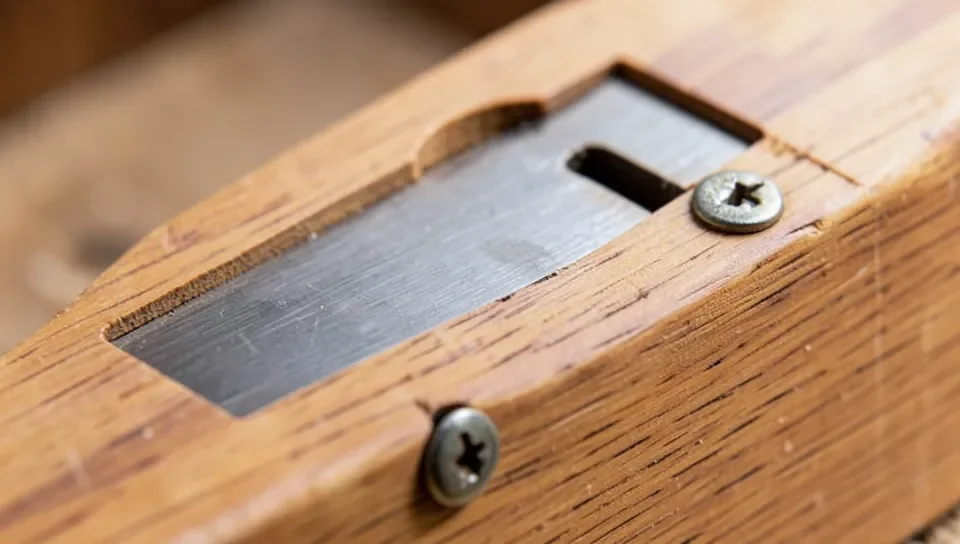
- Drill the two thumbscrew holes through the body where they’ll align with the slotted holes in your blade – these need to be positioned accurately, since they’re what lets you adjust cutting depth once assembled.
Fitting And Adjusting The Blade
- Buy a replacement flat spokeshave blade rather than shaping your own – proper heat-treated steel holds an edge far better than anything you can harden in a home shop.
- The blade sits bevel-down against the bed at roughly 45 degrees, with its two slotted holes lined up over the thumbscrew holes you drilled in the body.
- Thread the thumbscrews through the slots into the body. Loosening them lets you slide the blade up or down (adjusting depth of cut) or tilt it slightly (adjusting for skewed cuts); tightening locks it in place.
- Sharpen the blade fully before first use (see the pick above) – a dull edge on a spokeshave tears the wood fibers instead of shaving them cleanly, no matter how well the body is made.
Finishing And Maintenance
- Sand the body progressively (80 to 220 grit), working with the grain, then apply a few coats of oil or wax – this protects the wood and makes it more comfortable to grip over long use.
- Keep the tool dry and stored away from direct sun and heat sources, which can warp or crack the wooden body over time.
- Re-sharpen the blade regularly, checking the edge for nicks – a spokeshave is used for fine shaping work, so edge quality matters more here than on a rougher tool.
Frequently Asked Questions
How Do You Make A Wooden Spokeshave?
Shape a hardwood body with two wing handles and a bedded mouth for the blade, orienting the wing grain diagonally (not straight) to prevent splitting under use. Buy a proper replacement blade rather than making one, drill thumbscrew holes to match its slotted mounting holes, and assemble.
Why Do Homemade Wooden Spokeshave Handles Break?
Almost always incorrect grain orientation in the wings – if the grain runs straight rather than diagonally along each wing’s angle, the wing splits at the body under normal lateral pressure. This is the detail most quick tutorials skip entirely.
What Wood Is Best For A Spokeshave Body?
Beech and hornbeam are the traditional choices for their dense, predictable, tight grain. Maple is a good readily-available substitute. Avoid softwoods like pine, which wear quickly at the thumbscrew holes and blade mouth.
Should I Make Or Buy The Spokeshave Blade?
Buy it. A commercial replacement blade is properly heat-treated steel that holds an edge – matching that hardness in a home shop is impractical. The wood body is the legitimate DIY project; the blade isn’t worth making from scratch.
Conclusion
A wooden spokeshave comes down to two things most guides skip: orienting the wing grain diagonally so the handles don’t snap, and buying a real hardened blade instead of trying to make one. Get the body’s grain direction right and use a proper replacement iron, and the rest – shaping, mounting, sharpening – is straightforward hand-tool work.
Sponsored / affiliate links. As an Amazon Associate I earn from qualifying purchases. I may earn additional commission from eligible campaigns.