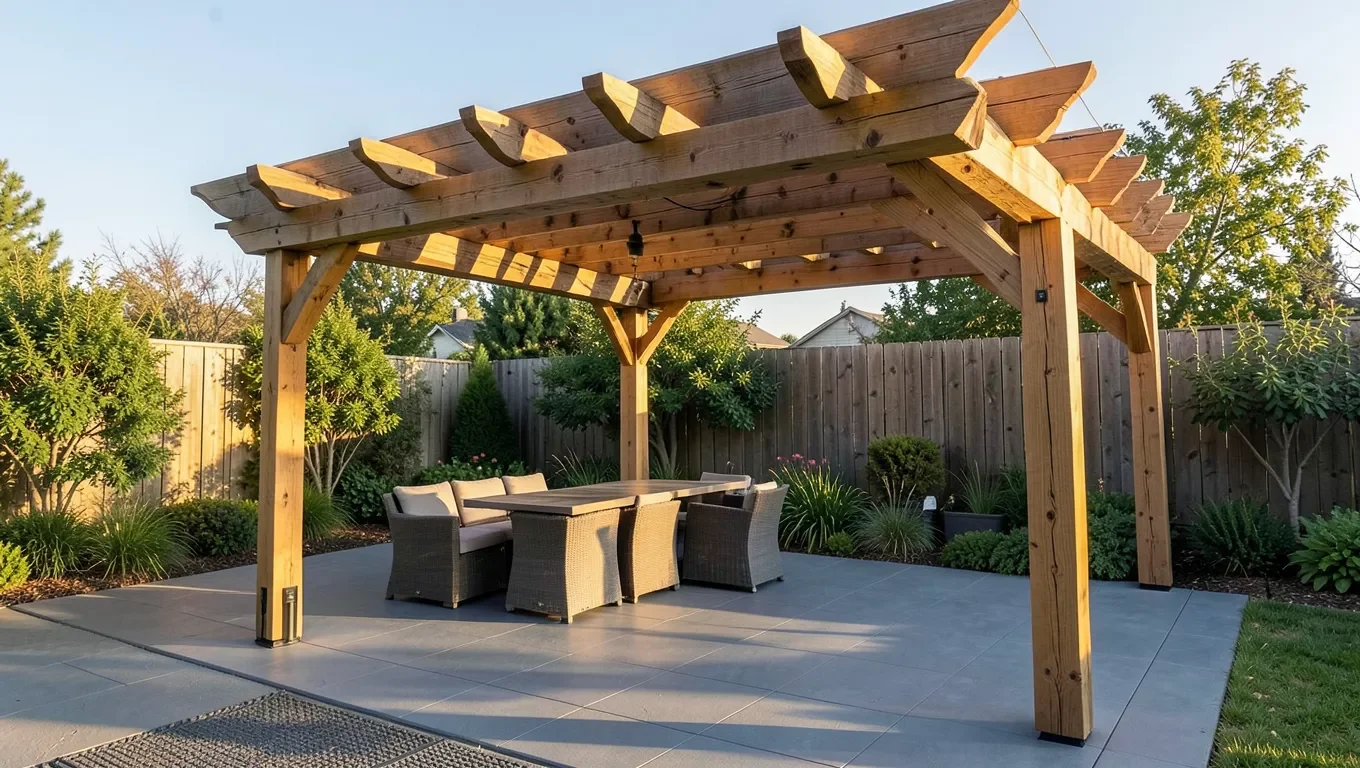
How to Notch Wood for a Pergola (Birdsmouth & Lap Joints)
To notch wood for a pergola, mark the beam or post at the exact spot where a crossing member will seat, then cut the notch no deeper than roughly a third of that piece’s thickness so the two beams lock together without cutting away the strength that’s holding the roof up. That depth limit is the part most quick guides skip, and it is the single biggest factor between a notch that lasts twenty years and one that splits under snow load or wind.
A notched joint isn’t just about looks. When a rafter or beam is notched to seat over a post or ledger, the wood grips a real mechanical bearing surface instead of relying on face-mounted brackets and screws alone, which helps resist the lateral and wind-uplift forces that try to rack a pergola apart. Cut it too shallow and you get little more than a surface-mount connection with extra steps; cut it too deep and you’ve hollowed out the very fibers that carry the load.
Tools for Marking and Cutting Pergola Notches
Best Square for Marking Pergola Notches
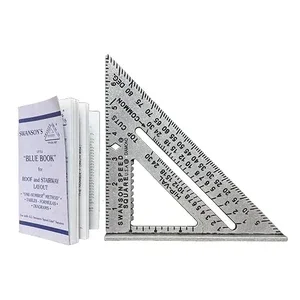 |
SWANSON Tool Co S0101 7″ Speed Square – $9.98 Scribes the shoulder and angled cheek lines for a birdsmouth or half-lap notch in one setup, then doubles as a saw guide for the cut.
|
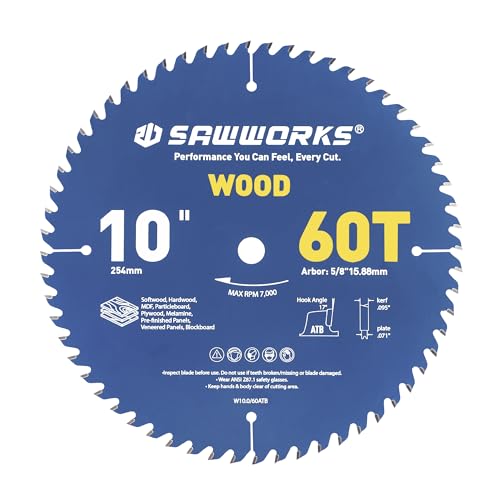
Every notch starts with an accurate layout, and a rafter/speed square earns its keep here more than any other single tool. It lets you scribe the shoulder line and the angled cheek of a birdsmouth cut in one setup instead of fumbling with a protractor, and the same square doubles as a saw guide once you’re ready to cut. Pair it with a sharp circular saw for the straight shoulder cuts, a wood chisel for cleaning out the waste and paring the cheek flat, and a combination square or tape measure for double-checking depth before you commit the saw to the wood.
Types of Notches for Pergola Beams and Posts
Three notch styles cover almost every pergola connection. The half-lap notch removes half the thickness from each of two crossing beams so they interlock flush, which is the standard choice where a header beam crosses a post cap or where two beams cross at a right angle. The birdsmouth notch is a V-shaped cutout near the end of a rafter that lets it seat directly over a flat beam or top plate, seating the rafter’s own weight onto the beam’s bearing surface rather than hanging it off fasteners alone. A dado or housed notch, cut straight across the grain, is used less on pergolas but shows up where a cross-brace needs to sit flush into a post without weakening the post’s outer face.
Of the three, the birdsmouth is the one people get wrong most often, because it combines two cuts (a level seat cut and an angled plumb cut) that both have to land precisely or the rafter rocks instead of seating flat. Dry-fit every birdsmouth before you cut a second one from the same pattern; a five-minute test saves you from repeating the same layout mistake across an entire roof’s worth of rafters.
How Deep Should a Pergola Notch Be?
This is the question most pergola tutorials skip entirely, and it’s the difference between a joint that’s genuinely stronger than surface brackets and one that’s a structural liability. As a practical rule of thumb, keep a notch to no more than about a third of the beam’s depth, and never let it exceed roughly half. A birdsmouth cut into a 2×6 rafter (which is about 5.5 inches of actual depth) should generally stay in the 1.5 to 2 inch range; go much deeper and you’ve removed enough of the rafter’s cross-section that it can crack under snow or wind load exactly where you cut it. Some building codes are stricter still, capping structural birdsmouth cuts at around a quarter of the member’s depth. This guide’s numbers are a working carpentry rule of thumb, not a substitute for your local building code, so check span tables or a beam span calculator if the pergola is carrying real roof load rather than just shade slats.
Also watch the other end of that range: a notch cut too shallow barely engages the bearing surface at all, so you’re doing the extra work of cutting a notch and still leaning on the screws to hold everything together. If you’re not confident the depth is right, err shallow and add a metal angle bracket as backup – that combination is stronger than either a too-deep notch or brackets alone.
Choosing Wood for Notched Pergola Joints
Wood species matters more for notched outdoor joints than it does for framing hidden inside a wall, and here’s the real reason why: a notch creates a pocket of exposed end grain and a horizontal ledge exactly where rain and dew collect, so any moisture that gets trapped there sits against the wood far longer than it would on a plain vertical face. Cedar and redwood are naturally resistant to rot and insects, which makes them forgiving if a joint isn’t perfectly sealed. Pressure-treated pine is the budget option and holds up fine outdoors, but the chemical treatment only protects the wood’s surface fibers – cutting a fresh notch exposes untreated wood underneath, so that cut face needs its own coat of a borate-based wood preservative or exterior sealant before assembly, not just a sealant pass after the pergola is built.
| Wood Type | Why It Matters for Notched Joints |
|---|---|
| Cedar | Naturally rot- and insect-resistant even if the notch isn’t perfectly flashed |
| Redwood | Similar natural resistance to cedar, with a tighter grain that resists splitting at the notch shoulder |
| Pressure-Treated Pine | Affordable, but the cut notch face exposes untreated wood – seal it separately before assembly |
Measuring and Marking the Notch
Dry-fit the two beams in their final position before you mark anything, and trace the actual crossing point rather than trusting a tape-measure number alone – lumber dimensions drift slightly from piece to piece. Use your speed square to scribe the shoulder line square across the face, then set the square to the correct pitch or angle for a birdsmouth’s plumb cut. Mark the notch depth on both edges of the board, not just one, and connect the marks across the face so you have a full outline to follow with the saw. A sharp pencil or a marking knife gives a cleaner, more visible line than a fat carpenter’s pencil, especially on the angled cheek cut.
Cutting the Notch
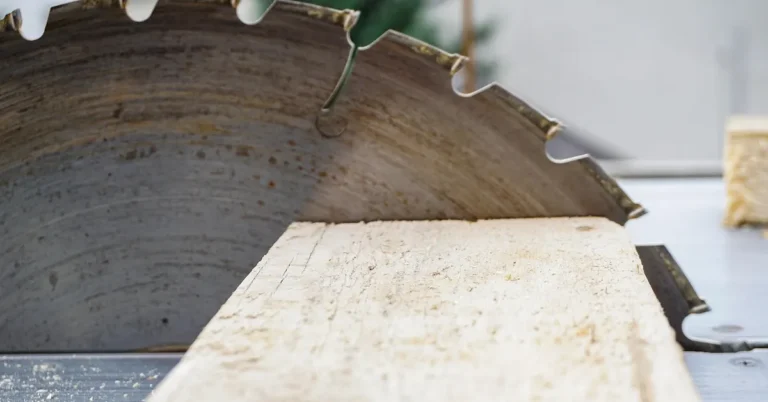
For a half-lap or dado-style notch, set a circular saw’s blade depth to your marked line and make a series of closely spaced parallel cuts across the waste area, then knock out the leftover strips with a chisel and pare the bottom flat. For a birdsmouth, cut the level seat line and the angled plumb line separately with the circular saw, stopping just short of the inside corner where the two cuts meet, then finish that corner with a hand saw or chisel so you don’t overcut past the line and weaken the joint. A router with a straight bit is a faster option for wide, shallow dado notches if you’re cutting a large batch of identical beams, but a circular saw plus chisel gives more control on a one-off birdsmouth.
Test-Fitting and Fine-Tuning the Fit
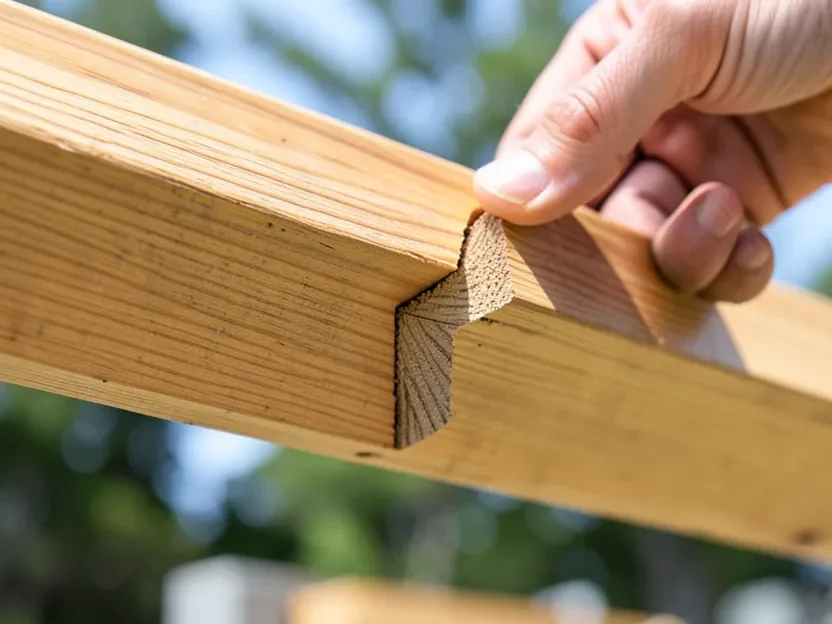
Set the two beams together and check for full contact across the bearing surface, not just at the edges – a notch that only touches at two corners is carrying its load through a fraction of the wood you cut it for. Light sanding or a few passes with a chisel can close small gaps, but if the notch is loose enough to rock, it’s better to shim it with a thin piece of the same species than to keep removing wood, since removing more material only makes an already-oversized notch weaker. Repeat the fit check after any adjustment; a joint that looks snug from one angle can still be open on the far edge.
Assembly and Sealing the Joint
Once the fit is right, secure the joint with structural screws or bolts through the overlap, and add a galvanized angle bracket if the span or local wind rating calls for it – the notch and the bracket are meant to work together, not as a choice between one or the other. Before final assembly, treat the exposed notch faces with an exterior wood sealant or a borate preservative, especially on pressure-treated lumber where the cut exposes untreated wood underneath. On any joint that faces upward or holds water, a strip of self-adhesive flashing tape across the top edge of the notch keeps rain from sitting in that pocket, which matters far more here than on a plain butt joint.
Maintenance and Upkeep
Notched joints are the first place a pergola shows wear, since they trap moisture and take the most structural stress. Inspect them once or twice a year for splitting along the notch shoulder, soft or discolored wood (a sign rot has started), and loosened fasteners. Reapply an exterior sealant every two to three years, paying extra attention to the notch faces themselves rather than just the broad flat surfaces. If you’re maintaining an existing structure rather than building new, it’s worth reviewing how the posts are anchored at the same time, since a loose base puts extra racking stress on every notched joint above it.
Safety Precautions
Wear safety glasses and hearing protection any time you’re running a circular saw or router, and keep a firm grip with both hands rather than trying to steady the workpiece and cut one-handed. A dust mask is worth using with pressure-treated lumber, since the treatment chemicals are best not inhaled as sawdust. Support long beams on both ends before cutting so the piece doesn’t pinch the blade or drop once the cut is finished, and always cut with the beam clamped or braced rather than held only by hand.
Frequently Asked Questions
How Do I Notch Wood for a Pergola?
Dry-fit the beams, mark the shoulder and depth lines with a speed square on all sides of the board, then cut the shoulder and cheek lines with a circular saw and clean out the waste with a chisel. Keep the notch depth to roughly a third of the beam’s thickness so the joint stays strong, and test-fit before final assembly.
What Tools Are Needed for Notching Wood?
A speed or rafter square for marking angles and shoulder lines, a circular saw for the straight cuts, a wood chisel for cleaning out waste and paring the cheek, and a tape measure or combination square for checking depth. A router helps if you’re cutting a large batch of identical dado notches.
What Is the Best Wood for a Pergola?
Cedar and redwood are naturally resistant to rot and insects, which is especially useful at notched joints where moisture can collect. Pressure-treated pine is the more affordable option and holds up well outdoors, but the cut face of any notch exposes untreated wood that needs its own sealant before assembly.
How Deep Should Pergola Notches Be?
Keep a notch to roughly one-third of the beam’s depth as a working rule of thumb, and avoid going past about half. Cutting deeper removes too much of the wood’s cross-section and risks cracking under load, while some building codes cap structural birdsmouth cuts even tighter, around a quarter of the member’s depth – check your local code for anything load-bearing.
Conclusion
A well-cut notch does real structural work: it gives crossing beams a genuine bearing surface instead of relying on fasteners alone, and it resists the wind and racking forces that loosen a pergola over time. Get the depth right, pick a wood species suited to outdoor moisture, and seal the cut faces before assembly, and the joint will outlast most of the fasteners holding the rest of the structure together.
Sponsored / affiliate links. As an Amazon Associate I earn from qualifying purchases. I may earn additional commission from eligible campaigns.