How to Open Elmer’s Wood Glue: Expert Tips & Tricks
To open Elmer’s Wood Glue, twist the cap counterclockwise to loosen it. If the cap is stuck, gently tap it on a solid surface to help loosen it before twisting it open.
Elmer’s Wood Glue is a versatile adhesive used for a variety of woodworking projects. It provides a strong bond and is easy to use. Whether you’re repairing furniture or working on a DIY project, knowing how to open the glue bottle properly is essential.
By following this simple method, you can easily access the glue and get started on your woodworking tasks.
Understanding Elmer’s Wood Glue Cap
Best Elmer’s Alternative If Yours Won’t Open
 |
Titebond III Ultimate Wood Glue, 16 oz – $13.48 If the cap won’t budge even after the twisting and warm-water tricks in this guide, this is the waterproof glue we’d reach for instead of forcing a cross-threaded bottle.
|
Elmer’s Wood Glue is a PVA (polyvinyl acetate) adhesive, and the reason its cap sticks in the first place traces back to how that glue actually cures — PVA hardens by water evaporating out of it, not through a chemical reaction the way epoxy or super glue does. Inside a sealed bottle, the glue stays liquid indefinitely because there’s nowhere for that water to go. The moment a bit of it gets onto the outside of the nozzle or into the cap threads during use, though, it’s exposed to open air and starts drying into a hard, slightly rubbery film within minutes — and that film is what wedges the cap in place, not the cap’s own design. Understanding this mechanism is what makes the fixes below make sense rather than feeling like guesswork.
Types Of Caps Used
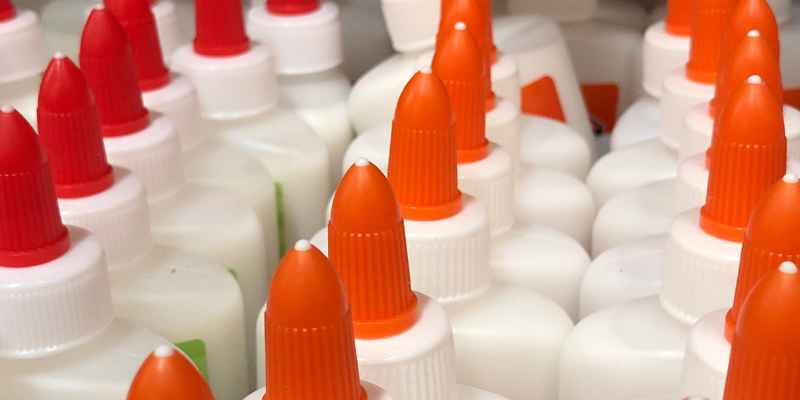
Elmer’s sells wood glue in a few different bottle formats, and the cap style changes with the size: smaller 4-8 oz bottles typically use a simple twist-off cap over a narrow nozzle, while larger bottles (16 oz and up, common for shop use) sometimes use a flip-top spout designed for one-handed dispensing. The twist-off style is more prone to the dried-glue-in-the-threads problem specifically because the threads themselves are where excess glue tends to collect during normal squeezing and capping.
Functionality Of The Cap
The cap’s actual job is keeping air away from the glue reservoir inside the bottle, since even a loosely sealed cap lets enough ambient air exchange happen over weeks to slowly thicken and eventually skin over the glue near the opening. A cap that’s hard to open is often, paradoxically, doing that job well — it means very little air has been getting past the seal, which is good for the glue’s shelf life even though it’s inconvenient in the moment.
Methods For Opening
Most stuck caps respond to one of four approaches, roughly in order of how often they’re needed: a firm counterclockwise twist, a light tap to break a glue seal, gentle heat, or extra grip from a tool. The sections below cover when each one actually applies.
Twisting Technique
A firm, steady counterclockwise twist while bracing the bottle against your body (rather than holding it loosely in one hand) resolves most caps that aren’t actually glued shut — a lot of “stuck” caps are just tightened harder than usual from the last use, with no dried glue involved at all. Grip the widest part of the cap rather than the narrow top, since a wider grip surface gives more leverage for the same amount of hand strength.
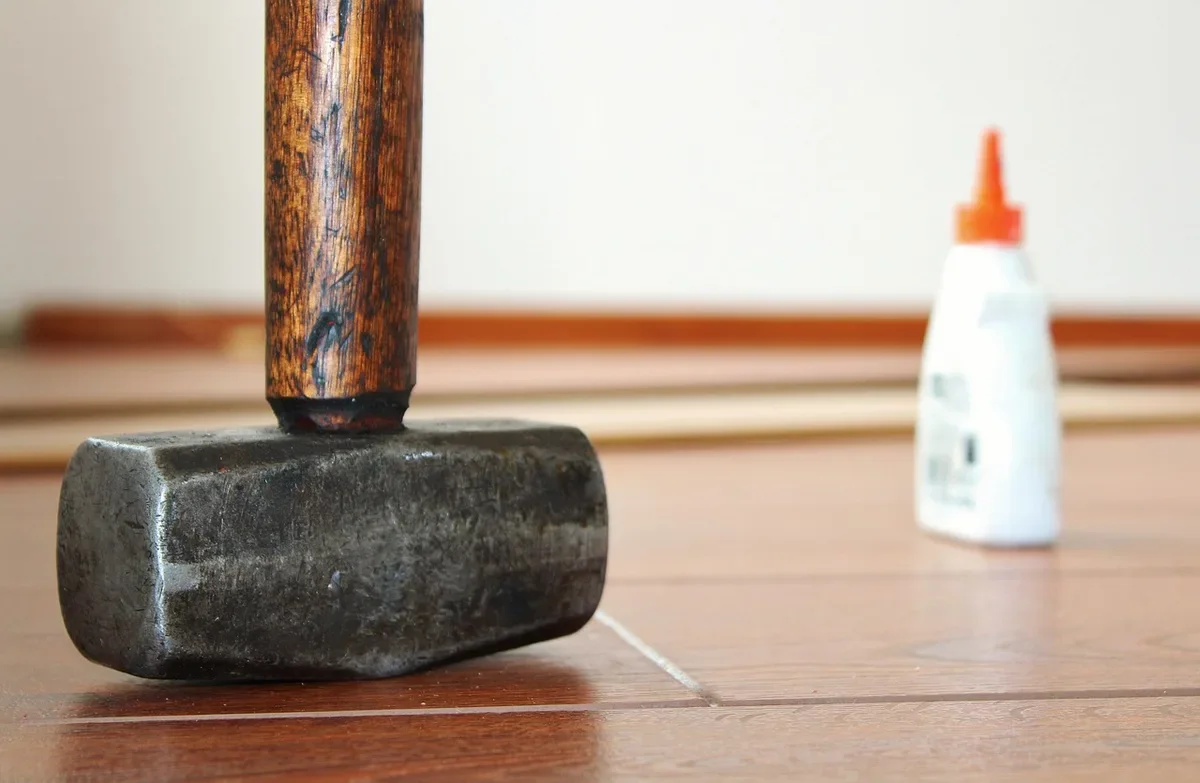
Tapping Method
If the cap is genuinely bonded by dried glue in the threads, a firm tap — cap-down against a wooden cutting board or countertop, not the bottle’s body — can crack that thin, brittle film of hardened PVA loose from the threads without needing to dissolve it. A couple of taps followed by another twist attempt usually reveals whether this is working; if the cap still won’t budge at all after three or four taps, move to a softening method instead of tapping harder, since a fully cured PVA film doesn’t crack, it just holds.
Application Of Heat
A hairdryer on medium heat, held a few inches from the cap for 15-20 seconds, works on two fronts: it softens the plastic just enough to flex slightly under a twist, and it can partially re-soften a thin, still-somewhat-fresh film of dried glue in the threads (fully cured PVA that’s been dry for months is far less responsive to this than glue that dried within the last few days). Keep the heat moving and check progress often — sustained direct heat on one spot can warp the plastic threads, which trades a temporarily stuck cap for a permanently misaligned one.
Usage Of Pliers
Pliers are the last resort precisely because they concentrate force onto a small area of plastic that isn’t designed to handle it. Wrap a rag or a rubber band around the cap first to protect its surface and improve grip, then apply steady rotational pressure rather than a sudden jerk — a sudden twist is what typically cracks a cap rather than loosening it. If the bottle itself is flexing or creaking under the pressure needed, that’s the signal to stop and try soaking it instead.
Solving Common Issues
Dried Glue In The Cap
Because PVA glue that’s still relatively fresh (dried within roughly the last week or two) hasn’t finished cross-linking into its final, water-resistant state, warm water can actually soften it back up somewhat — submerging just the cap and neck in warm (not hot) water for 5-10 minutes often loosens a recently-glued-shut cap noticeably more than tapping alone would. Glue that’s been dried for months responds far less to this, since it’s had time to fully cure into a form that’s much closer to permanent.
Stuck Or Sealed Caps
A cap that seems fully sealed rather than just tight is worth diagnosing before forcing it — check whether the threads themselves look coated in a visible glue film (a sign you need the warm-water soak above) or whether it’s simply on very tight with no visible residue (a sign that more twisting force, braced properly, is all that’s needed). Running the cap under a thin stream of warm water while twisting combines both approaches at once: the water softens any glue film while the running water also gives your grip something slightly tacky to bite into rather than slipping.
Alternative Options
If none of the methods above get a bottle open — or if a cap has been forced open enough times that the threads are visibly stripped — it’s worth knowing how the next couple of common wood glue brands handle this same problem, since the fix isn’t always identical bottle to bottle.
Gorilla Wood Glue
Gorilla Wood Glue uses a flip-top spout rather than a separate twist cap, so its failure mode is different — instead of a cap gluing shut on external threads, dried glue tends to plug the small dispensing hole itself. A pin or a thin wire pushed through the opening usually clears it faster than trying to pry the flip-top further open, which risks cracking the hinge.
Titebond Wood Glue
Titebond’s standard twist cap behaves almost identically to Elmer’s, since both are PVA-based and dry the same way — the twist, tap, and warm-water methods above apply just as well here. One difference worth knowing: Titebond’s original and II formulas tend to skin over a bit faster once exposed to air than Elmer’s does, so wiping the nozzle immediately after each use matters slightly more with Titebond to avoid a repeat of the stuck-cap problem.
Expert Opinions And Recommendations
The prevention habits that actually stop a cap from sealing shut in the first place matter more long-term than any single opening trick, since a bottle that’s wiped down properly rarely gets stuck at all.
Prevention Habits Worth Building
- Wipe the nozzle threads with a damp cloth immediately after every use, before any glue on them has a chance to start drying — this single habit prevents the vast majority of stuck-cap situations.
- Store the bottle upright rather than on its side, which keeps glue away from the neck and cap area between uses.
- Avoid over-tightening the cap out of habit — snug is enough for an airtight seal, and cranking it down hard just makes the next opening harder regardless of whether glue is involved.
- If a bit of glue does get on the threads, clean it off with a damp cloth right away rather than capping over it and dealing with it later.
When It’s Time To Replace The Bottle
Repeatedly forcing a cap with pliers eventually strips the threads enough that the cap stops sealing properly even when it does twist off, which defeats the purpose of a cap in the first place. At that point, transferring remaining glue to a clean squeeze bottle with a working cap is more practical than continuing to fight a damaged one. A bottle that’s been opened for over a year and shows separation, a sour smell, or a noticeably thinner consistency than fresh glue has likely started to break down and is worth replacing regardless of whether the cap still works.
Elmer’s Wood Glue In Review
Weighed against other PVA wood glues on the market, Elmer’s bottle design is fairly typical — the same twist-cap-over-nozzle format used by most drugstore and hardware-store wood glues, with the same underlying dried-glue-in-the-threads issue they all share to varying degrees.
Functionality Assessment
As an adhesive, Elmer’s Wood Glue sets to the touch in roughly 20-30 minutes and reaches usable clamp strength within an hour under normal shop conditions, with full cure taking about 24 hours — typical numbers for a standard PVA formula, not a specialty fast-set or waterproof glue. That ordinary chemistry is exactly what makes the bottle’s cap issue so common: nothing about the formula resists air-drying once exposed, which is the same property that makes it work well as a glue in the first place.
User Experiences
The most consistent complaint across user reviews isn’t the glue’s bonding performance, which is generally rated well for basic interior woodworking, but specifically the nozzle and cap design clogging with dried glue after repeated use — which tracks with the mechanism described above rather than pointing to any defect in a particular bottle.
Frequently Asked Questions For How To Open Elmer’s Wood Glue
How Do You Open Elmer’s Glue Cap?
To open Elmer’s glue cap, twist it counterclockwise to loosen. If it’s stuck, gently tap on a solid surface.
How Do You Open A Wooden Glue Cap?
To open a wooden glue cap, gently twist it counterclockwise to loosen. If the cap is stuck, tap it on a solid surface to loosen it.
How Do You Open Elmer’s School Glue?
To open Elmer’s school glue, twist the cap counterclockwise. If it’s stuck, gently tap it on a solid surface to help loosen it.
How Do You Open Elmers Super Glue?
To open Elmer’s super glue, twist the cap counterclockwise. If it’s stuck, tap gently on a solid surface.
Conclusion
Most stuck Elmer’s Wood Glue caps come down to the same root cause — a thin film of PVA glue that dried in the threads because it wasn’t wiped away right after the last use. A firm twist, a tap to crack that film, and warm water or gentle heat if it’s still holding on cover nearly every case without needing to force anything.
Building the habit of wiping the nozzle clean after every use is worth more than knowing any single opening trick, since it’s the difference between a cap that twists off in one motion next time and one that needs the full soak-and-tap routine again.
Sponsored / affiliate links. As an Amazon Associate I earn from qualifying purchases. I may earn additional commission from eligible campaigns.