How to Put Felt in a Wooden Box (Plus the Padded-Liner Trick)
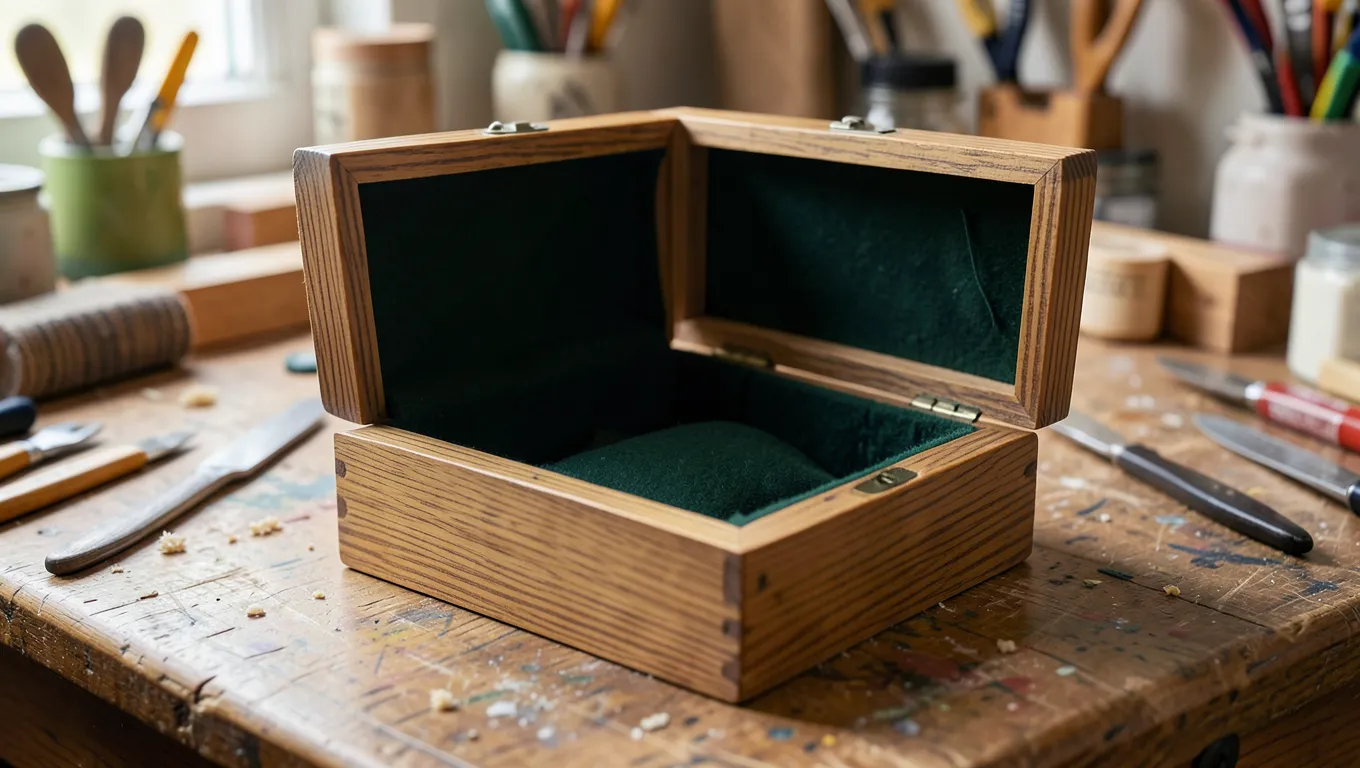
To line a wooden box with felt, cut felt (or a cardboard-and-felt insert) to the interior dimensions and secure it with spray adhesive, craft glue, or self-adhesive felt sheets. The two details that separate a clean result from a lumpy one are gluing method and corner treatment — both covered below, along with a padded-liner technique jewelry box makers use that most tutorials skip.
Tools and Materials
Easiest Option For A First Felt-Lining Project
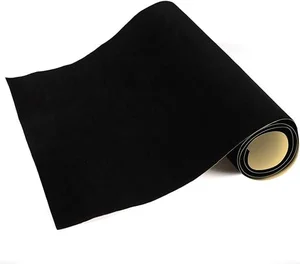 |
Mesheshe Self-Adhesive Felt Sheet, 14.6″ x 39.4″ – $13.99 Peel-and-stick backing skips the mess and drying time of liquid adhesives entirely — useful if this is your first time lining a box or you want a clean redo option.
|
Besides felt, you’ll want scissors or a sharp craft knife, a metal ruler, a pencil, and — if you’re not using self-adhesive felt — an adhesive. This is the one choice most tutorials gloss over, and it actually matters:
Choosing an Adhesive
Spray adhesive (e.g., 3M Super 77 or similar): The choice most box-makers actually use. Gives even, edge-to-edge coverage with no brush marks, and stays flexible so felt doesn’t pucker at corners. Use in a ventilated area.
Craft/fabric glue: Good bond, easy to control, but uneven application can telegraph as lumps under thin felt. Best for small pieces or spot-gluing edges.
Hot glue: Fast, but the heat can shrink or singe thin felt right at the bond point and it cools before you can reposition — usable in a pinch, not the best first choice for a visible interior.
Self-adhesive felt: No separate glue needed at all — see the pick above.
This guide focuses specifically on lining the inside of a box. For a broader look at adhesive choices and surface prep that apply to any wood surface — table legs, drawer bottoms, picture frame backs — see our full guide on how to attach felt to wood.
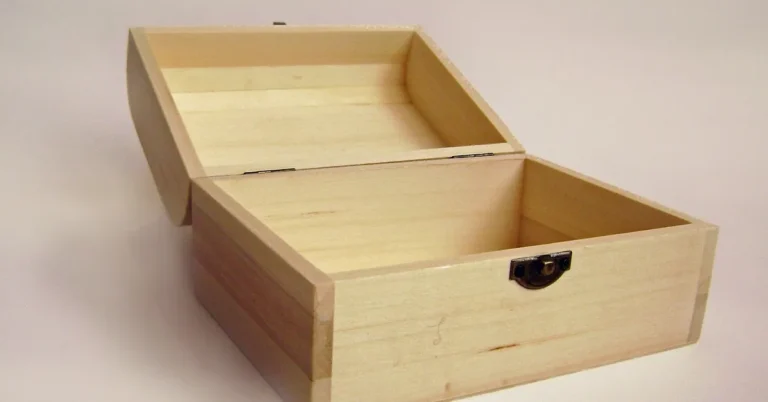
Preparing the Box
Wipe out any dust or debris, then lightly sand interior surfaces with fine-grit (220-grit or finer) sandpaper if the wood feels rough — felt will telegraph splinters and rough patches through a thin layer, so smoother is better. Wear a dust mask, and vacuum or wipe the sanding dust out completely before gluing; leftover dust under felt shows as small bumps once pressed flat.
The Cardboard-Insert Method (Cleanest Result for Compartments)
Gluing felt directly onto raw wood works fine for a single flat panel, but for a box with multiple compartments or a jewelry box with slots and dividers, professional box liners use a different approach: cut thin cardboard or mat board to fit each individual surface, wrap and glue felt around each cardboard piece separately (like wrapping a present), then glue the finished felt-wrapped pieces into the box. This gives sharp, consistent edges at every seam — something that’s very hard to achieve gluing felt directly into tight corners.
For a plusher, jewelry-box-quality feel, add a thin layer of cotton batting or upholstery foam between the cardboard and the felt before wrapping. This is the padded-liner technique that gives a store-bought jewelry box its soft, slightly cushioned interior — a detail flat-glued felt alone can’t replicate.
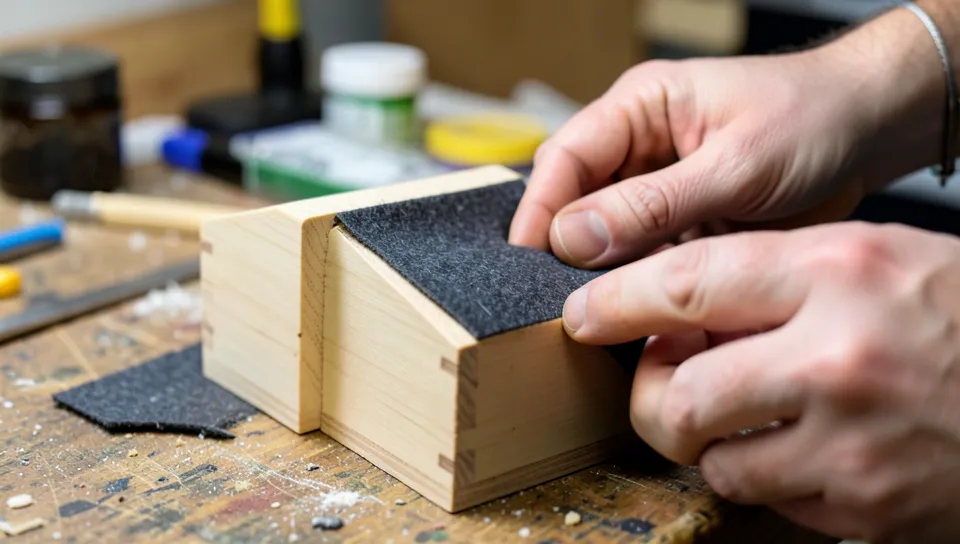
Measuring and Cutting
Measure each interior surface separately rather than assuming all sides match — most boxes have very slight dimensional differences between panels that aren’t visible until felt reveals them. Add roughly 1/8″ of extra material on each edge as trim allowance; it’s much easier to trim a slightly oversized piece down than to patch a piece cut too small.
For direct-to-wood gluing (not the cardboard-insert method), cut the bottom panel first and fit it before cutting the side panels — this lets you use the actual fitted bottom piece as a reference for the exact height needed on the sides, rather than relying on a tape measure reading alone.
Applying the Felt
Application Steps
1. Test first: Try your adhesive on a scrap corner or the underside of a panel — some spray adhesives bleed through very thin felt and darken it.
2. Apply adhesive to the wood, not the felt: This gives more control over coverage and avoids soaking the felt itself, which can flatten its texture.
3. Place from the center out: Lay the felt down starting at the center of the panel and smooth outward toward the edges. This pushes air out ahead of the felt instead of trapping it in the middle.
4. Press, don’t just lay: Use a roller, a clean block wrapped in cloth, or firm hand pressure to seat the felt fully, especially along edges and corners.
5. Trim last: Trim excess felt only after the adhesive has set, using a sharp blade held at a slight angle for a clean, tight edge.
Drying and Curing Times
Most craft and spray adhesives are tacky-dry within 30-60 minutes but benefit from a full 24 hours before the box sees regular use — closing a lid on partially cured adhesive is a common cause of felt shifting or bunching later. Self-adhesive felt sheets bond immediately but reach full adhesion after about 24 hours as well, so avoid heavy handling of the lined surface on day one regardless of which method you used.
Long-Term Care
Dust felt-lined interiors with a soft brush or a lint roller rather than shaking the box out, which can work debris deeper into the fibers. Spot-clean marks with a barely damp cloth and let the felt air-dry fully before closing the box — trapped moisture is the most common cause of felt mildewing inside a closed box. Keep felt-lined boxes out of direct sunlight, which fades felt color unevenly over time, and address a lifting edge or corner as soon as you notice it; a small re-glue is quick, while a fully detached panel usually means starting that piece over.
Frequently Asked Questions
How do I choose felt for a wooden box?
Thickness and color are the main choices. Thicker felt (2-3mm) gives more cushioning for jewelry or delicate items; thinner felt is easier to fold cleanly into tight corners. Wool felt holds its shape and resists matting better than polyester felt over time, though polyester is more budget-friendly and comes in more colors.
Can I glue felt to wood?
Yes. Spray adhesive gives the most even bond for interior panels, craft or fabric glue works well for smaller pieces, and self-adhesive felt sheets skip glue entirely. Test any adhesive on a scrap piece first, since some formulas bleed through thin felt.
What tools do I need to apply felt in a box?
Scissors or a sharp craft knife, a metal ruler, a pencil for marking, your chosen adhesive, and a roller or cloth-wrapped block for pressing the felt down firmly, especially into corners.
How do I get a padded, jewelry-box-style felt lining?
Cut cardboard or mat board to fit each interior surface, add a thin layer of cotton batting or upholstery foam on top, then wrap and glue felt around the padded cardboard before gluing the finished piece into the box. This padded-insert method is how commercial jewelry boxes get their soft, cushioned feel.
Bottom Line
Felt-lining a plain wooden box is a genuinely quick weekend project, but the adhesive choice and corner technique are what separate a clean result from a lumpy one. For anything with compartments or a jewelry-box feel, the cardboard-and-batting insert method takes a bit longer but gives a noticeably more finished result than gluing felt straight onto the wood.
Sponsored / affiliate links. As an Amazon Associate I earn from qualifying purchases. I may earn additional commission from eligible campaigns.