Easy Tree Stump Carving Ideas: 25 Designs by Skill Level (2026)
The easiest tree stump carving ideas are a hand-chiseled mushroom, a gnome face or a carved planter, and chainsaw projects such as an owl or bear only make sense once you own leg protection and have checked the stump itself. Roughly 30,000 chainsaw accidents happen in the US each year, according to UF/IFAS Extension. This guide gives 25 designs by skill level, a stump safety checklist, and a plan for limiting cracks. For a full bear walkthrough, see our chainsaw bear guide.
Start With Leg Protection Before You Pick a Design
Best Chainsaw Chaps Pick | |
 |
FORESTER Apron Style Chainsaw Chaps with Pocket and Adjustable Waist, $59.99 Open-back chainsaw leg protection that slips on over work pants, which covers the leg-protection item every PPE list in this guide starts with. The listing states a UL Class B rating and ASTM F1897 leg protection.
|
As an Amazon Associate we earn from qualifying purchases. | |
Every stump idea below that uses a saw starts with the same gear list. OSHA’s chainsaw fact sheet lists head protection, hearing protection, eye or face protection, protective footwear, leg protection (work pants or chaps) and work gloves as the PPE employers must provide for chainsaw work. A hobby carver has no employer, so the checklist falls on you. The same document says to keep both hands on the handles and to avoid cutting in the kickback zone.
Almost 30,000 chainsaw accidents happen yearly, and most need an ER visit. Source: UF/IFAS Extension, Miami-Dade County, 2025
One buying mistake is worth avoiding. Trimmer chaps and chainsaw chaps look alike on a product page but are not sold for the same job. The same-brand trimmer chaps listing we checked describes brush cutting, line trimming and lawn care and lists a high-visibility safety standard, while the chainsaw chaps listing above names ASTM F1897 leg protection for chain saw users. Read the listing for a chainsaw leg-protection standard before you trust any leg gear around a saw.
Kickback is the reason beginners are told to stay off the end of the bar. UF/IFAS Extension explains that kickback happens when the tip of the bar touches wood while the chain is moving, and it says never to cut with the tip. That matters for carving, because eye sockets, beaks and feather detail tempt people to poke with the tip. Rough out the shape with the lower part of the bar, then switch to hand tools or a grinder for detail work, and do not attempt tip work until you have been trained on your saw.
25 Easy Tree Stump Carving Ideas by Skill Level
The ideas are grouped by the tools they need, not by how impressive they look. If you want more starter projects that are not stumps, our beginner woodworking projects hub has them, and our cedar stump ideas page covers non-carving uses for a leftover stump.
Beginner Stump Carving Ideas (Hand Tools Only)
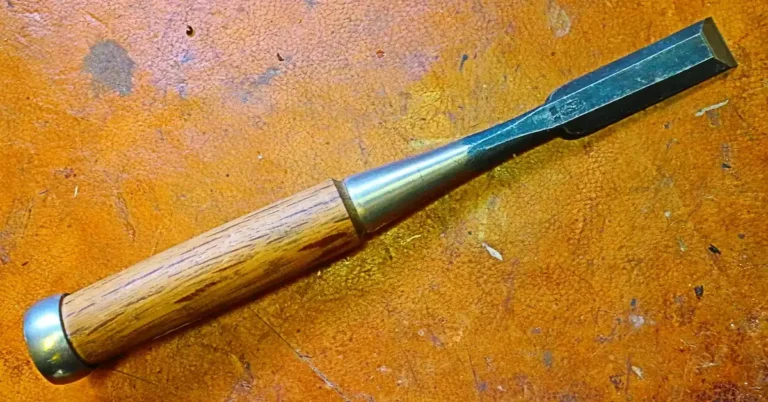
- Garden mushroom: round the top into a cap with a mallet and chisel and leave a narrower stem. Very forgiving, because a lopsided cap still reads as a mushroom.
- Simple gnome or face: carve eyes, a nose and a mouth into one flat side, then taper the top into a pointed hat.
- Geometric chevrons: cut diagonal grooves or triangles into the side with a straight chisel. It needs patience, not drawing skill.
- Rustic planter: hollow the top with a gouge, the same skill used in our hand-carved wood bowl guide, and drill drainage holes through the bottom.
- Smooth stump seat: level and sand the top, round the edge, and seal it for a simple garden seat.
- Fairy door: cut a shallow arched recess with a tiny door and windows at the base of the stump.
- Toad house: chisel a small arched opening at ground level and keep the floor of the opening above the soil line.
- Stump side table: sand a flat top and carve a ring of notches around the edge for grip and decoration.
- Shallow bird dish: carve a gentle dish into the top. Seal it well, because a dish that holds water ages faster than the rest of the stump.
Intermediate Chainsaw Carving Ideas
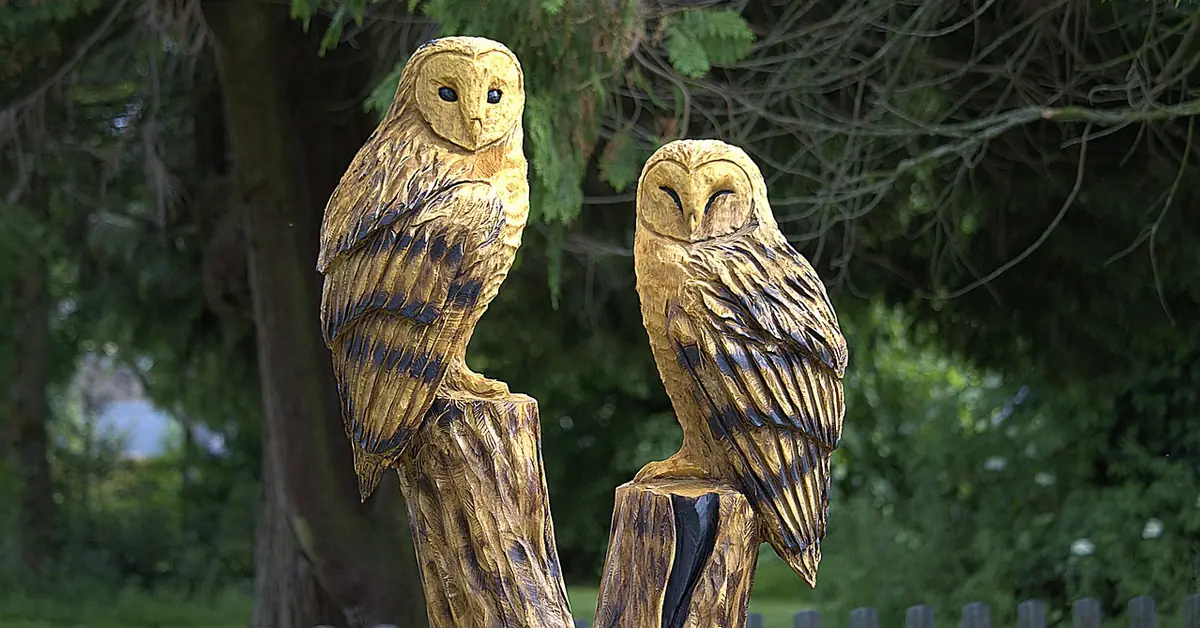
- Owl: the classic first chainsaw piece. Block in the head and wings, then add feather lines with a grinder or hand gouges.
- Bear: a seated bear with one raised paw is the usual starting figure. Our step-by-step chainsaw bear guide covers the rough-out sequence.
- Stacked totem: two or three animal faces stacked vertically, each built from a few oval cuts.
- Frog on a lily pad: flatten the stump top for the pad and leave a seated frog standing on it. A good fit beside a pond.
- Tree spirit face: let bark and growth rings become hair and wrinkles around a carved face.
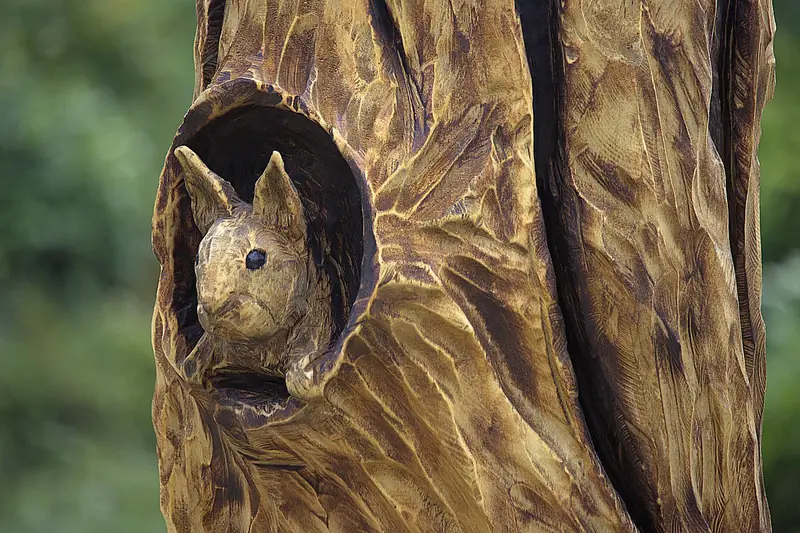
- Squirrel in a hollow: cut a rounded opening and leave a squirrel peeking out of it.
- Stepped mushroom cluster: a tall mushroom with two smaller ones carved at different heights from the same trunk.
- Sitting rabbit: a simple oval body and tall ears read clearly even with little surface detail.
- Turtle: a domed shell on a flattened stump top, with the shell pattern cut as shallow grooves.
Advanced Stump Carving Ideas (Chainsaw Plus Power Tools)
- Eagle with spread wings: needs a wide trunk section and fine feather work with a die grinder or rotary tool.
- Dragon around the trunk: scales, claws and a head wrapped around the stump. Plan the spiral before the first cut.
- Miniature log cabin: windows, door and roof lines carved into a wide flat top.
- Wizard with a staff: a tall figure with a hat and robe that uses the full height of the trunk.
- Leaping fish: a curved body that needs wood left in the right place, so mark the outline in chalk first.
- Carved bench with backrest: a seat and animal-shaped back cut from one large trunk.
- Forest scene in relief: trees, animals and a path carved at different depths around the stump.
If you like the sculpture side more than the garden-ornament side, our abstract wood sculpture ideas cover simpler shapes that need fewer tools.
Is Your Stump Safe to Carve? A Seven-Point Check
Most carving guides jump straight to designs. The stump matters more than the design, because a bad stump can turn a hobby project into an accident. The table below turns the hazards in OSHA’s fact sheet into a pre-carving check. The screwdriver probe is our practical suggestion, not an OSHA requirement.
| Check | What to look for | Why it matters |
|---|---|---|
| Metal | Nails, wire, spikes, old fence staples, embedded fasteners | OSHA says to look for nails, spikes or other metal before cutting |
| Rot | Soft, crumbly wood or a hollow sound when you tap it; probe it with a screwdriver | OSHA lists stem or root rot among the higher-risk conditions, and rotten wood carves badly anyway |
| Stability | Stump rocks, leans or sits on loose or sloping soil | OSHA says to clear obstacles that interfere with stable footing and cutting |
| Footing | Roots, stones, debris and wet ground around the base | Clear the saw’s path and your own footing before you start |
| Height | Work surface at or below shoulder height | OSHA lists work above shoulder height as a higher-risk operation |
| Company | Someone else nearby who knows where you are | OSHA’s fact sheet says never work alone |
| Fatigue | Plan breaks for long sessions | OSHA says fatigue increases the risk of accident and injury |
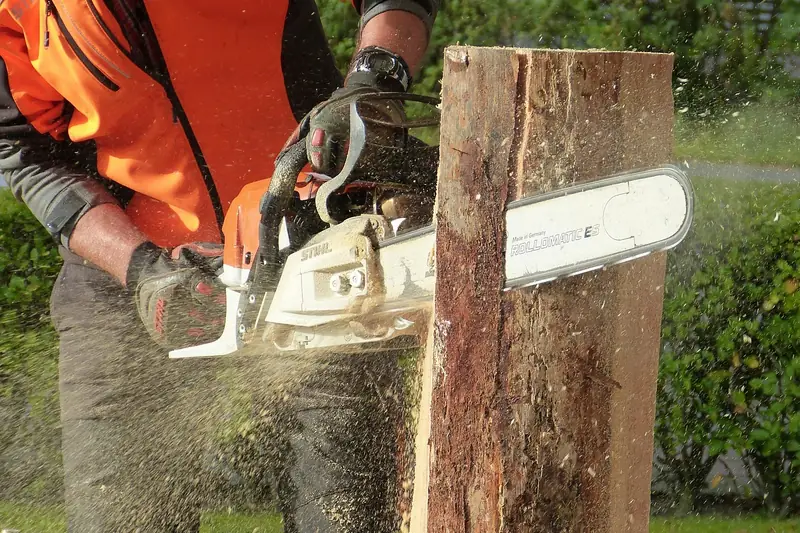
Fuel and starting rules matter too. OSHA’s fact sheet says to fuel the saw at least 10 feet away from ignition sources and to start it on the ground or another firm support with the brake engaged. It also says to check chain tension, bolts and handles first and never run a saw with damaged or disabled safety devices.
Which Tools Match Which Skill Level
| Skill level | Tools you need | Notes |
|---|---|---|
| Beginner | Mallet, chisels, gouge, sandpaper, safety glasses, gloves | No saw required. Good for learning how the grain splits. |
| Intermediate | Chainsaw, full PPE including chaps, plus hand gouges for detail | Rough out with the saw, detail by hand. Keep the tip out of the cut. |
| Advanced | Chainsaw, grinder or die grinder, rotary tool, full PPE | More tools means more hazards: follow each tool’s manual for guards and eye and ear protection. |
If you still need a saw, our best handheld chainsaw roundup compares options. Match the chain to the bar when you replace it, which our .325 vs 3/8 chain comparison explains, and keep the chain sharp using the tips in our chainsaw file guide.
Best Wood and Why Every Stump Cracks
A carving business that sells chainsaw pieces says it works mainly in pine taken from residential tree removals and carves it green, meaning freshly cut. Green wood cuts easily but it keeps drying after you finish, and that is where cracks come from.
Chainsaw sculptor Mick Burns explains that wood loses water unevenly, with the outside drying and shrinking while the wet core resists, so the outside splits. Shrinkage around the circumference can reach nearly 10 percent, and cracks follow the shortest path from the pith, the center of the trunk, to the surface. He also notes that even a 300 mm log takes two or three years to dry under cover in a temperate climate.
That corrects two common myths. Sealing does not make a carving crack-proof, because a sealer only slows moisture loss, and waiting for a stump to season first is rarely practical for a large trunk. Plan for some cracks and carve around them.
- Put the pith at the back of the design so the main crack lands where nobody looks.
- Cut a stress-relief slot down the back toward the center of the stump.
- Carve in autumn so the stump dries gradually through winter.
- Keep it outdoors and sheltered while it is green. A carving seller warns that bringing a green carving indoors too soon can dry it faster and raise the chance of cracking.
Sealing and Maintaining a Carved Stump
Danish oil and teak oil both work well on carvings, according to the Burns guidance. He also suggests treating with a borax solution before sealing to prevent mildew. A carving business recommends spar urethane, re-applied before each big seasonal change, and warns that some brands change paint color, so test any sealer on a small hidden area first.
For choosing between oils, varnishes and sealers in general, see our wood finishing guide. The sawdust and chips from carving also have a use, covered in our wood chips guide.
Frequently Asked Questions
Can You Carve a Tree Stump?
Yes, if the stump is solid, stable and free of metal. Beginners can use a mallet, chisels and a gouge for mushrooms, faces and planters, and chainsaw carving should wait until you have full PPE, including chainsaw chaps, and some training on your saw.
What Can You Make With a Tree Stump?
Garden seats, planters, side tables, fairy doors, bird dishes and animal sculptures such as owls, bears and frogs. Pick the design that matches your tools, then check the stump for rot, metal and stability before you begin.
Do You Need a Chainsaw to Carve a Stump?
No. Hand tools handle mushrooms, gnomes, geometric patterns and planters. A chainsaw saves time on large animal shapes but adds kickback and leg-injury risk, so it needs full PPE and a stump that is secure and carved at a comfortable height.
How Do You Keep a Carved Stump From Cracking?
You cannot stop it completely, but you can slow it. Keep the carving outdoors, seal it with oil or varnish, put the pith at the back, cut a stress-relief slot toward the center, and carve in autumn so the wood dries slowly.
How Do You Make a Tree Stump Look Nice?
Sand the carved areas, apply a sealer such as Danish oil, teak oil or spar urethane, and re-apply it on the schedule on the can. Test any new finish on a small hidden area first.
Sponsored / affiliate links. As an Amazon Associate I earn from qualifying purchases. I may earn additional commission from eligible campaigns.