Joint Compound on Plywood: Does It Work, and How to Apply It Right
Joint compound will fill and smooth plywood the same way it fills drywall seams – but plywood is not drywall, and that difference is exactly why so many DIYers end up with hairline cracks a few months after painting. The short answer: yes, it works, but only on plywood that stays dimensionally stable, and only when you prep and coat it correctly.
Below is what actually happens when gypsum-based compound meets a wood substrate, which projects it’s genuinely good for, which ones will fail, and the exact application sequence that gives it the best shot at holding up.
Joint compound can be used on plywood to create a smooth, paintable surface, but it’s rigid and has almost no elongation before cracking. It works well on small, stable, well-supported panels; it fails on anything exposed to real humidity swings, flexing, or foot traffic.
What Joint Compound Actually Is
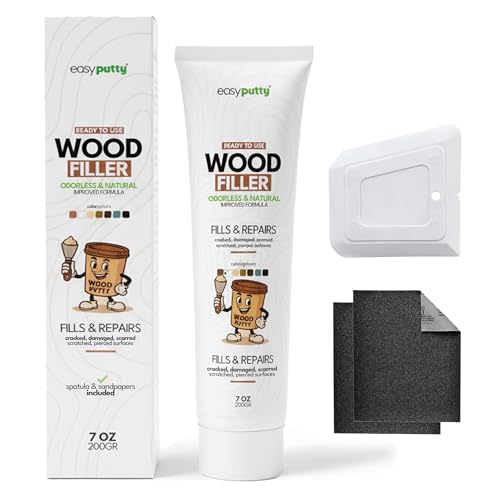
Best Wood Filler For Movement-Prone Plywood
 |
3M Bondo Wood Filler (30 oz) – $22.10 Unlike gypsum joint compound, this two-part filler cures hard and flexible enough to handle the movement plywood actually sees in a real room.
|
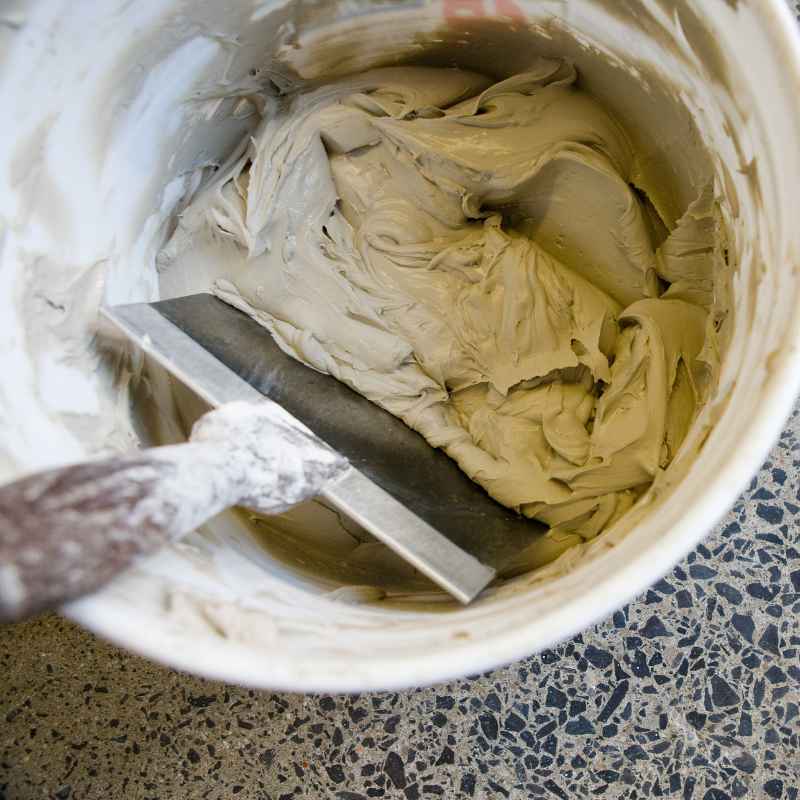
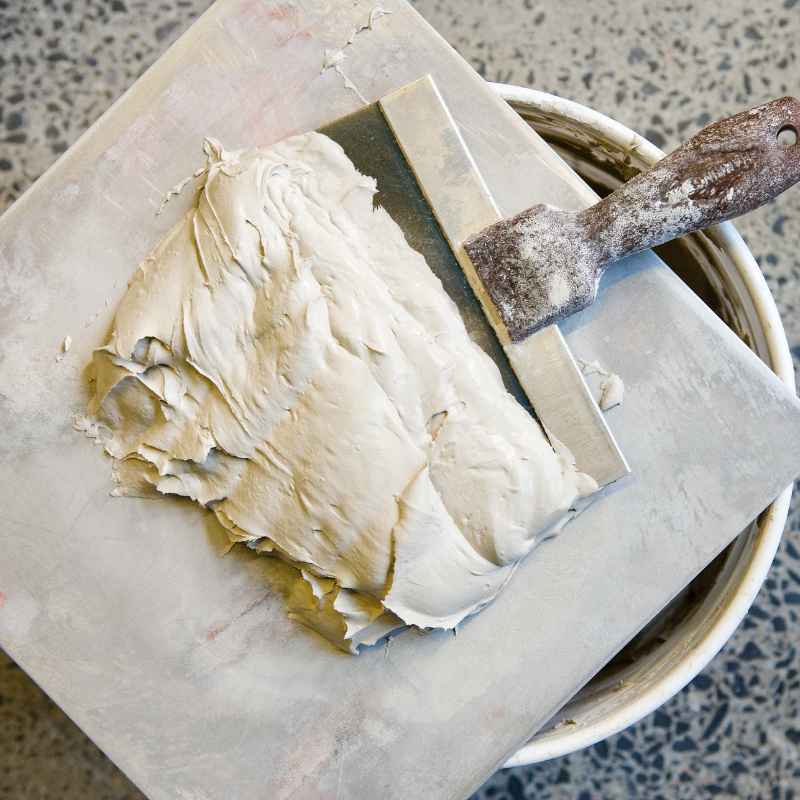
Joint compound (“mud”) is a gypsum-based paste made to finish drywall seams and screw holes. It spreads wet, dries by evaporation rather than any chemical set (the pre-mixed, all-purpose kind – setting-type compounds like Durabond are different, more on that below), and sands to a smooth, paintable surface.
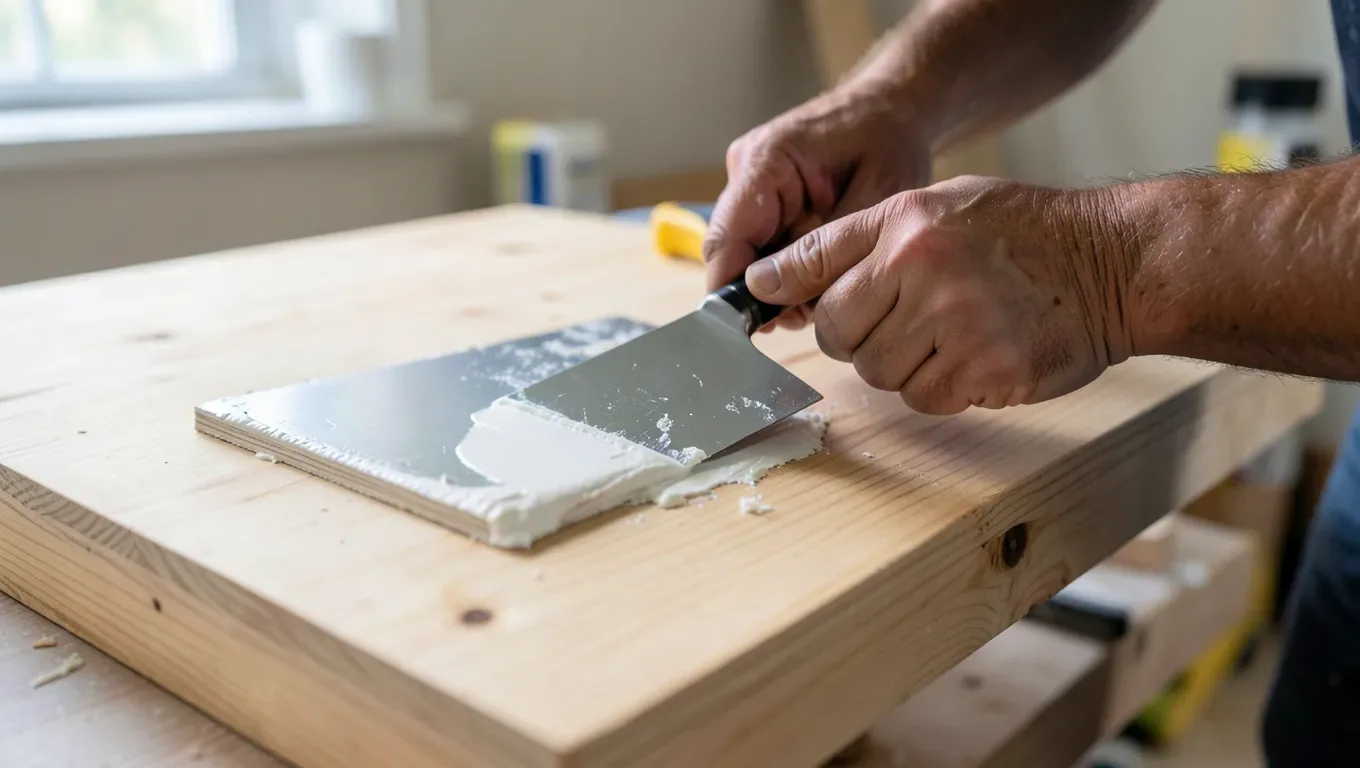
Plywood’s face veneer can show lap lines, small voids, or telegraphed grain that people want gone before paint. Joint compound looks like an obvious fix because it’s cheap, already in the garage from the last drywall job, and genuinely does fill and sand beautifully.
The catch is elongation. Cured drywall compound can stretch only a fraction of a percent before it cracks. Plywood, even though its cross-ply construction makes it far more stable across the panel than solid lumber, still moves measurably with seasonal humidity – enough, over a heating/cooling cycle, to exceed what a brittle gypsum skin can absorb without a hairline fracture forming somewhere.
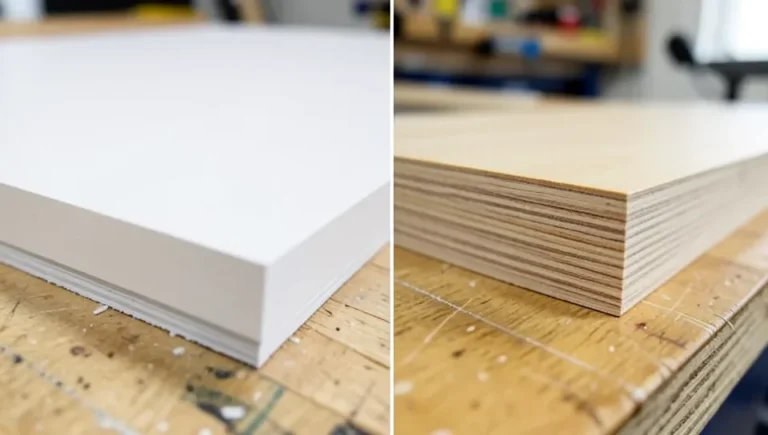
Plywood vs. Drywall: Why the Same Product Behaves Differently
Plywood
- Construction: Cross-laminated wood veneers glued under pressure.
- Movement: Far more stable than solid lumber, but still expands and contracts with humidity – especially at the edges and near HVAC vents or exterior walls.
- Flexibility: Can flex under load, especially in thinner sheets or unbraced spans.
- Surface: Face veneer can show voids, knots, or lap lines.
Drywall
- Construction: Gypsum core sandwiched in paper facing.
- Movement: Essentially none once installed and fastened.
- Flexibility: Rigid by design – it’s not meant to flex.
- Surface: Uniform and made specifically to take joint compound.
That mismatch – a rigid filler designed for a rigid substrate, applied instead to a substrate that moves – is the entire story of why joint compound sometimes fails on plywood. It’s not a defective product; it’s the wrong pairing for the wrong project.
When Joint Compound Works Well on Plywood
Cabinet interiors: Stable temperature and humidity, no structural flexing – a strong candidate.
Small decorative panels or trim: Little surface area means little total movement to absorb.
Well-supported furniture tops: Fully backed panels that won’t bend hold compound better than anything spanning unsupported.
Faux-finish or art bases: Where a hairline crack years later isn’t a functional problem.
Screw holes and small dings on installed, stable plywood: Small volume, small movement, low risk.
When to Skip It Entirely
Exterior plywood: Weather exposure means constant moisture cycling – joint compound isn’t waterproof and will absorb, swell, and fail.
Bathrooms and laundry rooms: Rapid humidity swings stress the bond repeatedly.
Plywood flooring: Foot traffic plus seasonal movement is a near-guaranteed crack pattern; see our guide on staining plywood floors for a finish approach built for that wear instead.
Large, unbraced panels: Bigger spans mean more total expansion for the compound to absorb, and it has almost none to give.
Structural or load-bearing parts: Joint compound has no structural value and shouldn’t be relied on for anything load-bearing.
In every one of those cases, a flexible wood filler (see the alternatives section below) will outlast joint compound by years, not months.
How to Apply Joint Compound to Plywood the Right Way
Step 1: Prep the Surface
- Clean it: No dust, grease, or debris. Let it dry fully after wiping down.
- Scuff-sand: 120-grit across the whole surface so the compound has something to grip.
- Fill deep voids first: For anything deeper than about 1/8 inch, use a real wood filler underneath and let it dry before skimming compound over the top – joint compound alone shrinks too much in deep pockets.
- Prime before you mud, not after: This is the step most people skip. An oil-based or shellac-based primer seals the wood so it doesn’t pull moisture out of the compound unevenly as it dries, which is one of the more common causes of adhesion failure.
Step 2: Apply in Thin Coats
- Pick your compound: Pre-mixed all-purpose compound is fine for most DIY jobs. For anything that will see more stress, a setting-type compound like Durabond 90 sets chemically (not just by drying) and holds up noticeably better – it just gives you a shorter working window.
- 1/16” to 1/8” per coat, feathered at the edges. Thick coats shrink unevenly and crack far more often than two or three thin ones.
- Full dry time between coats: All-purpose compound typically needs 12–24 hours depending on humidity; setting-type compound is workable again in as little as 90 minutes but needs a few days before final sanding for full hardness. Humidity and coat thickness swing these numbers a lot – see our full breakdown of texture drying times before painting for the conditions that change it.
Step 3: Sand and Repeat
- 150-grit, then 220-grit between coats, wiping away all dust with a tack cloth before the next pass.
- Second coat only where needed – don’t skim the whole panel again if most of it is already flush.
Step 4: Final Sand, Prime, Paint
- 220-grit or finer for the last pass.
- A second coat of primer over the whole surface evens out absorption between the compound and the surrounding wood so the paint sheen reads consistently.
- Two coats of paint for full, even coverage.
Multiple thin coats beat one thick one every time – thick fills take longer to dry all the way through and are the single most common cause of the cracking people blame on the compound itself.
A Better Fit for Anything That Moves: Real Wood Filler
If your project falls anywhere in the “skip it” list above – or you’d rather not gamble on a cabinet door six months from now – a two-part wood filler built to flex with the substrate is the safer call. 3M’s Bondo Wood Filler is the one we point people to most often for plywood repairs that need to actually hold up: it cures harder and more crack-resistant than gypsum compound, sands just as smooth, and takes stain or paint the same way. It costs more per project than leftover drywall mud, but for anything that will see humidity swings or flexing, it’s the difference between a repair that lasts and one you’re redoing next spring.
Other Alternatives Worth Knowing
Standard wood filler (latex or solvent-based): Purpose-built for wood, more flexible than joint compound, sands and paints well.
Spackle: Fine for small holes; some formulations flex slightly more than joint compound but aren’t a substitute for a full skim coat.
Epoxy resin: Extremely durable and waterproof once cured – a good option for tabletops, but overkill and expensive for simple smoothing.
Veneer or laminate: Instead of filling and smoothing the existing face, replace it outright for a genuinely flat, factory-smooth surface.
Common Mistakes That Cause Failures
Skipping the primer step before the first coat of compound.
Applying thick coats to save time – this is the number one cause of cracking.
Sanding before the compound is fully dry, which tears rather than smooths.
Using it in bathrooms, exteriors, or on flooring despite the humidity/movement risk.
Not cleaning between coats, which traps dust under the next layer and causes bubbling.
Reading the Warning Signs
A few hairline cracks in a dry climate, or slight sanding lines you can only see at an angle, are cosmetic and easy to touch up with a dab of fresh compound. Widespread cracking, compound lifting or bubbling away from the surface, or soft/spongy spots are different – those mean the compound has failed to bond or has taken on moisture, and the fix is to scrape it back and switch to a wood filler rather than patching over the same problem again.
Frequently Asked Questions
Can I use joint compound on exterior plywood?
No. Exterior plywood is exposed to weather, and joint compound isn’t waterproof – it will absorb moisture, crack, and peel. Use a filler and primer system rated for exterior use instead.
Will joint compound crack on plywood cabinets?
It can, especially near a dishwasher or in a bathroom where humidity swings are frequent. Interior cabinet surfaces in a stable room are lower-risk, but a flexible wood filler is the safer bet if you want to avoid the risk entirely.
How many coats of joint compound should I apply to plywood?
Two to three thin coats, each fully dry and sanded before the next. Thick single coats are far more likely to shrink unevenly and crack.
What grit sandpaper should I use for joint compound on plywood?
Start at 120-grit for shaping if needed, then 150-grit between coats, and finish at 220-grit or higher before priming and painting.
Can I use joint compound to fill screw holes in plywood?
Yes – this is one of its more reliable uses. Small holes mean minimal movement to absorb, so the risk of cracking is low.
Is there a difference between drywall mud and joint compound?
No, they’re the same material – “drywall mud” and “joint compound” are interchangeable terms for the same product.
Bottom Line
Joint compound on plywood works when the panel is stable, well-supported, and won’t see much humidity swing – cabinet interiors, small trim pieces, screw holes, decorative panels. It fails when the wood is going to move: exteriors, bathrooms, floors, and large unbraced sheets. Prime first, keep every coat thin, and sand between passes. If your project falls into the “will move” category, spend the extra few dollars on a real wood filler like Bondo – it’s cheaper than redoing the job in six months.
Sponsored / affiliate links. As an Amazon Associate I earn from qualifying purchases. I may earn additional commission from eligible campaigns.