How Much Does It Cost to Build a Plywood Storage Rack?
A basic plywood storage rack usually costs about $60 to $150 in materials, while a larger mobile or heavy-duty version often lands around $150 to $300, depending on sheet count, lumber size, and casters. If you price it too low, you can run short on plywood, fasteners, or bracing midway through the build. This guide breaks down the cost by rack size, design, and hardware so you can price your build before you buy.
Cost breakdown by rack size and hardware


The total cost depends on rack size, plywood grade, lumber choice, and whether the rack stays fixed or rolls on wheels. Standard plywood comes in 4×8 sheets, and price changes with thickness and surface quality. A compact sheet rack can stay near the low end, while a mobile unit with heavier framing climbs fast.
Compact garage sheet rack
A compact rack for sheet goods is the cheapest path because it uses fewer uprights, fewer braces, and little or no hardware beyond screws. Keep the design narrow and wall-anchor it, and the material total can stay under $150 in many cases, especially with budget sheathing.
Medium workshop rack
A medium rack usually needs more lumber and more plywood for side panels, shelves, or divider strips. That pushes the price up, but it also gives you better organization for full sheets and offcuts. This is the point where sanded plywood often makes sense if you want cleaner edges and less splintering.
Heavy-duty mobile rack
A heavy-duty mobile rack costs more because casters, thicker stock, and extra bracing all add up. If the rack needs to carry heavy plywood or move across a rough floor, 2×6 verticals and reinforced joints are worth the added expense. Casters alone can move the budget noticeably.
What affects the price?
The biggest price drivers are size, plywood grade, lumber size, and hardware. A freestanding rack with casters costs more than a wall-anchored rack. Thicker panels also raise the total. If you price the lumber but skip fasteners, anchors, or wheels, the final bill will be higher than expected.
Rack size and sheet count
More sheet capacity means more framing, more cleats, and usually more plywood waste. Sliding tote racks can hold 6 to 16 totes depending on width, so the span you choose affects both material count and load. Wider racks also need better support spacing to control sag.
Plywood grade and thickness
Plywood pricing varies by grade and thickness. Budget sheathing often costs about $25–$40 per 4×8 sheet. Sanded or cabinet-grade plywood often falls in the rough range of $40 to $90 per sheet. Marine or specialty plywood often runs $150–$250 per sheet. Thicker plywood costs more, and it also helps where spans are longer.
Lumber choice and hardware
2×4 lumber is the value choice and is described as the best strength-to-cost ratio. Its actual size is 1.5 inches by 3.5 inches. 2×6 lumber measures 1.5 inches by 5.5 inches and is a better fit for heavier vertical supports or floor-to-ceiling racks. Deck screws, anchors, and casters can add a meaningful amount to the build total.
Wall anchoring or casters
Wall anchoring lowers tipping risk and can keep the design simpler, especially for sheds or garage walls. Casters increase cost and require stronger framing because rolling loads create more stress at the base. If the rack will move often, budget for better wheels and a more rigid frame.
Plywood rack cost calculator
This table shows how part count changes the price. It uses practical line items instead of a single vague total, so you can match the rack style to your budget. The low and high totals reflect common material bands, not a fixed quote.
| Scenario | Lumber count | Plywood needed | Hardware allowance | Low total | High total | Notes |
|---|---|---|---|---|---|---|
| Compact garage sheet rack | 6 to 8 2x4s | 1 to 2 sheets of budget sheathing | $15 to $25 for screws and small anchors | $60 | $140 | Lowest cost if wall-anchored, with a narrow frame and no casters. |
| Medium workshop rack | 8 to 12 2x4s | 2 to 3 sheets of sanded plywood | $25 to $45 for screws, anchors, and brackets | $120 | $220 | Price rises with cleaner plywood faces, more bracing, and wider bays. |
| Heavy-duty mobile rack | 10 to 14 2x6s or mixed 2×4/2×6 framing | 2 to 4 sheets of sanded or specialty plywood | $50 to $120 for heavy casters, screws, and reinforcement hardware | $180 | $300 | Casters, thicker framing, and stronger shelves push this toward the top end. |
What materials do I need for a plywood storage rack?
You usually need plywood sheets, framing lumber, screws, and a fastening plan that matches the load. For a sliding rack, cleats carry the totes. For a sheet rack, rails and braces do more of the work. Finish and anchors are optional, but both can change the final cost.
Plywood sheets and grade options
Standard plywood sheets are 4×8 feet. Budget sheathing keeps costs down, sanded plywood gives cleaner edges, cabinet-grade costs more but looks better, and marine plywood is the highest-cost option in this group. Choose the lowest grade that still fits the job.
2×4 and 2×6 framing choices
2x4s are the value choice for most racks because they are affordable, easy to cut, and strong enough for many garage builds. 2x6s make sense for heavier vertical supports, taller builds, or racks that must carry more weight without flexing. The extra size adds cost fast.
Cleats, screws, anchors, and casters
Cleats are the horizontal runners that hold sliding totes. Use pilot holes before driving 2.75-inch deck screws to reduce splitting. Two 2.75-inch deck screws are used per joint in the tote-rack layout below. If the rack stands against a wall, add anchors. If it rolls, add casters.
How much plywood do I need for a sheet storage rack?
For a basic sheet rack, the plywood count depends on whether you are building only the frame or also adding side panels, shelf faces, or a back. A small wall-anchored rack may use little plywood beyond braces, while a boxed mobile rack may need multiple sheets for rigidity.
Sizing for full 4×8 sheets
If the goal is to store full sheets, size the rack opening to match the material you buy and leave room for easy loading. A wider rack holds more sheets but needs more support. Underbuilt spans can sag, especially when the rack carries dense material or the shelves span too far.
Say your garage rack needs to hold half a dozen full sheets and a stack of offcuts. A narrow, wall-anchored build can keep the lumber count down, but if you widen it for easier access, the extra framing and plywood quickly move the total out of the budget-friendly range.
Sizing for 27-gallon Project Source totes
Sliding tote racks use measured cleat spacing rather than open shelves. For 27-gallon Project Source totes, the layout uses 22-inch upright spacing, a 108-inch back beam, 30-inch cleats, and a bottom tote 13 inches above the floor. The first cleat goes 14.5 inches from the base, and later cleats are spaced 16 inches center-to-center.
Those dimensions matter because tote width drives material use. Cleat length, upright spacing, and the number of tiers all change how much lumber you buy. A rack that holds more totes needs a longer beam and more joints, which pushes the cost upward even when the hardware stays the same.
Sizing for Costco or Kirkland totes
A three-column Costco or Kirkland tote unit is a useful sizing example because the tote footprint changes the frame width. With totes about 18 inches deep by 24 inches wide, the material cost is around $95 for a three-column unit. The final price still shifts with lumber grade, screws, and whether you add wheels.
Is 1/2-inch plywood strong enough for a storage rack?
1/2-inch plywood works for many shelves when the span is modest and the supports are close enough together. For spans over 32 inches, 3/4-inch plywood is the safer choice. The real issue is not thickness alone. Support spacing, bracing, and load weight matter just as much.
When 1/2-inch works
Use 1/2-inch plywood for shorter spans, lighter loads, and shelf sections with good edge support. It is often the practical choice when you want to keep cost down and the rack will not hold very heavy material. Reinforcement can help it reach 100+ pounds per shelf in the right layout.
When 3/4-inch is the better choice
Choose 3/4-inch plywood when the shelf span gets longer or the rack will carry concentrated weight. The thicker panel resists sag better and gives more margin for error if the load is uneven. That extra stiffness costs more, but it can save you from a warped shelf later.
How support spacing changes sag resistance
Support spacing changes the rack more than many DIYers expect. A shelf with close framing can carry more than the same panel stretched across a wide bay. If the shelf bends, the load is already too high for that span, even if the plywood itself is thick enough.
Build choices that change cost and capacity
Strength comes from the full design, not from plywood thickness alone. Framing size, joint layout, anchoring, and wheel choice all affect how much the rack can carry. A more rigid build often costs a little more up front, but it reduces sag and tipping risk.
2×4 versus 2×6 framing
Use 2x4s when you want the best strength-to-cost ratio and the rack is not carrying extreme weight. Move to 2x6s for taller frames, heavy vertical loads, or floor-to-ceiling builds. The wider board costs more, but it gives you more stiffness where the frame needs it most.
Pilot holes and 2.75-inch deck screws
Pilot holes are worth the small extra step because they reduce splitting in both plywood and framing lumber. The tote-rack layout calls for two 2.75-inch deck screws per joint. That fastener length gives better bite through cleats and uprights without overdriving the joint.
Floor-to-ceiling layouts and wall anchoring
Floor-to-ceiling racks can store a lot in a narrow footprint, but they need careful anchoring and stronger verticals. Wall anchoring is especially helpful in sheds, where a tall rack can tip if a heavy sheet is pulled from one side. The anchor hardware is cheap compared with a rack failure.
When casters add cost
Casters make cleanup and layout changes easier, but they are not free weight capacity. A rolling rack needs stronger lower framing and better hardware, which means more money on both the base and the wheels. If the rack will stay in one place, skipping casters is the cheapest move.
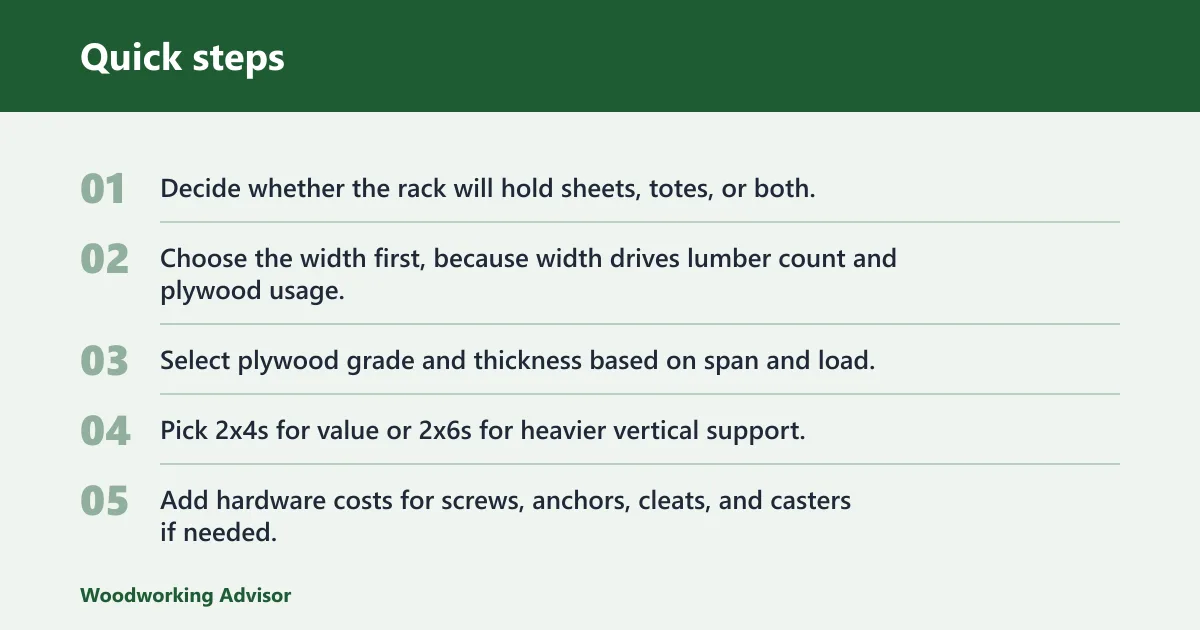
- Decide whether the rack will hold sheets, totes, or both.
- Choose the width first, because width drives lumber count and plywood usage.
- Select plywood grade and thickness based on span and load.
- Pick 2x4s for value or 2x6s for heavier vertical support.
- Add hardware costs for screws, anchors, cleats, and casters if needed.
- Price the full materials list before cutting anything.
A common first-timer mistake is buying enough plywood for the visible panels but not enough lumber for bracing and cleats. That leaves the rack underbuilt, or forces a second store run for extra stock. A better estimate always includes waste, fasteners, and the base hardware.
How much does a DIY storage rack cost compared with buying one?
A DIY rack often costs less than a ready-made version when you already own tools and keep the design simple. Custom storage racks can be built for under $150 in materials, which is hard to match with many retail units of similar size. Bigger mobile units narrow that gap because wheels and heavy framing raise DIY costs too.
Buying one can make sense if you need a finished rack fast or want a unit with tested hardware and known dimensions. DIY wins when your tote size, sheet count, or wall space is unusual, because the build can match the space instead of forcing the space to fit the product.
What’s the cheapest way to build a sheet storage rack?
The cheapest build uses 2×4 framing, budget sheathing, a wall-anchored layout, and no casters. Keep the span modest, keep the design simple, and avoid specialty plywood unless appearance matters. That approach gives the lowest material total while still leaving room for useful storage.
Skip decorative trim, skip extra paneling, and buy only the hardware the layout needs. If the rack will live in a garage or shed, wall anchoring is usually cheaper than building a heavier freestanding frame to solve the same stability problem.
Frequently asked questions
How much does it cost to build a plywood storage rack?
The total changes with sheet count, lumber size, hardware, and whether you add casters or wall anchors.
Should I use 2x4s or 2x6s for a plywood rack?
Use 2x4s when you want the best strength-to-cost ratio and the rack is not carrying extreme weight. Use 2x6s for heavier vertical supports, taller racks, or floor-to-ceiling designs. The wider board costs more, but it gives more stiffness where the frame needs it.
Do I need casters on a plywood storage rack?
No. Casters are optional and add cost. They make a rack easier to move, but they also require stronger framing and better hardware. If the rack will stay in one spot, wall anchoring is usually the cheaper and simpler choice.
Sponsored / affiliate links. As an Amazon Associate I earn from qualifying purchases. I may earn additional commission from eligible campaigns.