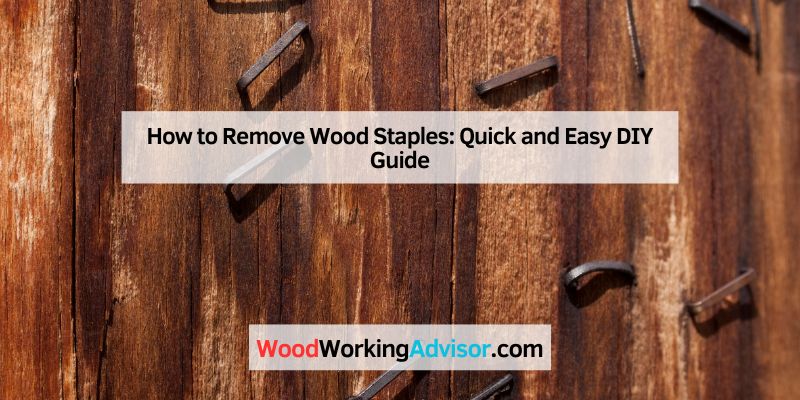
How to Remove Wood Staples: Quick and Easy DIY Guide
Wood staples are best removed by sliding a flathead screwdriver or awl under the staple’s crown to lift it slightly, then gripping and pulling straight out with needle-nose pliers or a staple puller — prying straight up without lifting first is the most common cause of splintered wood around the staple.
Rushing this step risks tearing the surrounding wood fibers or driving the staple legs deeper if they bend instead of pulling free, which is why the lift-then-pull sequence matters more than which tool you use.
Below, we walk through the full removal process for staples in furniture, subfloors, and upholstered wood frames, including what to do when a staple breaks off flush with the surface.
Safety Precautions
Ensure safety by wearing protective gloves and goggles. Use pliers to firmly grip and remove wood staples. Maintain a steady hand to avoid injury.
Wear Protective Gear
Always wear gloves to protect your hands. Use safety goggles to shield your eyes from flying debris. Dust masks help you avoid inhaling small particles. Protective gear is crucial. It keeps you safe from injuries.
Prepare Your Workspace
Clear the area of any clutter. Make sure there is good lighting. Check that your tools are in good condition. A clean workspace helps you focus. It also reduces risks of accidents. Keep a first aid kit nearby. Be ready for any minor injuries.
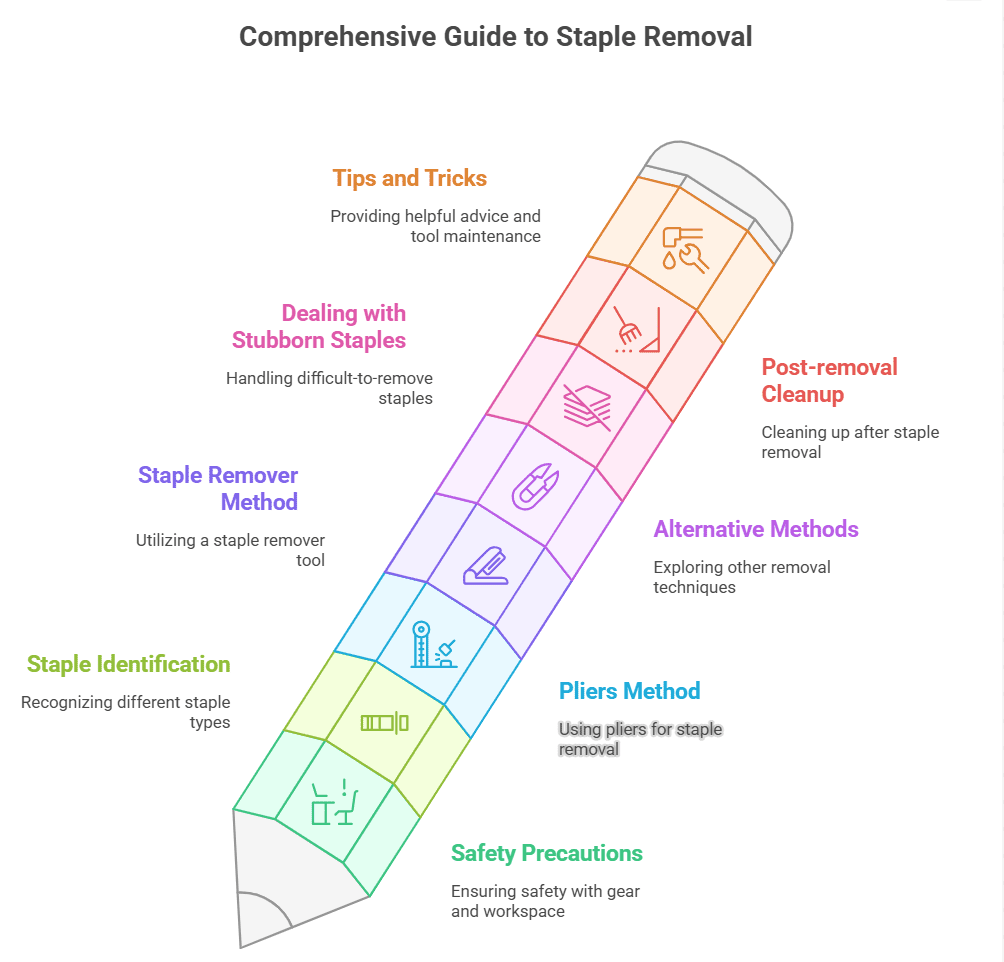
Identify Staple Types
Staples in wood come in various sizes and shapes. Heavy-duty staples are thicker and stronger. Light-duty staples are thinner and easier to pull out. Brad nails look similar to staples but are longer and thinner. Knowing the type of staple helps in choosing the right tool for removal.
First, check if the staple is rusty. Rusty staples are harder to remove. Bent staples may require pliers. Straight staples can be removed with a staple remover. Deeply embedded staples need more effort to pull out. Surface staples are easier to manage.
Using Pliers
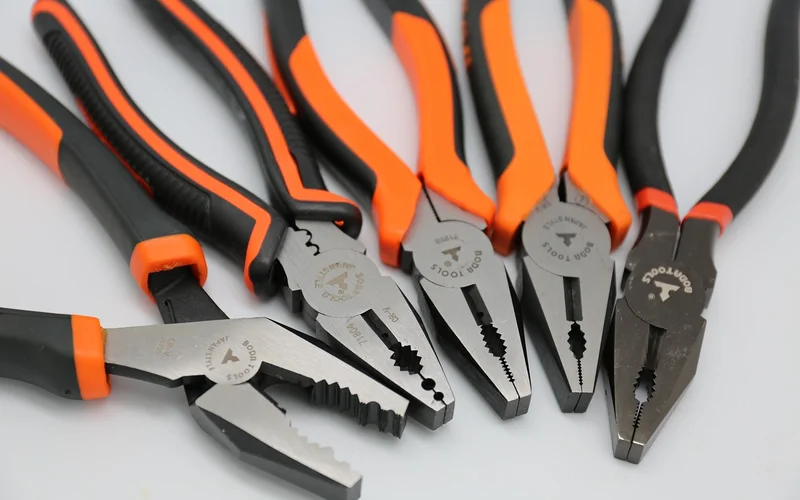
Picking the right pliers is important. Use needle-nose pliers for small staples. For larger staples, use flat-nose pliers. The right tool makes the job easier.
Grip the staple with the pliers. Pull up slowly. Avoid breaking the staple. If the staple is stuck, wiggle it gently. This helps to loosen it. Repeat until the staple is free.
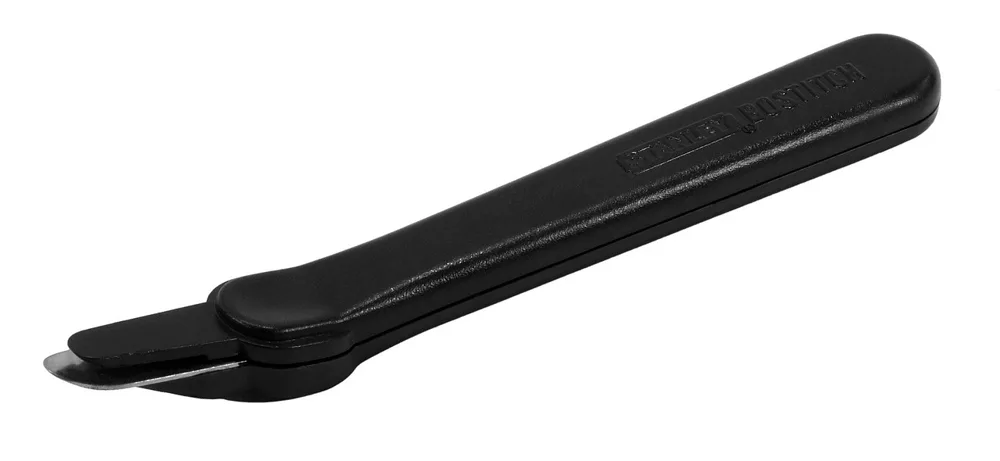
Using A Staple Remover
Staple removers come in different types. Flat removers look like small flat bars. Claw removers have a forked end. Pincer removers resemble pliers.
First, find the staple on the wood. Next, pick the right remover. For flat staples, use a flat remover. For deep staples, use claw or pincer removers.
Slide the remover under the staple. Gently lift the staple. Be careful not to damage the wood. If the staple is stuck, try again.
CS Osborne No. 120 1/2 Staple Lifter
A dedicated forked lifter built specifically for prying staples up without gouging the surrounding wood.
Best for: flush or deeply embedded staples in furniture and subfloors
Why we picked it: heavy-duty steel construction holds up under repeated prying
Main drawback: no built-in gripping jaws, so you still need pliers to pull the lifted staple free
Check Price on Amazon


As an Amazon Associate we earn from qualifying purchases.
Alternative Methods
Use a flathead screwdriver to remove wood staples. Insert the tip under the staple. Gently lift the staple. Work slowly to avoid damage. Pry it out carefully. If it gets stuck, adjust your grip. Repeat until the staple is out. This method works well for small staples. Be patient and take your time.
A utility knife can also help. Slide the knife under the staple. Be careful not to cut the wood. Lift the staple gently. Use steady pressure. If it doesn’t move, try a different angle. Wiggle the knife if needed. Once the staple is loose, pull it out. This method is quick but requires precision.
Dealing With Stubborn Staples
Heat can make staples easier to remove. Use a hair dryer. Aim the heat at the staples. The heat will loosen the wood around them. This makes them easier to pull out. Be careful not to burn the wood.
Lubricants help when staples are stuck. Spray WD-40 or oil on the staples. Let it sit for a few minutes. The lubricant will loosen the grip. Use pliers to pull them out. Wipe off any excess oil.
Post-removal Cleanup
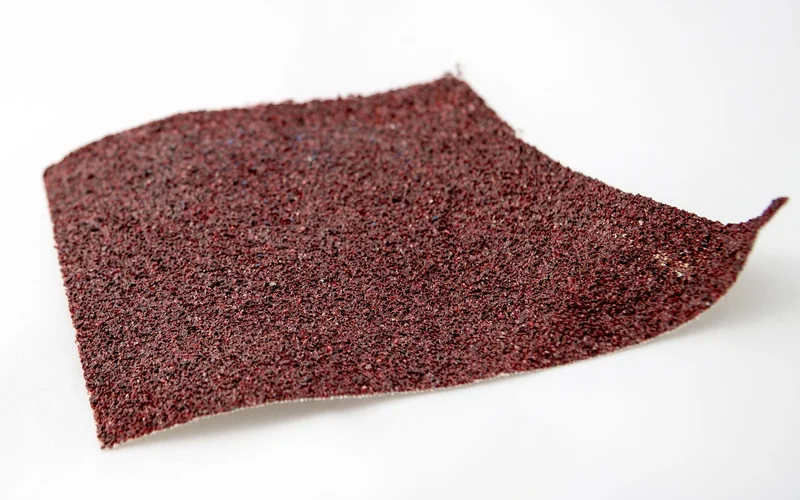
After removing the wood staples, the surface may feel rough. Sand the area gently using fine-grit sandpaper. This will smooth out any rough patches. Be sure to sand in the direction of the wood grain. This helps to maintain a uniform look. Use a soft cloth to wipe away dust after sanding. Repeat if needed until the surface is smooth.
Small holes may be left behind after staple removal. Fill these holes with wood filler. Use a putty knife to press the filler into the holes. Smooth the surface with the knife. Let the filler dry completely. Sand the area again once it is dry. This will ensure the surface is even. Paint or stain the wood if needed to match the rest of the piece.
Tips And Tricks
Removing wood staples can be simple with the right tools. Use pliers or a flathead screwdriver for best results. Gently pry and pull to avoid damaging the wood.
Avoiding Damage
Use a flathead screwdriver to lift the staple. Pry gently. Avoid pulling too hard. This prevents wood damage. Needle-nose pliers can also help. Grip the staple firmly. Pull it out slowly.
Maintaining Tools
Keep tools clean. Wipe them after use. Store them properly. This keeps them sharp. Check for rust. Oil the tools if needed. Sharp tools work best. They make tasks easier.
Frequently Asked Questions
How To Remove Staples From Wood Without Damaging It?
Use pliers to grip and gently pull the staples. Slide a flathead screwdriver under tight staples to lift them.
What Is The Best Tool To Pull Staples From Wood?
The best tool to pull staples from wood is a staple remover or a pair of pliers. These tools provide grip and leverage, making staple removal easier and preventing wood damage.
How To Remove Staples Without A Staple Remover?
Use a flathead screwdriver or butter knife to lift the staple’s prongs. Pull the staple out with your fingers or pliers.
What Is The Technique For Removal Of Staples?
Use a staple remover to lift the staples’ prongs. Gently pull the staple out to avoid tearing the material.
Conclusion
Removing wood staples doesn’t have to be a challenge. With the right tools and a bit of patience, you can do it easily. Remember to work carefully to avoid damaging the wood. Practice makes perfect, so don’t worry if it takes a few tries.
Your wood projects will look clean and professional. Happy woodworking!
Sponsored / affiliate links. As an Amazon Associate I earn from qualifying purchases. I may earn additional commission from eligible campaigns.