12 Simple Woodworking Projects for True Beginners
A genuinely simple woodworking project needs three things: hand tools you already own or can buy for under $25, one or two boards, and a design with no more than three or four cuts. That is the real bar — not a marketing label stuck on a coffee table or TV stand. Below are 12 simple woodworking projects sorted into three honest difficulty tiers, from zero-power-tool builds to your first cut with a miter saw, each with the exact tools, cost, and time it actually takes.
Brand new to the hobby? Start with our beginner guide to how to start woodworking for the priced tool list, safety gear, and skills to practice before you pick a project from this list.
Want faster, gift-sized builds instead of a full project progression? See our easy things to make with wood guide for quick hand-tool-only projects like a keepsake box, serving tray, and candle holders.
Want the full picture across beginner, intermediate, and advanced tiers instead of just beginner builds? See our wood project ideas by skill level guide for the complete progression, including pocket-hole and mortise-and-tenon projects once you outgrow this list.
Quick Answer
The simplest true-beginner woodworking projects — coasters, a picture frame, a key rack — use only hand tools and cost under $25. Add one cordless drill and you can build a floating shelf, planter box, or tool caddy for $35–95. A miter saw unlocks a coat rack, side table, or small bench — your first real furniture piece.
What Makes a Woodworking Project Actually Simple?
Best First Power Tool
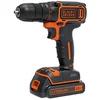
BLACK+DECKER 20V MAX Cordless Drill/Driver Kit – $49.39
The single tool that unlocks every Tier 1 project on this list — drives screws and drills pilot holes without a cord tying you to an outlet.
- Best for: A first cordless drill for someone who owns none
- Why we picked it: Comes with battery and charger included — no separate purchase needed
- Main drawback: Single-battery kit, so a second battery is a later upgrade, not day one
Round out the Tier 0 & Tier 1 tool kit
 Option 1 IRWIN Quick-Grip 6″ Bar Clamps, 4-Pack – $24.99
|
 Option 2 IRWIN 12″ Combination Square – $12.99
|
 Option 3 3M Assorted Grit Sandpaper, 5-Pack – $4.99
|
As an Amazon Associate we earn from qualifying purchases.
A woodworking project is genuinely simple when it needs three or four cuts or fewer, one type of joint, and tools that cost under $60 total to acquire — not when a blog calls a coffee table or dog house “easy” next to a set of coasters. Difficulty should be measured by what you have to own and learn before you start, not by how impressive the finished piece looks.
That is the gap in most “simple projects” lists: a floating shelf and a TV stand get the same “beginner” label even though one needs a stud finder and a drill and the other needs a miter saw, a router, and finish work. This guide sorts 12 projects into three tiers based on the tools each one actually requires, so “simple” means something specific instead of a marketing word.
| Tier | Tools Needed | Cost to Start | Project Examples |
|---|---|---|---|
| Tier 0 — No Power Tools | Hand saw or miter box, sandpaper, wood glue, one clamp | $10–25 | Coasters, key rack, picture frame |
| Tier 1 — One Power Tool | Tier 0 kit + cordless drill/driver | $35–95 | Floating shelf, planter box, tool caddy |
| Tier 2 — Add a Saw | Tier 1 kit + miter saw or circular saw | $120–250 | Coat rack, side table, small bench |
Work through the tiers in order. Every Tier 1 project reuses the measuring, sanding, and glue-up skills from Tier 0 — it just adds one tool. Skipping straight to a Tier 2 build without a finished Tier 0 or Tier 1 project first is the most common reason a first project stalls half-built in the garage.
What Tools Do You Need Before Your First Project?
A true beginner needs five hand tools to start Tier 0: a hand saw or miter box, 120 and 220 grit sandpaper, wood glue, a tape measure, and one clamp. Add a cordless drill/driver to unlock every Tier 1 project, and a miter saw or circular saw for Tier 2 — nothing else on this list requires a table saw, router, or planer.
Buy the hand-tool kit first and use it on two or three Tier 0 builds before spending on a drill. That order matters more than the tools themselves: a beginner who buys a drill before learning to measure, mark, and sand ends up with a crooked shelf and a tool they don’t yet know how to use well.
“The projects that make people quit aren’t hard — they’re mislabeled. A beginner who starts with a coffee table because a blog called it ‘easy’ is fighting joinery, finish work, and load-bearing legs all at once. Start with something that has one joint and one finish coat, finish it in an afternoon, and the next project gets easier on its own.”
Measuring and marking accurately is the skill that actually separates a clean build from a wonky one — if you want to understand why (and build a precision reference tool of your own along the way), see our guide on how to make a wooden level.
Tier 0: Simple Woodworking Projects With No Power Tools
These four projects need only a hand saw or miter box, sandpaper, wood glue, and a clamp — no drill, no outlet, no workshop. Each one takes 30 minutes to 2 hours and costs under $25 in materials if you don’t already have scrap wood on hand.
1. Sanded Wood Coasters
Coasters teach the sanding progression every later project depends on: 120 grit to smooth the cut edges, then 220 grit before finish. Cut 4-inch squares or circles from a single scrap board, sand all edges, and apply a food-safe mineral oil or wipe-on polyurethane.
- Tools & materials: scrap 3/4″ board, hand saw, 120/220 grit sandpaper, mineral oil
- Cost: $5–10 — often free if you have offcuts
- Time: 30–45 minutes
2. Wall-Mounted Key Rack
A key rack teaches accurate measuring and marking before a single cut happens — the combination square from the tool kit above is used to lay out evenly spaced hook positions. Cut one board to length, mark and screw in 3–4 cup hooks by hand, then add a finish coat. If you like the look of small individual compartments more than open hooks, a wooden printer’s tray is a similar-skill project built as a wall display case instead of a rack.
- Tools & materials: 1×4 board, combination square, cup hooks, sandpaper, wood finish
- Cost: $10–15
- Time: 45 minutes
3. Mitered Picture Frame
A picture frame is the simplest real joinery project on this list — four 45-degree miter cuts made with a miter box and hand saw, glued at the corners, and held square with a clamp while the glue sets. It’s the first project where a crooked cut is immediately visible, which makes it a genuinely useful skill test. For a frame that will hold up to years of handling, screw each mitered corner (with a pre-drilled pilot hole) in addition to the glue.
- Tools & materials: pine board, miter box, hand saw, wood glue, corner clamp
- Cost: $8–15
- Time: 1–1.5 hours plus glue drying time
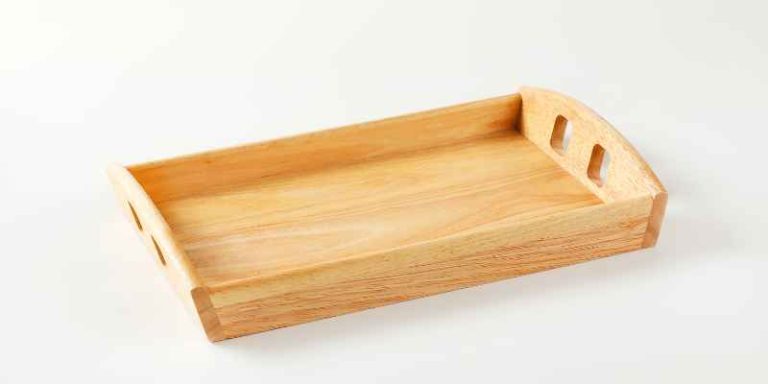
4. Small Serving Board
A serving board is one board, shaped and sanded by hand, finished with food-safe oil — no joinery at all. Round over the edges with sandpaper wrapped around a dowel, sand through the grits, then apply two coats of food-safe mineral oil or beeswax finish.
- Tools & materials: hardwood board (maple or walnut), sandpaper 120–220 grit, food-safe mineral oil
- Cost: $12–25 depending on wood species
- Time: 1–2 hours
Tier 1: Simple Projects With Just a Cordless Drill
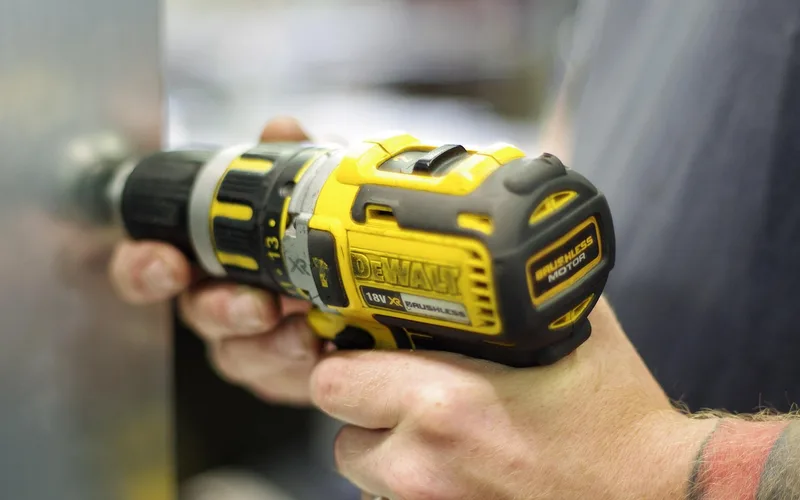
Add one cordless drill/driver to the Tier 0 kit and four more project types open up — anything that needs a pilot hole, a driven screw, or a wall-mounted bracket. Set the drill’s clutch to its lowest torque setting for these; a beginner drill without a clutch limit will strip screw heads or split pine before you notice.
5. Floating Wall Shelf
A floating shelf with a concealed bracket teaches stud-finding and level use — the two skills every wall-mounted project after this one needs. Find and mark a stud, drill a pilot hole, screw in the hidden bracket, then slide the shelf board over it.
- Tools & materials: 1×8 or 1×10 board, hidden floating-shelf bracket kit, cordless drill, stud finder, level
- Cost: $20–35
- Time: 1–2 hours
6. Wall-Mounted Tool Caddy
A tool caddy is a simple open box — four sides and a bottom, joined with glue and screws driven with the drill, the same basic build as a larger DIY wooden storage box. It’s the first project with a real box joint, though a beginner butt joint (glue plus two screws per corner) holds fine at this size. Ready to add a carry handle and a lift-out tray for small parts? Our wood toolbox top build guide covers the rabbet joinery and tray-on-cleats design for the next step up.
- Tools & materials: 1×6 pine boards, wood glue, 1.25″ screws, cordless drill
- Cost: $15–25
- Time: 1.5–2 hours
7. Cedar Planter Box
A small cedar planter box teaches outdoor-rated fasteners and gaps for drainage — cedar resists rot without a finish coat, which removes a whole step for a first outdoor build. Assemble four sides with exterior screws, add a slatted bottom with 1/4-inch gaps, and skip the finish entirely.
- Tools & materials: cedar 1×6 boards, exterior wood screws, cordless drill
- Cost: $30–50 (cedar costs more than pine)
- Time: 2 hours
8. Two-Step Stool
A two-step stool is the first Tier 1 project that has to bear real weight, which is exactly why it belongs here rather than in Tier 2 — it teaches pilot-hole drilling and glue-plus-screw joints strong enough to stand on, using only the drill. Pre-drill every joint before driving a screw; skipping this on plywood is the single most common cause of a wobbly or split stool.
- Tools & materials: 3/4″ plywood or pine, wood glue, 2″ screws, cordless drill, clamps
- Cost: $25–40
- Time: 2–3 hours
Tier 2: Simple Projects That Add a Miter Saw or Circular Saw
These four projects add one more tool — a miter saw for clean, square, repeatable crosscuts, or a circular saw if that’s what you have access to. They cost more and take longer than Tier 0 or Tier 1, but every joint and finishing technique is one already practiced in the tiers above.
9. Wall Coat Rack With Shelf
A coat rack with a shelf on top combines the stud-mounting skill from the floating shelf with the first square crosscuts made on a miter saw. Cut the shelf board and a face board to length, attach hooks to the face board, then mount the assembly into studs.
- Tools & materials: 1×6 and 1×4 boards, coat hooks, miter saw, drill, stud finder
- Cost: $30–45
- Time: 2–3 hours
10. Small Plant Stand or Side Table
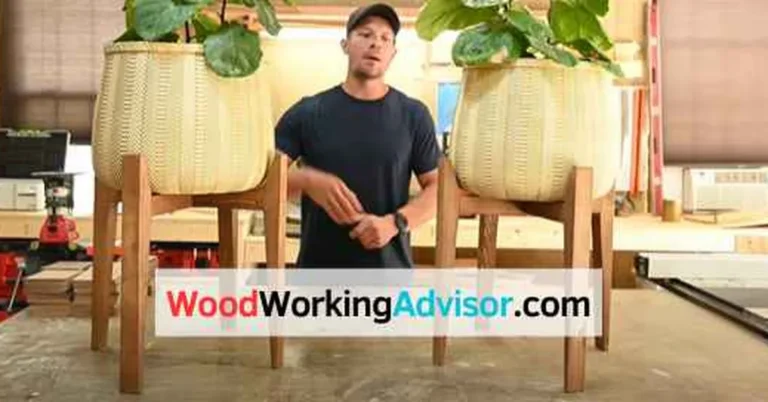
A small plant stand teaches repeat cuts to identical length — the four legs must match within 1/16 inch or the top will rock. A miter saw’s fence makes this realistic for a first attempt in a way a hand saw usually isn’t. Join the legs to an apron frame with pocket screws or glue-and-screw corner blocks. The same repeat-cut accuracy carries over to building a wooden music stand, another small stand-style project with a similar skill ceiling.
- Tools & materials: 2×2 legs, 1×4 apron boards, top board, miter saw, drill, wood glue
- Cost: $40–70
- Time: 3–4 hours
11. Compact Outdoor Bench
A two-seat outdoor bench is the largest project on this list, but the joinery is the same glue-and-screw connections practiced in the step stool and tool caddy — only the boards are longer and the cuts must be square across a wider board. Use pressure-treated or cedar lumber and exterior-rated screws throughout.
- Tools & materials: pressure-treated 2×4 and 2×6 lumber, exterior screws, miter saw or circular saw, drill
- Cost: $60–100
- Time: 4–5 hours
12. Adirondack-Style Stool
The Adirondack-style stool is the graduate project on this list — the first build with angled (not just square) cuts, on the seat supports and back legs. Everything else it needs — measuring, pilot holes, glue-and-screw joints, exterior finish is already practiced in the ten projects above it.
- Tools & materials: cedar or pine 1x boards, exterior screws, miter saw, drill, exterior finish
- Cost: $50–90
- Time: 4–6 hours
How Much Do Beginner Woodworking Projects Cost?
A Tier 0 project costs $5–25 in materials and needs no new tools if you already own a hand saw. Tier 1 projects cost $15–50 in materials, plus a one-time $35–95 tool investment (drill, clamps, square, sandpaper) that covers every project after it. Tier 2 projects run $30–100 in materials once you add a miter saw.
📊 The four tools that gate every Tier 1 project below — a cordless drill, bar clamps, a combination square, and sandpaper — cost $92.26 combined at current 2026 pricing, and none of them are single-project purchases; they’re reused on every build in this guide from project 5 onward.
| Tier | Material Cost Range | One-Time Tool Cost |
|---|---|---|
| Tier 0 | $5–25 per project | $0 if you own basic hand tools |
| Tier 1 | $15–50 per project | $35–95 (drill + clamps + square + sandpaper) |
| Tier 2 | $30–100 per project | $120–250 (add a miter or circular saw) |
How Long Does a Beginner Woodworking Project Take?
A Tier 0 project takes 30 minutes to 2 hours, including glue-drying time. Tier 1 projects run 1–3 hours, mostly measuring and drilling. Tier 2 projects take 2–6 hours since cutting to length and squaring up multiple boards takes longer than a single-board build.
| Project | Tier | Time |
|---|---|---|
| Sanded wood coasters | 0 | 30–45 min |
| Mitered picture frame | 0 | 1–1.5 hrs |
| Floating wall shelf | 1 | 1–2 hrs |
| Two-step stool | 1 | 2–3 hrs |
| Small plant stand | 2 | 3–4 hrs |
| Compact outdoor bench | 2 | 4–5 hrs |
Woodworking Safety Basics for Your First Project
Wear safety glasses for every cut and every sanding pass — wood chips and dust are the most common first-project eye injury, and safety glasses cost under $10. Add hearing protection once you’re running a drill or saw for more than a few minutes, since power tools regularly exceed the 85-decibel threshold where hearing damage begins with repeated exposure, according to OSHA’s noise exposure standards.
- Clamp, don’t hold: a clamped board keeps both hands free and away from the cut path or drill bit.
- Cut away from your body: position hand saw cuts so the blade travels away from your supporting hand, not toward it.
- Unplug or remove the battery before changing a drill bit or sandpaper on a power sander.
- Dust mask for sanding sessions over 15 minutes, especially with softwoods like pine that produce fine dust.
None of the 12 projects above involve a table saw, router, or any tool with a spinning blade you feed material into by hand — that’s a deliberate limit for a true first-project list, not an oversight.
Frequently Asked Questions About Simple Woodworking Projects
What is the easiest woodworking project for a complete beginner?
Sanded wood coasters are the easiest true beginner project — one board, one cut type, hand tools only, and about 30–45 minutes start to finish. They teach the sanding progression every later project reuses.
What tools do I need to start woodworking?
A true beginner needs a hand saw or miter box, 120 and 220 grit sandpaper, wood glue, a tape measure or combination square, and one clamp — roughly $10–25 total. A cordless drill is the next purchase, once you’ve finished a Tier 0 project or two.
Can you do woodworking without power tools?
Yes. Coasters, a mitered picture frame, a key rack, and a serving board all use only a hand saw or miter box, sandpaper, and wood glue — no drill, no outlet, and no workshop required.
How much does it cost to start a beginner woodworking project?
A Tier 0 project costs $5–25 in materials with tools you may already own. Adding a cordless drill for Tier 1 projects costs a one-time $35–95 for the drill, clamps, square, and sandpaper, which then covers every project after it.
How long does a beginner woodworking project take?
Tier 0 projects take 30 minutes to 2 hours including glue-drying time. Tier 1 projects run 1–3 hours. Tier 2 projects that add a miter saw take 2–6 hours because cutting multiple boards square takes longer than a single-board build.
What wood should a beginner use?
Pine is the standard beginner wood — it’s inexpensive, cuts easily with a hand saw, and takes glue and finish well. Cedar is worth the extra cost for anything staying outdoors, since it resists rot without a finish coat.
Conclusion
Start at Tier 0, finish one or two projects with hand tools alone, then add a cordless drill for Tier 1 and a miter saw for Tier 2 — in that order, “simple” stays true the whole way through instead of becoming a label stretched over an advanced build. For more ideas once you’ve worked through this list, see our full DIY woodworking projects hub, our woodworking projects for teens guide if you’re building alongside a younger woodworker, our small woodworking projects you can craft and sell, or free birdhouse plans with cut lists for a Tier 1 project not covered above. For the core skills behind every joint in this guide, see our woodworking projects and tips guide, our breakdown of woodworking tools and saws, and our wood glue buying guide for the right adhesive on your first glue-up.
Sponsored / affiliate links. As an Amazon Associate I earn from qualifying purchases. I may earn additional commission from eligible campaigns.