How to Build Tapered Wood Columns: Taper Ratio, Jig & Joinery Guide
To build a tapered wood column, first decide whether it needs to be structural (boxed around a load-bearing 4×4 or 6×6 post) or purely decorative, then set a taper ratio of roughly 1 inch of width reduction for every 2 feet of height, cut the four tapered faces with a table saw taper jig or hand plane, and join the corners with glued butt joints rather than miters if the column will live outdoors.
Most “tapered column” tutorials skip the two decisions that actually determine whether the project looks right and survives outside: how much taper is enough, and whether the column needs to carry real weight. Get the taper ratio wrong and the column looks either stumpy or spindly. Build it as a solid decorative shell when it’s actually holding up a porch roof, and you have a structural problem, not just a cosmetic one.
This guide covers both the math and the two common cutting methods – a table saw taper jig versus a hand plane – along with the joinery choice that separates a column that lasts twenty years outdoors from one that opens up at the seams after its first winter.
Taper Ratio and Column Style: Structural Wrap vs. Solid Decorative Taper
Best Table Saw Taper Jig
 |
Rockler Taper Jig & Straight Line Jig for Table Saw – $118.99 The jig this guide’s table-saw method relies on to cut all four tapered column panels at one identical, repeatable angle.
|
Before cutting anything, decide which of two jobs this column is doing. A structural column boxes around an existing load-bearing post – typically a 4×4 or 6×6 pressure-treated post already holding up a porch roof or pergola beam. The four tapered panels are non-structural cladding; the real load path is the post inside them. A purely decorative column is solid or hollow-shell lumber with no hidden post, used where it isn’t carrying weight, such as a half-column against a wall or a freestanding accent piece. Confusing the two matters: if you build a hollow decorative shell where a roof actually bears down on it, you have a structural failure waiting to happen, not a woodworking mistake.
Once you know which one you’re building, set the taper ratio. A common, visually balanced craftsman proportion reduces the column’s width by about 1 inch for every 2 feet of height – so an 8-foot column starting at 10 inches wide at the base would finish around 6 inches wide at the top. That’s a starting point, not a rule: a shorter, stockier porch post can taper less aggressively (closer to 1 inch per 3 feet) without looking top-heavy, while a tall, slender accent column can taper more. Sketch the taper ratio at full scale on a scrap board first – the eye catches an unbalanced taper faster than the math will.
| Column Height | Base Width | Top Width (1"/2ft ratio) |
|---|---|---|
| 6 ft | 8 in | 5 in |
| 8 ft | 10 in | 6 in |
| 10 ft | 12 in | 7 in |
Table Saw Taper Jig vs. Hand Plane: Which Method Fits Your Shop
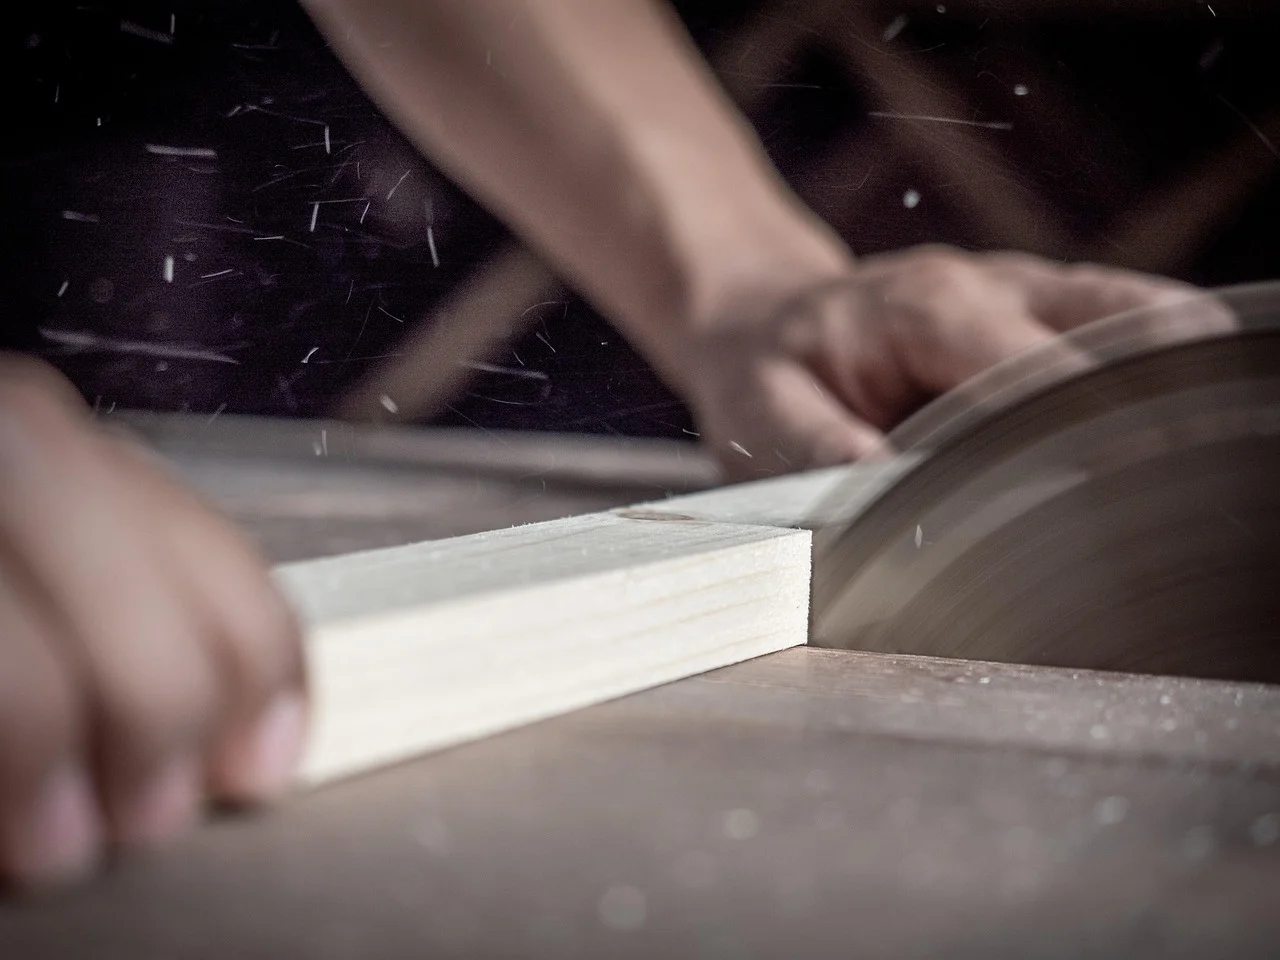
There are two practical ways to cut a clean, repeatable taper: a table saw taper jig or a hand plane. Neither is “wrong” – they suit different shops and different tolerances for hand work.
A taper jig rides in the table saw’s miter slot and holds the workpiece at a fixed angle relative to the blade, so the saw does the actual cutting in one pass. This is the faster, more repeatable option, and it’s the only practical way to guarantee that all four panels of a column taper at exactly the same angle – which matters enormously, because even a half-degree of mismatch between panels becomes visible as a gap once you assemble the four sides. Set the jig’s angle once using your taper ratio math, run all four boards through without changing the setting, and every panel will taper identically.
A hand plane taper is slower but needs no jig purchase: mark the taper line on both edges of the board, rough it down close to the line with a jack plane, then true it up with a longer jointer plane referencing the marked lines. This works fine for a single column or two, but repeating an identical hand-planed taper across four panels – let alone four panels times several columns – takes real skill to keep consistent. If you’re building more than one column, or you want the four faces to match without hand-fitting each seam, the jig setup pays for itself in the first project.
Cutting the Taper, Step by Step
- Mill your four panels to final width (the base width from your taper ratio) and to length, with square edges.
- Mark the top-width line on both long edges at the top end of each panel, and the base-width line at the bottom (they should be the full panel width, since the taper is cut into the edge, not the face).
- Set the taper jig angle using the total width difference over the panel length, or use the marked line as a visual reference if you’re cutting freehand against a straightedge.
- Cut one edge of all four panels first, using the same jig setting for each, before touching the second edge – this keeps every panel’s first cut identical.
- Reset the jig (or flip the reference edge) and cut the second tapered edge on all four panels.
- Dry-fit all four panels around the post (or against each other, for a solid column) before sanding or finishing anything – this is the point to catch a taper mismatch, while it’s still cheap to recut a panel.
Joinery That Actually Survives Outdoors: Mitered vs. Butt Joints
The four tapered panels can meet at the corners two ways: a 45-degree miter, or a simple butt joint. Both look acceptable when the column is first built. Only one holds up reliably outdoors.
Mitered corners look cleaner because there’s no visible end grain at the seam, and getting all four miters to close tight is genuinely satisfying to pull off. The problem is wood movement: as the column panels expand and contract with humidity and temperature swings, a tight miter is the joint most likely to open a hairline gap, and once that gap exists, it telegraphs a visible line down the full height of the column – worse outdoors, where the swings are bigger and more frequent than indoors. Because the taper itself already changes the bevel angle at each corner (it isn’t a true 45 degrees once the panel is tapered, since the sides are no longer parallel), a mitered taper column also asks for more precise trigonometry to get each corner’s angle right, which adds another place for a small error to become a visible gap.
Butt joints – where one panel’s tapered edge overlaps the adjacent panel’s face rather than meeting it at a mitered point – are less “invisible,” since a faint seam line can show through paint over time. But that seam is far more forgiving of movement, doesn’t rely on a compound-angle cut being perfect, and is the joint most builders who’ve done this outdoors for years actually recommend for anything exposed to weather. If you’re building for a covered porch that stays dry, a tight miter is a reasonable aesthetic choice. If the column will get rained and snowed on directly, plan on butt joints and an exterior-rated glue, and don’t fight the seam – prime and paint will minimize it far more than a miter joint’s short-term tightness will.
Assembling and Installing the Column
Glue and clamp (or screw through pre-drilled, countersunk holes that will be filled later) two panels together first to form an L, then join the second L to the first to close the box around the post, if it’s a structural wrap. Check for square and consistent taper along the full height before the glue sets – a column that’s slightly out of square at the base will look visibly twisted by the time you reach the top, because the error compounds over the taper’s length.
For a structural wrap, leave a small air gap between the cladding and the post inside rather than gluing the shell directly to the post – this lets moisture that gets in from the top or through a seam actually dry out instead of staying trapped against the post. Cap the top of the column with flashing or a cap detail that sheds water away from the seams, since the top of an outdoor column is where water sits longest and rot starts first.
Set the finished column on a base that keeps its end grain off the concrete or decking – a raised post base or a sacrificial base block does this. This detail matters as much for a decorative column as for a plain post: end grain left sitting in standing water is the single fastest way a wood column fails, regardless of how well the taper was cut.
Finishing for Weather Resistance
Sand through progressively finer grits, finishing around 150-180 grit for a paint-ready surface (finer than that mostly matters for a clear finish, not paint). Fill any butt-joint seams and screw holes with an exterior-rated wood filler before priming, then use a stain-blocking exterior primer on any knots or sap streaks so they don’t bleed through the topcoat later.
For paint, two coats of a quality 100% acrylic exterior paint over the primer gives the best combination of flexibility (to handle the wood’s seasonal movement without cracking) and UV resistance. If you’d rather show the wood grain, a penetrating exterior stain plus a spar-type topcoat rated for UV and moisture will hold up better than an interior-grade finish, though it will need recoating more often than paint. Whatever finish you choose, get it on all six sides of every panel – including the inside faces and both end grains – before final assembly if at all possible, since unfinished, hidden end grain is exactly where the earliest rot starts on an otherwise well-built column.
Frequently Asked Questions
What is a good taper ratio for a wood column?
A common craftsman-style ratio reduces the column’s width by about 1 inch for every 2 feet of height – an 8-foot column might go from 10 inches wide at the base to 6 inches at the top. Shorter, stockier columns can taper less aggressively; taller, slender columns can taper more. Sketch it full-scale on scrap before cutting your real panels.
Should I use a table saw jig or a hand plane to cut the taper?
A table saw taper jig is faster and far more repeatable across four panels, since one fixed jig angle produces an identical taper on every board. A hand plane works for a single column if you’re comfortable truing an edge to a marked line, but keeping four panels (or more, across multiple columns) consistent by hand is much harder than with a jig.
Is a tapered wood column structural or just decorative?
It can be either, and you need to know which before you build it. A structural column boxes around a load-bearing post (commonly a 4×4 or 6×6) that carries the actual weight; the tapered panels are cladding. A decorative column has no hidden post and shouldn’t be used anywhere it would need to bear real structural load.
Should column corners be mitered or butt-jointed for outdoor use?
For anything exposed directly to rain and snow, a glued butt joint holds up better long-term than a mitered corner, because it tolerates seasonal wood movement without opening a visible gap. Mitered corners look cleaner initially and are a reasonable choice for a covered, dry porch, but they’re the joint most likely to open outdoors over time.
Can tapered wood columns be used outdoors?
Yes, with the right details: exterior-rated glue, butt joints rather than tight miters, a cap or flashing detail at the top to shed water, and a base that keeps end grain off standing water. Skipping any one of those is where most outdoor column failures actually start.
Conclusion
Building a tapered wood column comes down to three decisions made before you touch a saw: whether it’s structural or decorative, what taper ratio looks right at your column’s height, and whether a miter or butt joint fits how much weather it will actually see. Get those right, cut the four panels to match with a taper jig, and finish every face – including the ones you won’t see again once it’s assembled – and the column will still be doing its job two decades from now.
Sponsored / affiliate links. As an Amazon Associate I earn from qualifying purchases. I may earn additional commission from eligible campaigns.