How to Repair Wood Inlay: Fix Loose, Cracked & Missing Pieces
To repair wood inlay, first identify whether the piece is loose, cracked, or missing. Re-glue loose sections with wood glue and clamping pressure, fill small gaps with a color-matched wax or shellac fill stick, and cut a new veneer patch for anything missing before sanding it flush and refinishing.
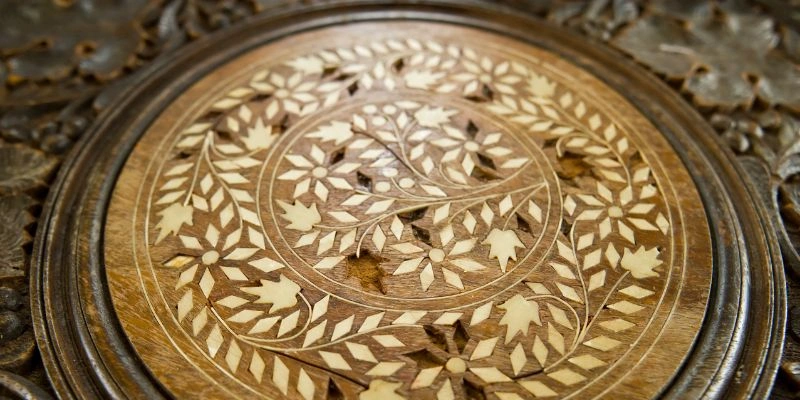
Inlay is thin veneer, wood, shell, or metal set into a recess in a larger piece of furniture or flooring to form a pattern – the technique is called marquetry when it forms a picture and parquetry when it forms a geometric pattern. Because the inlay pieces are thin and only glued into a shallow groove, they’re one of the first things to loosen, crack, or chip on an older piece, even when the surrounding solid wood is in good shape.
This guide covers the basic fixes – re-gluing, gap filling, and patching a missing piece – along with two problems that trip up a lot of first-time repairs: a brand-new patch that looks flush when you glue it in but won’t sit right once the piece is stained, and how to clean up a previous repair attempt that didn’t go well before you try again.
Assessing the Damage: Loose, Cracked, or Missing Inlay
Start by running your fingertips over the entire inlay pattern rather than just looking at it – loose sections often feel slightly raised before they’re visible. Press down gently on each section; a piece that flexes or gives a faint hollow sound when you tap it lightly with a fingernail has lost its bond to the substrate underneath, even if the surface finish still looks intact. Hairline cracks and small gaps between pieces are usually cosmetic and don’t need structural repair, just filling. Chipped or fully missing pieces need a cut replacement, and a patch that sits proud (slightly raised) or dished (slightly sunken) compared to the surrounding wood is a sign a previous repair didn’t fully cure before it was sanded flush.
Best Color-Match Filler Kit For Inlay Repairs
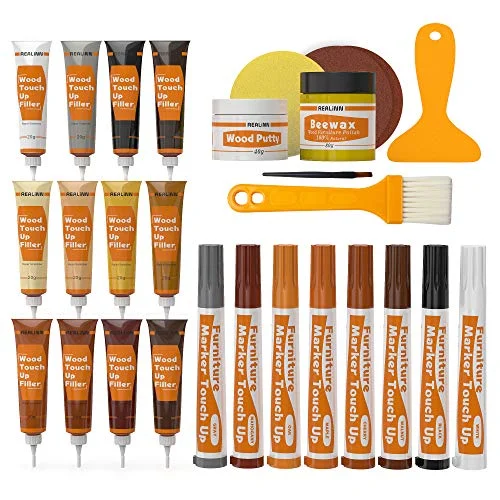 |
REALINN Wood Furniture Repair Kit – $17.84 This 28-piece kit gives you 12 filler shades and 8 touch-up markers, enough range to color-match most inlay species without mixing a custom stain batch.
|
Tools and Materials for an Inlay Repair
Most inlay repairs need the same small kit regardless of the specific damage:
- Wood glue: PVA for general repairs, or hide glue if the piece is an antique you may need to re-treat later.
- Glue syringe or thin brush: for working adhesive under a lifted section without prying it up further.
- Clamps or a weighted caul: a padded C-clamp, a veneer press, or a bag of sand works to hold even pressure while the glue cures.
- Sharp chisel or veneer saw: for lifting out damaged pieces and trimming a new patch.
- Color-matched wax or shellac fill sticks: for cracks and small gaps – standard wood filler often doesn’t take stain the way the surrounding inlay wood does.
- Sandpaper, 220 to 400 grit, and a card scraper: for leveling a patch once it’s fully cured.
Wear eye protection and a dust mask when chiseling or sanding – fine inlay dust from old finishes can contain lead in pieces refinished before the 1970s.
Fixing Loose or Lifting Inlay Pieces
Clean out any old finish, wax, or crumbled adhesive from under the lifted section first – gluing over debris is the most common reason a re-glued piece lifts again within a year. A thin palette knife or a piece of stiff paper works to scrape the pocket clean without widening the gap. Load a glue syringe with PVA glue (or warmed hide glue) and work a small amount underneath, using just enough to wet the wood without flooding the joint and forcing glue up through the seams.
Press the piece down through a sheet of waxed paper so squeeze-out doesn’t bond your clamp to the surface, then clamp or weight it evenly. PVA glue needs about 30 minutes of clamp pressure to grab, but give the joint a full 24 hours before sanding, staining, or handling that section – a patch that feels solid after an hour can still shift under a scraper before it’s fully cured.
Filling Cracks and Small Gaps
For hairline cracks and small gaps between inlay pieces, a color-matched wax fill stick is the fastest option: warm it slightly between your fingers, press it into the gap with a plastic scraper, and buff off the excess. Shellac fill sticks take more skill – they’re melted into the gap with a heated burn-in knife – but they cure hard and can be sanded and stained, which a wax stick can’t. Skip generic wood putty on visible inlay work if you can; most putties dry to a flat, non-porous surface that absorbs stain unevenly and reads as a dull patch once the piece is finished.
Replacing a Missing or Badly Damaged Inlay Piece
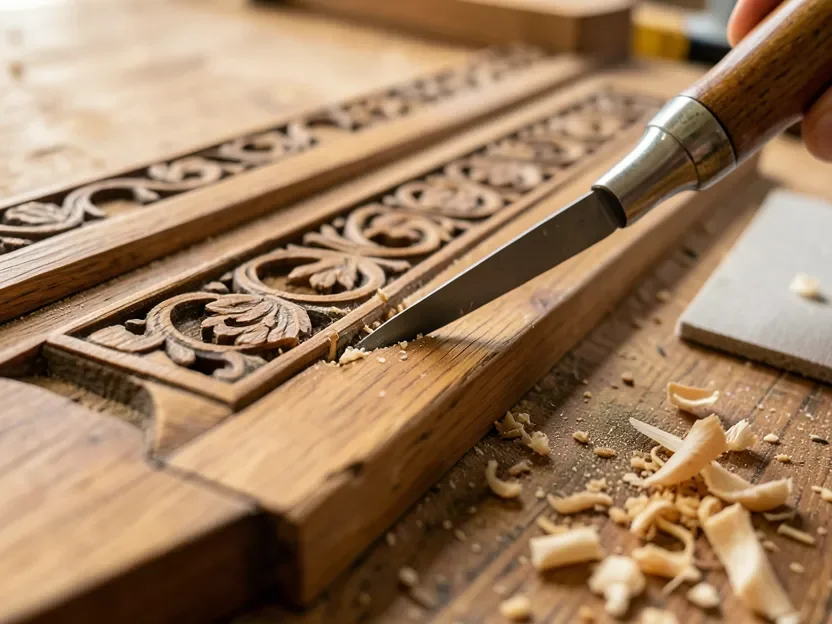
Trace the void onto a piece of paper or thin cardstock to get an exact template, then find matching veneer. Common inlay woods include satinwood, boxwood, ebony, holly, and walnut, along with brass or mother-of-pearl for thin banding strips – match both the species and the grain direction of the surrounding piece as closely as you can, since color alone rarely fools the eye if the grain runs the wrong way.
If you’re missing enough banding that a single small patch won’t cover it, it’s often more reliable to mill and rip your own replacement strips to an exact width and thickness match rather than hunt for pre-made banding – see our guide on how to make wood inlay strips for the full cutting, diamond-banding, and gluing process.
Cut the replacement slightly oversized with a veneer saw or a sharp utility blade, then dry-fit it and pare the edges down with a chisel until it seats without forcing. Glue it in with a reliable wood glue, clamp or weight it, and leave it fully undisturbed for at least 24 hours. Resist the urge to sand a slightly proud patch flush right after clamping – wait until the glue has fully cured, then level it with a card scraper or a block plane rather than sandpaper alone, which can round over the patch edges and leave a visible seam.
Why a New Inlay Won’t Sit Flush After Staining
A patch that was perfectly flush when you glued it in can suddenly look proud, or refuse to seat right, once you start staining and finishing – a problem people searching for this fix often describe as an inlay that “won’t fit after staining.” Two things usually cause it. First, oil-based stain and multiple coats of topcoat build up a thin film of finish around the original surrounding wood that a bare new patch doesn’t have yet; if you level the patch to bare wood and then apply several coats of finish on top of it, the patch ends up sitting below the new finish build on day one but can look uneven once everything cures and shrinks slightly. Level the patch to the surrounding finish thickness, not just the raw wood, and do your final leveling pass after a sealer coat, not before it.
Second, veneer glued with a water-based adhesive like PVA can hold onto residual moisture and swell slightly before it’s fully dried out, even after the glue feels dry to the touch on the surface. A patch that measures flush the day after gluing can be a hair proud a week later once it finishes drying and shrinking. Let a repair cure for 48 to 72 hours – longer in humid weather – and do a final flattening pass with a scraper immediately before you apply stain, rather than trusting the flush check you did right after clamping.
Fixing a Botched Previous Repair
If an earlier DIY attempt left a wrong-colored filler sitting proud of the surface, or dried glue squeeze-out that won’t take stain, don’t try to patch over it. Cured wood glue seals the wood surface and blocks stain from absorbing evenly, which is why a repaired area often shows up as a lighter halo once you stain around it. Scrape or sand the old filler and glue residue back down to bare wood first, then re-cut a fresh patch or redo the fill from scratch using the color-matching process above. Before committing to a stain color, always test it on a scrap of the same replacement wood species rather than assuming the can label matches what’s already on the piece – that single test saves most of the re-do repairs described in the first place.
Finishing, Blending, and Sealing the Repair
Sand progressively through 220, 320, and up to 400 grit once any patch or fill is fully cured, feathering the edges into the surrounding finish rather than sanding only the repair itself. Test your stain on the scrap piece you matched earlier before applying it to the actual repair, and apply it with a small brush or cotton pad so you can control how far the color spreads past the patch edges. A dewaxed shellac wash coat over the repair before your final topcoat helps seal the new wood evenly and keeps the stain color from shifting when the topcoat goes on; finish with a topcoat that matches the sheen of the rest of the piece so the repair doesn’t stand out under angled light.
Preventing Future Inlay Damage
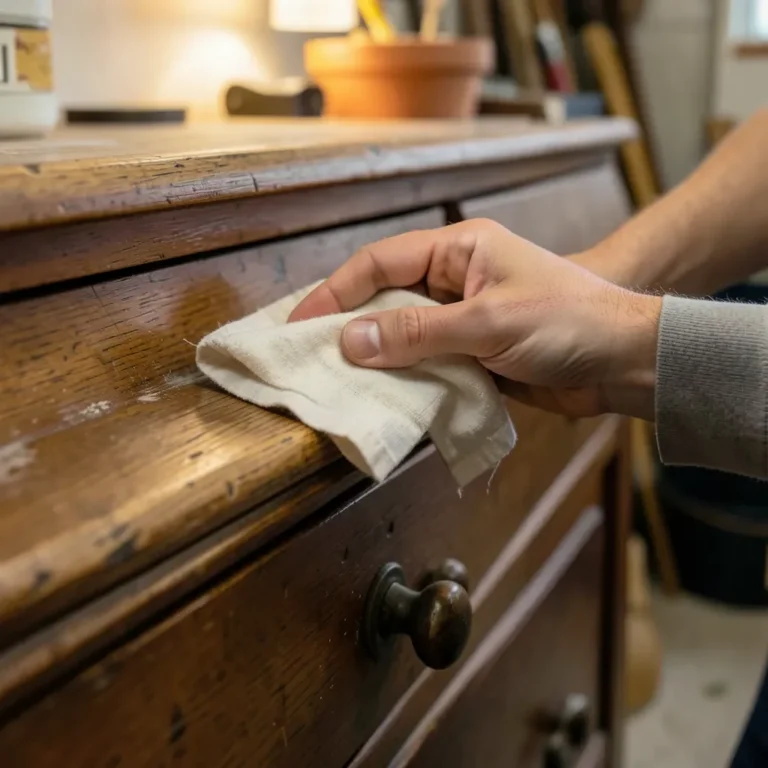
Keep indoor humidity in a stable 30 to 50 percent range where possible – wood inlay expands and contracts with moisture faster than the thicker solid wood around it, and swings in humidity are what loosen well-glued pieces years later. Use felt pads or coasters under anything set on an inlaid surface, keep the piece out of direct sunlight since UV both fades the wood and dries out the adhesive underneath, and dust with a slightly damp microfiber cloth rather than a dry one, which can drag grit across the surface and create fine scratches in the inlay’s softer wood species. A light coat of paste wax every few months adds a sacrificial layer that takes minor wear before it reaches the finish itself.
When to Call a Professional
Loose pieces, small cracks, and minor gaps are reasonable to handle yourself with the tools above. Hand a repair to a professional restorer when the damage covers a large area, the piece is a valuable antique, or the pattern uses intricate marquetry with several wood species, shell, or metal banding – a rushed color match or an uneven patch on a piece like that is far more expensive to undo than to have done correctly the first time.
Frequently Asked Questions
How Do I Fix Loose Wood Inlay?
Clean any dust or old finish from underneath the lifted section with a thin palette knife, then work a small amount of wood glue under the piece with a glue syringe or fine brush so the bond forms against solid wood, not trapped debris. Press the inlay down through a sheet of waxed paper and clamp it or weight it evenly for at least 30 minutes with PVA glue, then leave it clamped and undisturbed for a full 24 hours before handling the piece again.
What Glue Is Best For Inlay Wood Repair?
PVA wood glue works for most modern furniture repairs and sands cleanly once cured. For antiques and valuable pieces, hide glue is usually the better choice because it is reversible – a future repair can soften an old hide glue joint with heat and moisture without damaging the surrounding wood, which a cured PVA or epoxy joint won’t allow.
Why Won’t My New Inlay Patch Sit Flush After Staining?
Two things usually cause this. First, oil-based stain and several coats of topcoat add a thin film of build-up around the original finish that a bare new patch doesn’t have yet, so a patch leveled to bare wood can end up slightly proud once the surrounding finish film builds up. Second, veneer glued with a water-based adhesive can hold residual moisture and swell a hair before it’s fully dry, so let a repair cure 48 to 72 hours, re-flatten it with a card scraper right before staining, and match the surrounding finish thickness, not just the bare wood level.
Can I Repair Wood Inlay Myself, Or Do I Need A Professional?
Loose pieces, small cracks, and minor gaps are reasonable DIY repairs with basic tools and a little patience. Extensive damage, valuable antiques, or intricate marquetry patterns with multiple wood species or shell and metal banding are usually worth handing to a professional restorer, since a wrong color match or a rushed patch on a piece like that is expensive to undo.
Conclusion
Most wood inlay damage comes down to the same handful of fixes: re-glue what’s loose, fill what’s cracked, and patch what’s missing, using materials that actually take stain the way the surrounding wood does. The two problems that trip people up – a new patch that won’t sit flush after staining, and a previous repair that needs to be undone before you can try again – both come back to giving the repair enough cure time and matching the surrounding finish build, not just the bare wood. Take it one section at a time and test your color match before committing, and a repair should blend in rather than stand out.
Sponsored / affiliate links. As an Amazon Associate I earn from qualifying purchases. I may earn additional commission from eligible campaigns.