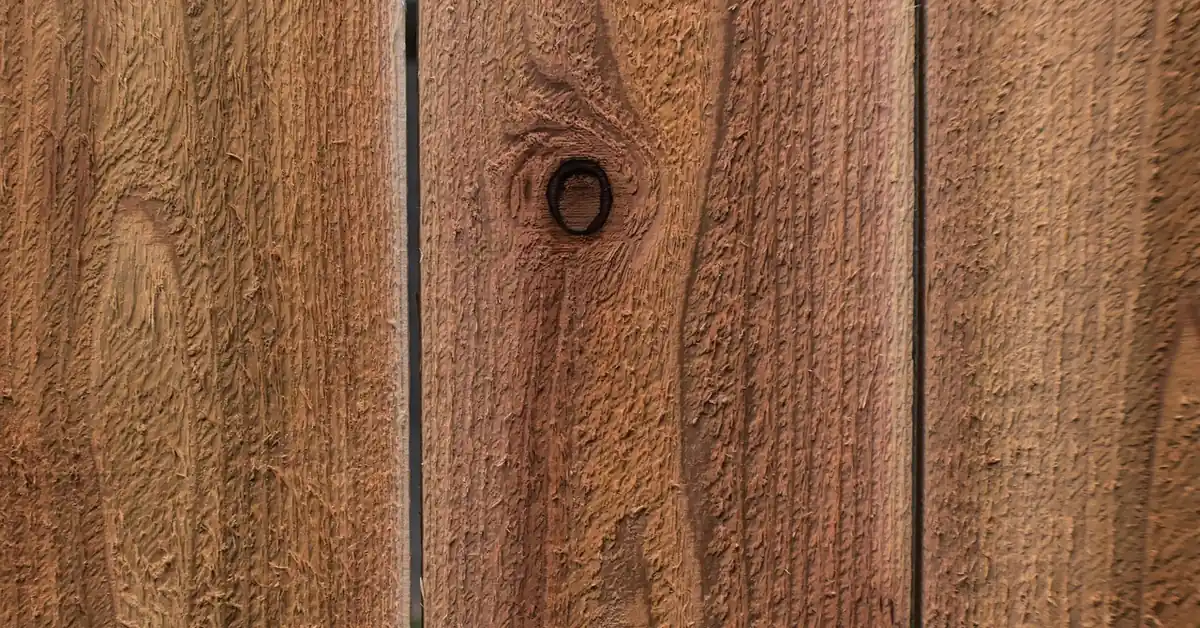
Cedar Wood Filler: Best Types + Why Tannins Ruin Repairs
Solvent-based and two-part epoxy fillers bond best to cedar — latex fillers can fail because cedar’s natural oils and tannins resist water-based adhesion. Using the wrong type causes color bleed-through or cracking within a season. This guide covers which filler type to use indoors vs. outdoors, how to stop tannin stains from ruining a repair, and which products actually hold up on exterior cedar siding.
Why Cedar Needs a Different Wood Filler Than Other Species
Best Cedar Wood Filler Pick
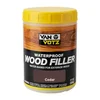
Van Votz Waterproof Wood Filler, Cedar – $25.99
Pre-tinted to match cedar so color mismatch (the repair problem this guide covers above) is less of a gamble, and it’s built for the sun/rain/humidity exposure exterior siding and fences see.
- Best for: exterior cedar siding, fences, and trim repairs
- Why we picked it: matches cedar’s natural tone in 18 color options and is rated for snow, sun, rain, and humidity
- Main drawback: water-based — on tannin-heavy cedar, spot-prime bleed areas first before applying
Compare more cedar wood filler options
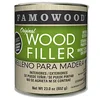 Option 1 FamoWood Original Wood Filler, Cedar – $15.53
|
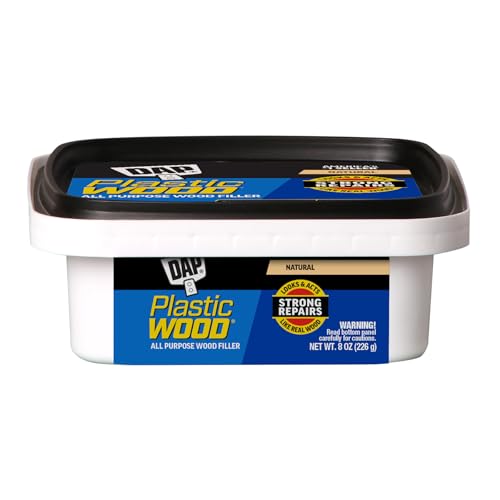
 Option 2 DAP Plastic Wood Latex Filler, 3 oz – $4.29
|
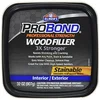 Option 3 Elmer’s ProBond Wood Filler, 32 oz – $18.56
|
As an Amazon Associate we earn from qualifying purchases.
Cedar is soft, aromatic, and naturally rot- and insect-resistant — the same oils that make it durable outdoors also make it harder for some fillers to grip. Cedar needs sealing more often than hardwoods, and cedar exposed to moisture is prone to splitting, checking, and knot-hole gaps that need filling before the wood is finished.
Cedar also carries natural tannins that bleed toward the surface when the wood gets wet. A standard latex primer or water-based filler applied over that bleed can fail to seal it — the water in the product actively pulls more tannin to the surface, leaving rust-colored stains around the repair. That is why wood filler selection for cedar is not a one-size-fits-all decision the way it is for pine or poplar.
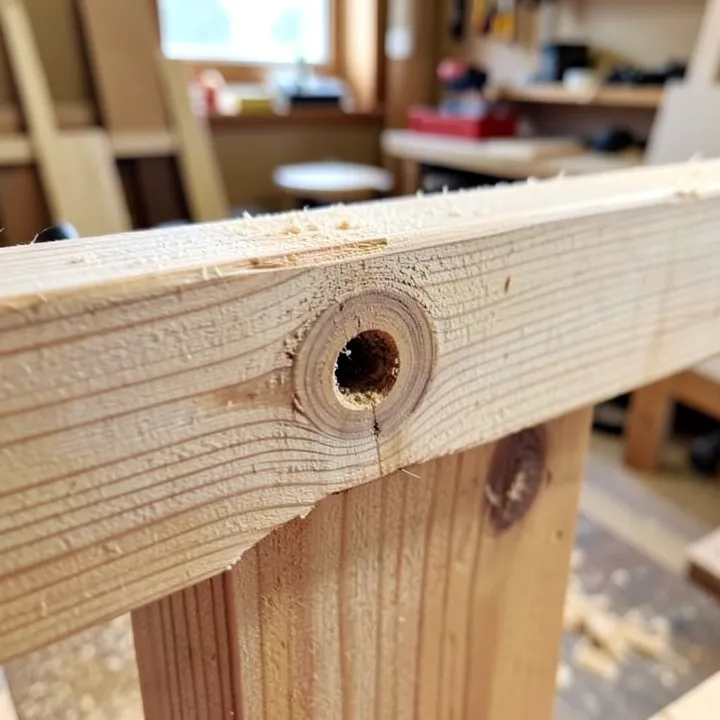
Types Of Cedar Wood Filler
Water-based (latex/acrylic) fillers are non-toxic, clean up with water, and sand smooth in as little as 15–30 minutes, with full cure in 2–4 hours. They work well for small, shallow indoor repairs under 1/4 inch deep, but they rely on evaporation to harden — deeper fills can crack, and on exterior cedar they are the type most likely to trap tannin bleed underneath.
Solvent-based fillers (often labeled with acetone or lacquer-thinner cleanup) bond more aggressively to cedar’s natural oils than water-based products, which is why brands like FamoWood formulate a dedicated cedar-tinted solvent-based filler. They resist water and UV once cured and are the standard choice for outdoor, weather-exposed repairs.
Two-part epoxy fillers cure through a chemical reaction rather than evaporation, so they can fill gaps up to 2 inches wide without shrinking or cracking — something no latex filler can do safely. Working time after mixing is short (5–10 minutes), they’re sandable in 30–60 minutes, and full cure takes about a day. Epoxy is the right call for rotted knot holes, deep splits, or structural gaps in exterior cedar posts and siding.
Best Wood Filler For Cedar: Product Picks
These four products cover the range this guide describes above — a cedar-tinted exterior filler for siding and fences, a solvent-based option known for minimal shrinkage, a fast latex filler for small indoor touch-ups, and a larger tub for bigger projects.
Stop Tannin Bleed Before You Fill Exterior Cedar
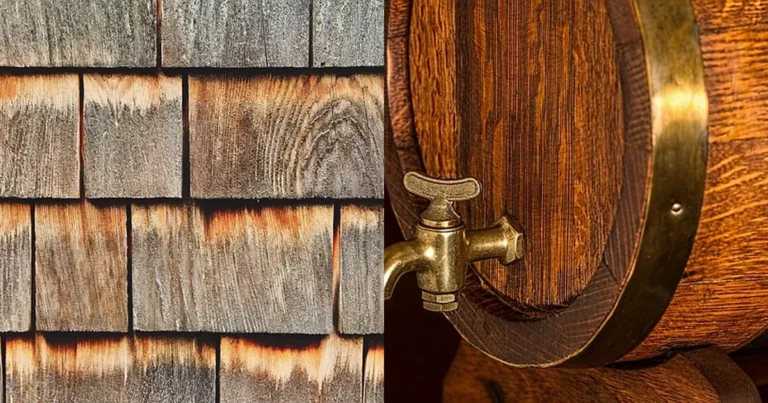
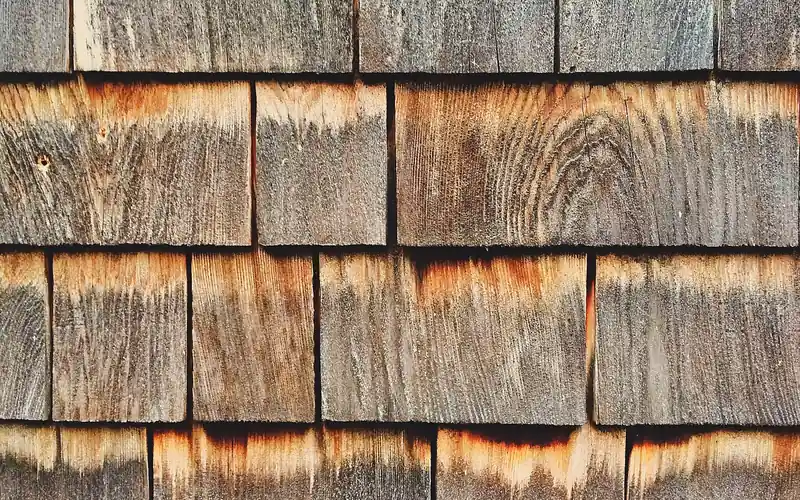
Cedar bleed happens when moisture pulls the wood’s natural tannins to the surface, and it shows up as rust-orange staining around nail holes, knots, and repaired areas — the same discoloration visible in the shingle siding below. Left untreated, that bleed can compromise the adhesion of both primer and filler, causing peeling or a stain that reappears through fresh paint.
Before filling an exterior cedar repair, countersink any exposed nail heads, let the area dry completely, and spot-prime with a stain-blocking, oil-based or shellac-based primer — a standard water-based primer will not contain the bleed. Only after that pre-treatment step should the filler go on; skipping it is the single most common reason a cedar filler repair discolors within a few months.
Choosing The Right Wood Filler
Match The Cedar Tone
Cedar’s color ranges from pale honey to reddish-brown depending on age and exposure, so test any filler on a hidden scrap or corner first. Pre-tinted “cedar” color fillers (like the pick above) get close on fresh cedar, but sun-weathered boards often need a slightly darker shade — mixing two tinted fillers is a normal way to dial in the match.
Consider The Application Environment
Indoors (furniture, cedar chests, trim), a water-based filler that sands and paints easily is fine since it won’t face rain or UV. Outdoors (siding, fences, posts, decking), pick a solvent-based or epoxy filler labeled water-resistant or exterior-grade — it resists the shrink-and-crack cycle that comes from repeated wet/dry and freeze/thaw swings.
How To Apply Cedar Wood Filler
Gather a putty knife, fine-grit sandpaper, a clean rag, mixing tools (for two-part epoxy), protective gloves, and masking tape before starting. Then follow these steps:
- Clean the surface: wipe away dust, dirt, and grime with a damp cloth and let the wood dry completely.
- Countersink and pre-treat: sink any protruding nails and spot-prime tannin-bleed areas with a stain-blocking primer.
- Mask the area: apply masking tape around the repair so excess filler doesn’t spread onto clean wood.
- Mix if needed: for two-part epoxy, mix only what you can use in the 5–10 minute working window.
- Apply with a putty knife: press the filler into the crack or hole, slightly overfilling to allow for sanding.
- Let it cure fully: 15–30 minutes for latex, up to a day for epoxy — check the product label before sanding.
- Sand smooth: use fine-grit sandpaper in the direction of the grain, then wipe away dust.
- Stain or paint to match: apply evenly, let dry, and add a second coat if the color needs deepening.
Common Problems And Solutions
Shrinkage and cracking happen most with latex fillers applied too thick in one pass. Apply in thin layers, letting each layer dry and sanding it before adding the next — or switch to an epoxy filler for gaps deeper than 1/4 inch, since epoxy cures by chemical reaction instead of evaporation and doesn’t shrink the same way.
Color mismatch is usually a testing problem, not a product problem — always test on a hidden area first, and expect to blend two tinted fillers for weathered boards. Tannin staining reappearing after filling almost always means the bleed wasn’t pre-treated with a stain-blocking primer before the filler went on (see the section above).
“On our own cedar fence repairs, skipping the stain-blocking primer step was the one thing that reliably brought tannin stains back through a fresh coat of paint within a season — pre-treating first is the difference between a repair that holds and one you redo next year.”
📊 Latex wood filler reaches full cure in as little as 2–4 hours, while two-part epoxy filler needs about a full day to reach full strength — but epoxy can safely fill gaps up to 2 inches wide, which latex cannot do without cracking.
Environmental Considerations
Some wood fillers are made from low-VOC, water-based formulas that are safer for indoor air quality and easier on the environment than solvent-based products — look for labels stating low-VOC or water-cleanup. Never pour leftover solvent-based filler or cured epoxy down a drain; most municipal hazardous-waste sites accept small quantities, and some hardware stores run their own drop-off programs.
Frequently Asked Questions
What’s the best wood filler for exterior cedar siding?
A solvent-based or two-part epoxy filler labeled exterior-grade and UV-resistant, such as FamoWood’s cedar-tinted solvent formula or a two-part epoxy for deeper gaps. Both resist the shrink-and-crack cycle from rain, sun, and freeze/thaw swings that causes latex fillers to fail outdoors.
How do you fill gaps in cedar?
Clean and dry the area, countersink any nails, spot-prime tannin bleed with a stain-blocking primer, then press filler into the gap with a putty knife, slightly overfilling. Let it cure fully before sanding smooth and staining or painting to match.
Do cedar’s natural oils affect wood filler adhesion?
Yes. Cedar’s natural oils and tannins resist water-based adhesives more than they resist solvent-based products, which is why solvent-based and epoxy fillers are generally recommended over plain latex filler for exterior cedar repairs.
How do you make cedar wood filler at home?
Mix fine cedar sawdust with wood glue, epoxy, or shellac to form a paste, then press it into the crack and let it cure before sanding smooth. This DIY method color-matches naturally since it’s made from the same wood, but it isn’t as weather-resistant as a purpose-made exterior filler.
Can you use wood filler on cedar siding?
Yes — choose a high-quality, exterior-grade wood filler rated for UV and moisture exposure, and always pre-treat tannin bleed with a stain-blocking primer first so the repair doesn’t discolor within a season.
When should you not use wood filler on cedar?
Avoid filler on large structural cracks, load-bearing connections, or badly rotted wood — rotted cedar needs to be cut out or hardened with a wood consolidant first, since filler doesn’t bond to punky, soft wood. It’s also not the right fix for flexible joints or high-movement areas where the repair will just crack again.
Conclusion
The right cedar wood filler comes down to where the repair lives: solvent-based or epoxy for exterior siding, fences, and posts; water-based latex for quick indoor touch-ups. Pre-treat tannin bleed before filling exterior cedar, match the tone on a hidden test spot, and pick epoxy over latex for any gap deeper than 1/4 inch so the repair doesn’t crack or shrink within the first season.
Sponsored / affiliate links. As an Amazon Associate I earn from qualifying purchases. I may earn additional commission from eligible campaigns.