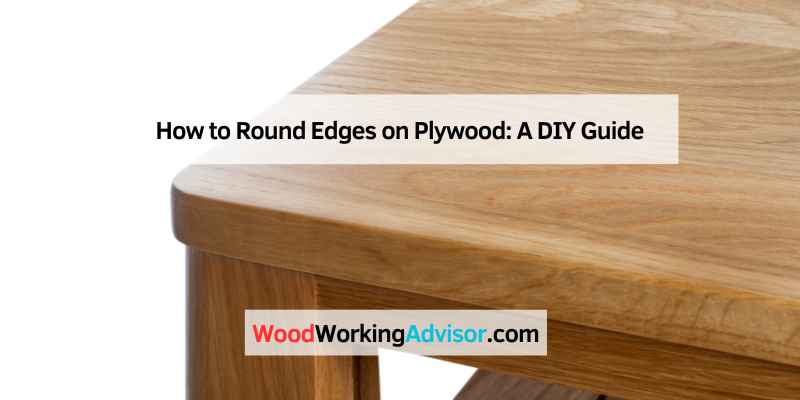
How to Round Edges on Plywood (Right Bit Radius + No Chip-Out)
To round edges on plywood, use a router with a round-over bit or a sanding block. Both methods create smooth, rounded edges effectively.
Rounding edges on plywood enhances its aesthetics and safety, making it ideal for various projects. Sharp edges can pose risks, especially in furniture and children’s toys. Softening these edges not only improves the look but also increases durability. Whether you are a seasoned woodworker or a DIY enthusiast, mastering this simple technique adds a professional touch to your work.
Tools like routers, sanders, or even manual methods can help achieve the desired finish. This guide will walk you through the best practices for rounding edges on plywood, ensuring your projects are both visually appealing and safe to use.
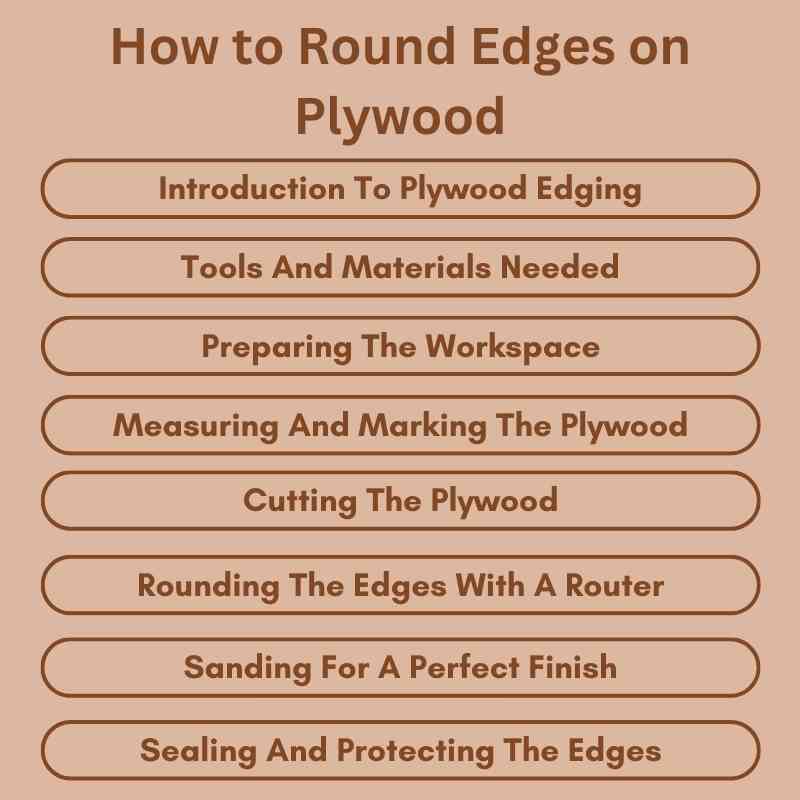
Introduction To Plywood Edging
Best Round-Over Bit Set for Plywood
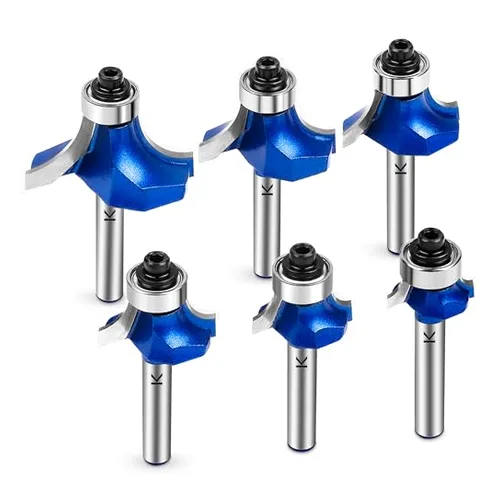
6-Piece Round-Over Router Bit Set
Covers the 1/8” to 1/2” radius range that matches common plywood thicknesses, so you’re not stuck with one bit for every job.
- Best for: matching bit radius to plywood thickness instead of a one-size-fits-all bit
- Why we picked it: covers the exact radius range this guide recommends
- Main drawback: budget bits may need a light hone before first use for the cleanest cut
Compare more edge-routing essentials
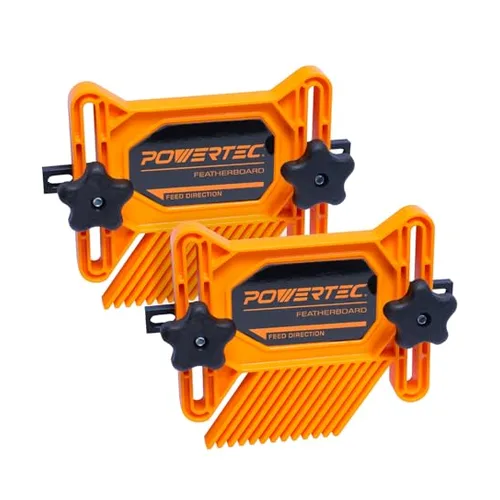 Option 1 Router Table Featherboard
|
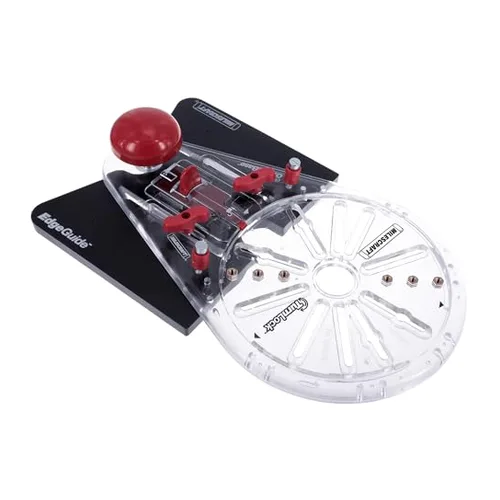 Option 2 Universal Router Edge Guide
|
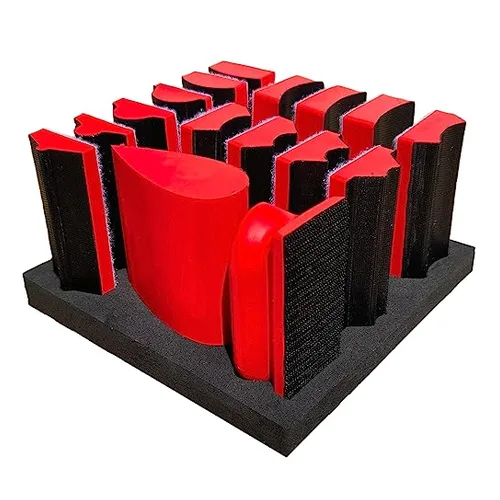 Option 3 Contoured Sanding Block Set
|
As an Amazon Associate we earn from qualifying purchases.
Plywood is a popular choice for many projects. Smooth edges add a professional touch. They also improve safety by reducing sharp corners. Rounding edges helps avoid splinters and injuries.
Safety is key before starting any edging project. Always wear safety goggles to protect your eyes. Use a dust mask to avoid inhaling wood dust. Keep fingers clear of tools and blades. Always follow the manufacturer’s instructions for tools.
Planning the project ahead of time is important. Gather all necessary tools and materials. This includes sandpaper, routers, and safety gear. Having everything ready makes the process smoother.
Tools And Materials Needed
Choosing the right sandpaper is key for rounding edges on plywood. Use a medium grit like 120 for initial sanding. Follow with a finer grit, such as 220, for a smooth finish.
The router plays a major role in edging. It shapes the plywood edges quickly and evenly. With the right bit, you can create different profiles.
Alternative tools for rounding edges include file and sanding block. A jigsaw can also round corners effectively. Each tool has its unique benefits.
Preparing The Workspace
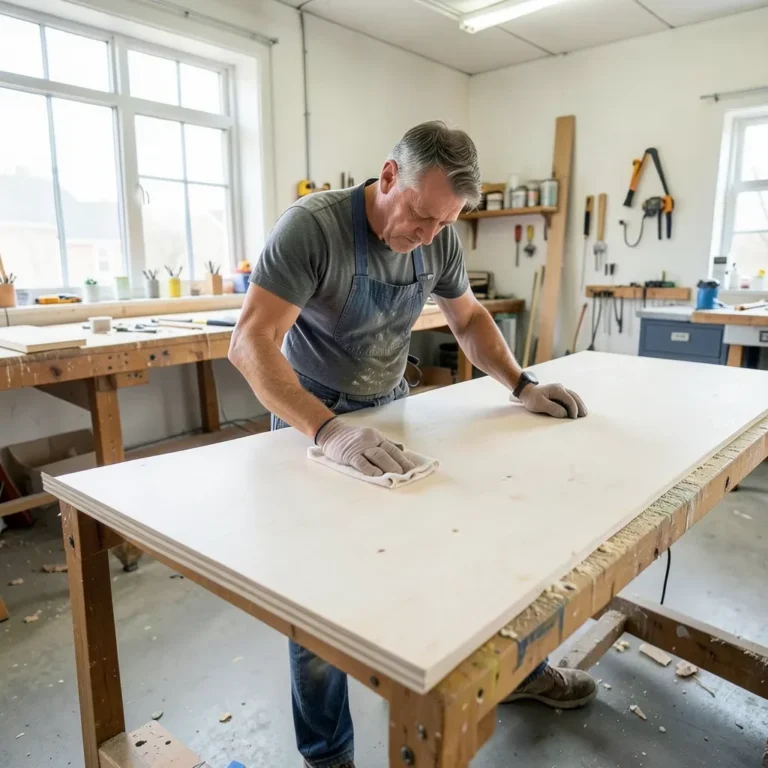
Start by choosing a stable work surface. A flat table or workbench works best. Ensure that it is clean and free from clutter. This helps to avoid accidents.
Next, gather all your tools. Keep them organized for easy access. Use a toolbox or a small cart. This makes finding tools quick and simple. Include items like a router, sandpaper, and clamps.
Check your lighting. Good lighting makes it easier to see your work. Position your work surface near a window or use bright lamps. Proper lighting helps you avoid mistakes.
Measuring And Marking The Plywood
Begin by deciding the radius for the edge curve. Use a compass to draw a circle on the plywood. Mark the center point clearly. This point helps keep the curve consistent.
For accurate marking, use a straightedge to connect points. This helps avoid mistakes. Double-check your measurements before cutting. Use a pencil for easy corrections.
Consider using templates for larger curves. Cut a piece of cardboard into the desired shape. Trace around the template on the plywood. This method ensures a perfect curve every time.
Cutting The Plywood
Cutting plywood requires careful techniques for the best results. Use a sharp saw blade to make clean cuts. A table saw or a circular saw works well. Always cut with the good side down to prevent splintering.
To prevent splintering, use masking tape on the cut line. This helps hold the wood fibers together. A slower feed rate also reduces splintering. Make sure the blade is set to the correct depth.
Keep the plywood secured with clamps while cutting. This prevents movement and improves accuracy. Measure twice before cutting to ensure precision. Following these tips will give you smooth, clean edges.
Rounding The Edges With A Router
Setting up the router bit is simple. Start by choosing the right bit for rounding edges. A round-over bit is a great choice. Make sure to adjust the depth of the cut properly. This ensures an even finish on the edges.
Before using the router, secure the plywood firmly. Use clamps to hold it in place. This prevents any movement while working. Always wear safety goggles to protect your eyes.
When routing, keep a steady hand. Move the router along the edge smoothly. This helps achieve a smooth finish without any bumps. Check the edge frequently to ensure the desired shape.
Sanding For A Perfect Finish
Proper sanding is key for a smooth finish on plywood edges. Grain direction plays a big role in sanding. Always sand along the grain to avoid scratches. Power sanding can save time and effort. It is great for large areas. Use a random orbital sander for best results.
Manual sanding gives more control. It works well for small, detailed areas. Use sandpaper with a grit of 120 for initial sanding. For a finer finish, switch to 220 grit. Keep checking the edge to ensure a smooth surface.
Both methods have their benefits. Choose the one that fits your project. Experiment with both to see what works best for you.
Sealing And Protecting The Edges
Choosing the right sealant is crucial for protecting plywood edges. Polyurethane sealants provide strong protection and are water-resistant. Acrylic sealants are easy to apply and clean up with water.
For even coverage, apply sealant using a foam brush or a roller. Start at one edge and work across smoothly. Avoid overloading the brush to prevent drips. Let each coat dry before applying the next one.
Remember to sand the edges lightly before sealing. This helps the sealant stick better. Always wear gloves to protect your hands while working.
Advanced Techniques
Creating beveled edges on plywood adds a stylish touch. Use a router with a beveled bit for this. Start by securing the plywood to a stable surface. Move the router slowly along the edge for even results.
For decorative edge treatments, consider using laminate or veneer. These materials provide a smooth, finished look. They come in various colors and patterns. Choose one that matches your project design.
Another option is to use sandpaper for a softer edge. Start with coarse grit and finish with fine grit. This technique enhances the wood’s natural beauty.
Troubleshooting Common Issues
Edge tear-out can ruin a clean cut on plywood. Use a sharp blade for smoother edges. Tape the edge with masking tape before cutting. This helps prevent tear-out during the process.
For uneven edge profiles, check the saw alignment. Ensure the blade is straight and sharp. Use a router to smooth out rough edges. A sanding block can also help in achieving a flat surface.
Consider using a jig or guide. This keeps the cuts precise and straight. Always wear safety gear like goggles and a mask for protection.
Maintenance And Care For Plywood Edges
Regular maintenance is key to extending the life of plywood edges. Inspect edges for signs of damage often. Clean them with a soft cloth to remove dirt. Use a mild soap if needed. Avoid harsh chemicals that can harm the surface.
For damaged edges, repair promptly to prevent further issues. Sand rough areas gently with fine-grit sandpaper. Apply wood filler to deep cracks. Once dry, sand the area smooth. Finish with a protective sealant to keep edges safe from moisture.
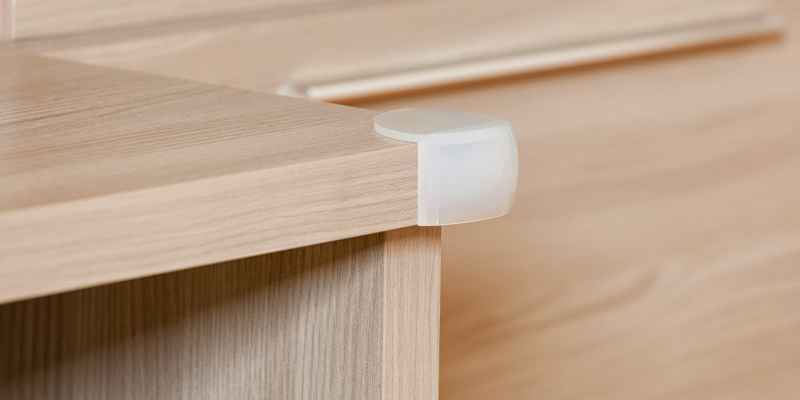
Why Plywood Edges Tear Out (And How to Pick the Right Bit Radius)
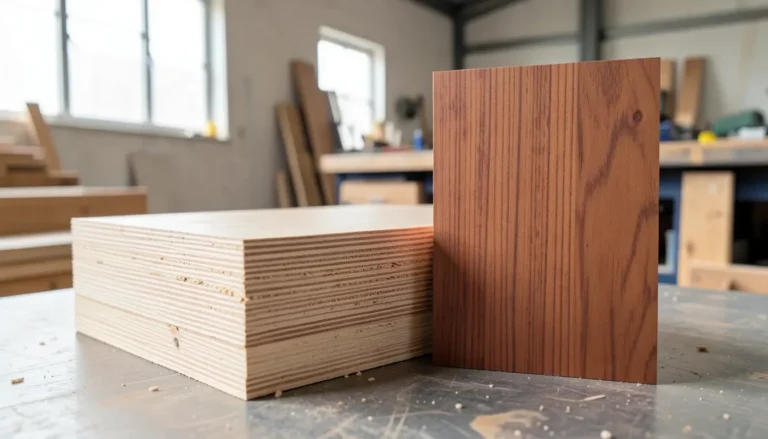
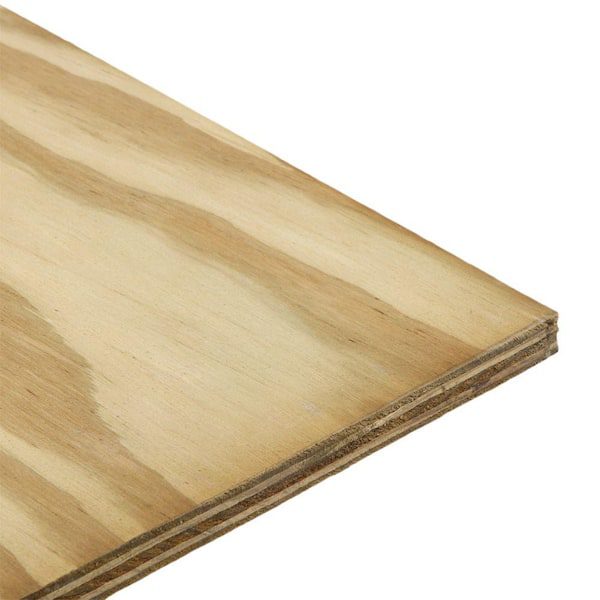
Plywood tears out more easily than solid wood when routing a round-over because a router bit cutting a curve passes through 3–4 separate veneer layers, each with its grain running a different direction. A large-radius bit engages more of those cross-grain layers at once, which is exactly why a 1/4” round-over is more prone to chipping and splintering on plywood than the same bit would be on solid stock.
Round-overs are just one of several router operations plywood is prone to chipping on — our broader guide to routing plywood covers bit type (downcut vs. compression spiral), dado grooves, and flush-trimming edges if you’re doing more than a round-over on the same panel.
Choosing a Round-Over Bit Radius by Plywood Thickness
| Plywood thickness | Radius for a soft, safe edge | Radius for a fuller round-over |
|---|---|---|
| 1/4”–1/2” | 1/8” | 3/16” |
| 1/2”–3/4” | 3/16”–1/4” | 3/8” |
| 3/4” (full round both faces) | 3/8” each side | 1/2” (single-pass full round) |
A common approach on 3/4” plywood: run a 3/8” bit on one face, flip the sheet, and repeat on the other face for a full, symmetrical round-over — this removes less material per pass than trying to take the whole radius from one side.
📊 A 1/4” round-over bit engages 3 to 4 layers of alternating cross-grain veneer at once on typical plywood, which is why the same bit that cuts cleanly on solid wood is far more likely to chip out on plywood edges. Source: Router Forums community discussion, corroborated by Toolstoday router tear-out guide.
Cutting Direction and Technique to Prevent Chipping
- Feed direction: Move the router so the bit rotation pushes it into the wood, not away from it — feeding the wrong direction is the single most common cause of tear-out.
- Light final pass: Some routers allow a very light climb-cut pass (moving in the opposite direction) purely to clean up the last sliver of tear-out — only do this as a shallow, controlled final pass, since climb cutting can pull the router if taken too aggressively.
- Backer support: Clamp a sacrificial scrap board flush against the exit side of the cut so the veneer has something to bear against as the bit exits.
- Test on scrap first: Always run a test pass on an offcut of the same plywood before committing to the final piece — grain direction and layer count vary between sheets.
“Climb cutting is an effective technique for minimizing tearout — moving the router in the reverse direction of the bit rotation achieves smoother cuts and reduces splintering, but should be done in light, controlled passes.”
What Size Round-Over Bit Should I Use on 3/4” Plywood?
A 3/8” radius bit run on both faces (flip and repeat) gives a full, symmetrical round-over on 3/4” plywood without removing too much material in one pass. For just softening a sharp edge rather than a full round, use 1/8” to 3/16” instead.
Why Does My Router Bit Chip Out the Plywood Edge?
Plywood’s cross-grain layers are the main cause — a larger-radius bit engages more layers at once, each running a different grain direction, which increases the chance of chipping. Feeding the router in the correct direction and backing the exit side with scrap reduces this significantly.
Frequently Asked Questions
How Do You Round Edges On Plywood?
Rounding edges on plywood can be done using a router with a round-over bit. Start by securing the plywood on a stable surface. Then, run the router along the edges, applying even pressure. This method provides a smooth, professional finish, enhancing both aesthetics and safety.
What Tools Are Needed To Round Plywood Edges?
To round plywood edges, you’ll need a router, round-over bit, and clamps. A sander can also be helpful for finishing touches. Ensure you have safety gear, like goggles and a dust mask, to protect yourself during the process. Proper tools will make your project easier and more efficient.
Can I Round Edges Without A Router?
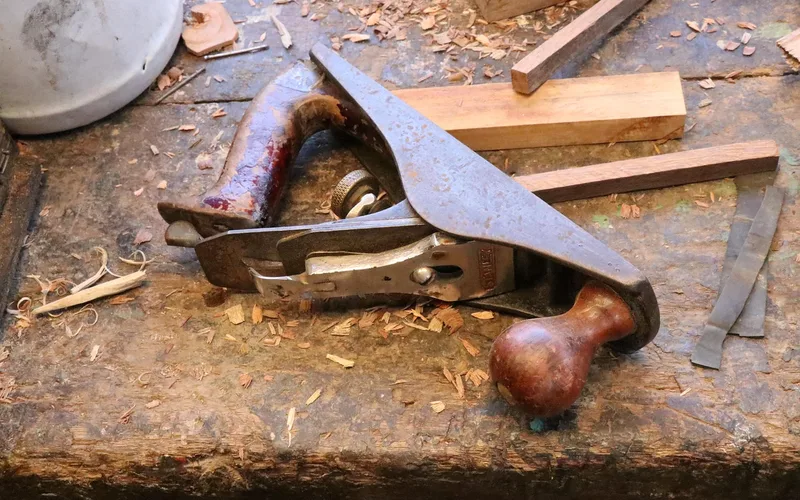
Yes, you can round edges without a router. Use a hand sander or a block plane for this purpose. Begin with coarse grit sandpaper, then move to finer grits for a smooth finish. It may take longer, but you can achieve satisfactory results with patience and practice.
Is Rounding Edges Necessary For Plywood Projects?
Rounding edges is not strictly necessary, but it is beneficial. It reduces the risk of splintering and provides a more polished look. Rounded edges also make handling safer, especially in furniture projects. Overall, it enhances both functionality and visual appeal in your woodworking.
Conclusion
Rounding edges on plywood enhances both safety and aesthetics. By using simple tools and techniques, anyone can achieve professional results. Remember to take your time and practice on scrap pieces. With these tips, your projects will not only look better but also feel more polished.
Enjoy your woodworking journey!
Sponsored / affiliate links. As an Amazon Associate I earn from qualifying purchases. I may earn additional commission from eligible campaigns.