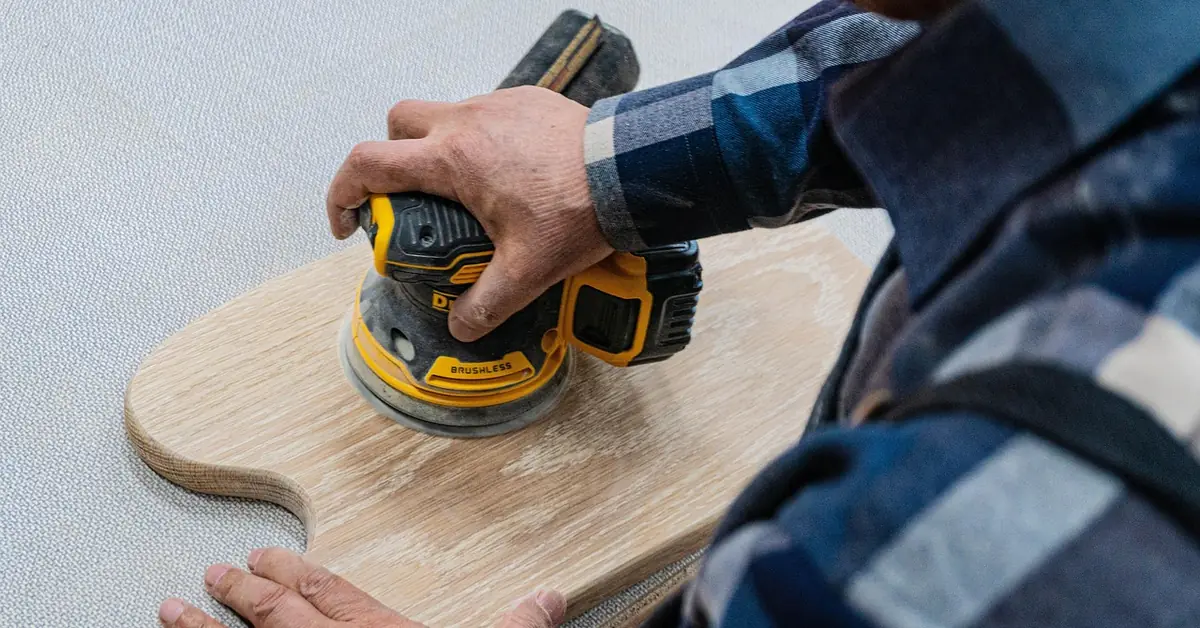
How to Sand Uneven Wood Surfaces Flat, Without Gouging
Uneven wood flattens fastest with a three-stage grit progression: 60-grit to knock down high spots, 100-grit to blend, 220-grit to finish, run through a sanding block so pressure stays even. Skip the block, or jump grits too fast, and you cut a new low spot instead of removing the old one. This guide covers spotting problem areas with raking light, tool choice, grit cost, and sanding curves without flat-spotting them.
How to Find Every Uneven Spot Before You Sand
Best Orbital Sander Pick for Uneven Surfaces
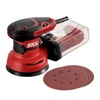
SKIL 5″ Random Orbital Sander with Cyclonic Dust Box (SR211601)
A 2.8-amp random orbital sander with variable speed control, sized right for leveling uneven flat panels and tabletops without gouging.
- Best for: leveling uneven flat panels, tabletops, and doors faster than hand sanding
- Why we picked it: variable speed lets you slow down on the high spots so you don’t gouge a new dip
- Main drawback: corded, so it’s less convenient on a job site than a battery model
Compare more sanding options for uneven surfaces
 Option 1 BOSHCRAFT 10-Pc Sanding Sponge Set, 60–220 Grit
|
 Option 2 SKIL Corded Detail Sander (SR232301)
|
 Option 3 3M Pro Grade Precision 3-in-1 Sanding Sponge
|
As an Amazon Associate we earn from qualifying purchases.
Overhead light hides dips and humps because it lights the whole surface evenly. A raking light does the opposite: hold a flashlight or shop lamp low and almost parallel to the wood, close to the surface, and every low spot throws a shadow while every high spot catches a bright edge. Woodworkers use this trick on tabletops and doors right before finishing because it’s the only light angle that shows a 1/32-inch dip clearly.
- Rake a light source across the surface at a 10–20 degree angle in a dark or dim room.
- Mark every shadow line and bright ridge with a pencil — these are your sanding targets, not the whole board.
- Follow up with a straightedge or a 24-inch level laid flat; anywhere it rocks or shows a gap is still uneven.
- Recheck under raking light after each grit stage — new low spots show up fast once the old high spots are gone.
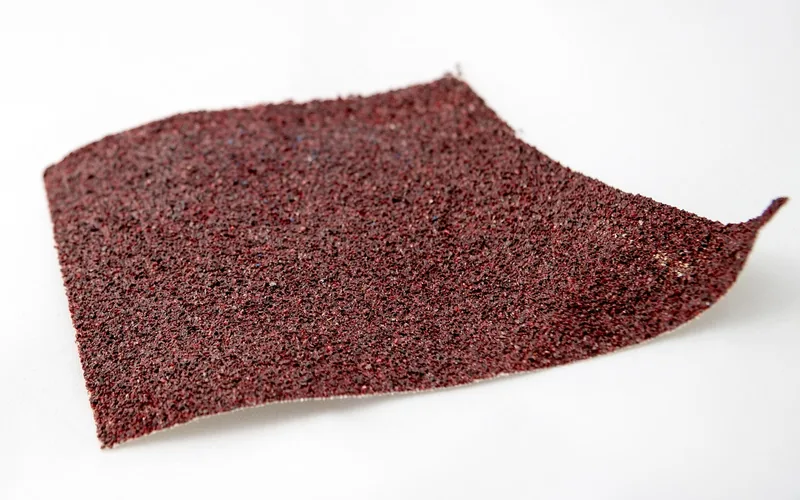
Grit Progression and Cost for Uneven Surfaces
Grit progression is the sequence of sandpaper coarseness you work through, moving from a low number (coarse, cuts fast) to a high number (fine, polishes). Skipping a stage leaves the scratch pattern from the previous grit visible under a finish coat, so on genuinely uneven wood, do not jump straight from 60-grit to 220-grit.
| Grit | What It’s For | Approx. Cost (100-pack) |
|---|---|---|
| 60–80 | Leveling high spots on genuinely uneven or warped wood | $12–$18 |
| 100–120 | Blending the coarse-grit scratch pattern into the surrounding surface | $10–$15 |
| 150–180 | Removing 100-grit marks before finish-sanding | $10–$14 |
| 220–320 | Final pre-finish smoothing; stops here for stain or oil | $8–$13 |
Sanding sponges and multi-grit packs (see the picks below) typically run $5–$15 for a set covering the full range above, which is usually cheaper than buying single-grit sheets separately if the project is small.
Which Sanding Tool for an Uneven Surface?
Flat, uneven boards and curved or contoured pieces need different tools. A rigid sanding block flattens a warped flat panel; a flexible sponge or a cloth sanding mop follows a curve without flat-spotting it.
- Sanding block (rigid): best for flat panels, tabletops, and doors with high/low spots — the rigidity is what removes the high spots instead of just polishing over them.
- Random orbital sander: best for larger flat-to-moderately-uneven areas where hand sanding would take too long; random orbit pattern resists leaving swirl marks.
- Detail/mouse sander: best for corners, inside edges, and tight spots a round orbital pad can’t reach.
- Flexible sanding sponge: best for curves, turned legs, and contoured moldings — it wraps the shape instead of bridging over the low points.
- Playing card or old credit card wrapped in sandpaper: a genuinely useful shop trick for tight inside corners no block will fit — the card flexes just enough to follow a radius.
Step-by-Step: Sanding an Uneven Surface Flat
- Find the problem areas: rake a light across the surface and mark every dip and high spot with a pencil before you touch the sander.
- Start at 60–80 grit, on the high spots only: work a sanding block in the direction of the grain, checking every few passes so you don’t cut past the surrounding wood.
- Blend at 100–120 grit: widen your strokes past the repaired area so the transition to the rest of the surface disappears.
- Recheck with the straightedge: lay it flat across the repair; if it rocks, you’re not done at this grit yet.
- Finish at 150–220 grit: sand the entire surface, not just the repair, so the sheen matches everywhere once a finish goes on.
- Vacuum and tack off the dust: a damp cloth or tack cloth before finishing — trapped dust telegraphs through stain and clear coats.
Sanding Curves and Edges Without Flat-Spotting Them
A rigid sanding block on a curved edge cuts a flat facet into the round profile instead of following it — that’s a flat spot, and it’s one of the most common mistakes on chair legs and turned spindles. Use a flexible sanding sponge, a sanding mop, or foam-backed sandpaper on any surface that isn’t flat, and let the material bend to the shape instead of forcing the shape to the tool.
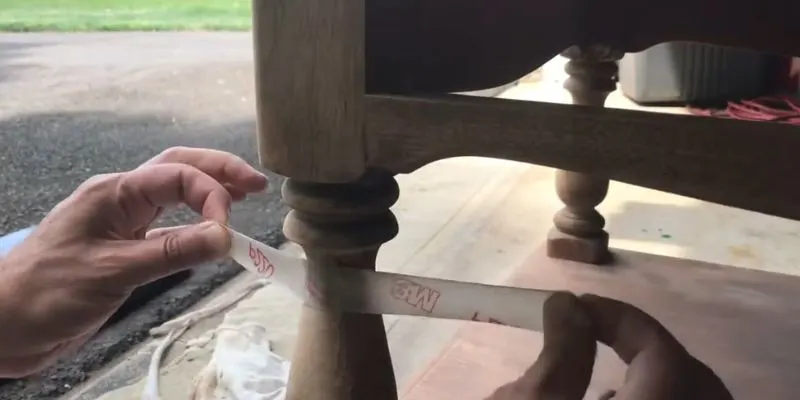
For deep coves or beads a sponge can’t reach, a strip of sandpaper pulled back and forth like a shoeshine cloth conforms to the profile without gouging. On a lathe, keep the sandpaper moving constantly — holding it still on a spinning workpiece burns a groove in seconds.
Mistakes That Create New Uneven Spots
- Sanding freehand without a block on a flat panel — fingertip pressure concentrates on a small area and digs a new dip faster than it removes the old high spot.
- Jumping from 60-grit straight to 220-grit — the coarse scratch pattern stays visible under stain because the intermediate grits never removed it.
- Sanding across the grain on the final pass — cross-grain scratches show up as soon as a finish coat goes on, even if they felt smooth dry.
- Only checking the repair, not the surrounding area — a perfectly flat patch next to an un-blended edge is still an uneven surface.
The grit sandpaper guide covers grit selection for specific wood species in more depth, and the full how to sand wood guide walks through finish-sanding a flat, already-level board once the uneven spots above are resolved.
Manual sanding tools — sandpaper, sanding blocks, and files — give the most control on small or detailed areas. Power sanding tools, including orbital sanders and a belt sander, cover larger areas faster; see our belt sander comparison if you’re leveling a floor rather than a small panel.
FAQ: Sanding Uneven Surfaces
How do I identify uneven surfaces before sanding?
Rake a flashlight or lamp low and nearly parallel across the surface in a dim room — low spots throw shadows and high spots catch a bright edge. Follow up with a straightedge or level laid flat; any rocking or gap marks a spot that’s still uneven. Mark every problem area with a pencil before sanding.
What tools are best for sanding uneven surfaces?
A rigid sanding block is best for flat panels with high and low spots because its rigidity actually removes the high points. A random orbital sander speeds up larger flat areas, a detail sander reaches corners, and a flexible sanding sponge or sanding mop follows curves without flat-spotting them.
Can I sand uneven surfaces by hand?
Yes. Hand sanding with a block gives more control than a power sander, especially in tight spots, and it’s harder to accidentally gouge a new dip. It simply takes longer on a large flat area, which is where a random orbital sander earns its keep instead.
Why does a surface still feel uneven after sanding?
Usually the repair was blended at only one grit stage instead of the full progression, or the surrounding area was never sanded to match, leaving a slightly proud patch you can feel by hand even though it looks fine. Recheck with a straightedge and raking light, and widen the sanding pattern past the original repair.
How do I sand a wavy tabletop flat?
Mark the high points with raking light, then work a rigid sanding block at 60–80 grit on those spots only, checking with a straightedge every few passes so you remove just the high wood and don’t dig a new low spot. Blend at 100–120 grit across a wider area, then finish-sand the whole top at 150–220 grit so the sheen is consistent before finishing.
Conclusion
Sanding an uneven surface flat comes down to finding the problem areas with raking light first, then working a full grit progression — 60 to 100 to 220 — on a sanding block instead of freehand. Match the tool to the shape: a rigid block for flat panels, a flexible sponge or mop for curves. Skip a grit stage or sand freehand on a flat panel, and you’ll usually trade one uneven spot for another.
Sponsored / affiliate links. As an Amazon Associate I earn from qualifying purchases. I may earn additional commission from eligible campaigns.