
How to Clean a Belt Sander: Quick & Efficient Tips
To clean a belt sander, first unplug it and remove the sanding belt. Use a brush to clear dust from the sander’s body and motor vents.
Belt sanders are essential tools for woodworking and metalworking, helping you achieve smooth finishes quickly. Over time, dust and debris accumulate, affecting performance and safety. Regular cleaning extends the tool’s lifespan and ensures optimal functionality. Knowing how to maintain your belt sander is crucial for both amateur and professional craftsmen.
This guide will walk you through effective cleaning methods, ensuring your tool remains in top shape. By keeping your belt sander clean, you enhance its performance and prevent potential damage, making your projects more efficient and enjoyable.
Introduction To Belt Sander Maintenance
Keeping your belt sander clean is very important. A clean sander works better and lasts longer. Dust and debris can cause damage over time. Regular cleaning helps prevent this damage.
Cleaning your belt sander should happen after every use. This ensures it stays in top shape. If you use it often, clean it weekly. For light use, a monthly clean is enough.
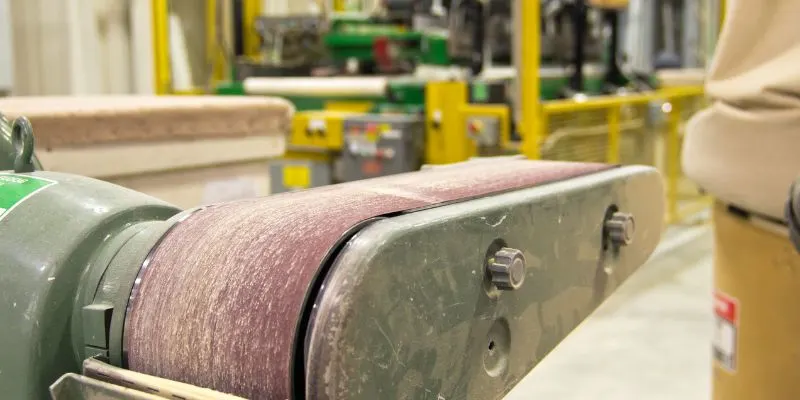
Use a soft brush to remove dust from the sander. A damp cloth can wipe down surfaces. Always check the belt for wear and tear. Replace it if needed.
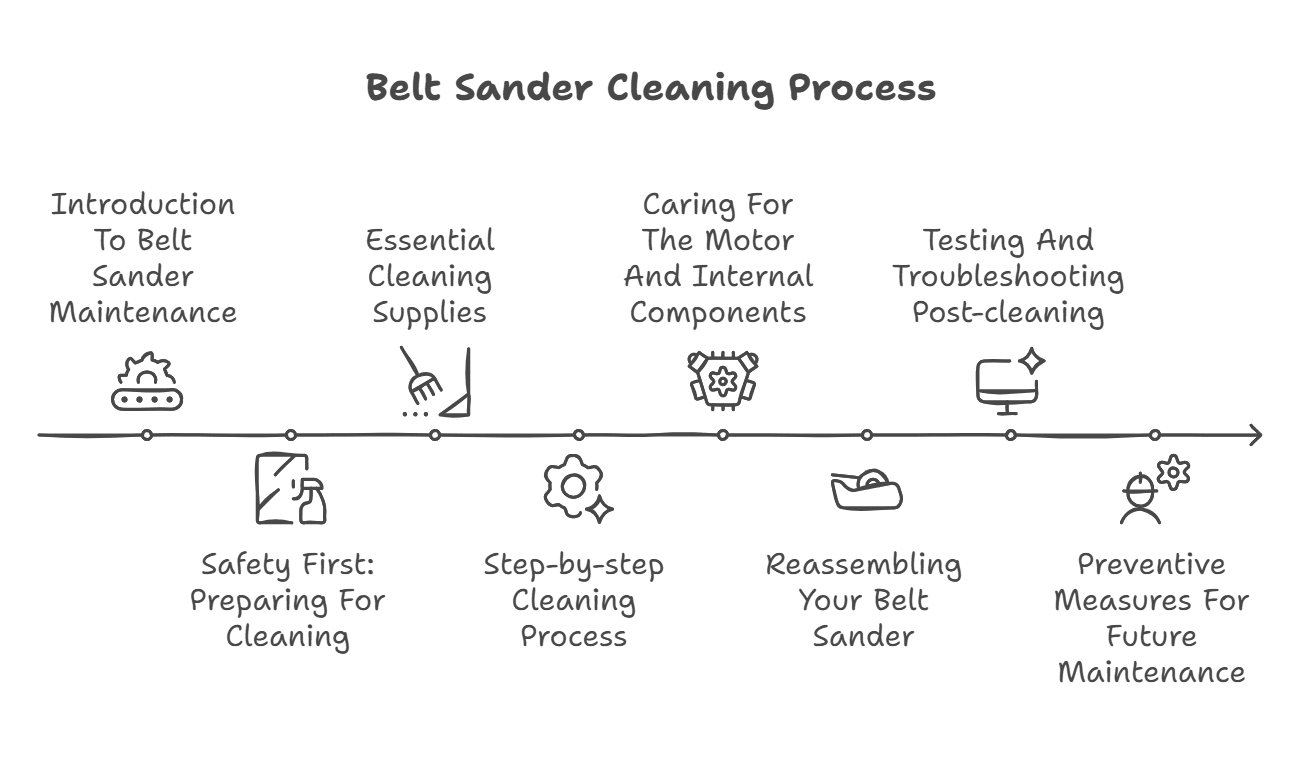
Safety First: Preparing For Cleaning
Start by disconnecting the power to your belt sander. This ensures safety while cleaning. Unplug the tool from the outlet. Remove the sanding belt carefully. This step prevents any accidental starts during cleaning.
Always wear protective gear such as gloves and goggles. This protects your eyes and hands from dust and debris. Keep your workspace clean and organized. A tidy area helps avoid accidents.
Use a soft brush to remove dust from the sander. A vacuum can also help eliminate any loose particles. Make sure to check all parts for wear and tear.
Essential Cleaning Supplies
Cleaning a belt sander requires some basic supplies. Gather sandpaper, a soft cloth, and water. You may also need vacuum and brush for dust removal.
For cleaning solutions, consider using vinegar or baking soda. These items are great substitutes for commercial cleaners. They are safe and effective on most surfaces.
| Common Tools | Substitutes |
|---|---|
| Soft Cloth | Microfiber Cloth |
| Sandpaper | Steel Wool |
| Vacuum | Handheld Broom |
Step-by-step Cleaning Process
Start by unplugging the belt sander for safety. Use a soft brush to remove loose dust from the exterior. A vacuum with a brush attachment works well for this step.
Next, remove the belt carefully. Clean the rollers using a cloth moistened with cleaning solution. Make sure to get into the grooves.
For a deep clean, soak the belt in a mix of warm water and mild detergent. Rinse it well and let it dry completely before reattaching.
Finally, wipe down all surfaces with a dry cloth. This helps prevent build-up and keeps your sander in great condition.
Caring For The Motor And Internal Components
To keep your belt sander running well, vacuum the interior often. Dust and debris can harm the motor. Use a small vacuum attachment to reach tight spots. Clean all areas, including vents and fans. This helps prevent overheating and extends the tool’s life.
Lubricating moving parts is crucial for smooth operation. Apply a few drops of oil to the bearings. Be careful not to over-oil. Check the user manual for specific lubrication points. Regular lubrication reduces friction and wear on the motor.
Reassembling Your Belt Sander
To start, place the belt on the sander. Ensure it fits the rollers correctly. Check both ends of the belt to avoid any misalignment.
Next, tighten the tension adjustment knob. This keeps the belt secure during operation. Make sure not to over-tighten it.
After that, rotate the belt by hand to check alignment. The belt should run smoothly on the rollers. If it veers off, loosen the tension and adjust the position.
Finally, once aligned, turn on the sander briefly to ensure everything works well. Listen for any unusual sounds that may indicate a problem.
Testing And Troubleshooting Post-cleaning
After cleaning your belt sander, a safety check is essential. Ensure all parts are securely attached. Check for any loose screws or damaged components. Pay attention to the power cord for frays or breaks. Turn on the sander and listen for any unusual sounds.
Identifying common post-clean issues helps ensure safety. Look for uneven sanding or excessive vibration. These may indicate problems with the sanding belt or motor. A burning smell can signal overheating. If any of these issues arise, further inspection is necessary.
Regular maintenance keeps your sander in top shape. Clean it often to prevent buildup. Always follow the manufacturer’s guidelines for best results.
Preventive Measures For Future Maintenance
To ensure your belt sander works well, create a regular maintenance schedule. Check the sandpaper for wear and replace it when needed. Clean the dust collection bag often to keep it efficient. Inspect the rollers and drive belt regularly for signs of damage. Lubricate moving parts to prevent rust and ensure smooth operation.
Following these best practices can extend the life of your sander. Store it in a dry place to avoid moisture damage. Always unplug the tool before cleaning or changing parts. Keep it away from children and pets for safety.
Conclusion: The Benefits Of A Clean Belt Sander
Cleaning a belt sander leads to improved performance. A clean tool works better and faster. Dust and debris slow down the sanding process.
Regular cleaning extends the life of your sander. It prevents wear and tear on the motor and belt. A well-maintained tool saves money in the long run.
Always check the belt for damage. Replace it if you see wear. Make sure to unplug the sander before cleaning.
Use a soft brush to remove dust. A vacuum can help to suck up debris. Keep the sander in a dry place to avoid rust.
Frequently Asked Questions
How Often Should I Clean My Belt Sander?
You should clean your belt sander after every use. Regular cleaning prevents dust buildup and maintains optimal performance. Additionally, a clean sander lasts longer and operates more efficiently. Checking the sander for wear and tear during cleaning is also crucial for safety.
What Tools Do I Need To Clean A Belt Sander?
To clean a belt sander, you’ll need a vacuum, a soft brush, and a cloth. A vacuum removes dust and debris effectively. A soft brush helps dislodge stubborn particles. Use a cloth to wipe down surfaces for a thorough clean.
These tools ensure your sander remains in top condition.
Can I Use Water To Clean My Belt Sander?
No, you should avoid using water on your belt sander. Water can damage the electrical components and create rust. Instead, use a dry cloth or vacuum for cleaning. This method ensures safety and preserves the integrity of your sander’s materials.
What Maintenance Should I Perform On My Belt Sander?
Regular maintenance includes cleaning, checking the belt tension, and inspecting the platen. Ensure the sanding belt is aligned correctly for optimal performance. Additionally, lubricate moving parts as needed. These steps help maintain the functionality and extend the lifespan of your belt sander.
Conclusion
Cleaning your belt sander regularly enhances its performance and lifespan. A well-maintained tool ensures better results in your projects. Follow the steps outlined to keep your sander in top shape. Remember, a clean sander not only saves time but also improves safety.
Invest a little time for lasting benefits.