How to Seal Cabinets: A Step-by-Step Guide for a Perfect Finish
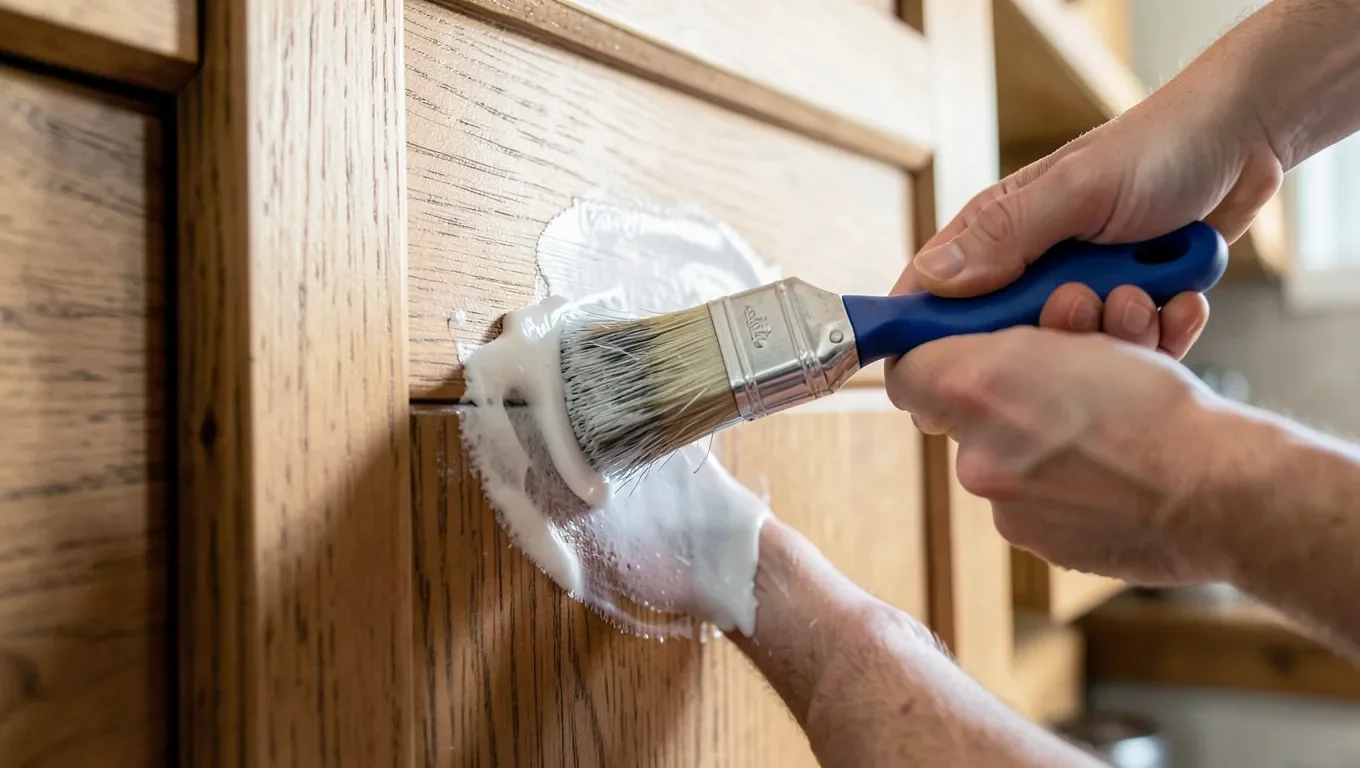
Clean and lightly sand the cabinets, then apply 2-3 thin coats of a water-based polyurethane with a brush or foam applicator, sanding lightly between coats. Water-based poly dries fast, doesn’t yellow over time the way oil-based poly does, and cleans up with soap and water – the practical reason it’s become the standard pick for kitchen and bathroom cabinets.
What Sealing Cabinets Actually Protects Against
Best Water-Based Poly For Cabinets
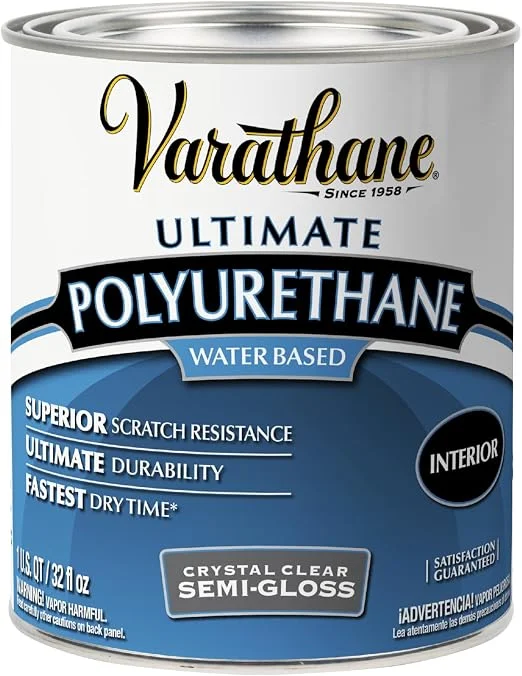 |
Varathane Water-Based Semi-Gloss Polyurethane, Quart – $24.98 Crystal-clear finish that won’t yellow your cabinets over time, unlike oil-based poly.
|
- Moisture and water stains – the main real threat in a kitchen or bathroom, from splashes, steam, and humidity.
- Grease and grime buildup – a sealed surface wipes clean; bare or worn finish lets grease soak into the wood grain.
- Everyday wear – scratches, fingerprints, and general handling wear show up faster on unsealed wood.
- What it does NOT meaningfully protect against: pest damage. A surface sealant is not a termite deterrent – termites access wood through gaps, foundation contact, and structural entry points, not by chewing through a finished top coat. If pests are a real concern, that needs actual pest control or treated lumber, not cabinet sealant.
Materials And Tools Needed
- Degreaser or mild soap and water, clean rags
- Fine-grit sandpaper (220-grit) and a sanding block
- Wood filler for any cracks or dents (if needed)
- Water-based polyurethane sealant (see pick above) and a quality foam applicator or synthetic-bristle brush – natural bristles don’t work well with water-based products
- Painter’s tape, drop cloth, screwdriver (for removing hardware/hinges)
Preparation
- Remove hardware and doors if possible – hinges, knobs, and pulls. Sealing flat, removed doors on a table gives a far more even result than working around hardware in place.
- Clean thoroughly with a degreaser or mild soap and water, paying extra attention to areas near the stove and sink where grease builds up. Let dry completely.
- Sand lightly with 220-grit sandpaper if there’s an existing finish to key up – this gives the new sealant something to bond to. Skip this step only on bare, unfinished wood.
- Wipe away all sanding dust with a slightly damp cloth or a tack cloth before applying anything.
Applying The Sealant
- Thin coats, always. A thick coat looks like more protection but actually causes drips, bubbles, and an uneven cure – two or three thin coats beat one thick one every time.
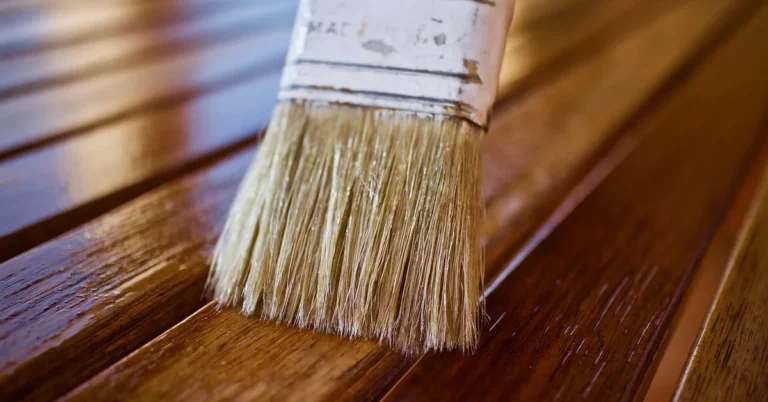
- Brush or wipe in one direction, with the grain, and avoid going back over a spot that’s starting to set – that’s what causes streaks.
- Let each coat dry per the label (water-based poly is typically touch-dry in a couple hours, ready to recoat same-day) before the next one.
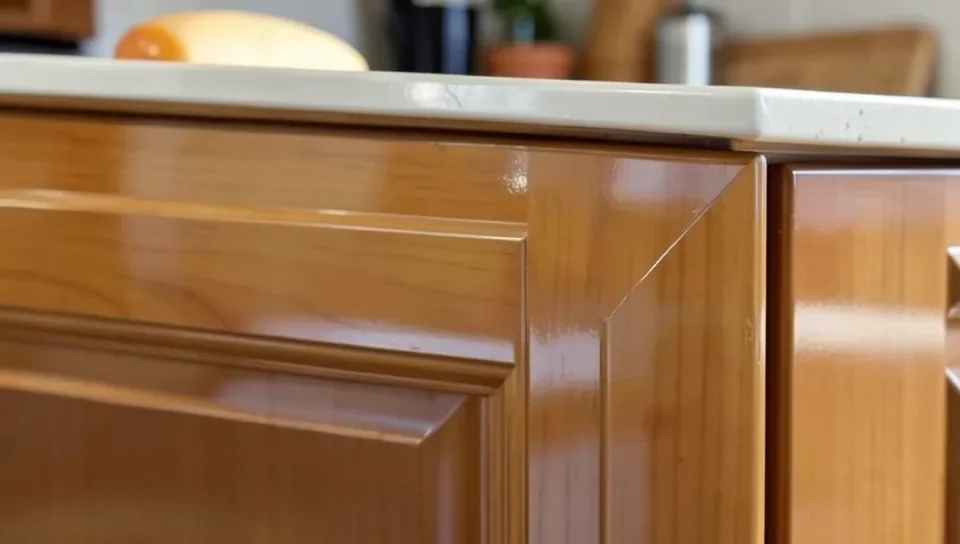
- Lightly sand with fine-grit sandpaper between coats and wipe away dust – this is what gives a professional, glass-smooth final result instead of a slightly rough one.
- Two to three coats total is standard for real durability on a surface that gets daily use.
Fixing Bubbles, Streaks, And Uneven Spots
- Bubbles: usually from shaking (not stirring) the can, or brushing too fast. Pop small bubbles with a pin while the coat is still wet, or let it dry, sand it smooth, and recoat.
- Streaks: from uneven pressure or going over a half-dry spot. Sand the area lightly once dry, then apply a fresh thin coat.
- Cracks or dents in the wood itself: fill with wood filler before sealing, not after – sealant doesn’t fill gaps, it just coats whatever surface is already there.
Maintaining Sealed Cabinets
- Wipe with a soft cloth and mild soap – avoid harsh chemical cleaners, which can dull or damage the sealant over time.
- Wipe up spills and splatters promptly, especially near the sink and stove.
- Check every year or two for wear (dulling, thinning finish near handles and high-touch spots) and re-seal those areas before bare wood is exposed.
Frequently Asked Questions
How Do I Prepare Cabinets For Sealing?
Clean thoroughly with a degreaser or mild soap and water, let dry completely, then lightly sand with 220-grit sandpaper if there’s an existing finish. Wipe away all dust with a damp or tack cloth before sealing.
What Type Of Sealant Is Best For Cabinets?
Water-based polyurethane is the standard choice for kitchen and bathroom cabinets – it dries fast, won’t yellow over time the way oil-based poly does, and cleans up with soap and water instead of mineral spirits.
How Many Coats Of Sealant Should I Apply?
Two to three thin coats, sanding lightly between each. Thin coats applied in multiple passes give a smoother, more even, more durable result than one thick coat, which is prone to drips and an uneven cure.
Does Sealing Cabinets Protect Against Termites Or Pests?
No – a surface sealant is not a pest deterrent. Termites access wood through gaps, foundation contact, or structural entry points, not by chewing through a finished top coat. Real pest protection requires pest control treatment or treated lumber, not cabinet sealant.
Conclusion
Sealing cabinets is a straightforward job once the process is right: clean and lightly sand first, apply thin coats of water-based polyurethane with light sanding between each, and give the finish real time to cure before heavy use. Skip the shortcuts (thick single coats, no prep sanding) and the finish will actually hold up to daily kitchen or bathroom wear.
Sponsored / affiliate links. As an Amazon Associate I earn from qualifying purchases. I may earn additional commission from eligible campaigns.