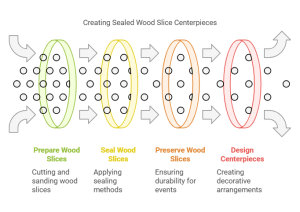
How to Seal Wood Slices for Centerpieces
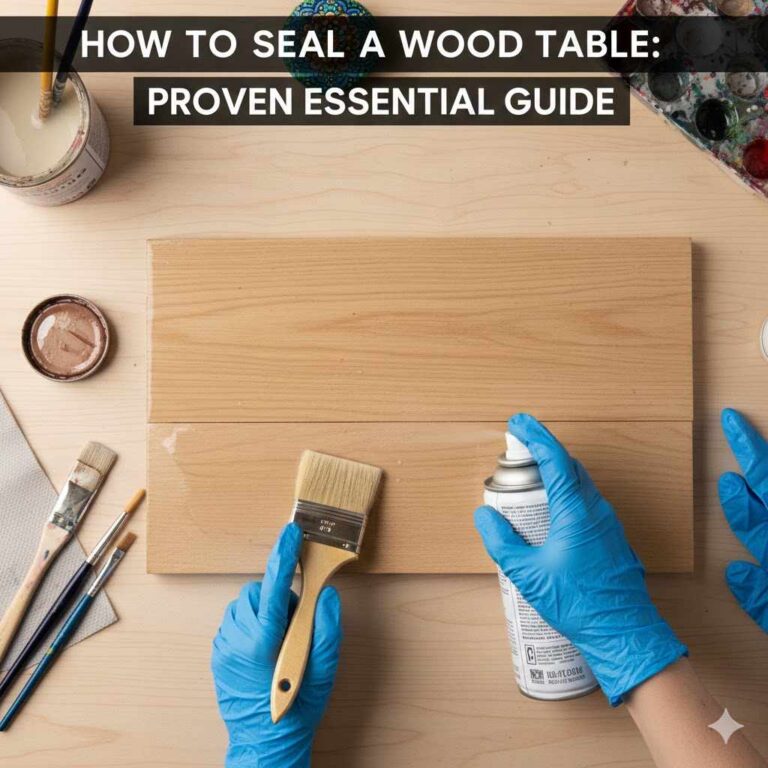
To seal wood slices for centerpieces, allow them to dry for a few days, sand them until smooth, and apply a natural-colored wood stain. Alternatively, you can use polyurethane or wood varnish to seal the wood.
It is essential to seal the wood to protect it from moisture damage and to give it a finished look. Sealing the wood slices will also prevent them from cracking or splitting, making them ideal for centerpieces. Whether you are making DIY rustic wedding centerpieces or decorating your home with wood slice decor, sealing the wood slices is an essential step.
We will explore different methods of sealing wood slices to help you create beautiful and long-lasting centerpieces.
Preparing Wood Slices For Centerpieces
To create beautiful wood slice centerpieces, it’s crucial to properly seal the wood. After sanding the slice until smooth, apply a natural-colored wood stain, and allow it to dry for a few days. Then use polyurethane or wood varnish to seal and protect the wood from damage.
Choosing The Right Wood
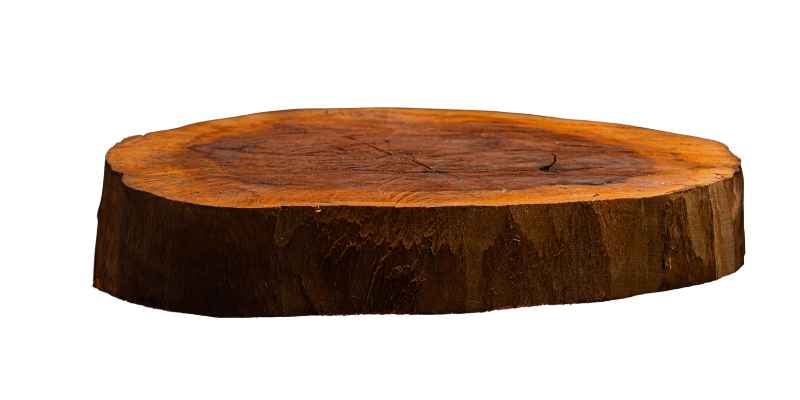
To make beautiful wood slice centerpieces, choosing the right wood is crucial. It’s important to select a wood type that’s not too soft, otherwise, it may break or crack easily. The ideal types of wood slices for centerpieces are birch, oak, maple, and cedar. These wood types are hard and durable, making them perfect for a long-lasting centerpiece.
Cutting The Wood Slices
Once you have selected the type of wood, it’s time to cut the wood into slices. Ensure that all the slices are of the same thickness, and the edges are smooth and even. You can use a chainsaw or a saw to cut the wood slices. If you’re using a chainsaw, remember to wear protective gear like gloves and goggles, and make sure to have a steady hand when cutting the wood.
Sanding The Wood Slices
After cutting the wood slices, it’s essential to sand them to a smooth finish. Sanding each slice will help to remove rough edges, splinters or any other imperfections on the surface of the wood. Start with rough-grit sandpaper and gradually work your way up to finer sandpaper for a smooth finish. Ensure that you sand both sides of the wood slice and remove any sawdust from the surface.
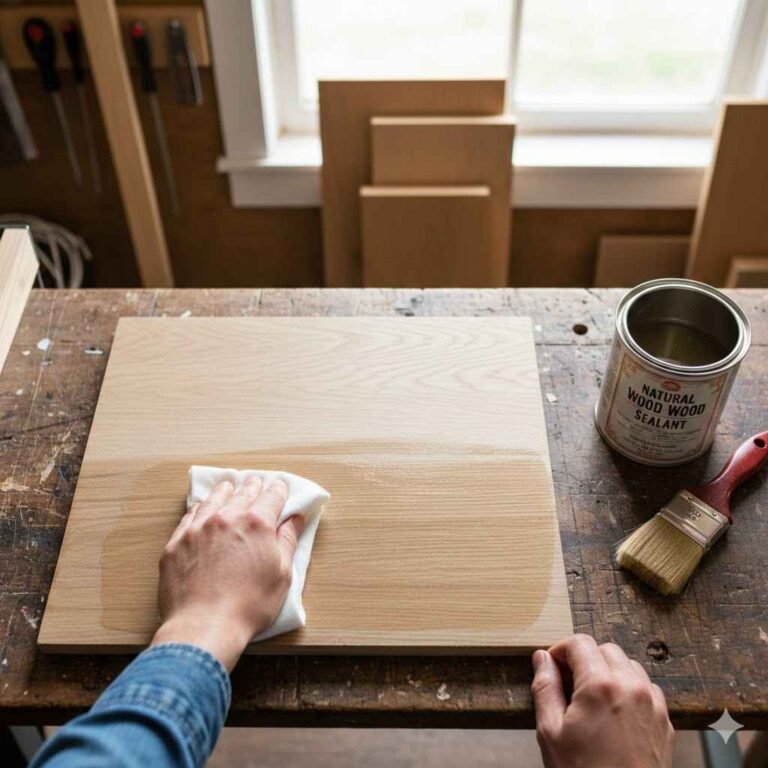
Once you have sanded the wood slices, they will be ready for sealing. Remember to use a natural-colored wood stain to seal the wood slices, which will not only enhance their natural beauty but also preserve them for a more extended period. By following these steps, you can create exquisite and long-lasting wood slice centerpieces that will add a rustic charm to your home decor.
Sealing Wood Slices For Centerpieces
To seal wood slices for centerpieces, start by allowing the slices to dry for a few days after sanding them until smooth. Then, apply a natural-colored wood stain and let it dry thoroughly. Finally, use polyurethane or wood varnish to seal the wood and prevent any moisture damage.
If you’re looking for ideas for natural and rustic centerpieces, wood slices are a great option. They can be used as candle holders, coasters, or even as a base for floral arrangements. However, if you want your wood slices to last and resist the effects of humidity, it’s important to seal them properly. This will protect them from getting stained or warped over time, ensuring that your centerpieces stay beautiful for years to come.
Why is it important to seal wood slices?
When it comes to wood centerpieces, sealing is essential to prevent moisture from penetrating the wood. Without proper sealing, the wood can absorb liquids, leading to warping and discoloration. Additionally, wood slices that are not sealed can easily get stained by food, drinks, or other substances, which might be disastrous while entertaining guests.
Different ways to seal wood slices
There are several ways to seal wood slices. Each of these methods has its own unique advantages and disadvantages. Here are some of the most popular ways to seal wood slices:
Using polyurethane to seal wood slices
Polyurethane is a common sealant used to protect wooden surfaces. It’s durable, long-lasting, and provides a hard, protective layer that is difficult to scratch or damage. It’s easy to apply and dries relatively quickly. However, the odor of polyurethane can be strong, so be sure to use it in a well-ventilated room.
Using wood varnish to seal wood slices
Varnish is another popular sealant that can be used to protect wood slices. It’s similar to polyurethane in terms of durability and protection, but tends to be less glossy and more natural-looking. The application process is similar to that of polyurethane, but drying times can vary depending on the specific type of varnish you use.
Using natural oils to seal wood slices
If you prefer a more natural approach, you can use oils such as linseed oil, tung oil, or even olive oil to seal your wood slices. These oils penetrate deep into the wood, providing natural protection against moisture and stains. They also enhance the natural beauty of the wood, giving it a warm and rich appearance. However, they may require regular reapplication to maintain optimal protection.
Using epoxy resin to seal wood slices
Epoxy resin is a two-part compound that, when mixed together, becomes a hard, durable sealant that can withstand even the toughest conditions. It’s often used in industrial applications, but can also be used to seal wood slices. It provides a glossy, clear finish that enhances the natural grain of the wood. However, it can be difficult to apply and may require some experience to get right.
No matter which method you choose, be sure to read the instructions carefully and follow them closely to achieve the best results. With the right sealant, your wood slices can remain beautiful and protected for years to come, making them a great choice for any rustic or natural centerpiece.
Preserving Wood Slices For Weddings
Preserving wood slices for weddings is easy and fun. Start by allowing the slices to dry completely before sanding them smooth and applying a natural-colored wood stain. Finish by sealing the wood slices with polyurethane or wood varnish for a beautiful centerpiece that will last.
are considering using wood slices for your wedding centerpieces, valuing their natural beauty, there are some important steps you need to take to ensure they stay in good condition. Preserving Wood Slices for Weddings can be a challenge, but with the right techniques, you can create stunning centerpieces that will last. In this article, we’ll share some tips on How to preserve wood slices with bark, Preserving wood slices for wedding centerpieces, How to prepare wood slices for painting, and How to dry wood slices for crafts.
How To Preserve Wood Slices With Bark
If you’re looking for a rustic, natural look, you may want to keep the bark on your wood slices. However, bark can peel off and deteriorate if the wood isn’t properly preserved. Here’s how to preserve wood slices with bark:
- Start by drying your wood slices. Lay them on a flat surface in a well-ventilated area and allow them to dry for about a week or two.
- Once dry, use a fine-grit sandpaper to smooth both sides of the slice.
- Apply a clear, waterproof wood sealer to the entire slice, including the bark.
- Allow the sealer to dry for 24 hours, and then apply a second coat.
Preserving Wood Slices For Wedding Centerpieces
If you’re planning to use wood slices for your wedding centerpieces, you need to make sure they’re properly preserved. This will ensure that they last throughout your wedding and beyond. Here are some tips on how to preserve wood slices for wedding centerpieces:
- Start by selecting high-quality wood slices that are free of cracks and splits.
- Dry your wood slices for at least a week before using them.
- Once dry, sand both sides of the wood slice to remove any rough spots.
- Apply a clear, waterproof wood sealer to the entire slice, making sure to cover the edges and any cracks or knots.
- Allow the sealer to dry for 24 hours, and then apply a second coat.
How To Prepare Wood Slices For Painting
If you want to add a pop of color to your wood slices, you may want to paint them. However, before you start painting, you need to prepare the wood slices properly. Here’s how to prepare wood slices for painting:
- Start by drying your wood slices for at least a week.
- Sand both sides of the wood slice to remove any rough spots.
- If the wood slice has bark, consider removing it with a sharp knife.
- Apply a coat of clear, waterproof sealer to the entire slice and allow it to dry completely.
- Once dry, apply a base coat of acrylic paint. You may need to apply several coats to achieve the desired color.
How To Dry Wood Slices For Crafts
Drying wood slices is an important step to ensure they’re properly preserved for crafts. Here are some tips on how to dry wood slices for crafts:
- Start by selecting high-quality wood slices that are free of cracks and splits.
- Remove any loose bark or debris from the slices.
- Place the wood slices on a flat surface in a well-ventilated area.
- Allow the slices to dry for at least a week, flipping them over every couple of days.
- Once dry, sand both sides of the wood slice using a fine-grit sandpaper.
In conclusion, preserving wood slices for weddings and other crafts requires some effort, but it’s worth it to ensure they stay in good condition and look stunning. By following these tips on How to preserve wood slices with bark, Preserving wood slices for wedding centerpieces, How to prepare wood slices for painting, and How to dry wood slices for crafts, you can create beautiful and lasting centerpieces for your special day.
DIY Wood Slice Centerpieces
Achieve a rustic look for your centerpiece by using wood slices, but make sure to seal them properly first. Sand the top and bottom until smooth before applying a natural wood stain. Allow the slices to dry for a few days before use.
Looking for an affordable and rustic centerpiece? Look no further than DIY wood slice centerpieces. These charming decor pieces add a touch of nature to any event and can be used in a variety of ways, from simple table settings to creative cake stands. But before you start creating, it’s important to know how to properly seal wood slices to ensure they last and remain beautiful for years to come.
Design Ideas for Wood Slice Centerpieces
There’s an endless variety of ways to incorporate wood slices into your decor. Here are some ideas to get you started:
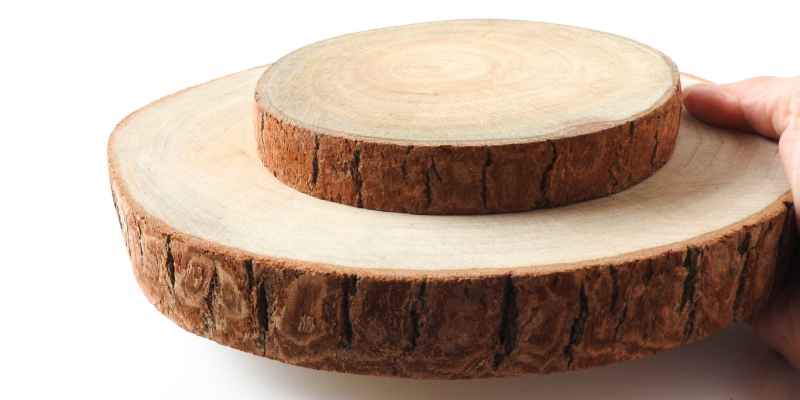
– Create a centerpiece by stacking wood slices of varying sizes on top of each other.
– Place a small vase of flowers on a wood slice to create a natural-looking vase stand.
– Use wood slices as unique coasters for your guests.
– Make a statement with a large wood slice as a base for your cake or dessert display.
The possibilities are endless!
Finishing Touches for Wood Slice Centerpieces
As important as it is to properly seal your wood slices, taking the time to add a finishing touch can take your centerpieces to the next level. Adding a simple border with a wood-burning tool can create a polished look. Or, add some natural moss and greenery to your display to give it a more earthy feel. Play around with different textures and materials to find the perfect finishing touch for your particular event.
Using Wood Slices for Cake Stands
Making your own cake stand from wood slices doesn’t need to be a difficult task. Simply stack several slices on top of each other and secure them with wood glue. Finish it off with a coat of polyurethane or other wood sealant to make it food-safe. The result is a unique and stunning cake stand that is sure to impress your guests.
In conclusion, whether you’re using wood slices as a centerpiece, coaster, vase stand, or cake stand, taking the time to properly seal them will ensure they last long and look beautiful. And with the endless possibilities for design and creativity, wood slices are a perfect way to add a touch of nature to your event.

Frequently Asked Questions For How To Seal Wood Slices For Centerpieces
What Do You Seal Wood Slices With?
To seal wood slices, first sand both sides until smooth, then apply a natural-colored wood stain. Once dry, apply a sealant like polyurethane or wood varnish to the top and edges. Allow it to dry completely before using the wood slices for centerpieces or other craft projects.
How Do You Treat Fresh Cut Wood Slices?
To treat fresh cut wood slices, allow them to dry out for a few days and sand the top and bottom until smooth using sandpaper. Apply a natural-colored wood stain to the slices. You can also use polyurethane or wood varnish to seal the wood better.
How Do You Seal Wood Pieces?
To seal wood pieces, you should first sand the surfaces until smooth, and then apply a natural-colored wood stain. After that, you can use polyurethane or wood varnish to seal the wood and protect it from moisture and damage. Allow the sealant to dry completely before using the wood pieces for any project.
How Do You Stain Wood Slices For Centerpieces?
To stain wood slices for centerpieces, first dry the slices for a few days and then sand the top and bottom until smooth. Apply a natural-colored wood stain and let it dry completely. Optionally, seal the slices with polyurethane or wood varnish for added protection.
Conclusion
Sealing wood slices for centerpieces is a simple process that requires the right materials and techniques. Through sanding, staining, and sealing, your wood slices can maintain their rustic charm while also being protected from damage and wear. By following the steps outlined in this guide, you can confidently create beautiful and long-lasting centerpieces that are perfect for any occasion.
So, go ahead and try it out – your guests will surely be impressed!