How to Seal Natural Wood Easy Step Guide
Many people find sealing natural wood a bit tricky, especially when they are just starting out. There are so many types of wood and finishes, it can feel like a lot to learn! But don’t worry, it’s actually quite straightforward once you know the simple steps involved.
This guide will walk you through How to Seal Natural Wood: Easy Step-by-Step Guide so you can protect your beautiful wood projects with confidence. We’ll cover everything you need to know to get a great finish.
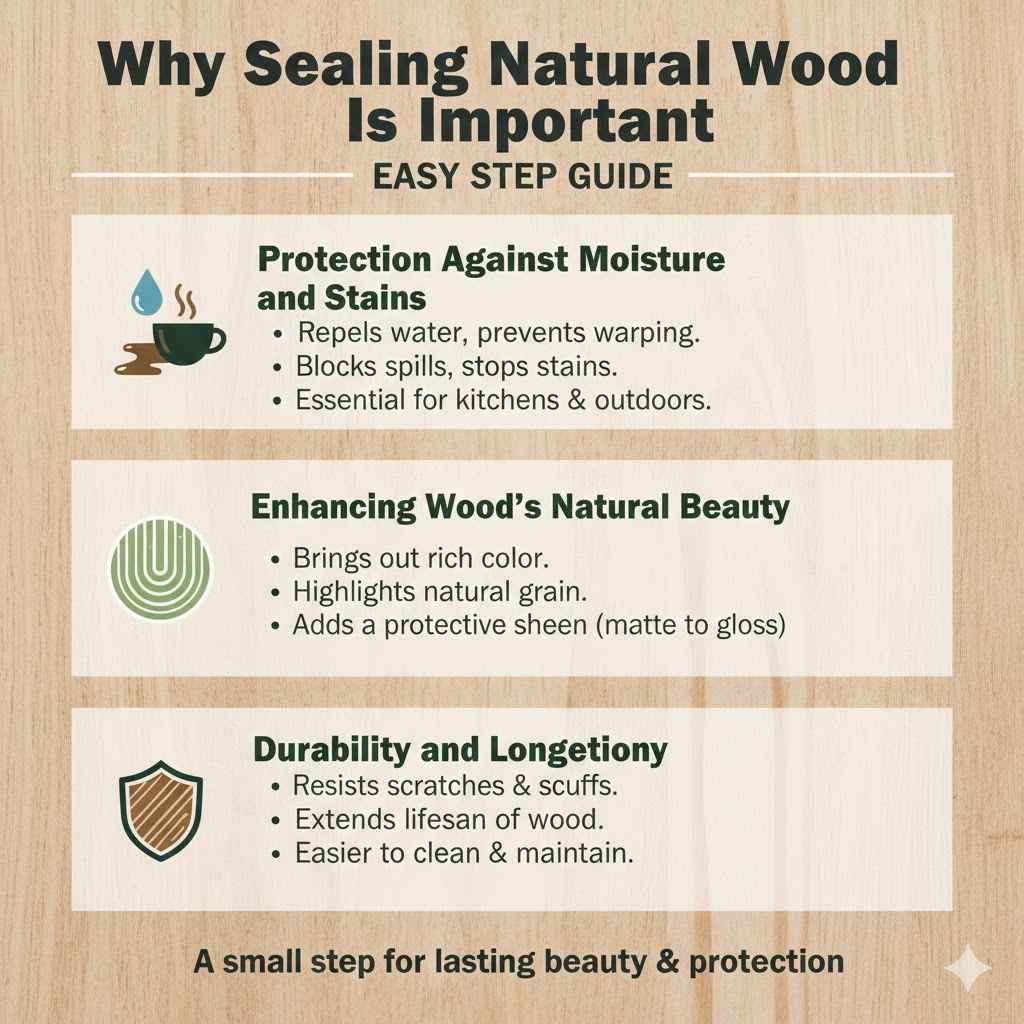
Why Sealing Natural Wood Is Important
Sealing natural wood is a vital step for protecting its beauty and extending its life. Wood is a natural material that can be affected by moisture, sunlight, and everyday wear and tear. Without a good seal, wood can become dry, crack, fade, or even rot. A proper sealant acts like a shield, creating a barrier against these harmful elements. This protection is key to keeping your wood looking its best for years to come. It also makes cleaning much easier.
Protection Against Moisture and Stains
Moisture is one of wood’s biggest enemies. It can cause wood to swell, warp, and even develop mold or mildew. A sealant repels water, preventing it from penetrating the wood’s surface. This is especially important for items like wooden countertops, outdoor furniture, or wooden floors that are exposed to spills or weather.
When spills happen, a good seal means the liquid sits on top rather than soaking in. This prevents unsightly stains from forming. Different sealants offer varying levels of water resistance, so choosing the right one for your project is key. For areas with high moisture, a more robust sealant is recommended.
Enhancing Wood’s Natural Beauty
Sealing doesn’t just protect wood; it also makes it look better. Many sealants enhance the natural grain and color of the wood. They can bring out a richer, deeper tone, making the wood appear more vibrant. Some sealants also give wood a lovely sheen, from a matte finish to a high gloss. This can transform the look of a simple wooden piece.
The choice of sealant can subtly change the final appearance. A clear sealant will keep the wood’s original color, while others might add a slight amber tint. This ability to both protect and beautify makes sealing a crucial part of any woodworking project.
Durability and Longevity
A well-sealed piece of wood is much more durable. It can withstand daily use without showing as much wear and tear. The protective layer resists scratches and scuffs, keeping the surface looking smooth and new for longer. This increased resilience means your wooden items will last significantly longer.
Think about a wooden cutting board. If it’s not sealed, it will quickly become stained, scratched, and may even harbor bacteria. A properly sealed cutting board is easier to clean, resists stains, and stays in better condition for many years. This principle applies to all wood items.
Choosing the Right Wood Sealant
Selecting the correct sealant is the first step in the How to Seal Natural Wood: Easy Step-by-Step Guide. There are many types of sealants available, and each has its own benefits and best uses. The type of wood you are working with, the intended use of the item, and the desired finish will all influence your choice. Understanding these differences will help you pick the perfect product for your project.
Types of Wood Sealants
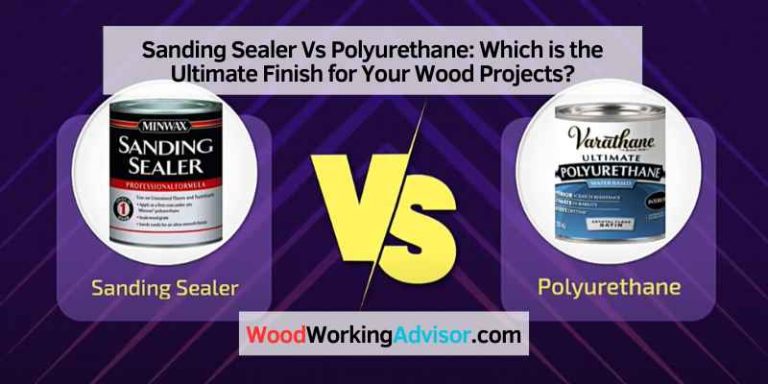
There are several common categories of wood sealants. Polyurethanes are very popular because they offer excellent durability and water resistance. They come in oil-based and water-based formulas. Oil-based polyurethanes tend to be more durable and provide a warmer amber tone, while water-based ones dry clearer and are easier to clean up.
Varnishes are another option, providing a tough, protective coating. They are often used on outdoor furniture and boats due to their excellent weather resistance. Lacquers dry very quickly and provide a hard, protective finish that is often used on furniture and musical instruments. Waxes offer a more natural, matte finish and are good for adding a soft sheen and light protection, but they don’t offer the same level of durability as polyurethanes or varnishes.
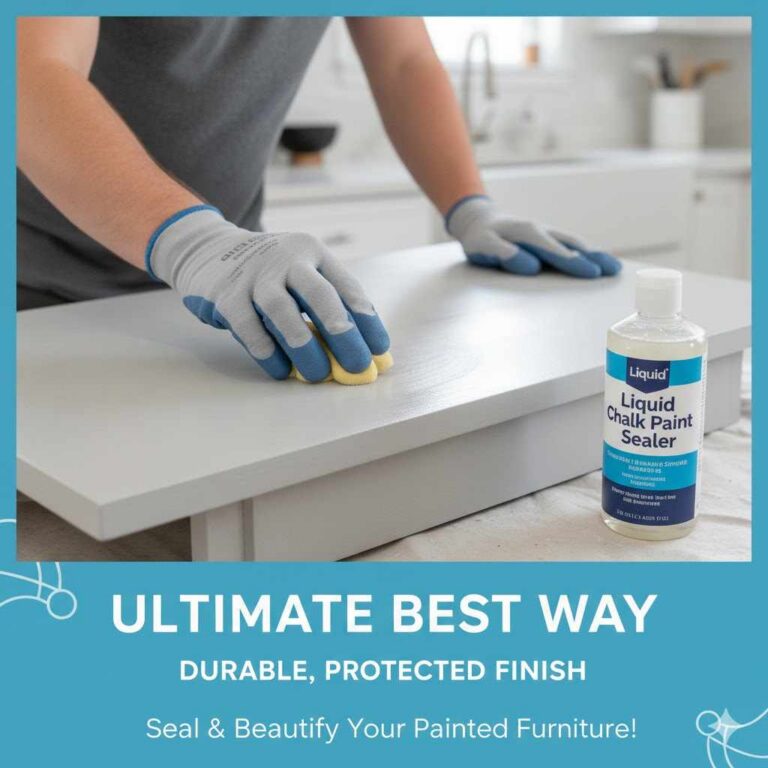
For food surfaces like cutting boards or countertops, it’s essential to use a food-safe sealant. Mineral oil or beeswax-based finishes are popular choices for these applications. Always check the product label to ensure it is safe for food contact.
Considerations for Different Wood Types
Different woods react differently to sealants. Softwoods like pine are porous and absorb sealants readily, which can sometimes lead to uneven finishes if not applied carefully. Hardwoods like oak or maple are denser and may require more coats for full protection. Exotic woods, with their natural oils, might also need special preparation or sealants.
For very oily woods, you might need to wipe them down with a solvent to remove surface oils before applying a sealant. This ensures the sealant adheres properly. Always test your chosen sealant on a small, inconspicuous area of the wood first. This allows you to see how it looks and performs before committing to the entire project.
Finishes and Aesthetics
The finish you desire plays a big role in sealant selection. Do you want a natural, matte look, or a shiny, glossy surface?
Matte finishes absorb light, giving wood a more natural, understated appearance. They are great for rustic or modern designs where a subtle look is preferred.
Satin finishes offer a slight sheen, providing a balance between matte and gloss. They are a very popular choice for many projects.
Semi-gloss finishes provide a noticeable shine and are more reflective than satin. They offer a more formal look.
High-gloss finishes create a mirror-like surface, reflecting a lot of light. They are often used for dramatic effects or to highlight the wood’s grain.
The sealant will interact with the wood’s natural color. Some sealants add an amber hue, which can make lighter woods look warmer. Others remain crystal clear. The goal is to choose a sealant that complements the wood and achieves the aesthetic you are aiming for.
Preparing Your Wood Surface
Proper preparation is key to achieving a smooth, professional-looking finish when you learn How to Seal Natural Wood: Easy Step-by-Step Guide. Skipping this step can lead to a patchy, uneven, or even failed sealant job. It might seem like extra work, but it’s absolutely worth it for a durable and beautiful result.
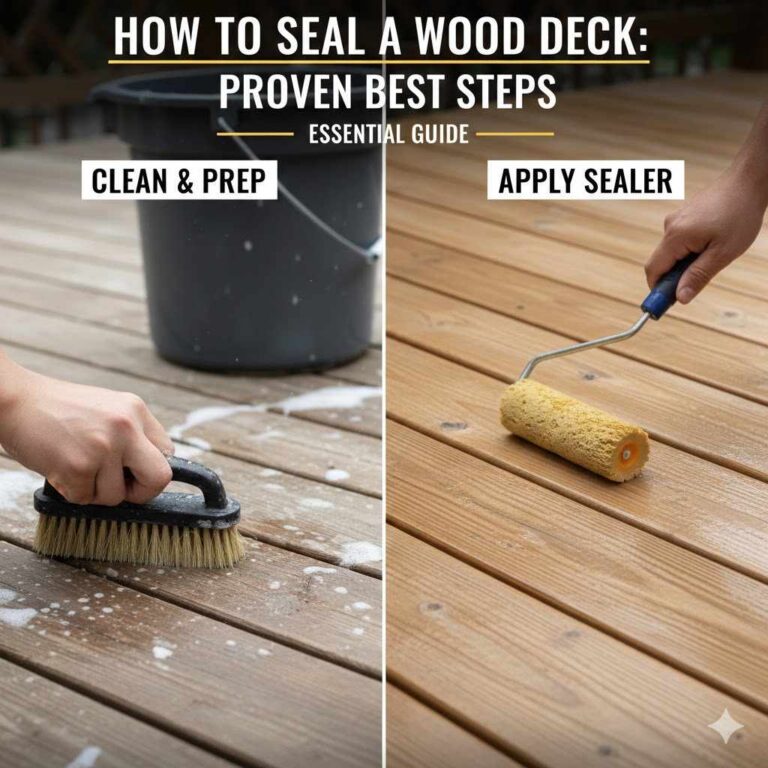
Cleaning the Wood
First, the wood must be clean and free of any dust, dirt, grease, or old finishes. For new wood, a simple dusting with a clean cloth is often enough. If the wood is older or has been handled, you might need to wash it. Use a damp cloth with a mild soap solution.
Make sure to wipe away all soap residue with a clean, damp cloth. Allow the wood to dry completely before proceeding. For stubborn grease or grime, a degreaser might be necessary. Always ensure good ventilation when using cleaning products.
Sanding for Smoothness
Sanding is crucial for creating a smooth surface that the sealant can adhere to evenly. Start with a medium-grit sandpaper, like 120-grit, to remove any rough spots or imperfections. Then, move to a finer grit, such as 180 or 220-grit, to create a silky-smooth finish.
Always sand in the direction of the wood grain. This prevents unsightly scratches. After sanding with each grit, wipe away all the dust with a tack cloth or a slightly damp cloth. A tack cloth is a sticky cloth that effectively picks up fine dust particles.
Initial Sanding: Use 120-grit sandpaper to remove major imperfections. This prepares the surface for finer grits.
Second Sanding: Switch to 180-grit sandpaper for a smoother feel. This refines the surface and removes scratches from the previous step.
Final Sanding: Finish with 220-grit sandpaper for a very smooth touch. This is the ideal surface for sealant application.
Dust Removal Techniques
Dust is the enemy of a smooth finish. Even tiny particles can get trapped in the sealant, creating a bumpy or gritty texture. After sanding, thorough dust removal is essential.
Use a vacuum cleaner with a brush attachment to get into crevices and remove loose dust.
Follow up with a tack cloth. These cloths are specifically designed to pick up the finest dust particles and are invaluable for achieving a flawless finish. Drag the tack cloth gently over the entire surface.
Ensure your workspace is also as dust-free as possible. Close windows and doors to prevent dust from entering.
Applying the Wood Sealant
Now comes the exciting part: applying the sealant! Following the correct application method will ensure your wood is well-protected and looks fantastic. This is where your preparation pays off.
Tools and Materials
Gather all your supplies before you start. This includes your chosen sealant, brushes, rollers, or cloths, sandpaper (for between coats if needed), a tack cloth, and protective gear like gloves and a mask.
Brushes: Natural bristle brushes are good for oil-based finishes, while synthetic bristles work well with water-based products. Foam brushes can also be useful for a smooth application.
Rollers: Small foam rollers can be great for larger, flat surfaces for a quick, even coat.
Cloths: For some finishes, like oil or wax, clean, lint-free cloths are used for application and wiping off excess.
Ensure your brushes and rollers are clean and free of any debris. Any foreign material can transfer to the wood and ruin the finish.
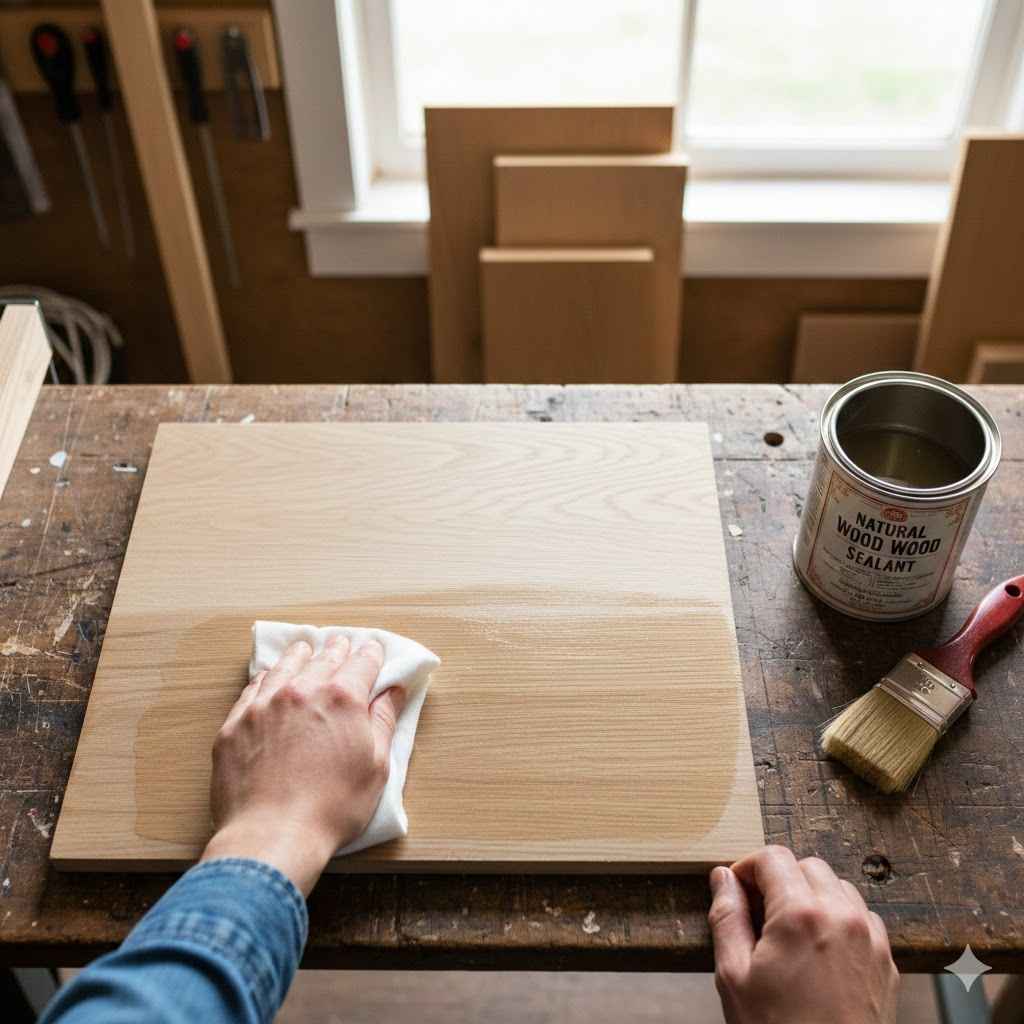
Step-by-Step Application Process
Always read and follow the manufacturer’s instructions for your specific sealant.
1. Stir the sealant thoroughly. Do not shake it, as this can create air bubbles.
2. Using your chosen applicator, apply a thin, even coat. Work in the direction of the wood grain.
3. For large areas, use long, overlapping strokes. Avoid applying too much sealant, as this can lead to drips and an uneven finish.
4. Cover the entire surface, including edges and end grain. End grain absorbs more moisture, so it needs extra attention.
Let the first coat dry completely according to the product’s instructions. This typically takes a few hours.
Sanding Between Coats
After the first coat has dried, you might notice a slight raising of the wood grain. This is normal.
Lightly sand the surface with very fine-grit sandpaper, like 320 or 400-grit, or a fine sanding sponge.
Again, sand in the direction of the wood grain.
Wipe away all dust with a tack cloth.
This light sanding smooths out any raised grain and provides a better surface for the next coat to adhere to. This step is crucial for a smooth final finish.
Applying Multiple Coats
Most projects will require two or three coats of sealant for adequate protection. Allow each coat to dry completely before sanding and applying the next.
Apply the second coat, ensuring even coverage.
Let it dry fully.
Lightly sand again and wipe with a tack cloth.
Apply the final coat.
For high-wear surfaces, a fourth coat might be beneficial. The number of coats depends on the sealant type and the intended use of the wood.
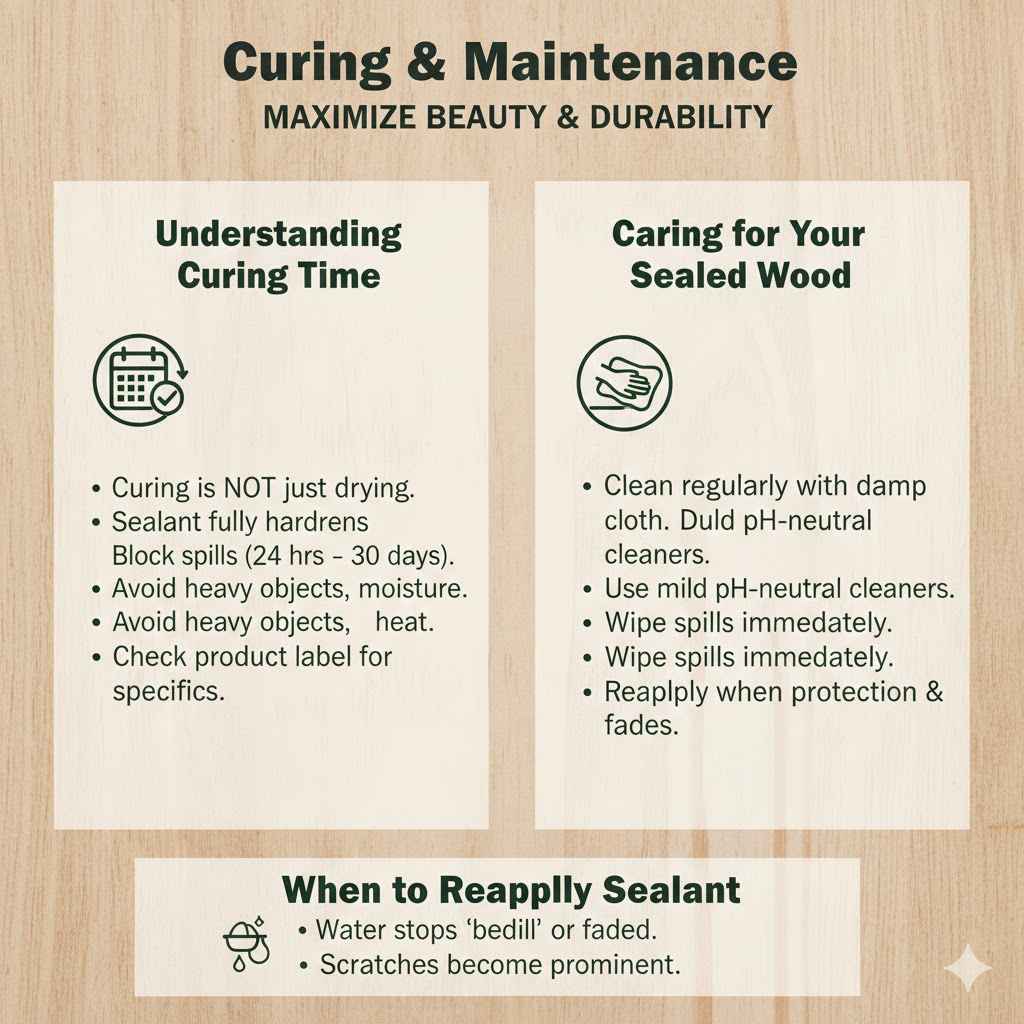
Curing and Maintenance
Once the sealant is applied, there’s one last important phase: curing. Curing is the process where the sealant hardens completely and reaches its maximum durability. It’s different from drying, which is just when the surface feels dry to the touch.
Understanding Curing Time
Most sealants will feel dry to the touch within a few hours. However, they may take anywhere from 24 hours to 30 days to fully cure. During the curing period, the sealant is still hardening and is more vulnerable to damage.
It’s important to be gentle with your newly sealed wood during this time. Avoid placing heavy objects on it, or exposing it to moisture or extreme temperatures. The longer the curing time, the more durable the finish will be. Always check the product label for specific curing times.
Caring for Your Sealed Wood
Proper maintenance will keep your sealed wood looking great for years. Regular cleaning is essential.
For most sealed wood, a soft cloth dampened with water is sufficient for everyday cleaning.
If you need to use a cleaner, opt for mild, pH-neutral products. Avoid harsh chemicals or abrasive cleaners, as they can damage the sealant.
Wipe up spills immediately to prevent them from soaking into the wood, even though it is sealed.
The durability of the sealant will determine how often you need to reapply it.
When to Reapply Sealant
Over time, even the best sealants can wear down, especially on surfaces that experience a lot of use or exposure to the elements. Look for signs that the sealant is no longer providing adequate protection.
Water no longer beads up on the surface but instead soaks in, leaving dark marks.
The wood starts to look dull or faded.
Scratches and wear marks become more prominent.
If you notice any of these signs, it’s time to consider reapplying the sealant. You may need to lightly sand the surface again before applying new coats to ensure good adhesion.
Frequently Asked Questions
Question: How long does it take to seal natural wood
Answer: The time it takes to seal natural wood varies depending on the sealant type, the size of the project, and the number of coats applied. Surface preparation like cleaning and sanding can take an hour or more. Applying each coat might take 15-30 minutes.
Drying between coats can range from 2 to 12 hours. Full curing can take anywhere from 24 hours to 30 days.
Question: What is the best sealant for outdoor wood furniture
Answer: For outdoor wood furniture, a durable varnish or an exterior-grade polyurethane is often the best choice. These sealants offer excellent protection against UV rays, moisture, and temperature changes. Look for products specifically labeled for outdoor use.
They are designed to withstand the elements and prevent warping or cracking.
Question: Can I use a food-safe sealant on a dining table
Answer: Yes, you can use a food-safe sealant on a dining table, especially if you want extra protection against spills and stains. Many water-based polyurethanes are certified as food-safe once fully cured. For ultimate safety, consider finishes like mineral oil or beeswax specifically made for food contact surfaces.
Always check product certifications.
Question: What happens if I don’t sand between coats
Answer: If you don’t sand between coats, the sealant might not adhere as well for subsequent layers. This can lead to a less smooth finish, and the raised wood grain can cause the surface to feel rough. The final appearance might be less professional, with potential for peeling or uneven sheen over time.
Question: How do I fix a patchy sealant job
Answer: To fix a patchy sealant job, you will likely need to sand down the affected areas until they are smooth and even. Then, reapply the sealant to those spots, feathering the edges into the surrounding areas. For a completely uneven finish, you might have to sand the entire piece and start over with new coats for a uniform look.
Conclusion
Learning How to Seal Natural Wood: Easy Step-by-Step Guide gives you the power to protect and beautify your wood projects. By cleaning, sanding, and carefully applying your chosen sealant, you create a lasting barrier against damage. Regular care ensures your wood remains stunning for years. Now you have the knowledge to seal your wood with confidence and achieve beautiful, durable results for any project.