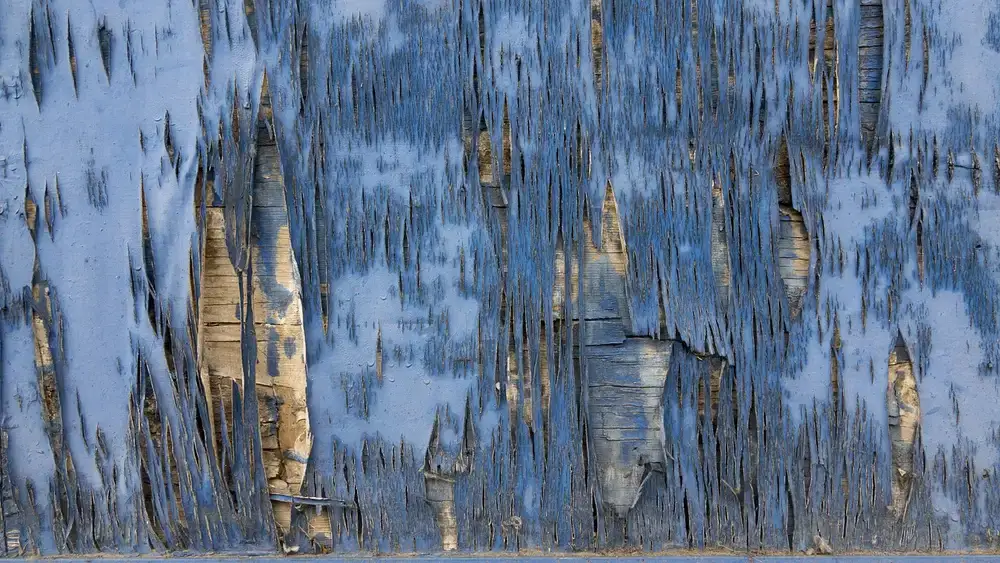
How to Seal Exterior Wood: UV vs. Moisture Damage Guide
To seal exterior wood, clean the surface, let it dry completely, sand it smooth, then apply a thin, even coat of an outdoor-rated sealer with the grain, giving extra attention to end grain (post tops, board ends), which absorbs moisture far faster than the flat face of a board. Let it cure fully before use, and re-inspect yearly since UV exposure and moisture cycling are two separate mechanisms that wear a sealer down at different rates.
A deck, fence, or garden bench you built yourself is worth protecting properly, not just with whatever finish is cheapest at the hardware store. Exterior wood fails in two genuinely different ways, and most guides blur them together as one vague “weathering” problem. Below is the real mechanism behind both, plus the exact prep-to-cure process I use to seal a project so it actually holds up through a few winters instead of graying out in one summer.
Why Wood Fails Outdoors: UV Breakdown vs. Moisture Cycling
Unsealed exterior wood degrades through two distinct, unrelated processes, and understanding both is the difference between picking a sealer that actually matches your problem and just grabbing whatever can is on sale.
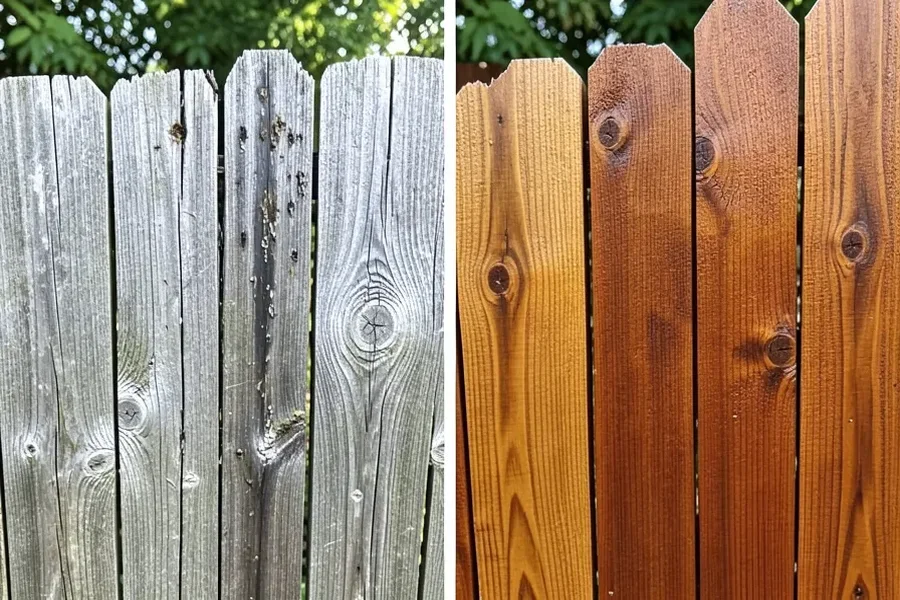
- UV/sunlight breaks down lignin. Lignin is the natural polymer that binds wood fibers together, and it happens to absorb ultraviolet light strongly. That absorption triggers a real photochemical reaction that breaks the lignin down at the surface. The wood doesn’t just “fade” cosmetically; the surface fibers lose their binder, turn silvery gray, and become loose and brittle enough to splinter or wash away with rain. This is a light-driven chemical process, and it happens even on wood that never gets rained on.
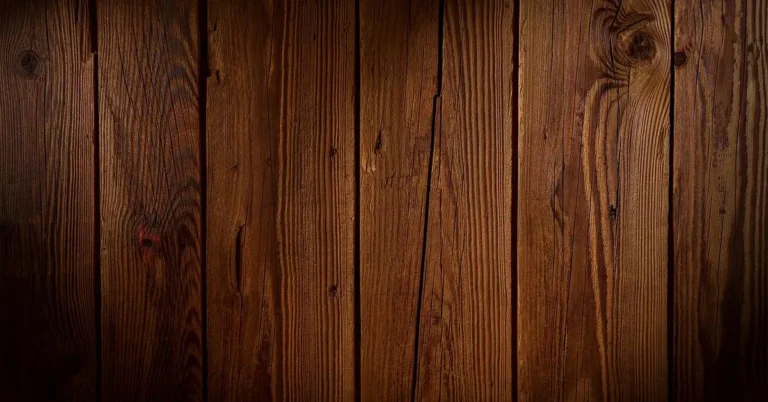
- Moisture cycling swells and shrinks the wood. Wood absorbs water and expands, then dries out and contracts, over and over with every rain and dry spell. That repeated swell-shrink cycle is what actually causes checking (the surface cracks you see running along the grain) and eventually splitting, because the outer wood dries and shrinks faster than the core. Prolonged wet conditions on top of that give rot fungus and mildew the moisture they need to establish themselves.
Those two mechanisms are why a sealer’s job is really two jobs at once: block enough UV to slow lignin breakdown, and repel enough moisture to stop the swell-shrink cycle. No single product maximizes both without a tradeoff, which is exactly what the next section covers.
Best Clear Penetrating Sealer
 |
Thompson’s WaterSeal Clear Wood Sealer, 1 Gallon – $19.94 A true penetrating sealer for the prep-and-apply process below – it soaks into the fibers rather than sitting on top, so it won’t peel, and it dries clear so your wood’s natural grain still shows.
|
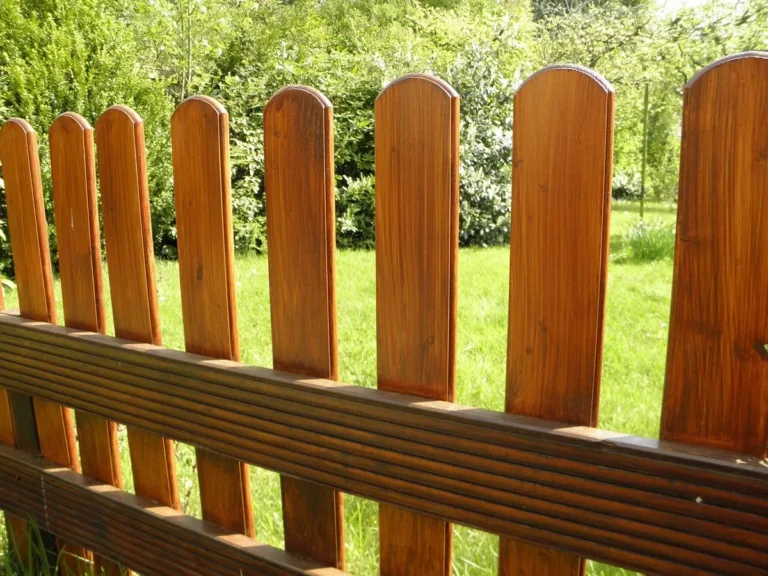
One practical fact both mechanisms make more urgent: end grain absorbs moisture many times faster than face grain. Face grain (the flat side of a board) has a relatively closed surface, but end grain exposes the open ends of the wood’s vessels, like a bundle of straws cut crosswise, so it wicks water straight in. That’s why fence post tops, the cut ends of deck boards, and stair stringer ends are almost always the first place a project starts to rot or check, even when the rest of the surface still looks fine. Every end-grain cut should get extra sealer, and ideally a second coat, regardless of how much time you spend on the rest of the piece.
Left unprotected, that combination of UV and moisture cycling is also what invites rot, mildew, and insects. Trapped moisture from the swell-shrink cycle is exactly the environment mold, mildew, and rot fungus need to establish themselves, and pests like termites and carpenter ants are drawn to the soft, damp wood that results. Sealing the wood removes the moisture those organisms depend on, which is a bigger part of pest and rot prevention than most people realize.
Choosing Your Sealer: Clear vs. Semi-Transparent/Solid Is a Real Tradeoff
Walking into the finish aisle can be overwhelming. Cans are labeled stain, sealer, varnish, and combinations of all three. Strip it down to two real decisions: how the product sits in the wood, and how much pigment it carries.
Penetrating vs. Film-Forming Sealers
- Penetrating sealers: Oil-based or modified water-based formulas that soak into the wood’s pores and repel water from within, without building a surface layer. The wood keeps a natural look and feel, and because there’s no film, there’s nothing to peel or flake. The tradeoff is more frequent reapplication.
- Film-forming sealers: Varnish, polyurethane, and solid-color stains form a durable shell on top of the wood. This resists moisture and physical wear well, but if that film gets breached by a scratch or a UV-driven crack, water gets trapped underneath and causes peeling.
Oil-Based vs. Water-Based Sealers
The next decision is chemistry. Here’s how they compare:
| Feature | Oil-Based Sealers | Water-Based Sealers |
|---|---|---|
| Penetration | Excellent. Soaks deep into wood fibers for strong water repellency. | Good. Forms more of a protective film at the surface. |
| Durability | Very durable but can become brittle and crack over time. | More flexible and less prone to cracking; strong UV resistance. |
| Appearance | Enriches the grain, often adding a warm amber tone. | Goes on milky but dries clear; minimal color change. |
| Drying Time | Slow, often 24-48 hours. | Fast, dry to the touch in a few hours. |
| Odor & VOCs | Stronger odor, higher VOC content. | Lower odor and VOCs. |
| Cleanup | Requires mineral spirits or paint thinner. | Soap and water. |
Clear vs. Pigmented: The Tradeoff Most Guides Skip
Here is the tradeoff that actually decides which product to buy. A clear sealer shows off the wood grain and looks the most natural, but it has little to no UV-blocking pigment, so lignin breakdown starts sooner and you’ll be reapplying more often, often every 1-2 years on sun-exposed surfaces. A semi-transparent or solid-color stain-sealer carries real pigment that acts as a UV shield for the lignin underneath, which is why those products can go 3-5 years between coats, at the cost of hiding more of the natural wood grain (solid color hides it almost entirely). If you want to compare specific picks across use cases, our wood sealer buying guide breaks down options by wood type and location.
What About Stain-and-Sealer Combos?
Many exterior products combine stain and sealer in one can, adding color while sealing in a single step. They come in a range of transparencies:
- Clear: No color, maximum wood visibility, least UV protection.
- Toner: A hint of color that enhances the grain.
- Semi-transparent: Real color while still showing wood grain and texture, a popular middle ground for decks and fences. Our deck stain vs. sealer comparison covers this category in more depth if a deck is your specific project.
- Solid color: Looks like paint, covers the grain completely, but offers the maximum UV protection and durability. A good option for older, already-weathered wood.
Gather Your Supplies
Having everything ready before you start keeps the process smooth. Here’s the shopping list:
- Wood Sealer: Matched to your project (e.g., a clear penetrating sealer, or a semi-transparent deck stain and sealer).
- Applicators:
- High-quality paintbrush: Natural bristle for oil-based sealers, synthetic (nylon/polyester) for water-based.
- Paint roller or pad applicator: For covering flat surfaces like a deck floor quickly.
- Paint tray: To hold sealer while you work.
- Preparation Tools:
- Wood cleaner: A dedicated deck or wood cleaner removes dirt, grime, and old finish residue best.
- Stiff-bristled brush or broom: For scrubbing.
- Garden hose or power washer: For rinsing. Go easy with a power washer to avoid gouging.
- Sandpaper or orbital sander: Medium-grit (80-120) for rough spots, fine-grit (150-220) for a final pass.
- Bucket: For mixing cleaner and holding rinse water.
- Safety & Protection Gear:
- Drop cloths or plastic sheeting: To protect plants, siding, and concrete from spills.
- Painter’s tape: To mask off trim or siding.
- Safety goggles: Against splashes and dust.
- Gloves: Waterproof, to keep hands clean and protected.
- Dust mask: Essential for sanding.
Your Step-by-Step Guide to a Sealed Finish
With your sealer chosen and tools gathered, here’s the process, start to finish.
Step 1: Watch the Weather
This costs nothing and matters more than most people expect. Sealer needs time to dry and cure without moisture or temperature extremes interfering.
- Look for a dry spell: You need at least 24-48 hours of dry weather after application. Check a reliable source like the National Weather Service.
- Mind the temperature: Most sealers work best between 50°F and 90°F (10°C-32°C). Avoid direct, blazing sun, which can dry the sealer too fast and leave a blotchy finish. Overcast, mild days are ideal.
- Avoid high humidity: It significantly slows drying time.
Step 2: Deep Clean the Surface
Sealer needs to bond with clean wood fibers, not dirt and grime sitting on top of them.
- Clear the area: Remove furniture, grills, planters, and decorations.
- Sweep thoroughly: Clear leaves, dirt, and loose debris.
- Scrub the wood: Mix a wood cleaner per the label, let it sit a few minutes to loosen grime, then scrub with the grain using a stiff-bristled brush.
- Rinse completely: Work from the highest point down with a hose. If power washing, use a low-pressure setting and keep the nozzle moving to avoid gouging.
- Let it dry completely: Wood must be bone dry before you apply sealer, generally 24-48 hours after cleaning. A dark patch means it’s still holding moisture.
Step 3: Sand the Surface
Sanding removes fuzzy or splintered fibers raised during washing and opens the wood’s pores so the sealer soaks in more evenly.
- Choose your grit: Medium-grit (80-120) works for most decks and fences.
- Sand evenly: Always move with the grain. You want smooth and uniform, not a mirror finish.
- Remove the dust: Blow or vacuum off the dust, then wipe down with a clean, damp cloth and let it dry one more time.
Step 4: Apply the First Coat
Your prep work pays off here.
- Read the label: Every product has slightly different application and drying-time instructions.
- Stir, don’t shake: Shaking creates air bubbles that leave bumps in the finish.
- Test in a hidden spot: Confirm you like the color and finish before committing to the whole project.
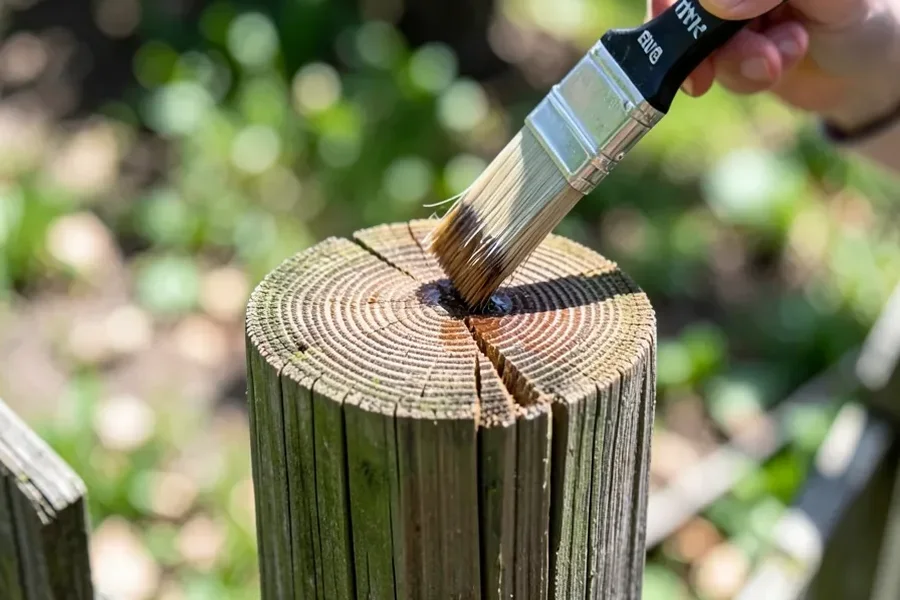
- Do the end grain first: Every exposed end-grain cut, post tops, board ends, stair stringer ends, absorbs sealer fast and often needs a second, heavier pass since it’s the fastest path for moisture into the wood.
- Cut in the edges: Use a brush for corners, railings, between boards, and anywhere a roller can’t reach.
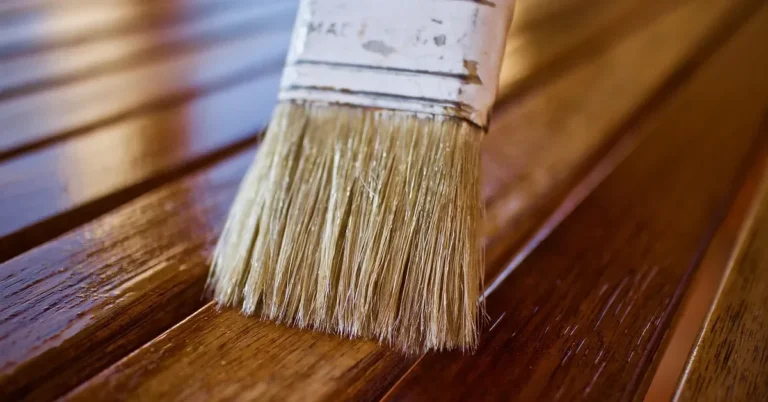
- Apply a thin, even coat: Work in manageable sections, following the grain. Thin coats dry properly; thick coats stay sticky and can fail.
- Avoid pooling: Back-brush any puddles forming in cracks or around knots before they start to dry.
Step 5: Apply a Second Coat (If Recommended)
Some woods and sealers benefit from a second coat for durability and richer color. Check the label.
- Wait for the right time: Don’t rush it. Applying a second coat too soon can ruin the first. It’s typically 4 to 24 hours later.
- Apply the same way: Thin, even strokes, following the grain, with the same extra attention on end grain.
Step 6: Cure and Clean Up
A little patience now protects the work you just did.
- Let it cure: “Dry” and “cured” aren’t the same. A sealer may be dry to the touch in a few hours but needs several days to fully harden. Avoid heavy foot traffic or furniture for at least 48-72 hours, or as long as the label recommends.
- Clean up properly:
- For water-based sealers, warm soapy water cleans brushes and tools.
- For oil-based sealers, use mineral spirits or paint thinner.
- Safety note: Rags soaked with oil-based product can spontaneously combust. Lay them flat on a non-flammable surface to dry fully before disposal, never bunched up. See the EPA’s household hazardous waste guidelines for disposal.
Frequently Asked Questions
How often should I seal my exterior wood?
It depends on your climate and product. Inspect annually: sprinkle water on the surface. If it beads up, the sealer is still working; if it soaks in, reapply. As a rule of thumb, plan on every 1-3 years for horizontal surfaces like decks and every 3-5 years for vertical surfaces like fences, with clear sealers on the shorter end of that range and pigmented stain-sealers on the longer end.
Can I apply sealer over an old stain or paint?
Not recommended. Sealer needs to reach bare wood fibers to penetrate and bond. Applying it over a peeling, failing finish just makes the new coat fail too. Strip, clean, and sand off old finishes first.
What’s the difference between a wood sealer and a wood stain?
Traditionally, a sealer was a clear protective coat and a stain was purely for color. Modern products blur that line: most exterior “stains” today combine color and protection in one step. A “clear sealer” provides protection with no color.
How long does wood sealer take to dry and fully cure?
It varies by product (oil vs. water-based) and weather. It may be dry to the touch in 4-8 hours, but full cure and maximum hardness take much longer. Wait at least 24-48 hours before walking on a deck and 72 hours or more before placing heavy furniture.
What happens if I don’t seal my exterior wood?
Unsealed wood absorbs moisture directly, leading to warping, checking, and splitting from the swell-shrink cycle, while UV exposure breaks down surface lignin and turns it silvery gray. Both effects together leave the wood far more susceptible to rot, mildew, and insect damage, drastically shortening its life.
Is it better to use a brush, roller, or sprayer to apply sealer?
Each has a place. A brush is best for details, edges, and end grain. A roller or pad applicator is fastest for large, flat surfaces like deck floors. A sprayer covers large, intricate projects like a lattice fence quickly but requires careful masking against overspray and usually needs back-brushing afterward for an even coat.
Do I need to seal pressure-treated wood?
Yes. Pressure treatment protects against rot and insects from the inside out, but it does nothing against moisture cycling or UV/lignin breakdown at the surface. Let new pressure-treated wood dry for a few months first (use the water-sprinkle test), then seal it like any other exterior wood.
Why does the top of my fence post rot before the rest of the fence?
Because it’s end grain. The cut top of a post exposes the open ends of the wood’s vessels, which pull in water far faster than the closed face grain on the sides of the boards. Unless the post top gets its own dedicated sealer coat (or a cap), it will almost always show checking, graying, and rot before the rest of the fence does.
Should I choose a clear sealer or a pigmented stain-sealer?
It’s a real tradeoff, not a matter of one being universally better. Clear sealer shows the most wood grain but carries little UV-blocking pigment, so it needs reapplication roughly every 1-2 years on sun-exposed wood. A semi-transparent or solid stain-sealer trades some grain visibility for real UV protection and can go 3-5 years between coats.
Taking Pride in a Job Well Done
Sealing exterior wood isn’t a mysterious task, it’s careful prep and thoughtful application against two specific, well-understood problems: UV breakdown of lignin, and moisture swelling and shrinking the wood. Get the prep right, pick a sealer that matches your actual sun and moisture exposure, and don’t skip the end grain.
Step back and look at that finish. You’ve given the project a real, science-backed shield instead of just a coat of something that looked good on the shelf, and that’s the difference between redoing this job next summer and getting years out of it.
Sponsored / affiliate links. As an Amazon Associate I earn from qualifying purchases. I may earn additional commission from eligible campaigns.