How to Smooth Splintered Wood the Right Way (Remove Splinters First)
To smooth splintered wood, first remove any loose, raised splinter pieces by hand or with pliers – never sand directly over a loose splinter, since that can drive it deeper into the fibers or trap it under a surface that only looks smooth. Once the loose pieces are gone, sand progressively from coarse (60-80 grit) to fine (220 grit) sandpaper, always working with the wood grain.
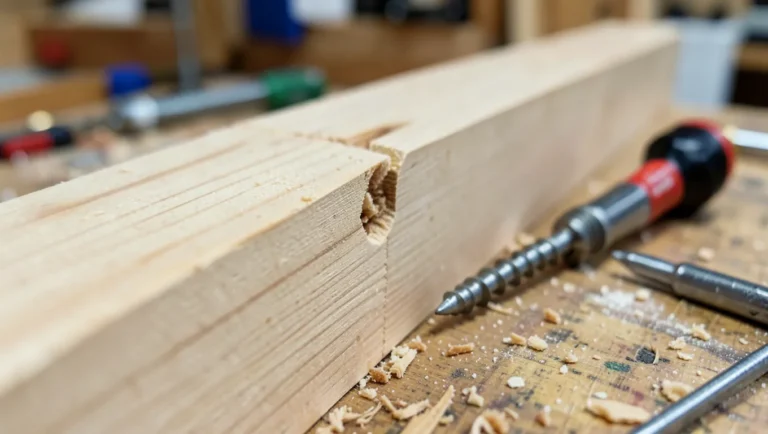
A splintered surface is more than a cosmetic problem. A raised sliver of wood is a genuine injury risk on anything hands or bare feet touch – deck boards, stair rails, picnic tables, workbenches, old furniture. The instinct most people follow is to just grab sandpaper and go, but that skips a step that actually determines whether the fix holds up: dealing with the loose splinter itself before you ever touch an abrasive to the surface.
Why Sanding Alone Isn’t Always the Full Fix
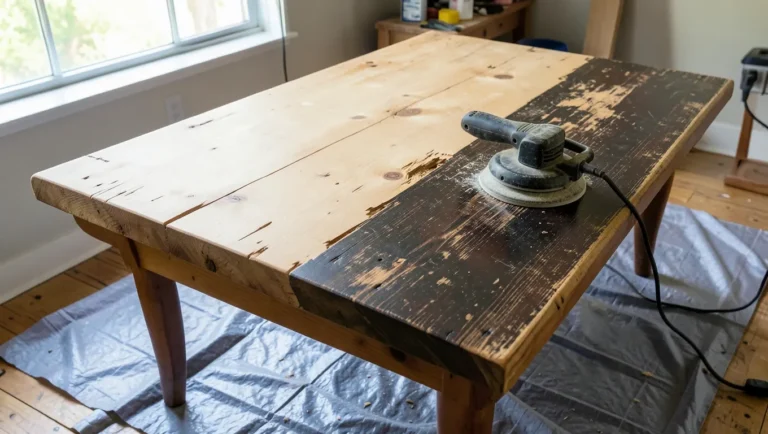
Sandpaper is the right tool for smoothing splintered wood, but the order of operations matters more than most guides mention. A loose splinter is a separate piece of wood fiber, only partially attached – sanding over it can snap it off below the surface (leaving a sharp point still embedded) or press it flat and bury it, where it can work back up later. Removing it first, then sanding, is what actually gets rid of the hazard instead of just hiding it. A good random-orbital sander makes the sanding half of this job faster and more even, especially on a larger surface like a deck board or tabletop.
Best Random-Orbit Sander for Splinter Repair
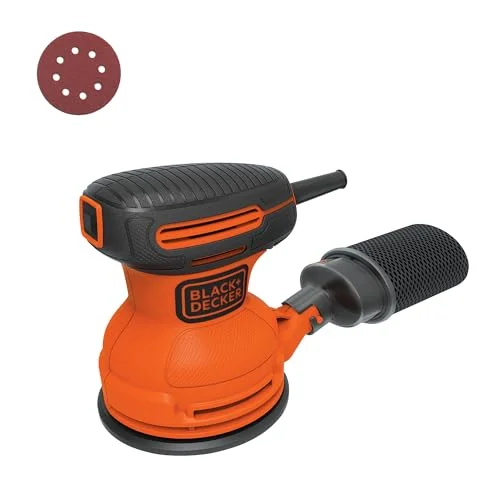 |
BLACK+DECKER BDERO100 5″ Random Orbit Sander – $39.99 A lightweight, affordable random-orbit sander that makes the coarse-to-fine grit progression in this guide fast and swirl-free on deck boards, tabletops, and furniture.
|
Step 1: Remove Every Loose Splinter Before You Sand
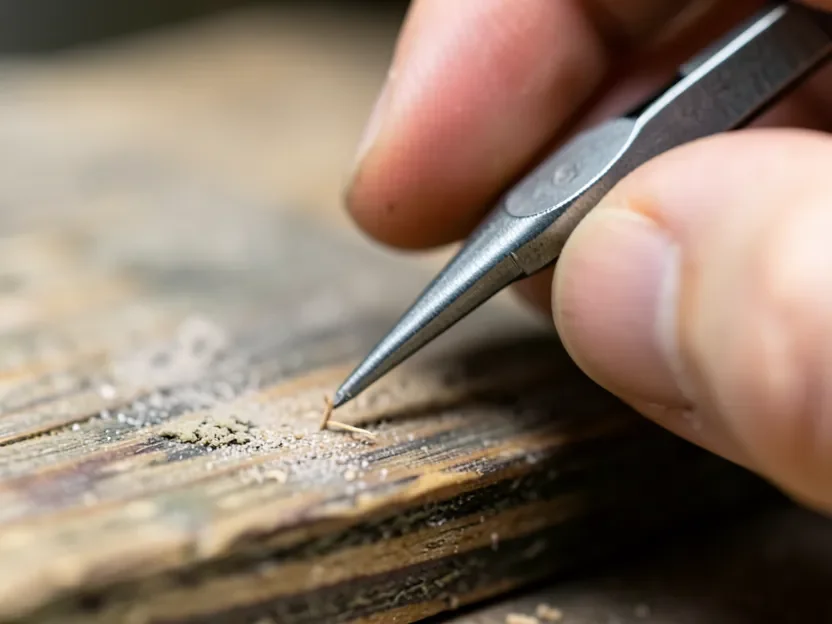
Put on work gloves and look closely at the damaged area in good light. Any piece of wood that’s lifted, cracked at its base, or moves when you press on it with a fingernail needs to come off before sanding starts. For small splinters, grip the raised end with needle-nose pliers or tweezers and pull it away in the same direction it’s growing – pulling against the grain is more likely to snap it and leave a fragment behind.
For larger, thicker splinters that run along a good length of the board, work a flexible putty knife or chisel gently underneath and lift, rather than snapping it off with your fingers. If it doesn’t come free cleanly, don’t force it – score along the base with a utility knife first so it separates at a controlled point instead of tearing further into good wood.
If a splinter does end up in your skin during this step, treat it like any minor puncture wound: remove it fully with clean tweezers, wash the area with soap and water, and keep an eye on it for signs of infection over the next day or two – deeper or painful splinters are worth having a doctor look at rather than digging for.
Step 2: Sand Progressively From Coarse to Fine Grit
Once every loose piece is gone, sanding is what levels out the torn fibers left behind. Skipping grits or starting too fine just wastes sandpaper – each grit’s job is to remove the scratch pattern the previous one left, working toward a progressively smoother surface.
| Grit | Use it for |
|---|---|
| 60-80 (coarse) | Heavy splintering, torn fibers, and leveling the area where splinters were removed |
| 120-150 (medium) | Smoothing out the coarse-grit scratch pattern |
| 220 (fine) | Final pass before staining, painting, or sealing |
Sand with the grain, not across it or in circles by hand – cross-grain scratches show up clearly once a stain or finish goes on, even after they feel smooth to the touch. On flat boards, a sanding block keeps pressure even and prevents you from digging a dip into soft spots. For curved edges, rail spindles, or turned pieces, a sanding sponge conforms to the shape better than a rigid block. Wipe the surface with a tack cloth or barely damp rag between grits so leftover grit from a coarser pass doesn’t scratch through the finer one.
Filling Deep Splinters, Gouges, and Cracks
Not every splinter leaves a clean surface behind. If removing one left a visible gouge, a split running with the grain, or a chunk missing, sanding alone won’t fill that gap. A two-part wood epoxy filler is the strongest option for outdoor wood or anything load-bearing, since it cures hard and resists moisture better than lightweight fillers. For interior furniture, a standard wood filler that matches the surrounding wood tone is usually enough and sands smoother once dry.
Apply filler slightly proud of the surface with a putty knife, let it cure fully per the product’s instructions (rushing this step is the most common reason a patch sands unevenly), then sand it flush starting at the same coarse grit you used on the surrounding wood. For a crack that runs through more of the board’s thickness, a thin bead of wood glue clamped and dried before filling adds real strength that filler alone doesn’t provide.
When Splintering on a Deck or Outdoor Structure Means More Than Sanding
A few splintered spots on an otherwise solid deck board are a normal, sandable maintenance job. Splintering across most of a deck’s boards – especially paired with graying wood, soft or spongy spots underfoot, cupping (edges higher than the center), or boards that flex more than they used to – is usually a sign the wood itself has aged past what a sanding-and-resealing pass can fix. UV exposure and repeated wet-dry cycles break down the lignin that holds wood fibers together over years of exposure, and once that damage runs deep into the board, sanding only removes the surface symptom.
In that situation, treat widespread splintering as a signal to check the structure, not just the surface: press on boards to feel for soft spots, check for loose or corroded fasteners, and look underneath for rot where boards meet joists. If you’re working through a full deck-specific repair – including the sand-versus-replace decision, matching new deck lumber, and reseal timing – our guide to repairing a splintered wood deck walks through that in more depth than a general sanding fix covers.
Finishing and Sealing the Smoothed Wood
Once you’ve sanded down to 220 grit, wipe away all dust before finishing – any grit left behind gets sealed under the finish and shows as a rough patch. Indoors, a wipe-on oil or polyurethane protects the wood and lets you build up sheen with light coats. Outdoors, use a finish rated for exterior exposure; a film-forming finish like exterior paint or solid stain protects better against UV and moisture than a thin oil, which is part of why unsealed or under-maintained outdoor wood splinters again within a season or two.
Apply finish with the grain, in thin coats, and let each coat cure fully before adding the next – thick single coats trap solvent underneath and can stay tacky or crack later. A final light pass with fine steel wool or a 320-grit sanding sponge between coats knocks down any raised grain and gives the next coat something to grip.
Preventing Splinters From Coming Back
Most repeat splintering comes down to unsealed or under-sealed wood left exposed to sun and moisture cycles. Reseal outdoor wood on a schedule rather than waiting for visible damage – once a year for high-traffic decks in harsh climates, every two to three years for less-exposed structures, sooner if water stops beading on the surface when you splash it. Indoors, keep furniture away from direct heat and sudden humidity swings, which dry wood fibers out and make them brittle.
Sweep debris off deck boards regularly so grit doesn’t get ground into the surface underfoot, and address any new splinter as soon as you spot it – a single loose splinter caught early is a two-minute fix, while ignoring it lets moisture into the exposed fibers and widens the damage over time.
Frequently Asked Questions
Should I sand over a loose splinter or remove it first?
Remove it first. Sanding directly over a loose splinter can snap it off below the surface or press it flat and bury it under wood that only looks smooth, leaving a sharp point still embedded in the fibers. Pull or lift the loose piece free with pliers or a putty knife, then start sanding.
What grit sandpaper should I use on splintered wood?
Start with 60-80 grit to level torn fibers and remove damage where splinters were pulled, move to 120-150 grit to erase the coarse scratch pattern, then finish with 220 grit before staining, painting, or sealing. Always sand with the grain.
Is widespread splintering on a deck a sign of a bigger problem?
Splintering across most of a deck’s boards, especially combined with graying wood, soft or spongy spots, or cupped boards, usually signals aged or weathered wood rather than a one-off cosmetic issue. Sanding smooths the surface but won’t fix structural degradation – check for soft spots, rot near joists, and loose fasteners before deciding sanding alone is enough.
How do I fix a deep splinter gouge or crack in wood?
Use a two-part wood epoxy filler for outdoor or load-bearing wood, or a standard wood filler matched to the wood tone for interior furniture. Apply it slightly proud of the surface, let it cure fully, then sand it flush starting at a coarse grit and working down to fine.
How long does it take to smooth splintered wood?
Removing loose splinters from a small area takes just a few minutes. Sanding through coarse, medium, and fine grits on that same spot usually adds 10-20 minutes. A full deck board or tabletop with widespread splintering can take an hour or more, especially if it also needs filler and a finish coat.
Conclusion
Smoothing splintered wood safely comes down to sequence: remove every loose splinter first, then sand progressively from coarse to fine grit, fill any gouges that are left behind, and finish or reseal the surface so it doesn’t splinter again. On a deck or other outdoor structure, widespread splintering is worth a closer structural look rather than a sanding-only fix. Get the order right and the repair actually holds – not just looks smooth for a week.
Sponsored / affiliate links. As an Amazon Associate I earn from qualifying purchases. I may earn additional commission from eligible campaigns.