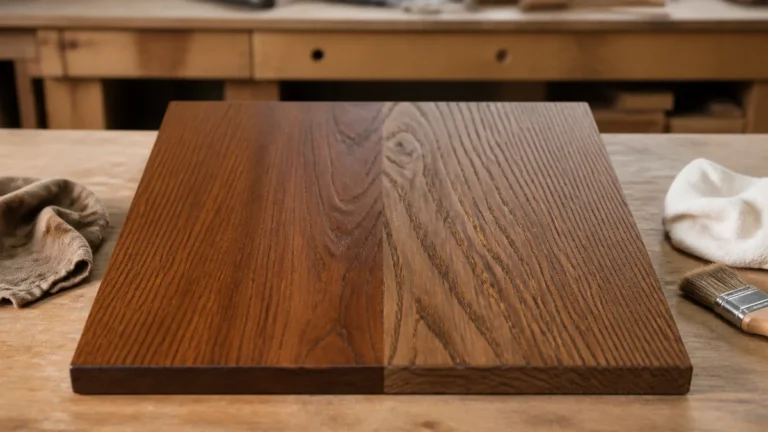
How to Stain Both Sides of Wood (Nail-Point Method Is Faster)
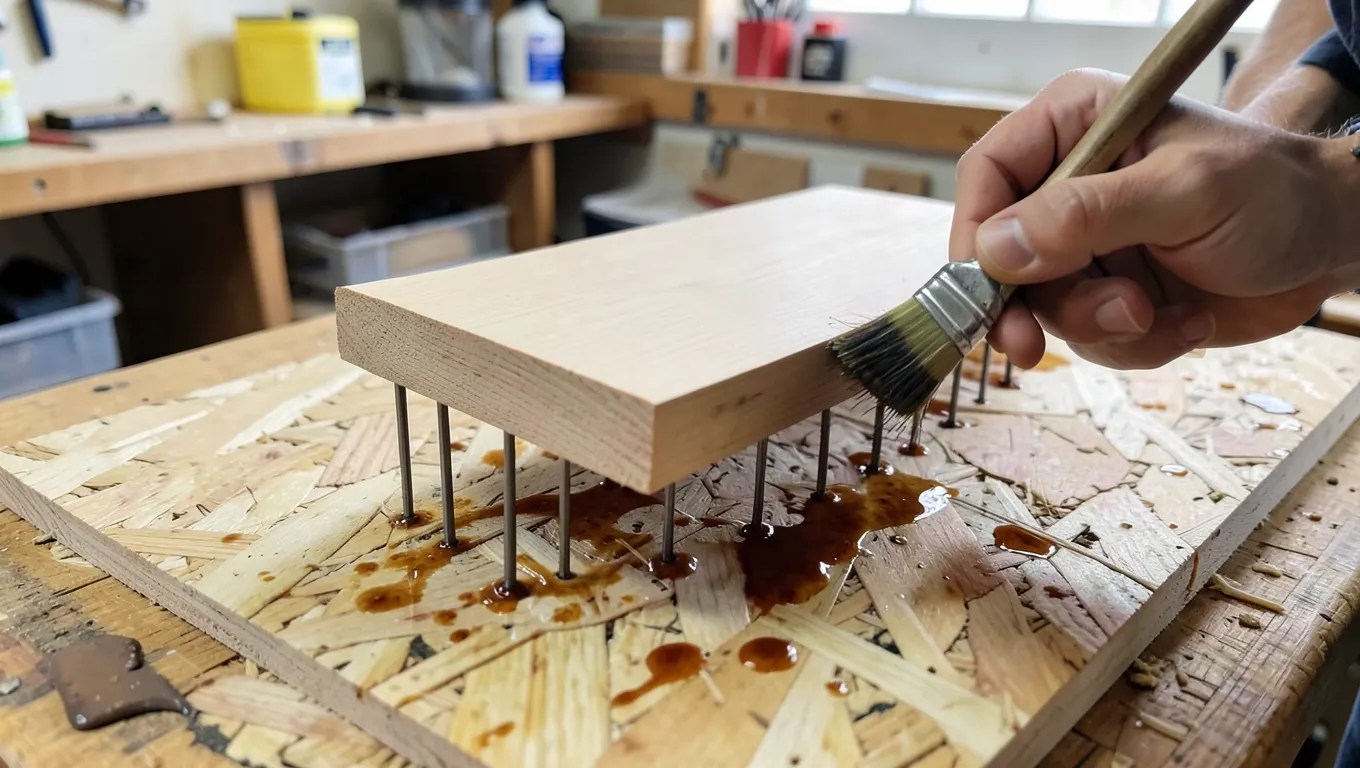
The fastest real method: drive a few finish nails or screws partway through a scrap board, points up, and rest your workpiece on the points. This lets you stain the visible face and edges in one pass without waiting for a full flip-and-dry cycle, since nothing but the nail points touches the wet surface.
The “stain one side, wait for it to dry, flip, stain the other” method works, but it’s slower than it needs to be and risks smudging the first side when you flip a large panel. Below is the nail-point method plus the flip method for when nail points aren’t practical, and two things most guides skip: why both sides matter more than looks for outdoor wood, and a real fire-safety note about oil-stained rags.
Why Both Sides Actually Matters (Not Just Looks)
Reliable Two-Sided Stain Pick
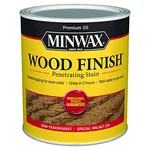 |
Minwax Wood Finish, Special Walnut, 1 Quart – $13.88 A classic oil-based penetrating stain with a predictable, well-documented dry time — useful when you’re timing a nail-point flip or a full flip-and-dry cycle on a two-sided project.
|
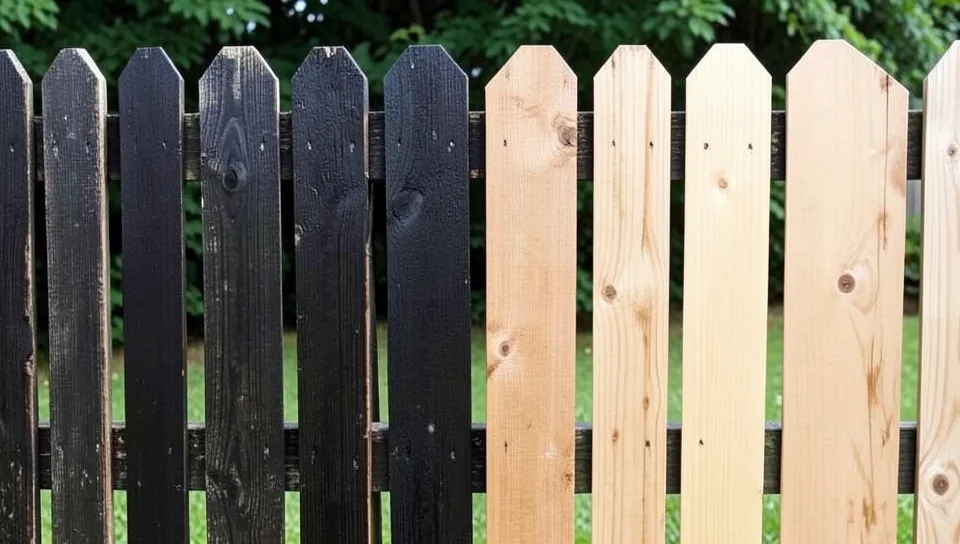
For furniture and indoor pieces, staining both sides is mostly cosmetic — an unfinished back panel or drawer bottom just looks unfinished. For anything that lives outdoors or in a damp space (fence pickets, shed siding, a workbench top), it’s structural: wood absorbs and releases moisture through any exposed, unsealed face. If only one side is sealed, the sealed side resists moisture changes while the bare side keeps swelling and shrinking with humidity — that mismatch is what cups and warps boards over a season or two. Sealing both sides equally isn’t about symmetry, it’s about giving the board the same moisture behavior on both faces (see should you seal both sides of wood for the full moisture-equilibrium mechanism behind why this causes cupping).
The Nail-Point Method (Fastest for Flat Panels)
- Drive 3-4 finish nails or thin screws partway through a piece of scrap plywood, spaced to support the corners of your workpiece, points facing up.
- Rest your sanded workpiece on the nail points, good side up.
- Stain and wipe the top face and all four edges in one pass — the edges are reachable from above without flipping.
- Once the top face is dry to the touch, carefully lift the piece off the points (they leave tiny, easily-filled marks) and rest it points-down on the same jig to do the second face.
This is standard practice for fence pickets, cabinet door panels, and anything flat enough to balance on four points. It’s not worth rigging for a large tabletop or an oddly shaped piece — use the flip method below instead.
The Flip Method (For Large or Irregular Pieces)
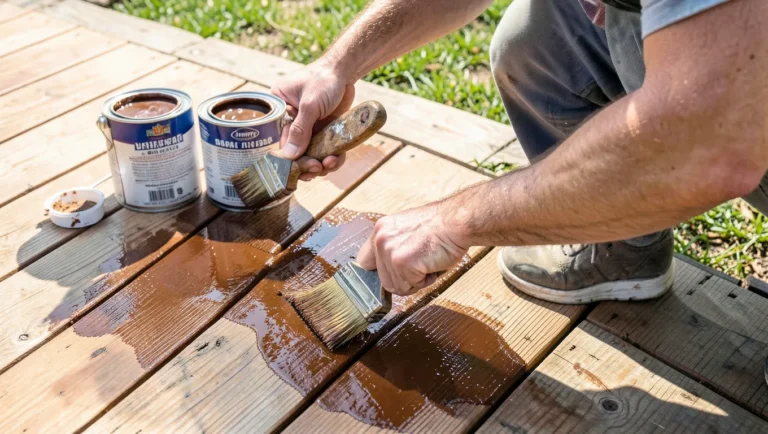
Stain and wipe the first side as usual, then let it dry completely per the stain can’s instructions before flipping — touching a half-dry stained face to a flat surface will smudge it and pick up dust or fibers from whatever it rests on. Lay a barrier (wax paper or cardboard) under the piece while the first side cures, then flip and repeat on the second side. Check the first side for smudges immediately after flipping, before starting the second side, so you catch any damage while it’s still easy to touch up.

A Real Fire-Safety Note on Oil-Based Stain Rags
This gets skipped constantly and it’s genuinely important: rags soaked in oil-based stain generate heat as the oil cures (an exothermic reaction), and a balled-up or piled rag can trap that heat until it self-ignites — this is a real, documented cause of workshop and garage fires. Never leave oil-stain rags in a pile or a regular trash can. Lay them out flat, separated, outdoors or in a well-ventilated area until fully dry and hard, or submerge them in a sealed metal container filled with water until you can dispose of them properly. Water-based stains don’t carry this risk.
Choosing a Stain for Two-Sided Work
- Oil-based: penetrates deeper and shows off grain well, but the longer open/dry time means more waiting between sides — factor that into which method (nail-point vs. flip) makes sense for your timeline.
- Water-based: dries faster, which favors the flip method since you’re not waiting as long between sides, and it carries none of the oily-rag fire risk above.
- Gel stain: thick and doesn’t drip, which makes it easier to control on vertical or edge surfaces — useful if you’re staining a piece upright rather than flat.
Drying Time Before You Flip or Handle
Manufacturer-listed dry times (commonly 2-8 hours depending on product) assume decent airflow and moderate temperature — cold, still, or humid conditions can roughly double that. Don’t go by touch alone on oil-based stains; they can feel dry on the surface while still curing underneath, which is when a careless flip smudges or transfers stain. If you’re unsure, wait the longer end of the label’s range before flipping.
Frequently Asked Questions
How Do You Stain Both Sides Of Wood?
For flat panels, the fastest method is resting the piece on nail points so you can stain the visible face and edges in one pass, then flip once dry to do the reverse. For large or irregular pieces, stain one side, let it fully cure, then flip and repeat.
Can I Use Different Stains On Each Side?
Yes, though it’s uncommon outside of decorative projects. If you do, use the same product type (oil or water-based) on both sides where possible, since mixing types can affect how each side handles moisture and finish compatibility later.
What Tools Do I Need For Staining Wood?
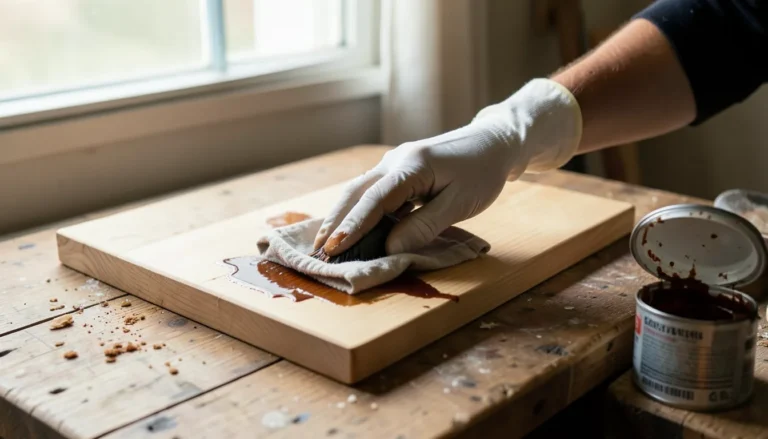
A brush or rag for application, a lint-free cloth for wiping excess, gloves, sandpaper for prep, and for two-sided work, either a nail-point jig or a clean flat surface with a barrier layer for the flip method.
How Long Does Wood Stain Take To Dry?
Typically 2-8 hours depending on the product, temperature, and humidity — check the can’s label, and lean toward the longer end of the range in cold or humid conditions before flipping or handling.
Conclusion
A nail-point jig beats the flip-and-wait method for most flat panels, both sides matter structurally for anything that lives outdoors, and oil-stained rags need real fire-safety handling, not just a trash can. Get those three things right and the rest is standard staining technique.
Sponsored / affiliate links. As an Amazon Associate I earn from qualifying purchases. I may earn additional commission from eligible campaigns.