Best Way to Stain Wood Doors: Interior, Entry and Fiberglass
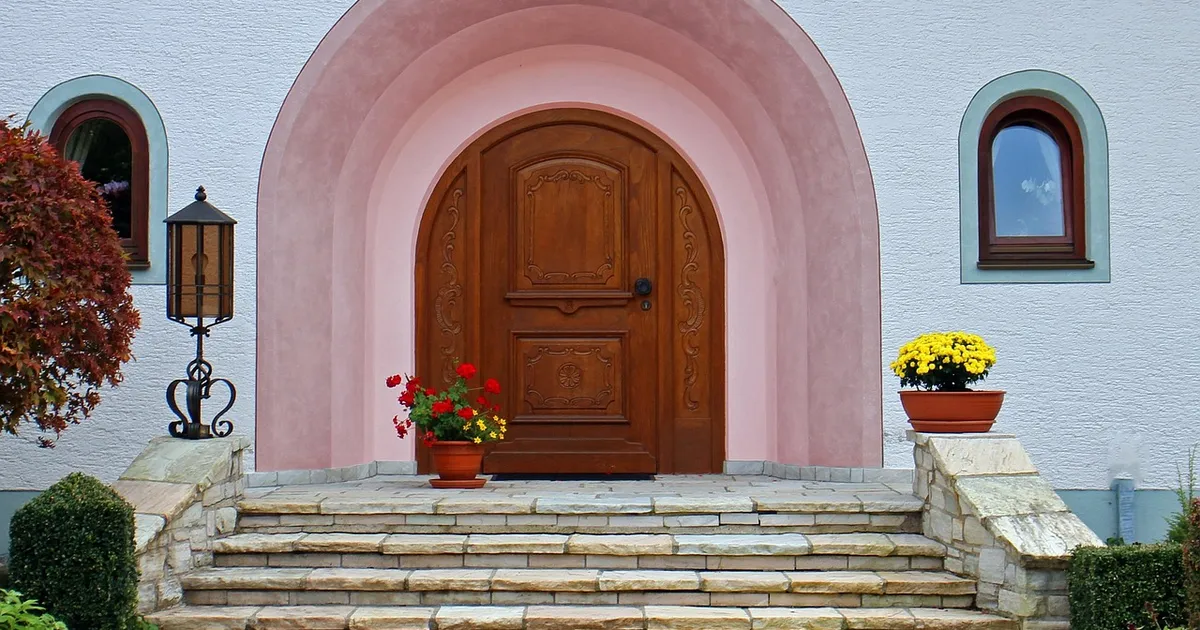
The best way to stain a wood door is to take it off the hinges, lay it flat, stain the panels first, then the rails, then the stiles, and seal all six sides, including the top and bottom edges. A door is not a tabletop: it has edges, joints and a hardware cutout that each soak up stain differently.
Most disappointing door stain jobs trace back to one of three things: staining a door that cannot take stain (fiberglass, laminate or composite), skipping the end-grain edges, or putting an interior finish on a door that sees sun and rain. This guide covers each, with separate steps for interior doors, exterior entry doors and fiberglass doors.
Pick the Right Stain for Your Door Type
Best Gel Stain Pick for Doors
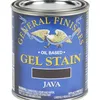 |
General Finishes Oil Base Gel Stain, Java (1 Pint): $39.95 A heavy-bodied gel that sits on the surface, which is why it is the usual choice for fiberglass doors and for refreshing a door that already has a finish.
|
Before you buy anything, work out what the door is made of. The same can of stain gives very different results across the door types below.
| Door type | Takes liquid stain? | Best approach | Quick check |
|---|---|---|---|
| Solid wood | Yes | Penetrating stain or gel, conditioner on pine and fir | Grain runs through the edges |
| Real wood veneer | Yes, but thin | Light coats, minimal sanding | Edge shows a thin wood skin over a core |
| Fiberglass | No | Gel stain, then exterior clear coat | Smooth, molded grain, no end grain on edges |
| Steel | No | Gel stain over a cleaned surface | A magnet sticks to it |
| Molded hollow-core composite | Usually no | Paint, or test a hidden spot first | Grain pattern repeats exactly |
If you are not sure, test a hidden area, such as the bottom of the hinge edge. Real wood changes color where stain lands. On fiberglass or composite, the stain beads up or looks flat and sits only as a surface film. Fiberglass is the case that surprises people most: the pigment from a gel stain stays on top of the surface, so an uneven wipe-off sets exactly as you left it.
Prep: Remove the Door, Strip or Scuff, Then Sand
Take the door off its hinges, pull the knob, latch and any hinge hardware, and lay it flat across two sawhorses. Staining a door lying flat avoids drips and runs, and it lets you reach both faces and every edge. If you must work with the door hung, switch to a gel stain, wedge the door open, tape the hinges and work one panel at a time.
Sand with the grain, starting at 120 grit if the surface is rough and finishing at 150. On blotch-prone woods such as pine, fir, birch, maple and cherry, do not go finer than about 180 grit, because very fine sanding closes the pores and makes the color patchy. Fill nail holes and dings with stainable wood filler and sand it flush before you start. Wipe the dust off with a tack cloth or a rag lightly dampened with mineral spirits.
Refinishing a door that already has a finish
You have two real options. Stripping with chemical stripper or sanding to bare wood is the only way to go lighter or to switch from paint to a natural stain look, because stain cannot lighten an existing color or cover paint. If you only want to refresh or slightly darken an existing stain, scuff the old finish and wipe on a gel stain, which can sit over a sound, lightly sanded finish. Test any approach on a hidden spot first.
Pre-stain conditioner for blotch-prone species
Softwood doors in pine, fir and hemlock often blotch because the soft earlywood soaks up far more stain than the dense latewood. A wood conditioner or a thinned first coat evens it out. Tight-grained hardwoods are even harder: see how to stain maple without blotching and how to stain cherry wood if your door is made from either one, and does maple take stain well for how the wood behaves. If the door is red oak, ash or mahogany, the open pores take stain evenly and conditioner is usually unnecessary.
How to Stain a Panel Door in the Right Order
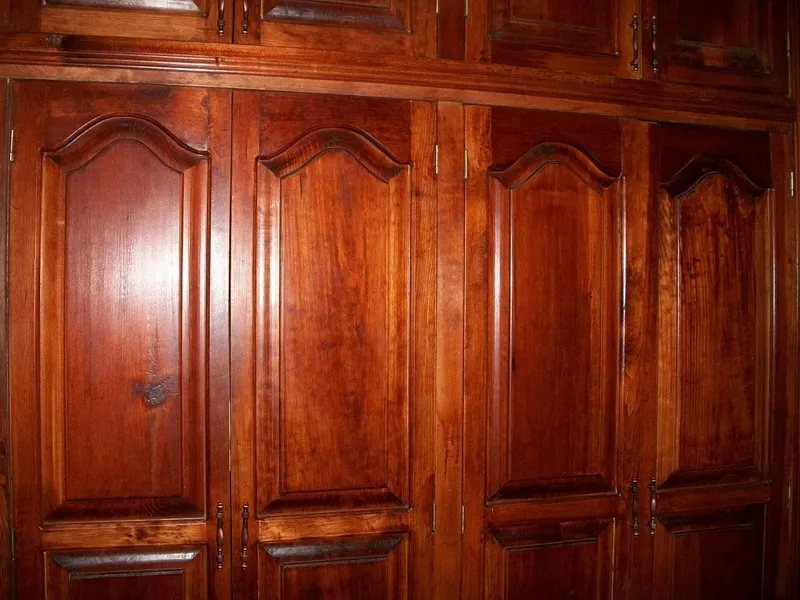
Most interior and entry doors are panel doors: flat or raised panels set inside a frame of horizontal rails and vertical stiles. The order you stain them in matters, because each joint is a place where wet stain can overlap and leave a dark lap mark.
- Panels and molding first. Use a brush or a foam applicator to get into the profile, then wipe the excess out of the corners with a cloth before it pools.
- Horizontal rails second. Stain along the grain, which runs across the door on these pieces.
- Vertical stiles last. These are the long outer pieces, and finishing them last lets you run the stain from the top to the bottom of the door in one pass, keeping a wet edge.
- Wipe off with the grain within a few minutes. Thin coats look better than heavy ones, and a second coat is better than leaving the first one thick.
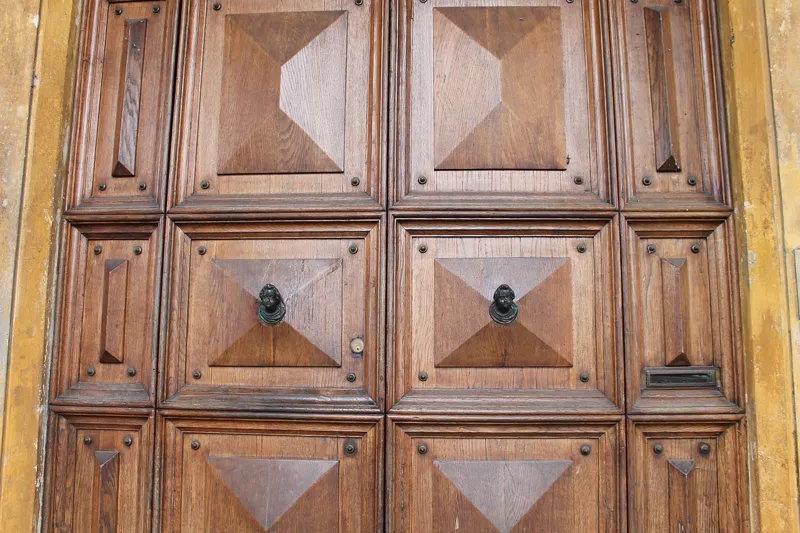
Flush doors are simpler: work in sections from the top down, keep a wet edge, and wipe with the grain. On a door with glass, tape the glass edges and use a small brush near them, so you can pull the tape as soon as the stain has set.
Door Edges: Why the Top and Bottom Matter Most
The faces of a door are long grain. The top and bottom edges are end grain, which is the open ends of the wood fibers, and it absorbs stain and moisture much faster than the face. Left unsealed, those edges stain darker and, on an exterior door, become the main route for water. Several door makers state that all six sides must be sealed with the same finish, including the top and bottom, and that failing to do so voids the warranty. Check your own door paperwork.
| Door part | Grain | What to do |
|---|---|---|
| Faces, panels, rails, stiles | Long grain | Stain with the grain, wipe off within a few minutes |
| Latch and hinge edges | Mostly long grain | Stain and topcoat like the face; do this before hanging |
| Top and bottom edges | End grain | Stain first, wipe off sooner, then give extra topcoat |
| Hardware bores and mortises | Cut wood | Seal them before installing the lockset |
For the edges, apply stain, wipe off sooner than you would on the face, and consider a coat of conditioner or sanding sealer on end grain to slow absorption. Check the color against the face once the edge is dry, and go back over any edge that has pulled ahead. Then give the bottom edge an extra coat of topcoat, since it is the part of an entry door closest to puddles and splashing water.
Interior Doors vs Exterior Entry Doors
Interior doors are mostly about looks. A wipe-on or brush-on clear coat such as water-based polyurethane or varnish gives the color depth and a wipeable surface, and two or three thin coats with a light sanding between them is plenty. The door is not exposed to weather, so UV and moisture protection are not a concern.
Exterior entry doors face sun, rain and temperature swings, so the topcoat has to do more. Use a clear finish rated for exterior use with UV inhibitors, apply at least two coats, and inspect it each year. Doors facing south or west fade first, so touch up the finish when the sheen starts to dull, instead of waiting until it cracks. For a deeper look at film finishes versus penetrating ones outdoors, see the exterior finish guide, and for how wood doors are built and which species they use, see how to build a solid wood door. A comparison of different finish types is in the wood finishes guide.
How to Stain a Fiberglass Door
A fiberglass door looks like wood but behaves like plastic, so penetrating stain does not work. The method that does is gel stain, applied in thin layers and then sealed:
- Wipe the door with mineral spirits and let it dry fully. Tape off glass and hardware.
- Stain one panel at a time, starting with the center panel, applying a thin layer with a lint-free cloth.
- Wipe off the excess with a clean rag in long strokes in the direction of the grain pattern.
- Let the door dry at least 24 hours between coats if you want a deeper color.
- Wait at least 8 hours, and up to 24 depending on conditions, before topcoating.
- Apply a clear polyurethane topcoat with UV inhibitors, a minimum of two coats, with about 6 hours between them.
Because gel pigment sits on the surface rather than soaking in, there is no wood grain to hide a heavy-handed spot. If you make a mistake, wipe it off with mineral spirits while it is still wet. Finish the door edges, brickmold, jambs and frames at the same time, or the door will look half done next to them.
Matching Your Door to Existing Trim and Colors
Test every candidate stain on an offcut of the same species, or on the hidden bottom edge of the door itself, because the same stain looks different on oak than on pine or fir. Always judge the color when it is dry. Most stains look darker wet and lighten as they dry, and the clear topcoat will deepen the color again. To get a deep, teak-like tone on a lighter wood such as pine or fir, use a warm reddish-brown and build it with two thin coats, not one heavy coat, which tends to look muddy.
If the trim next to the door is a different species or already finished, you will rarely get a perfect match. It is better to pick a color that is clearly a little darker or lighter than the trim than to land on one that is almost the same but visibly off.
Mistakes That Ruin a Door Stain Job
- Staining the door hung vertically with liquid stain. It runs, and lap marks form where you stop and start.
- Skipping the top and bottom edges. They go dark and let moisture in.
- Topcoating too soon. Stain that has not dried leaves solvent trapped under the finish, which can cause bubbling or peeling. Read the recoat time on the can.
- Using an interior finish outside. It lacks UV protection and will fade and crack in a season or two.
- Leaving oily rags in a pile. Rags soaked in oil-based stain or finish can heat up as the oil dries and ignite. Lay them flat outdoors to dry, or put them in a water-filled metal can, before throwing them away.
If the finish does go wrong, most problems can be fixed by sanding back and restaining, so it is worth correcting before the door goes back into service.
Frequently Asked Questions
How do I stain an entry door?
Remove the hardware, lay the door flat, sand to 150 grit, stain the panels first, then the horizontal rails, then the vertical stiles, and wipe with the grain. Stain all four edges, then apply at least two coats of a clear topcoat with UV inhibitors. Seal the top and bottom edges too, since that is where moisture gets in.
Can I stain a door without taking it off the hinges?
Yes, but a gel stain is much easier than a thin liquid stain because it does not run on vertical surfaces. Remove the knob and latch, tape the hinges, wedge the door open, and work one panel at a time. You will not be able to stain the top and bottom edges without lifting the door, so for an exterior door it is worth removing it for that step.
Do I need to stain the top and bottom of a wood door?
Yes. End grain on the top and bottom edges absorbs moisture fastest, and many door manufacturers require all six sides to be sealed or the warranty is void. Seal them with the same finish you used on the faces, and do it before the door is hung.
Can you stain a fiberglass door?
Yes, with a gel stain. Fiberglass does not absorb stain, so the pigment sits on top of the surface. Clean with mineral spirits, wipe on thin coats, wait about 24 hours between coats, and protect the result with an exterior clear coat that has UV inhibitors.
Can you stain a veneer door?
Yes, if it is real wood veneer. It stains like solid wood but the layer is thin, so sand lightly and avoid heavy sanding. Laminate and molded composite doors cannot be stained and should be painted.
How long should I wait before rehanging a stained door?
Wait until the stain and topcoat are fully dry to the touch and no longer tacky at the edges, and follow the recoat and cure times on your can. For an exterior door, avoid pressing a still-soft finish against weatherstripping, because it can stick and peel.
Conclusion
Identify the door first, take it off the hinges, stain in panel, rail and stile order, and seal every edge. For fiberglass and previously finished doors, use a gel stain, and for anything that sees weather, finish with an exterior-rated clear coat that has UV protection. That sequence solves most of the drips, dark edges and peeling that make door stain jobs fail.
Sponsored / affiliate links. As an Amazon Associate I earn from qualifying purchases. I may earn additional commission from eligible campaigns.