How Many Coats of Stain? What Minwax, Varathane and Cabot Labels Say
Most stain cans are written for one coat. The Minwax, Varathane and Cabot labels all build color with a single application and a wipe-off, and only some of them allow a second coat to deepen it. On a penetrating stain a second coat is a color choice, not a protection step, and a third coat is where labels start warning about gloss, sagging and finishes that never dry. This guide shows what each brand prints on its label, how to test how dark each coat gets on your own wood, and the signs that more coats have stopped helping.
How Many Coats of Stain Do You Need?
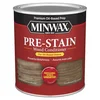 |
Best Pick To Avoid Extra Coats Minwax Pre-Stain Wood Conditioner, 1 Quart
|
As an Amazon Associate we earn from qualifying purchases.
The short answer is one coat for most projects, and two coats when you want deeper color and the label allows it. The number printed on the can is a ceiling set by how that stain is built, so check it before you reach for the brush a third time. Blotchy woods like pine, birch and maple are the exception: the real fix for uneven color is not another coat, it is a conditioner before the first one.
What the Stain Labels Actually Say About Coats
Stain brands do not agree with each other, and the differences matter. This table is built from the manufacturers’ own technical data sheets and instructions, not from forum rules of thumb. For recoat wait times and drying, see our guides on how long oil-based stain takes to dry, how to dry wood stain faster and when to apply a second coat of stain.
| Product | Stain type | Coats on the label | What the label adds |
|---|---|---|---|
| Minwax Wood Finish | Oil-based, penetrating | 1 coat gives color; recoat to darken | Current data sheet says do not sand between coats, and that a longer wipe-off wait gives richer color |
| Minwax Gel Stain | Gel | 1 coat; repeat the same steps to darken | Wipe off after 3 minutes; the sheet allows additional coats with no stated cap |
| Varathane Wood Stain (1-hour-dry line, data sheet VAR-38) | Penetrating | 1 coat only | Penetrate 1 to 3 minutes, wipe off; the sheet says a second coat is not recommended |
| Varathane Premium Fast Dry | Penetrating | 1 coat; second coat optional to darken | Product data allows a second coat after 2 hours |
| General Finishes Gel Stain | Gel | Optional 2nd coat; never more than 2 | Instructions say to apply no more than 2 coats, then topcoat |
| Cabot Semi-Transparent Stain + Sealer (300 Series) | Exterior, linseed-oil based | 1 coat only | Data sheet warns that overapplying can cause a glossy look, poor drying or sagging |
Notice the pattern: the more a stain sits on the surface or carries heavy pigment, the tighter the limit. Even within one product family the instructions differ, so the can in your hand beats any chart, including this one. Data sheets also get revised, and older cans of Minwax Wood Finish were printed with longer recoat waits than the current sheet shows.
How Much Darker Does Each Coat Get?
Three things set your final color, and the coat count is only one of them: how long the stain sits before you wipe it, how many coats you apply, and how thirsty the wood is. Minwax’s own directions say the longer you wait before wiping, the darker and richer the color, which means a longer wipe-off wait is often a safer way to darken than a second coat.
Penetrating stain works by lodging pigment in the surface fibers. The first coat fills the easiest spots, and each later coat has less open wood to work with, so the jump from coat one to coat two is usually bigger than the jump from two to three. That diminishing return is the practical reason labels cap or discourage later coats. For the general question of whether a second coat makes wood darker, see our short guide on whether a second coat makes wood darker; this page focuses on what the labels allow.
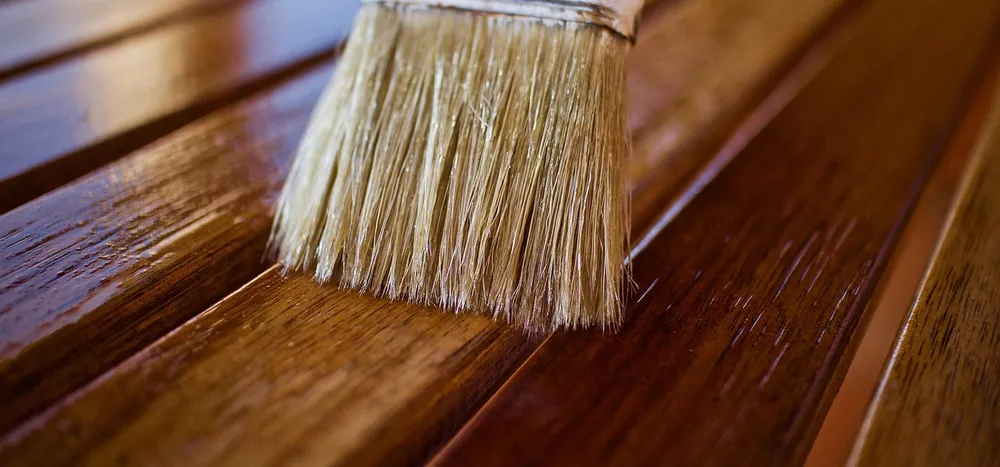
Instead of guessing, build a coat ladder on a scrap of the same wood you are finishing:
- Sand the scrap exactly as you will sand the project (Minwax calls for 220 grit before staining; see our guide to sanding wood for staining).
- Divide the board into three strips and pencil a 1, 2 and 3 on the back.
- Stain all three strips, wipe them off at the time on your label, and let the board dry for the recoat time on the can.
- Recoat strips 2 and 3 only, dry again, then recoat strip 3 only.
- Let everything dry fully, then brush your topcoat over half of each strip, because clear finish changes the look of the color.
You will see in about a day whether coat two earns its place. If strips 1 and 2 look nearly identical, skip the second coat on the real project, which is also the answer to whether a second coat of stain is necessary. For help choosing the color itself, see why the same stain looks different on different woods in our wood stain colors guide.
Penetrating, Gel and Deck Stain: Why the Coat Limit Differs
Penetrating stain (most liquid oil-based and fast-dry stains) soaks in and leaves little film, so a second coat is the most forgiving here, as long as you wipe every coat and let it dry. Labels still split on it: Minwax allows recoating to darken, while the Varathane one-hour line says one coat is enough and a second is not recommended.
Gel stain is thicker and sits closer to the surface, which makes it good for pine, plywood and vertical surfaces because it does not drip. It also builds a film faster. General Finishes caps its gel stain at two coats, while the Minwax Gel Stain sheet lets you repeat the wipe-and-dry cycle to darken, with 8 to 10 hours of drying between coats.
Exterior semi-transparent stain is the strictest. Cabot’s 300 Series data sheet calls for one coat only, says it dries in roughly 24 to 48 hours, and lists coverage of about 450 to 650 square feet per gallon on smooth wood and 200 to 300 on rough wood. A second heavy coat on a deck is not extra protection: the sheet warns of gloss, poor drying and sagging, and says the finish typically lasts 2 to 5 years on decks and 4 to 8 on siding and fences. For product choices, see our picks for the best deck stain and the Cabot vs Valspar comparison.
Wipe-Off Time Changes Color More Than You Think
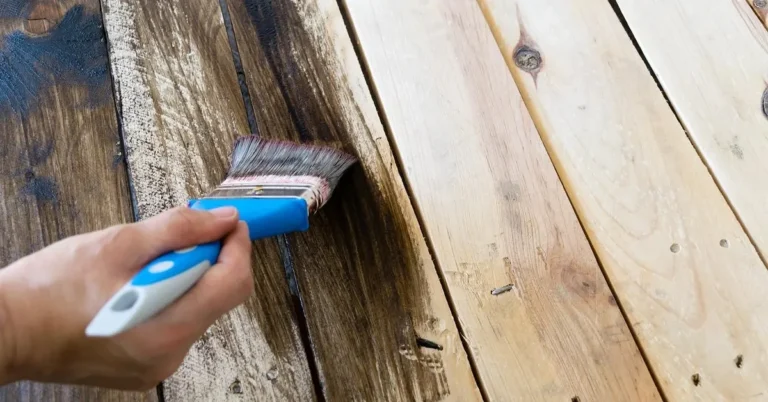
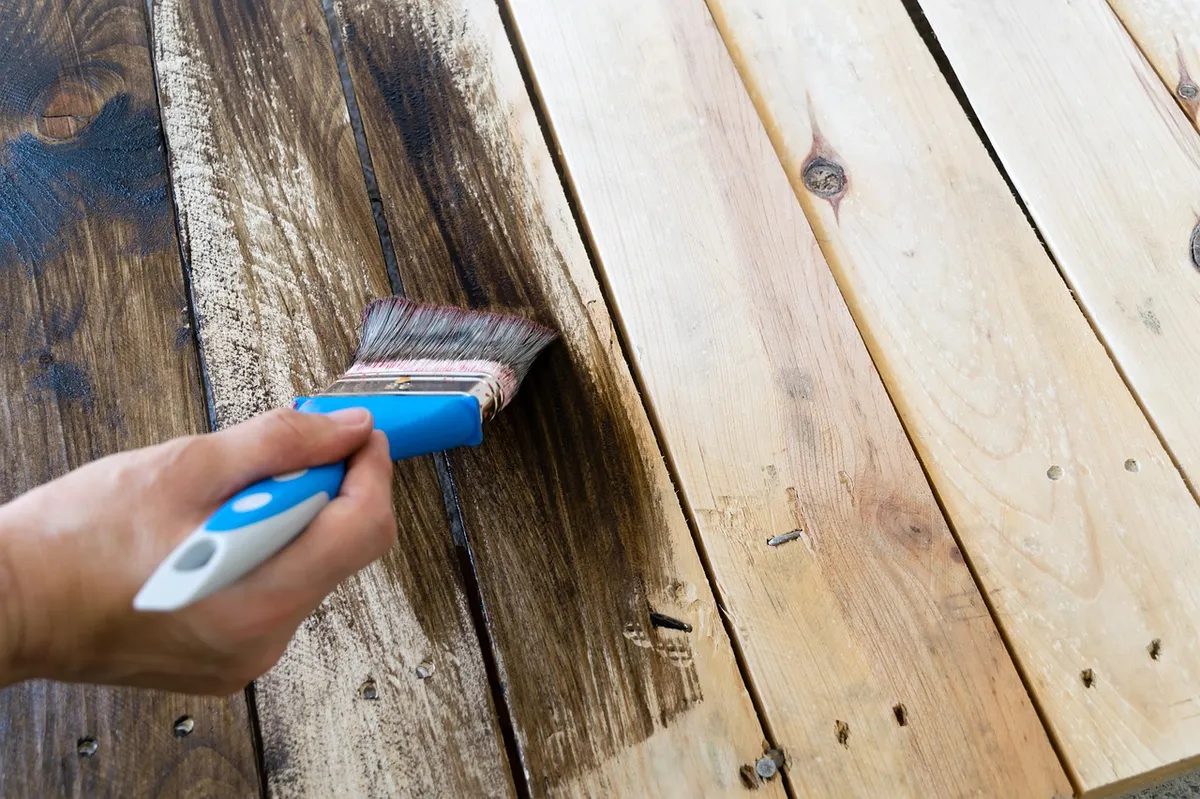
Wipe-off windows on the labels are short: Varathane says to let its stain penetrate 1 to 3 minutes before wiping, and Minwax Gel Stain says to wipe after 3 minutes. Working in sections small enough to wipe in time keeps lap marks away, and removing all excess matters because leftover stain is what stays tacky and blocks the topcoat. If your first coat looks too light, try wiping a little later on the next piece before you commit the whole project to a second coat.
When More Coats Stop Helping
- Coats one and two look the same on your test strips.
- The surface looks glossy or wet after drying, instead of looking like color in the wood.
- It is still tacky past the dry time on the can.
- The grain is starting to disappear under pigment.
- The wood looks blotchy, and the dark patches get darker with every coat.
That last sign is the one people misread. Blotching comes from uneven absorption, so extra coats deepen the dark patches along with everything else. Labels disagree on whether conditioner is needed: the Minwax Gel Stain sheet says to pre-treat soft or porous woods such as pine, maple, alder and birch with Pre-Stain Wood Conditioner, while the Varathane one-hour-dry sheet says no conditioner is required. If you are staining a blotch-prone species, see our guides to staining maple and staining cherry, or our best finish for pine.
Stain Coats Are Not Topcoat Coats
Stain is color, not armor. Protection comes from the clear finish over it, and that has its own coat count. General Finishes, for example, tells you to follow its gel stain with three coats of its topcoat and to let each coat dry 72 hours. Minwax says to let stain dry completely before applying a protective topcoat. If durability is the goal, put the effort into the topcoat, and see our guide to sealing wood after staining and our full wood finishing guide.
If You Already Applied Too Many Coats
Act while the surface is still tacky or wet. Wiping with a rag dampened with mineral spirits can lift unabsorbed stain from an oil-based finish, and a stubborn area may need several passes with a fresh rag. Test on a hidden spot first. If a coat has already hardened into a film, General Finishes’ own guidance is that the only alternative is to strip the finish and start over. Safety note: rags soaked in oil-based stain can heat up and ignite on their own, so lay them flat outdoors to dry or soak them in water in a sealed metal container before disposal. If the finish stays tacky for days, our oil-based stain drying time guide walks through why.
Frequently Asked Questions
How many coats of stain should you apply?
One coat is enough for most projects, and the labels from Minwax, Varathane and Cabot build their color around one coat plus a wipe-off. Add a second only to darken, and only if your product’s label allows it. Test on scrap wood first.
Is 3 coats of stain too much?
Usually, yes. The General Finishes gel stain instructions cap it at 2 coats, Cabot’s semi-transparent exterior stain calls for 1 coat only, and the Varathane one-hour-dry line does not recommend a second coat. Past the label limit you risk gloss, a sticky surface and poor topcoat adhesion.
Can you put two coats of stain on a deck?
Not with every product. The Cabot Semi-Transparent Stain + Sealer 300 Series data sheet says to apply 1 coat only, and warns that overapplication can cause a glossy look, poor drying or sagging. Other deck stains differ, so follow the label on your can.
How long should you wait between coats of stain?
It depends on the product. The current Minwax Wood Finish data sheet says to recoat after 2 hours, Varathane Premium Fast Dry allows a second coat after 2 hours, and Minwax Gel Stain needs 8 to 10 hours of drying. Cold or humid conditions need longer, so read your can.
Does a second coat of stain make wood darker?
Usually a little, and less than the first coat did, because the wood is already holding pigment. Wiping the stain off later, after a longer wait, can darken the color as much as a second coat does, with less risk of a tacky surface.
Why is my wood blotchy no matter how many coats I apply?
Blotching comes from uneven absorption, and extra coats deepen the dark patches instead of evening them out. Pine, maple, alder and birch are the usual culprits. A pre-stain conditioner applied before the first coat is the fix, not another coat of stain.
Conclusion
Treat the label as the rule and the coat ladder as your proof: one coat for most work, a second only to darken, and never past the cap your product prints. When color is uneven or too light, fix absorption with a conditioner or adjust the wipe-off time before adding more stain, then put your effort into the topcoat, which is what actually protects the wood.
Sponsored / affiliate links. As an Amazon Associate I earn from qualifying purchases. I may earn additional commission from eligible campaigns.