How to Use a Ryobi Circular Saw: A Beginner’s Guide to Safe, Straight Cuts
Every Ryobi ONE+ circular saw shares the same 18V battery as the rest of the ONE+ lineup — over 280 tools — which is convenient, but it also means the depth and bevel adjustment levers sit in the same tool-free spots Ryobi uses across its whole platform, not always where a first-time user expects to look.
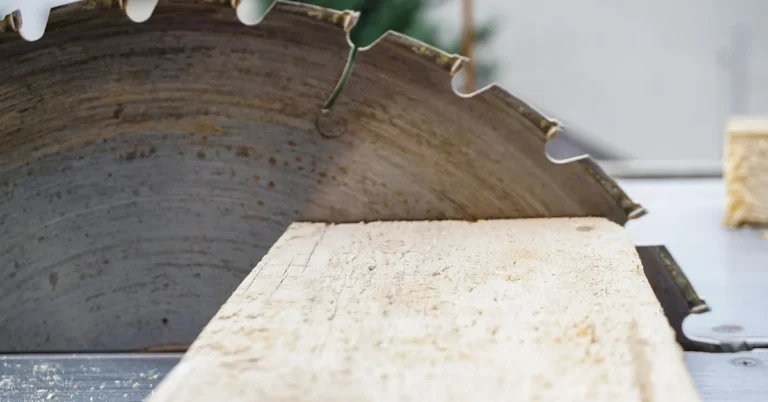
One safety feature worth understanding before you make your first cut: the riving knife (the small blade-shaped piece behind the main blade) keeps the wood kerf from pinching the blade and kicking the saw back at you. Never remove it. Here is how to set up, adjust, and safely make your first cuts.
Setting Up and Making Your First Cut
Best Ryobi Saw for Beginners
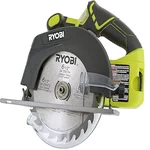 |
RYOBI P507 ONE+ 18V Circular Saw – $79 The exact ONE+ platform saw this guide walks through — same shoe lever and bevel controls described below.
|
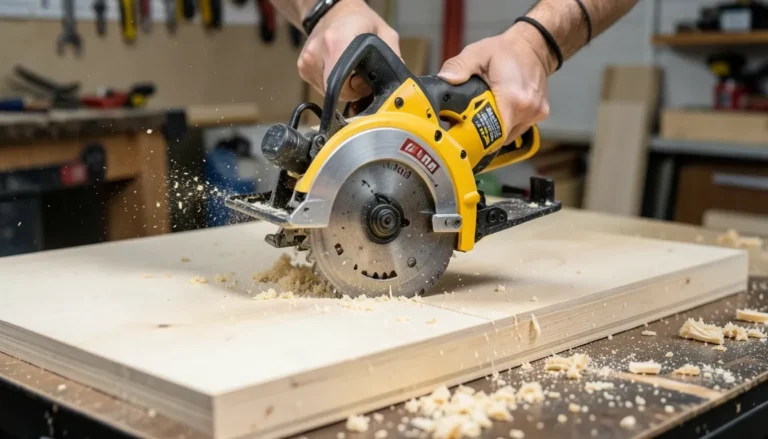
Before the blade ever spins, two adjustments need to be set for the specific cut you’re making. Depth is set with a lever at the rear of the shoe (base plate) — loosen it, raise or lower the shoe until the blade protrudes only about 1/4″ below the material’s underside, then re-lock the lever. Running the blade much deeper than that exposes more spinning blade than necessary, which increases both kickback risk and tear-out on the exit side of the cut. Bevel angle, for anything other than a square 90-degree cut, is set with a separate lever near the front of the shoe that tilts the whole shoe (and blade) to the marked angle — Ryobi’s ONE+ saws make this tool-free, but it’s still worth double-checking the angle against a speed square rather than trusting the scale alone, since those markings can drift slightly out of calibration over the tool’s life.
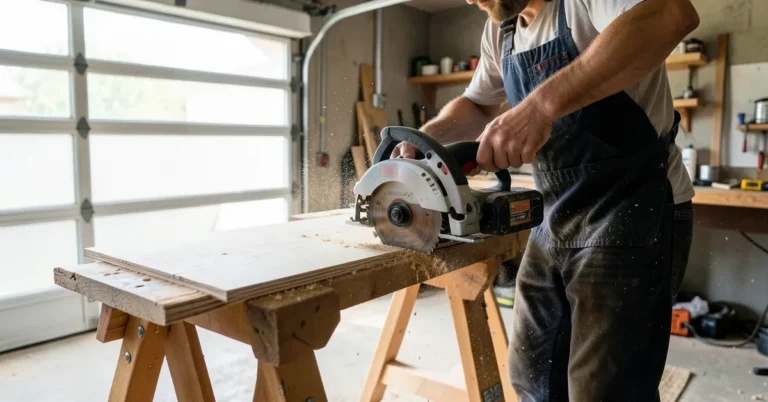
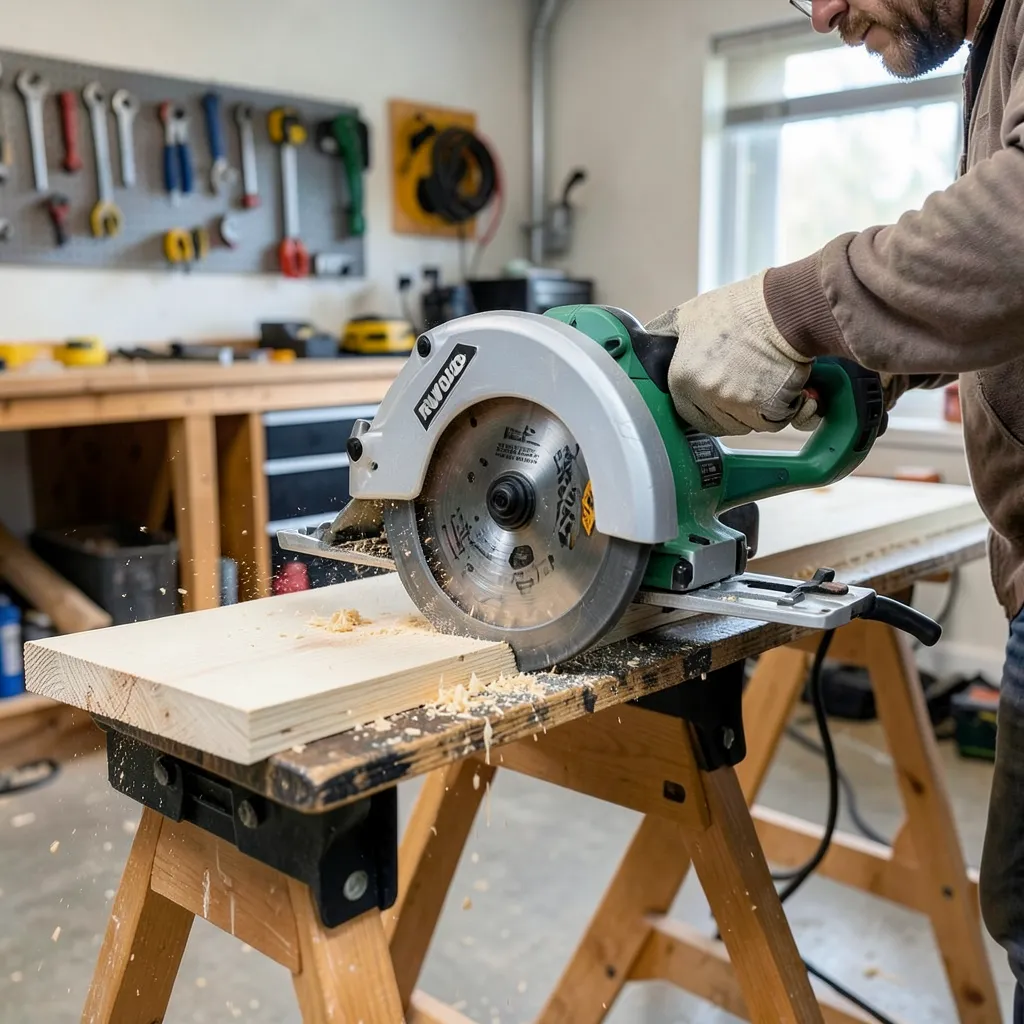
To make the cut itself: rest the front of the shoe on the material with the blade clear of the wood, align the shoe’s notch (or an aftermarket laser guide, if the model has one) with your marked line, then squeeze the trigger and let the blade reach full speed before advancing into the cut. Feed at a steady pace guided by sound — a labored, bogging-down motor means you’re pushing faster than the blade can clear sawdust, which is what causes binding and kickback, not a sign to push harder. Keep the saw’s cord or, on a ONE+ model, your grip and body positioned so you’re never directly in line behind the blade, in case of kickback.
To swap the blade: remove the battery pack first (there’s no cord to unplug on a ONE+ saw), press and hold the spindle lock button, then use the included wrench to loosen the arbor bolt while the lock holds the blade from spinning. Lift off the old blade, noting the direction the teeth point (the blade’s rotation arrow should match the direction stamped on the guard), seat the new blade, and reverse the process to tighten. Never remove the riving knife or the retractable lower guard to “make blade changes easier” — both are safety-critical and removing either turns a normal kickback event into a serious injury risk.
Troubleshooting Common Issues
A ONE+ saw that won’t start is almost always a battery issue rather than a tool fault: check that the pack is actually seated and clicked into place, confirm it’s holding a charge (a pack that reads full on the charger but drops to nothing under load is usually near end-of-life), and inspect the contacts on both the battery and the tool for sawdust buildup, which can prevent a full connection even when the pack looks correctly seated. Most ONE+ tools also won’t start below a certain internal temperature or if the pack has gotten too hot from recent heavy use — letting it sit for a few minutes often resolves a saw that simply refuses to trigger.
A rough or wandering cut is almost always the blade, not the saw: a dull blade (look for rounded-over rather than sharp-edged teeth, or visible pitch buildup) tears through wood instead of slicing it, and a blade that’s slightly loose on the arbor will wobble enough to visibly widen the kerf and wander off your line. Confirm the arbor bolt is fully tight (with the spindle lock engaged while you tighten, never with the blade spinning) before assuming a bad cut is a technique problem.
Frequently Asked Questions
How Do You Use A Circular Saw Step By Step?
To use a circular saw, follow these steps: Measure and mark the cut line. Secure the material. Adjust the saw blade depth. Hold the saw firmly and align with the cut line. Turn on the saw and guide it steadily along the line.
How To Put A Blade On A Ryobi Circular Saw?
Remove the battery pack first (a ONE+ saw is cordless, so there’s no cord to unplug). Press the spindle lock, loosen the arbor bolt with the included wrench, swap the blade with its teeth pointing the correct rotation direction, then retighten the bolt with the lock still engaged.
How Do You Cut A Straight Line With A Ryobi Circular Saw?
To cut a straight line with a Ryobi circular saw, use a guide or straight edge. Mark your line, align the saw’s baseplate with the guide, and cut steadily. Ensure the blade is sharp for a clean cut.
How To Unlock A Ryobi Circular Saw?
Unlock the Ryobi circular saw by pressing the spindle lock button. Turn the blade until it locks.
Conclusion
Most of what makes a Ryobi ONE+ saw feel unfamiliar the first time — the tool-free depth and bevel levers, the battery instead of a cord, the spindle-lock blade swap — becomes automatic within the first few cuts. Set the depth just past the material’s thickness, keep the riving knife and lower guard in place always, and let the blade’s sound rather than brute force tell you how fast to feed, and the rest comes down to practice on scrap before committing to a real project.
Sponsored / affiliate links. As an Amazon Associate I earn from qualifying purchases. I may earn additional commission from eligible campaigns.