How To Use Wood Ashes In The Garden For Proven, Best Results
To use wood ashes in the garden for the best results, first test your soil pH. If it’s acidic (below 6.5), lightly sprinkle a thin layer of sifted ash from clean, untreated hardwood over the soil in fall or winter. Mix it into the top few inches. This raises the pH and adds vital potassium and calcium, benefiting plants like tomatoes, potatoes, and leafy greens.
Hello, fellow makers and growers! It’s Md Meraj. In my workshop, I see a lot of beautiful hardwood scraps turn into sawdust and, eventually, ash in my wood stove. It always felt like a waste to just throw it away. You might be feeling the same way, looking at that pile of fireplace ash and wondering, “Can this help my garden?” The answer is a big YES, but it comes with some very important rules.
Many people are confused about using wood ash. Some say it’s a miracle cure for soil, while others warn it can ruin your garden. Both can be true! It all depends on how you use it. Don’t worry, I’m here to clear things up. We’re going to walk through this together, step by step. I’ll show you exactly how to use this free, natural resource to get fantastic results without any of the guesswork. Let’s turn that waste into garden gold!
What’s Actually in Wood Ash? A Simple Breakdown
Before we start spreading ash around, it helps to know what we’re working with. Think of wood ash as a natural supplement for your soil. It’s what’s left over after all the organic matter in wood has burned away. What remains is a concentration of the minerals the tree pulled from the ground during its life.
The biggest thing to remember is that wood ash is highly alkaline. This means it has a high pH, which is the opposite of acidic. This property is the key to both its benefits and its potential problems. It’s fantastic for “sweetening” acidic soil, but it can be harmful if your soil is already alkaline.
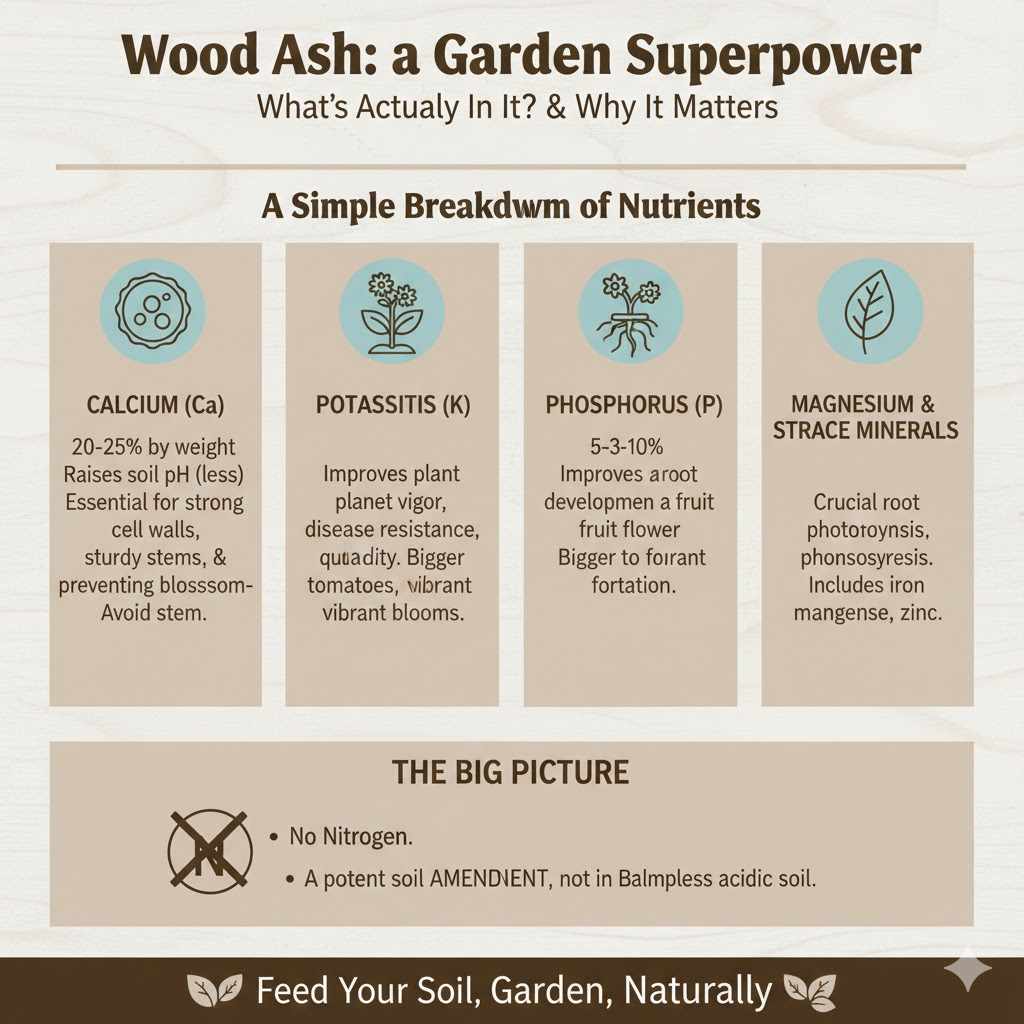
Here’s a look at the main nutrients you’ll find in a typical bucket of hardwood ash:
- Calcium (Ca): This is the most abundant element in wood ash, often making up 20% or more. Calcium is essential for building strong cell walls in plants. Think of it as the building block for sturdy stems and healthy leaves. It helps prevent problems like blossom-end rot in tomatoes.
- Potassium (K): Also known as potash, this can make up 5-10% of wood ash. Potassium is a powerhouse nutrient that regulates a plant’s water use, helps it resist diseases, and improves the quality of fruits and flowers. If you want bigger, tastier tomatoes or more vibrant blooms, potassium is your friend.
- Magnesium (Mg), Phosphorus (P), and Trace Minerals: In smaller amounts, wood ash provides other vital nutrients like magnesium, which is crucial for photosynthesis, and a little phosphorus for root development. It also contains trace elements like iron, manganese, and zinc that plants need to thrive.
It’s important to note that wood ash contains virtually no nitrogen, as this is burned off into the atmosphere. So, it is not a complete fertilizer, but rather a potent soil amendment. Here is a simple table showing typical nutrient levels in hardwood ash.
| Nutrient | Typical Percentage by Weight | Main Role in the Garden |
|---|---|---|
| Calcium Carbonate (Lime) | 20% – 25% | Raises soil pH (makes it less acidic) and strengthens plant cells. |
| Potassium (Potash) | 5% – 10% | Improves overall plant vigor, disease resistance, and fruit quality. |
| Phosphorus | 1% – 3% | Aids in root growth and flower development. |
| Magnesium & Trace Minerals | 1% – 2% | Helps with photosynthesis and other essential plant functions. |
The Big Benefits: Why Use Wood Ash at All?
Now that we know what’s inside, let’s talk about why you’d want to use it. When used correctly, wood ash is a fantastic, sustainable tool for any gardener. It’s a great way to recycle a natural byproduct and reduce waste.
- It Raises Soil pH: This is the number one reason to use wood ash. Many regions have naturally acidic soil. In acidic soil, key nutrients can get “locked up,” meaning your plants can’t absorb them, even if they’re present. By raising the pH to a more neutral level (between 6.0 and 7.0), wood ash unlocks these nutrients, making them available to your plants. This is especially helpful for vegetables like brassicas (broccoli, cabbage), legumes (beans, peas), and many root vegetables.
- It Provides Free Potassium and Calcium: Forget buying expensive bags of potash or lime. Wood ash gives you these essential nutrients for free! Potassium helps with flowering and fruiting, while calcium builds strong, healthy plants that are less prone to diseases.
- It Can Deter Some Pests: Slugs and snails don’t like crawling over the fine, abrasive, and salty particles of wood ash. A ring of fresh, dry ash around the base of vulnerable plants can act as a temporary barrier to keep these slimy pests away. Note that this effect is lost as soon as the ash gets wet.
- It Enriches Your Compost Pile: A small amount of wood ash can be beneficial for a compost pile. It adds nutrients and helps to balance the pH, as compost can sometimes become too acidic. Just be careful not to add too much at once.
The Crucial Warning: When NOT to Use Wood Ash
This is the most important part of the entire guide. Using wood ash in the wrong place can do more harm than good. Please read this section carefully before you head out to the garden.
1. If Your Soil is Already Alkaline
If your soil pH is already 7.0 or higher, do not add wood ash. Adding an alkaline material to alkaline soil will raise the pH even further, making it difficult for plants to absorb essential nutrients like iron and manganese. This leads to yellowing leaves (chlorosis) and stunted growth. Many regions in the western and midwestern United States have naturally alkaline soils.
2. On Acid-Loving Plants
Some plants have evolved to thrive in acidic soil. Adding wood ash around them can be disastrous, as it creates an environment they cannot tolerate. You must avoid using wood ash near these plants:
- Blueberries
- Azaleas
- Rhododendrons
- Hydrangeas (especially if you want blue flowers, as acidity is what causes the blue color)
- Potatoes (While they tolerate a wide pH range, very alkaline soil can encourage a disease called potato scab)
- Oak and Pine trees
- Raspberries and Strawberries
3. With Certain Seeds and Seedlings
Wood ash contains salts that can be harsh on new seeds and tender seedlings. Avoid applying ash directly to areas where you are about to sow seeds or have just planted young seedlings. It’s best to apply it to the soil well in advance and mix it in thoroughly.
4. If It’s Not the Right Kind of Ash
Only use ash from clean, untreated, unpainted wood. This means pure firewood from your wood stove or fireplace. NEVER use ash from:
- Pressure-treated wood: It can contain arsenic.
- Painted, stained, or finished wood: It can contain lead, VOCs, and other harmful chemicals.
- MDF, particleboard, or plywood: These contain glues and binders that are toxic.
- Charcoal briquettes: Most contain chemical binders and accelerants that are bad for your soil.
- Cardboard or glossy paper: These can contain chemical inks and clays.
First, Test Your Soil: The Most Important Step
I cannot stress this enough: Do not guess your soil pH. You must test it first. Applying wood ash without knowing your starting pH is like taking medicine without a diagnosis—you could make things much worse.
Soil pH is measured on a scale from 0 to 14. A pH of 7.0 is neutral. Anything below 7.0 is acidic, and anything above 7.0 is alkaline. Most vegetables and flowers prefer a slightly acidic to neutral soil, typically in the 6.0 to 7.0 range.
You have two main options for testing your soil:
- DIY Test Kits: You can buy these at any garden center. They are inexpensive and easy to use, giving you a quick color-coded reading. While not perfectly precise, they are good enough to tell you if your soil is generally acidic, neutral, or alkaline.
- Professional Lab Testing: This is the most accurate option. You can send a soil sample to your local university extension service. For a small fee, they will give you a detailed report on your soil’s pH, nutrient levels, and organic matter content. For a reliable service, you can look up resources like the University of Massachusetts Soil & Plant Nutrient Testing Laboratory, or simply search for “[Your State] university soil testing service”.
Once you have your results, you’ll know for sure whether wood ash is right for your garden. If your pH is 6.5 or below, you’re good to go! If it’s 6.6 or higher, it’s best to avoid using wood ash as a general soil amendment.
How to Use Wood Ashes in the Garden: A Step-by-Step Guide
Alright, you’ve tested your soil, and it’s acidic. You’ve got a bucket of clean, pure wood ash. Now comes the fun part! Let’s get it into your garden the right way.
Step 1: Get the Right Kind of Ash
As we discussed, only use ash from natural, untreated hardwood like oak, maple, ash, or fruit woods if possible. Hardwood ash contains a higher concentration of nutrients and minerals than softwood ash (from pine, spruce, etc.). Softwood ash is still usable, but you may need to apply a little more to get the same effect.
Step 2: Sift Your Ashes
Your fireplace ash will contain large chunks of charcoal and possibly nails or other debris. You want to apply only the fine, gray, powdery ash. Use a simple screen or a piece of hardware cloth stretched over a wheelbarrow or bucket to sift out the large chunks. The leftover charcoal pieces are great to add to your compost pile, as they improve aeration and water retention.
Step 3: Calculate the Right Amount
The golden rule with wood ash is: less is more. It is powerful stuff, and overdoing it is a common mistake. A little goes a long way. The standard recommendation is to apply about 15 to 20 pounds (a 5-gallon bucket is roughly 20 pounds) per 1,000 square feet of garden area per year. For most home gardeners, this works out to about 1/2 cup to 1 cup per 10 square feet.
Here is a simple application guide:
| Garden Area | Application Goal | Recommended Amount |
|---|---|---|
| Vegetable Garden Bed (100 sq ft) | General maintenance to maintain pH | 5-10 cups (approx. 2-4 lbs) per year |
| Vegetable Garden Bed (100 sq ft) | To raise acidic soil (e.g., pH 5.5 to 6.5) | 10-20 cups (approx. 4-8 lbs) per year |
| Around a Single Plant (like a tomato) | Side-dressing during growing season | 1-2 tablespoons mixed into soil around the base |
| Compost Pile (per layer) | Balancing pH and adding minerals | A very light dusting, like powdered sugar on a cake |
It’s always better to start with a smaller amount, wait a year, and retest your soil before adding more.
Step 4: Apply the Ash Correctly
The best time to apply wood ash is in the fall, winter, or very early spring. This gives the ash time to react with the soil and for winter rains to leach out some of the salts before you plant.
To apply it, use the “broadcast” method. On a calm, windless day, lightly and evenly sprinkle the sifted ash over the surface of your garden soil. It should look like a light dusting of snow. Do not just dump it in piles! Piles can create concentrated pockets of high alkalinity and salts that will damage soil and plant roots.
After spreading the ash, use a rake or a tiller to gently work it into the top 2-4 inches of soil. This helps it start working faster and prevents it from blowing away or forming a crust on the surface.
Step 5: Safety First
Wood ash is caustic. The fine dust can be irritating to your eyes, skin, and respiratory system. When handling and spreading wood ash, always wear:
- Gloves to protect your hands.
- Goggles to protect your eyes.
- A dust mask to avoid inhaling the fine particles.
This is a simple but important step to keep yourself safe and comfortable.
Specific Uses for Wood Ash Around Your Garden
For the Vegetable Garden
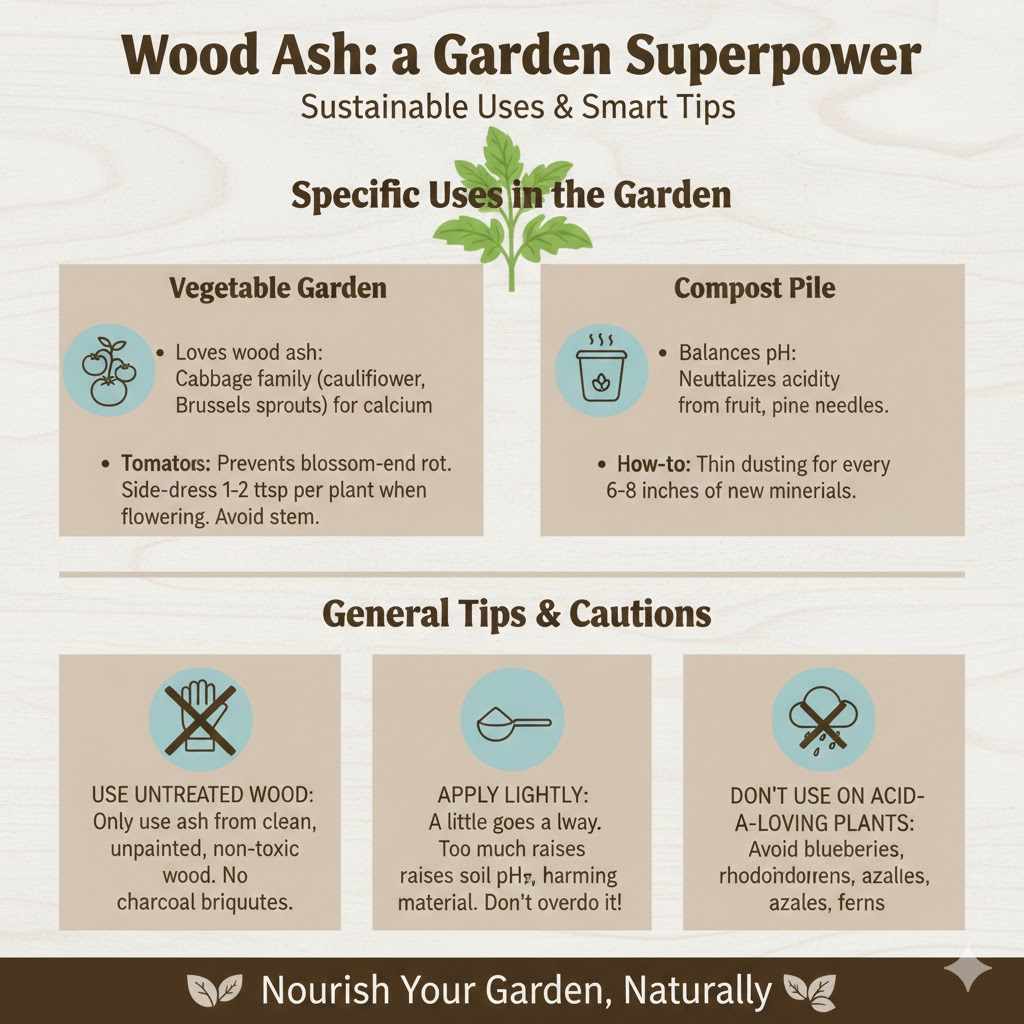
Many common vegetables love the conditions that wood ash creates. It’s particularly beneficial for members of the cabbage family (broccoli, cauliflower, Brussels sprouts) which are heavy feeders and appreciate the extra calcium. It’s also great for alliums like onions and garlic, as well as root crops like carrots and parsnips.
Tomatoes especially benefit from the extra potassium for fruiting and calcium to prevent blossom-end rot. When your tomato plants start to flower, you can “side-dress” them by working a tablespoon or two of ash into the soil around the base of the plant, being careful not to let it touch the stem directly.
For the Compost Pile
A compost pile is a delicate ecosystem of microbes. If your pile is heavy on acidic materials like fruit scraps or pine needles, it can become too acidic, slowing down decomposition. A light sprinkle of wood ash on each new layer can help neutralize the acidity and provide minerals for the microbes to feast on. A good rule of thumb is to add a thin dusting for every 6-8 inches of new material you add to the pile. Don’t overdo it, as too much will make the compost overly alkaline.
Frequently Asked Questions (FAQ)
Can I use ash from my fireplace in the garden?
Yes, absolutely, as long as you have only burned clean, untreated wood. Do not use ash if you have burned pressure-treated wood, painted wood, particleboard, charcoal briquettes, or trash. Only pure wood ash is safe for the garden.
How often should I add wood ash to my garden?
It’s best to apply wood ash only once per year, typically in the fall or winter. Because it is a powerful soil amendment, you should always retest your soil pH every year or two before deciding to add more. Never apply it year after year without testing.
Will wood ash burn my plants?
Yes, it can. Wood ash contains lye and salts that can burn plant stems and roots if applied too heavily or in a concentrated pile. Always spread it thinly and mix it into the soil. Avoid direct contact with plant stems and the tender roots of new seedlings.
Can I use wood ash on my lawn?
You can, but only if a soil test shows your lawn’s soil is acidic. Many weed species thrive in acidic soil, so raising the pH can help promote healthier grass growth. Apply it with a spreader on a calm day in the winter at a rate of 10-15 pounds per 1,000 square feet.
What plants hate wood ash?
Acid-loving plants hate wood ash. This includes popular plants like blueberries, azaleas, rhododendrons, and hydrangeas. Also, avoid using it heavily around potatoes, as highly alkaline soil can promote potato scab disease.
Is wood ash a complete fertilizer?
No, it is not. Wood ash is an excellent source of potassium, calcium, and other minerals, and it’s great for raising soil pH. However, it contains almost no nitrogen, which is a critical nutrient for leafy growth. You will still need to supplement your garden with a nitrogen source like compost or other fertilizers.
Can I make a “wood ash tea” to water my plants?
It’s generally not recommended. Soaking wood ash in water creates lye, which is highly caustic and can easily burn plant roots. The dry application method described above is much safer and more effective for gradually amending your soil.
Conclusion: A Wise Addition, Used Wisely
So there you have it. That pile of ash from your workshop or fireplace doesn’t have to be waste. It’s a powerful, free, and sustainable resource that can bring great benefits to your garden. It can sweeten your soil, unlock nutrients, and help your vegetables thrive. It connects the cycle from the forest, to your workshop, to the food you grow on your table.
The key, as with any good woodworking project, is to use the right material and the right technique. Remember the most important steps: test your soil first, use only clean wood ash, and apply it sparingly. When you treat it with respect and a light hand, wood ash will become one of the most valuable tools in your gardening toolkit. I hope this guide gives you the confidence to give it a try. Happy gardening!