How to Build an Outdoor Kitchen With a Wood Frame (Safely)
A wood-framed outdoor kitchen is safe only when the wood stays outside the grill’s heat zone — most built-in grills require 6 to 12 inches of clearance from combustible framing, plus a non-combustible liner (cement board, stucco, or stone) around the cutout. Skip either step and even dense Ipe can scorch. This guide covers frame material selection, the clearance and ventilation numbers manufacturers require, and how to frame, finish, and fireproof the structure.
This build sits alongside our other step-by-step woodworking project guides — if you’re new to outdoor builds, that guide is a good starting point before tackling a structure with a heat source involved.
Tools and Materials You’ll Need
Best Built-In Grill Pick
EasyChef 30″ Charcoal Built-In Grill (Front Loader, SS Grids Included)
A drop-in grill head sized for a standard wood-framed island cutout, with heavy-duty steel construction and a crank-adjustable charcoal pan.
- Best for: the central cooking unit in a new wood-framed grill island
- Why we picked it: front-loader design keeps the ash pan accessible without opening the frame’s back panel
- Main drawback: charcoal only, and at $1,325.00 it’s a bigger spend than a basic gas insert
Compare more wood-frame outdoor kitchen safety options
 Option 1 Coyote Insulated Grill Jacket
|
 Option 2 Stainless Venting Panel, 2-Pack
|
 Option 3 Cement Board Tape & Screw Kit
|
As an Amazon Associate we earn from qualifying purchases.
- Pressure-treated lumber (2×4 or 2×6) or a naturally rot-resistant hardwood such as Ipe or Cumaru for the frame
- Circular saw, miter saw, drill/driver, and a 4-foot level
- Exterior-rated wood screws and corrosion-resistant brackets
- Cement backer board (commonly HardieBacker-type fiber cement) for the non-combustible liner
- Cement board tape and screws for sealing liner seams
- Stainless steel venting panels (minimum two, sized to at least 20 sq in each)
- Insulated grill jacket, if the manufacturer’s clearance specs can’t be met on all sides
- Countertop material (concrete, tile, or stone), sink, and appliance package
Choosing Your Wood for an Outdoor Kitchen
The right wood for an outdoor kitchen frame is dense, naturally rot-resistant, and slow to ignite — avoid soft, resin-heavy woods near any heat source. Ipe and Cumaru are the two most common choices because both stand up to moisture and insects without chemical treatment, but each has trade-offs worth weighing against budget and maintenance tolerance.
Ipe Wood
Ipe, also called Brazilian walnut, is dense and heavy enough to carry the weight of built-in appliances and resists moisture, insects, and rot with very low maintenance. It’s also one of the more fire-resistant hardwoods available, which matters more here than in typical outdoor furniture builds — but it is not fireproof, and still needs the clearance and liner rules covered below.
Cumaru Wood
Cumaru is another dense Brazilian hardwood, resistant to moisture, rot, insects, and decay, with a reddish-brown color that needs restaining every few years to hold its tone under UV exposure. It costs less than Ipe in most markets while offering comparable structural durability.
Other Wood Options
Cedar and redwood are lightweight softwoods naturally resistant to insects and decay, with a reddish tint that adds warmth but requires more frequent sealing than Ipe or Cumaru. Teak is a dense hardwood resistant to moisture and insects that turns silver-gray without periodic oiling. Cypress is a lighter softwood that resists decay but needs regular staining and sealing to hold up outdoors. Pressure-treated pine is the cheapest of the group but the most vulnerable to warping and rot over time — use it only for structural framing that will be fully enclosed behind the non-combustible liner, never as an exposed surface near the grill.
Framing Your Outdoor Kitchen With Wood
Wood framing is more affordable and easier to work with than metal, but it demands extra fire and moisture precautions that metal framing doesn’t need. Metal is inherently non-combustible and low-maintenance, while wood needs a planned liner, sealed seams, and a design that keeps the frame itself away from the heat source — not just protected from it.
Building the Frame
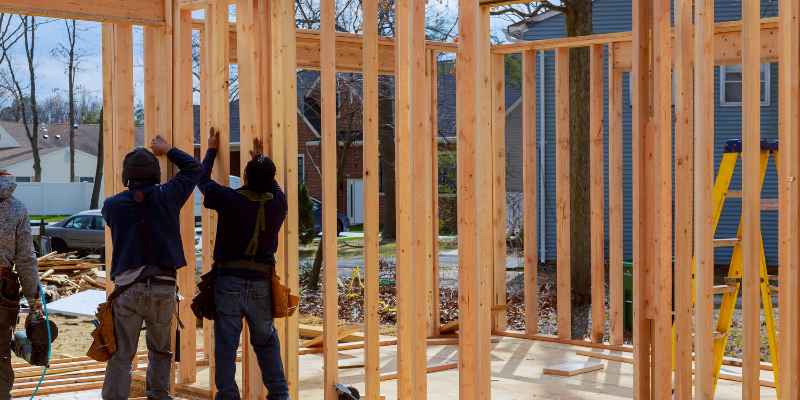
Work from an accurate layout plan before cutting anything — it determines the size, shape, and rough openings for the sink, grill, and any appliances. Frame with 2×4 or 2×6 pressure-treated lumber, exterior wood screws, and a level to keep every course square; a frame that’s out of level compounds into misaligned doors and countertop gaps by the time you reach finishing.
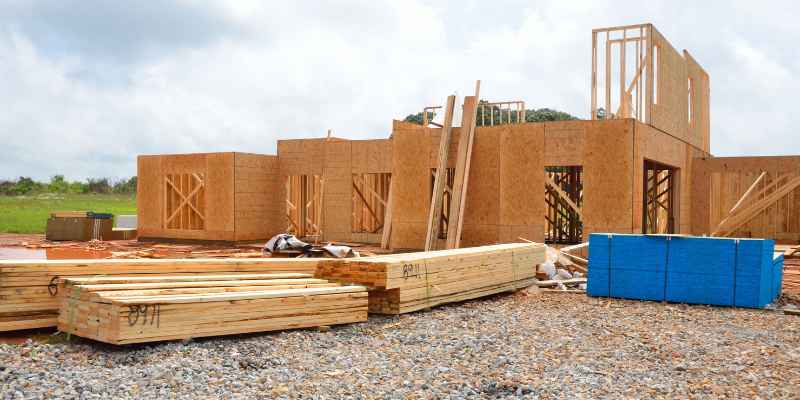
Whatever species you choose for exposed surfaces, treat it using the steps in our wood fireproofing guide before assembly — it’s far easier to apply a fire-retardant treatment to individual boards than to a fully assembled frame.
Bug and Rodent Proofing
Bugs and rodents can chew through wood, wiring, and gas or water lines if the frame is left open. Screen every opening, seal gaps with exterior caulk or expanding foam, and keep any stored food in sealed containers. Left unaddressed, pest damage is one of the more common reasons a wood-framed outdoor kitchen needs early structural repair.
Grill Clearance and Fireproofing: What Manufacturers and Code Actually Require
The single most common mistake in a wood-framed outdoor kitchen isn’t the wood choice — it’s underestimating how close the frame sits to the heat source. These numbers come from NFPA 54 (the National Fuel Gas Code), grill manufacturer install guides, and International Fire Code Section 315; always confirm the exact figure in your specific unit’s installation manual and with your local building department, since requirements vary by jurisdiction and by grill model.
| Clearance point | Typical minimum | Source |
|---|---|---|
| Sides/rear of grill to combustible wood | 6–12 inches (0″ if a non-combustible liner is installed) | Manufacturer install guides; NFPA 54 |
| Overhead structure (pergola, cabinet) above grill | 36–48 inches, more with high BTU output or a side burner | Manufacturer install guides |
| Open-flame cooking to a combustible structure (uncovered) | Often cited around 10 feet by local fire code; some allow 3 feet for covered/screened installs | International Fire Code Section 315; local fire code |
| Ventilation for an enclosed grill island | At least 2 vents, minimum 20 sq in each | NFPA 54; grill manufacturer guides |
These same clearance and liner rules apply to any built-in heat source in the structure, not just a gas or charcoal grill — if your plan includes a built-in pizza oven, treat its clearance zone with the same seriousness, since wood-fired ovens run hotter and longer than most grills.
A non-combustible liner is a code-driven necessity, not an upgrade. Cement backer board is applied to both the inside and outside faces of the frame around the grill cutout — most builders use fiber-cement board (the HardieBacker-type product), sealed at the seams with cement board tape. If your specific grill can’t meet its side clearance inside your planned footprint, an insulated grill jacket is designed to contain radiant heat so it doesn’t reach the wood behind it; it does not replace the liner or the vents.
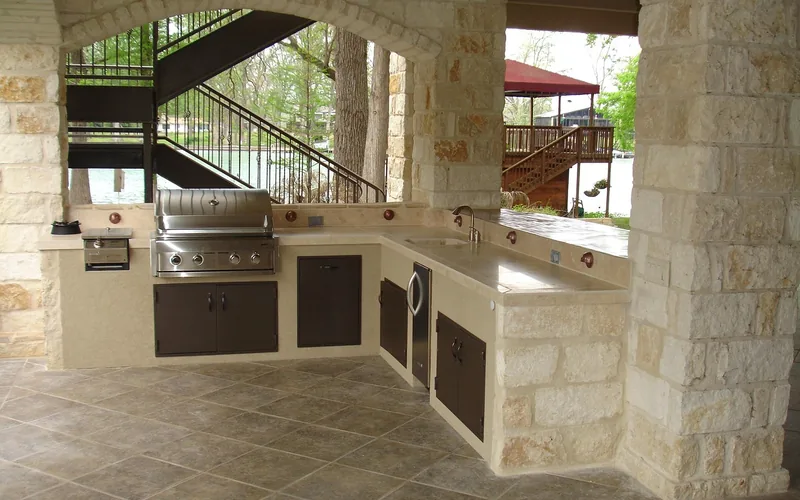
In practice, this means: never frame the grill cutout so the wood itself forms the visible opening edge, always run the cement board liner past the grill’s stated clearance zone (not just up to it), and never skip the vents even if the island already has open sides — trapped gas from a pilot light or a leak needs a dedicated path out, not just ambient airflow.
Building Your Outdoor Kitchen Step by Step
Once the frame material and clearance plan are settled, the build itself follows a fairly fixed sequence from layout to finished countertop.
- Draw the layout plan: mark exact positions for the grill cutout, sink, cabinets, and any drawers, and confirm every appliance’s stated clearance fits inside the footprint before cutting lumber.
- Gather hardware: lumber for the frame, exterior screws, corrosion-resistant brackets, hinges for any doors, and the cement board liner kit.
- Cut and assemble the frame: cut beams to size with a circular or miter saw, then assemble with screws and brackets, checking level as you go.
- Apply the non-combustible liner: attach cement backer board to the inside and outside faces around the grill cutout, taping and sealing every seam.
- Cut ventilation openings: install a minimum of two vent panels sized to at least 20 sq in each, positioned to let heat and any gas escape rather than pool inside the cabinet.
- Verify the opening size: dry-fit the grill and appliances before finishing panels go on — double-check every measurement against the actual unit, not just the spec sheet.
- Add doors and hardware: measure openings, cut doors to size, and attach with hinges so they swing freely without binding on the frame.
- Set the countertop and sink: concrete, tile, or stone are the common outdoor-rated choices; stainless steel is the standard for the sink itself.
Cost Analysis
A wood frame is the cheapest structural option for an outdoor kitchen upfront, but the liner, ventilation hardware, and finish materials add to the base lumber cost — and wood’s long-term durability against rot and insects is lower than steel or masonry.
Framing Material Cost Comparison
- Wood frame (lumber only): roughly $150–$300 for a standard single-run island
- Steel or aluminum frame: roughly $800–$1,200
- Masonry or concrete block structure: roughly $1,500–$2,000
Wood stays the most affordable framing material by a wide margin, but budget separately for the cement board liner, vent panels, and any insulated jacket — skipping those to save money is exactly the corner-cutting that leads to the heat damage this guide is meant to prevent. Treated pine is the lowest-cost lumber option if the frame will be fully enclosed behind the liner, while pressure-treated cedar or redwood costs more but holds up better on any exposed edges — keep in mind that even treated lumber isn’t immune to rot long-term, as covered in our guide on whether pressure-treated wood rots. If you’re weighing wood against another outdoor structure project, our wood deck cost breakdown uses the same per-board pricing logic.
Pros and Cons of Wood Framing for an Outdoor Kitchen
Benefits
Wood is inexpensive relative to steel or masonry, easy to cut and assemble with common tools, and gives the structure a natural look that stucco or tile counters over well. It’s also considerably easier for a DIY builder to modify mid-project than welded metal framing.
Drawbacks
Wood is vulnerable to rot, moisture, and insects, and it’s combustible — which is exactly why the clearance, liner, and ventilation rules above aren’t optional. Left untreated or under-cleared from the grill, a wood frame can deteriorate structurally or become a genuine fire hazard well before a steel or masonry equivalent would show comparable wear.
Outdoor Kitchen Components
Outdoor Cabinets
Cabinets need to be weather-resistant and sturdy since they sit outside year-round. Stainless steel is the most durable and low-maintenance option; marine-grade polymer or teak wood are reasonable compromises if you want the look of natural material.
Outdoor Prep Table
A prep table needs enough surface area for your typical cooking volume and a material that tolerates sun and moisture. Stainless steel is the low-maintenance default; teak or another weather-resistant hardwood works if it’s sealed and re-oiled on a regular schedule.
Grill Islands
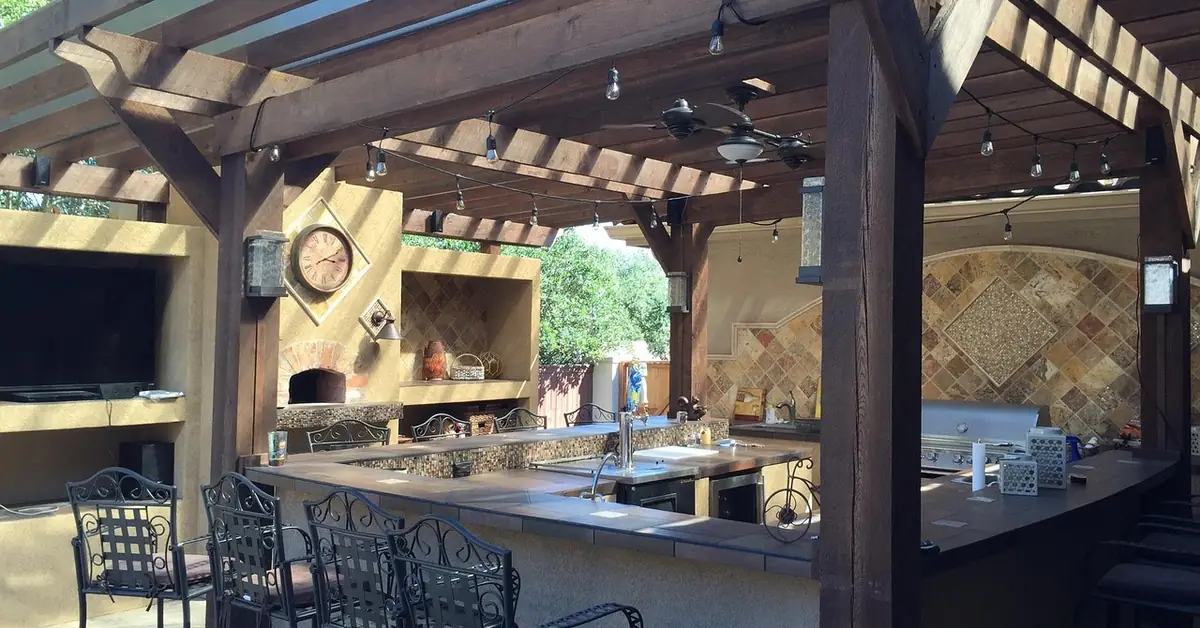
The grill island is the centerpiece of the build and the section where the clearance rules above matter most. Position it so the cooking surface, storage, and any sink or fridge stay within the non-combustible liner zone, and choose a grill rated for built-in (not freestanding) installation — freestanding units aren’t designed for the reduced clearances an enclosed island requires.
Frequently Asked Questions
Can you use wood framing for an outdoor kitchen?
Yes — wood framing is possible and the most affordable structural option, but it requires a non-combustible liner (typically cement backer board) around the grill cutout, a minimum ventilation allowance of two vents at 20 sq in each, and the manufacturer’s stated clearance between the grill and any combustible surface. Durable species like Ipe or Cumaru hold up better than pine, but even they still need the liner and clearance — density alone doesn’t make a wood fireproof.
How much clearance does a built-in grill need from wood framing?
Most manufacturer install guides call for 6 to 12 inches of side and rear clearance from combustible material, and 36 to 48 inches of overhead clearance to a covered structure like a pergola, more if the grill has high BTU output or a side burner. These are typical ranges, not universal numbers — check your specific unit’s installation manual and local code, since both vary.
What is the best wood for an outdoor kitchen?
Ipe is generally considered the best option for a wood-framed outdoor kitchen due to its density, moisture and insect resistance, and comparatively strong fire resistance among woods. Cumaru is a close second with similar durability at a lower price point. Neither eliminates the need for a non-combustible liner and proper grill clearance.
What is the cheapest way to build an outdoor kitchen?
A wood frame is the cheapest structural approach, typically $150–$300 in lumber versus $800–$1,200 for steel or $1,500–$2,000 for masonry. Budget separately for the cement board liner, vent panels, and finish materials — those aren’t optional add-ons if a grill is going into the structure, and skipping them is how wood-framed builds get damaged early.
Do I need special ventilation for an enclosed grill island?
Yes. Enclosed grill islands need at least two vents, each a minimum of 20 sq in, to let heat and any gas escape rather than accumulate inside the cabinet. This applies whether the frame is wood or non-combustible material — ventilation protects against gas buildup, not just heat.
Conclusion
A wood-framed outdoor kitchen is the most affordable way to build one, and it can be just as safe as steel or masonry — but only if the clearance, liner, and ventilation numbers above are treated as requirements, not suggestions. Choose a dense, rot-resistant wood like Ipe or Cumaru for anything exposed, keep the frame itself outside the grill’s stated clearance zone, and verify every number against your specific unit’s install manual and local code before you cut the first board.
Sponsored / affiliate links. As an Amazon Associate I earn from qualifying purchases. I may earn additional commission from eligible campaigns.