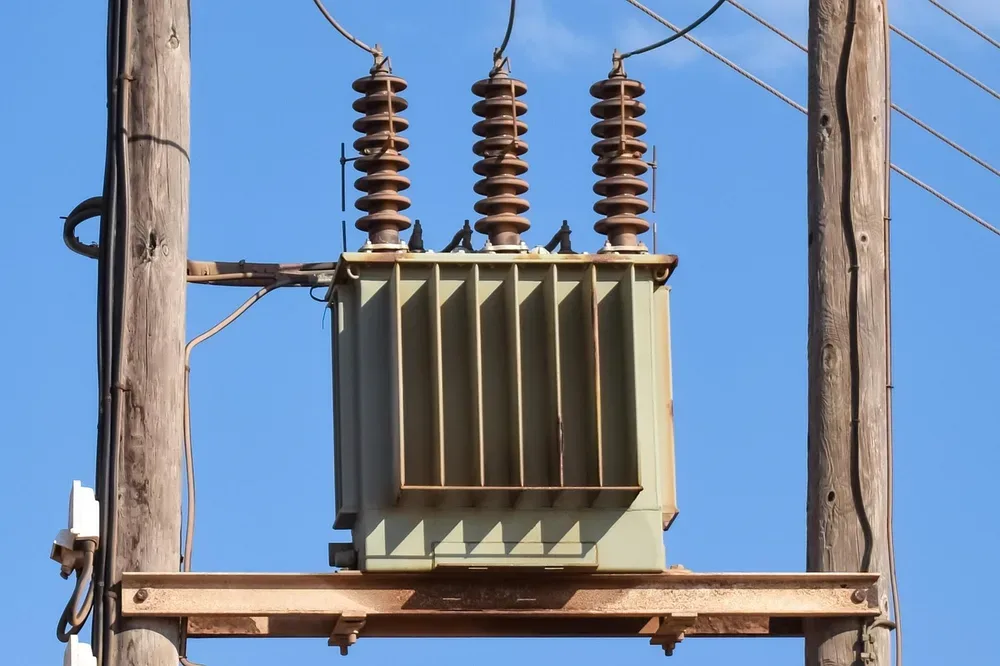
How to Wire a Transformer for Wood Burning: Why We Don’t Recommend It
Short answer: don’t wire your own transformer for this. If you want to burn designs into wood, a pre-wired, low-voltage pyrography pen does the job with no wiring at all. If you landed here because of Lichtenberg (fractal) wood burning specifically — the technique that actually uses a step-up transformer — that setup has been linked to at least 33 documented deaths in the US since 2017, and we don’t publish wiring steps for it.
Most people typing “wire a transformer for wood burning” are actually looking for one of two very different things: a way to power a standard pyrography pen (which already comes wired — there’s nothing to build), or the DIY high-voltage rig used for Lichtenberg burning (which is a real electrocution hazard, not a beginner wiring project). This page covers both, tells you honestly which one you probably need, and explains exactly why we won’t walk through building the dangerous version.
Why We Don’t Publish Transformer-Wiring Steps
Earlier versions of this page gave step-by-step instructions for wiring a transformer’s primary side to mains power and its secondary side to a wood-burning tool. We removed those steps. Searches for “wire a transformer for wood burning” are frequently connected to Lichtenberg (fractal) wood burning, a technique that uses a step-up transformer (often a modified microwave oven transformer, or MOT) to pass 1,000-15,000V through wood soaked in a conductive solution. That specific technique has been linked to at least 33 documented deaths in the US since 2017, and the American Association of Woodturners bans demonstrating it at AAW events for that reason.
Even setting Lichtenberg burning aside, DIY-wiring a transformer’s primary side directly to a wall outlet is not a beginner-friendly task regardless of the intended output voltage — mistakes on the mains side (reversed polarity, missing ground, poor insulation) can cause shock or fire independent of what the secondary side is rated for. A GFCI outlet does not protect you from a high-voltage transformer setup either: the dangerous output comes from a secondary coil that is galvanically isolated from the primary circuit a GFCI monitors, so the GFCI cannot detect a fault there and will not trip. Unplugging a unit that includes a capacitor does not make it safe to touch, either — the capacitor can retain a lethal charge after disconnection.
If you’re specifically working with a microwave oven transformer, see Wiring a Microwave Transformer for Wood Burning: Why It Kills (33+ Deaths) — MOTs are the single most common transformer used in these DIY rigs, and that page covers why that specific unit is so dangerous. For the broader pen-vs-rig breakdown, see Wood Burning With a Transformer: Pyrography Pen vs. the Deadly DIY Risk.
Zero-Wiring Safety Pick
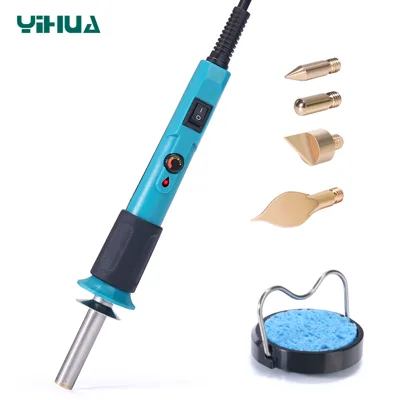 |
YIHUA 930-IV Pyrography Wood Burning Pen Kit – $15.99 Skips the transformer question entirely — this pen is fully wired, low-voltage, and ready to use straight out of the box.
|
Why You Don’t Need To Wire A Transformer For Standard Pyrography
A pre-made pyrography pen already contains its own low-voltage power adapter — it isn’t something you build. You plug it into a standard outlet and it’s ready to use. There’s no screwdriver, wire cutters, soldering iron, or transformer shopping required, and no wiring to get wrong.
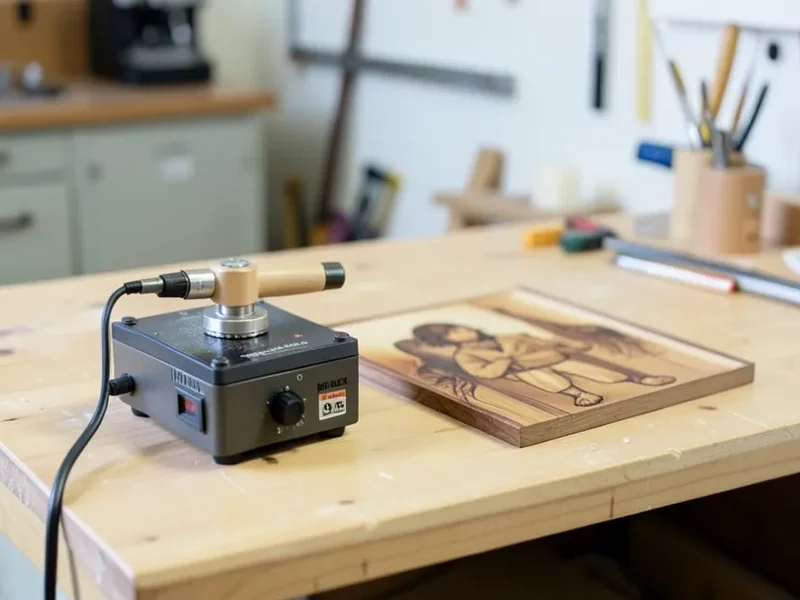
If you’ve separately encountered “wood burning transformer” content describing step-up transformers, isolation transformers wired to bare electrodes, or high-voltage AC output, that’s describing Lichtenberg (fractal) burning equipment — a different and genuinely lethal technique, not standard pyrography.
If You Actually Meant Lichtenberg (Fractal) Burning
Lichtenberg burning works by soaking wood in an electrolyte solution (often baking soda and water), laying electrodes on the surface, and passing high-voltage AC through the wood to burn branching, fractal-shaped patterns as the current arcs through the moisture. The voltages involved — typically in the low thousands, sometimes reported far higher — are well past the point where contact is likely to be fatal, not just painful. Because the setup is homemade in almost every documented case, there’s no enclosure, no interlock, and no fault protection standing between the operator and the live electrodes.
This is not a technique to learn from a wiring diagram. If you want the fractal look without the DIY high-voltage rig, the honest answer is that there currently isn’t a widely available, independently safety-certified consumer product that replicates true Lichtenberg branching at low voltage — which is exactly why we point people toward standard pyrography (hand-drawn burning with a pen) instead of trying to recreate the fractal effect. A skilled pyrography artist can hand-burn a similar branching, organic look with a standard pen; it takes longer and is a different skill, but it doesn’t carry an electrocution risk.
Preparing The Wood Surface (For Standard Pyrography)
Wood choice matters more for pyrography than most beginners expect. Softwoods like pine are easy to burn and take detail quickly, but their grain can cause the burn line to wander. Basswood is the standard choice for detailed work because it has a fine, even grain and burns predictably at a consistent temperature. Hardwoods like oak, maple, birch, cherry, and walnut burn slower and need a hotter tip setting, but reward the extra time with sharper, longer-lasting lines and richer color contrast.
Whatever wood you choose, sand it smooth (220-grit is usually enough) and wipe away dust before you start — debris under the tip causes uneven, skipping lines. Avoid wood that’s been pressure-treated or has an unknown finish; burning through a chemical coating releases fumes you don’t want to breathe, which is also why a well-ventilated space matters regardless of which technique you’re using.
Setting Up Your Workspace
Clear the bench down to just the tools you need, and work on a heat-resistant surface — a scrap of plywood or a silicone mat under your project protects the bench and gives you a safe spot to rest a hot tip between strokes. Good, direct lighting matters more for pyrography than for most woodworking tasks, since you’re often working from fine pencil guidelines that get harder to see once smoke starts building up over the piece.
Ventilation isn’t optional. Wood smoke from pyrography is a real irritant in an enclosed room — an open window with a small fan pulling air away from your face is enough for most home setups. Keep a small fire extinguisher or a bowl of sand within reach, and never leave a plugged-in pen resting directly on wood or fabric.
Creating Your Wood Burning Designs
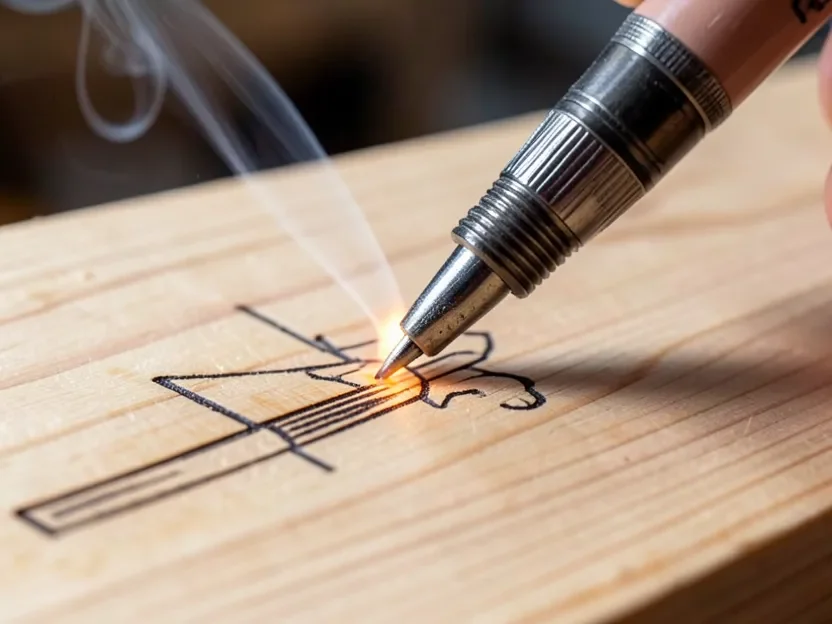
Transfer your design onto the wood with graphite or carbon paper before you pick up the pen — freehanding complex patterns directly with a hot tip is a fast way to end up redoing the piece. Work with a fine-tip nib for outlines and detail, and switch to a wider shading tip for filling larger areas; most kits, including the one above, ship with several interchangeable tips for exactly this reason.
Go slower than feels natural at first. Pyrography color comes from how long the tip dwells in one spot, not from pressing harder, and a pen held too long in one place will blow out a line instead of shading it. Practice basic strokes — straight lines, stippling, cross-hatching — on scrap wood before committing to a finished piece.
Maintaining Your Equipment
A pyrography pen’s tips will build up a layer of carbon residue with use, which dulls the line quality over time. Let the tip cool completely, then clean it with a brass brush or fine steel wool rather than anything abrasive that could scratch the plating. Store the unit with the cord loosely coiled rather than tightly wrapped, since tight wrapping around a hot component is a common way internal wires eventually fatigue and fail.
Unplug the unit before any cleaning or tip change, and inspect the cord periodically for fraying or exposed wire — that applies to any corded tool, but it’s worth calling out here since heat and smoke residue near the cord can accelerate wear. If a unit ever buzzes, sparks, or trips a breaker, stop using it and replace it rather than trying to repair the internal wiring yourself.
Frequently Asked Questions
How Do You Connect A Transformer For Wood Burning?
You generally don’t need to. Pre-made pyrography pens come with their power adapter already wired and enclosed. If you were looking for how to wire a high-voltage step-up transformer for Lichtenberg (fractal) burning specifically, we don’t publish those steps — that technique has been linked to at least 33 documented deaths in the US since 2017.
What Type Of Transformer Is Best For Wood Burning?
For standard pyrography, you don’t choose or wire a transformer at all — it’s built into the pen. A low-voltage, fully enclosed adapter (the kind that ships with any commercial pyrography pen) is what you want; there’s no reason for a hobbyist to build or wire one from scratch.
Can I Use A Regular Transformer For Wood Burning?
We don’t recommend sourcing and wiring any standalone transformer for this. Mismatched voltage or current ratings can damage a tool or create a shock and fire risk, and if the “transformer” in question is a high-voltage step-up unit for Lichtenberg burning, the risk is lethal rather than just damage to equipment. Use a complete, pre-wired pyrography pen instead.
What Safety Precautions Should I Take?
The most effective precaution is not wiring a transformer yourself in the first place — use a pre-made, enclosed pyrography pen. If you’ve encountered a high-voltage Lichtenberg-style setup, know that a GFCI outlet does not protect you (the lethal output comes from a secondary coil isolated from the circuit a GFCI monitors) and unplugging a unit with a capacitor does not make it safe to touch.
Conclusion
You don’t need to wire your own transformer to burn designs into wood — a pre-made pyrography pen handles that safely out of the box, no wiring required. If “wire a transformer for wood burning” brought you here because of Lichtenberg (fractal) burning specifically, please take the real risk seriously before proceeding: at least 33 documented deaths in the US since 2017 are linked to homemade high-voltage rigs for that technique, which is exactly why we don’t publish instructions for building one.
Sponsored / affiliate links. As an Amazon Associate I earn from qualifying purchases. I may earn additional commission from eligible campaigns.