Is MDF Paintable? Yes, Here’s the Prep That Actually Matters
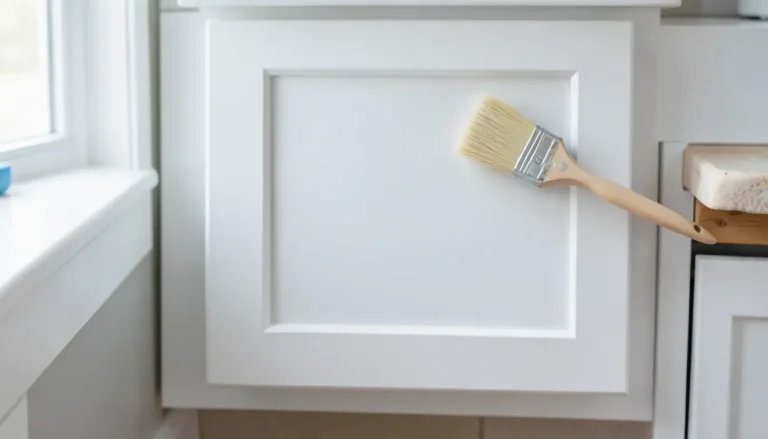
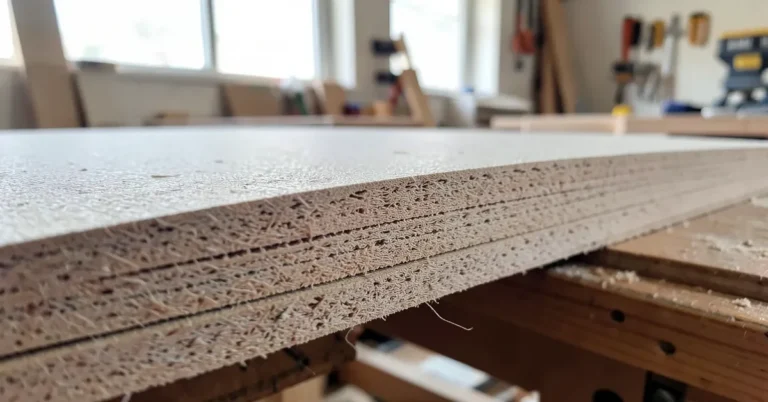
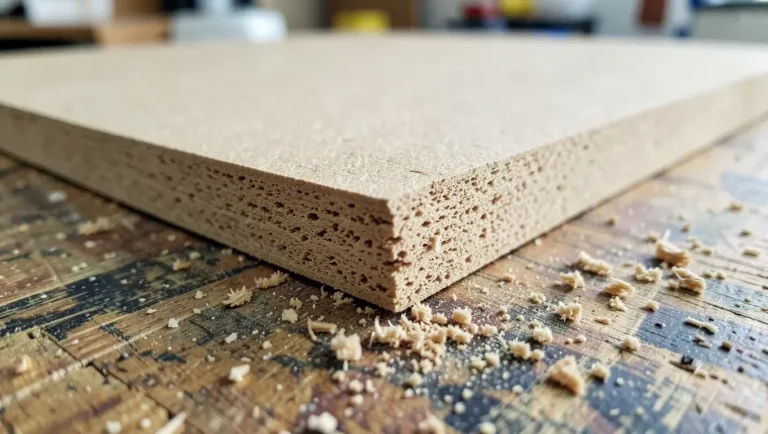
MDF is paintable, and its smooth, grain-free surface actually takes paint better than solid wood in most cases. The real challenge isn’t the flat faces – it’s the raw edges, which are made of compressed wood fibers and glue that soak up paint like a sponge unless you seal them first with the right primer.
Why the Edges Are the Real Challenge
The Primer MDF Actually Needs
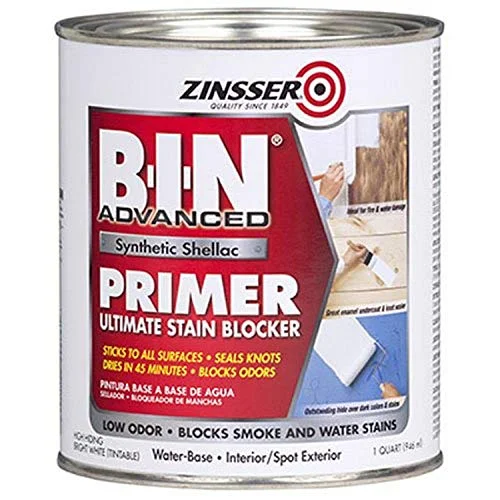 |
Zinsser B-I-N Shellac-Base Primer A shellac-based sealer stops MDF’s raw edges from soaking up paint unevenly – a plain latex primer alone often isn’t enough.
|
MDF’s flat faces are pressed under high pressure and are relatively smooth and sealed, so they accept a standard latex or acrylic primer without much fuss. The cut edges, on the other hand, expose the loose compressed fiber structure underneath – that’s why a lightly primed edge often looks fuzzy or blotchy once painted, even when the faces look perfect. A shellac-based sealer specifically formulated for porous, high-absorption surfaces solves this in far fewer coats than a general-purpose primer.
Preparing MDF for Paint
- Wipe the surface with a slightly damp cloth to remove dust, then let it dry fully – avoid soaking, since standing water can swell exposed fibers.
- Lightly sand the flat faces with 220-grit sandpaper to knock down any surface fuzz, then wipe away the dust.
- Seal every cut edge specifically, even if you’re planning to prime the whole piece – edges need extra attention regardless of what primer you use on the faces.
- Fill any screw holes, dents, or seams with a paintable wood filler and sand flush before priming.
Choosing the Right Paint
| Paint Type | Best For | Trade-off |
|---|---|---|
| Acrylic/latex | Most furniture and cabinetry, easy cleanup | Needs multiple thin coats for full opacity |
| Oil-based | Maximum durability and hardness | Strong odor, longer dry time, mineral spirits cleanup |
| Chalk paint | A soft, matte, distressed look | Usually needs a separate topcoat for durability |
Applying Primer and Paint
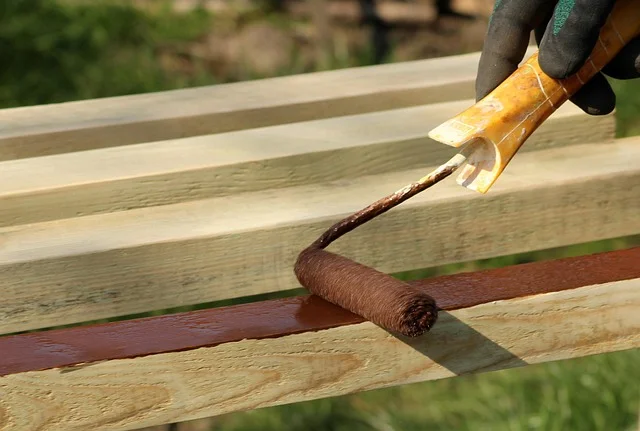
- Apply the shellac sealer to all edges first, and let it dry completely (typically 45 minutes).
- Prime the full piece, including the faces, in one thin, even coat. Let it dry, then lightly sand with fine sandpaper to knock down any raised fiber before the topcoat.
- Apply your chosen paint in thin coats – two to three light coats give a smoother, more durable finish than one heavy coat.
- Let each coat dry fully per the label before adding the next; rushing is the most common cause of a tacky or uneven MDF paint job.
Sealing and Protecting the Finished Piece
Once painted and fully cured, MDF furniture handles normal indoor use well, but it’s still vulnerable at any spot where the paint film gets chipped or scratched down to bare fiber – that exposed spot will absorb moisture just like an unsealed edge would. Keep painted MDF away from standing water and wipe spills promptly, and touch up any chips as soon as you notice them rather than letting bare fiber stay exposed. A small artist’s brush and leftover paint from the original job make quick work of this and prevent a minor chip from turning into a swollen, soft spot later.
Common Mistakes
- Skipping edge sealing because “the primer will handle it.” A general latex primer alone often can’t fully seal MDF’s fiber edges in one coat – this is the single most common cause of a botched MDF paint job.
- Applying paint too thick to save time. Thick coats raise surface fibers and take much longer to dry evenly, often drying tacky at the surface while still wet underneath.
- Skipping the sand-between-primer-coats step. Raised fiber texture from the first primer coat telegraphs through the topcoat if it isn’t knocked down first.
- Ignoring exposed screw holes or fastener points. These are additional entry points for moisture just like cut edges – fill and seal them the same way.
Brush, Roller, or Sprayer: Tools for the Job
A high-density foam roller gives the smoothest hand-applied finish on MDF’s flat faces, since it doesn’t leave the stipple texture a standard nap roller does – that texture matters more on a smooth material like MDF than it would on textured solid wood. A quality synthetic-bristle brush is still the right tool for edges, profiles, and any routed detail a roller can’t reach cleanly. An HVLP spray setup gives the most professional, brush-mark-free result overall and is worth the setup time for cabinet doors or any piece with a lot of surface area, but it requires a properly ventilated space and more cleanup than brush or roller work.
MDF vs. Plywood for a Painted Project
When a project’s design allows a choice between materials, MDF has a real edge for anything getting a painted finish specifically. Plywood’s face veneer often has visible grain and seams that telegraph through paint, especially light colors and glossy sheens, requiring extra grain-filling work to hide, especially under a glossy or semi-gloss sheen where any surface texture becomes far more visible. MDF’s uniform, grain-free surface skips that step entirely, which is a real time savings on any project with a smooth painted finish as the goal. The tradeoff runs the other way for anything that needs real structural strength or exposure to moisture – plywood holds screws better at the edges and tolerates damp conditions far better than MDF, which swells significantly if it gets wet and stays wet.
Pre-Primed MDF and Moisture-Resistant MDF
Many home centers sell pre-primed MDF trim and sheet stock specifically for painted projects – the factory primer is applied under controlled conditions and generally seals the faces more evenly than a hand-applied coat, though the cut edges you create when sizing the material still need the same edge-sealing treatment as raw MDF. Moisture-resistant MDF (often labeled MR-MDF or green-tinted MDF) uses a different resin formulation that resists swelling better than standard MDF, making it a better substrate choice for bathrooms, laundry rooms, or exterior-adjacent trim – but “moisture-resistant” is not “waterproof,” and it still needs the same paint film protection as standard MDF for long-term durability. Check the sheet’s edge banding or a manufacturer stamp to confirm which type you actually have before assuming either way.
Painting MDF Trim and Baseboard
MDF baseboard and trim have become common in new construction specifically because they take paint so well and hold a crisp profile edge better than finger-jointed solid wood trim, which can show glue-line ghosting through paint over time. The main site-specific concern is the factory-cut ends created during installation – every miter and butt joint exposes fresh raw fiber that needs the same primer treatment as any other cut edge, ideally before installation while the piece is easy to fully coat on all sides. Caulk any remaining seams between trim and wall before the final paint coat; MDF trim’s crisp, flat profile actually makes gaps more visually obvious than a slightly irregular solid wood profile would. A paintable, flexible caulk rather than a rigid wood filler is the better choice at these seams, since it can move slightly with seasonal humidity changes without cracking.
Frequently Asked Questions
What kind of paint do you use on MDF?
Acrylic or latex paint works well for most projects after proper priming. Oil-based paint gives more durability at the cost of odor and longer dry time. Either way, seal the edges with a shellac-based primer first.
Can you paint over MDF without sanding?
Light sanding is optional on already-smooth factory faces but helps paint adhesion by removing any surface fuzz. Sealing the raw edges, however, is not optional – that step matters far more than sanding the faces.
Do you need to seal MDF before painting?
Yes, especially the cut edges. A shellac-based sealer prevents the uneven, blotchy absorption that happens when raw MDF fiber soaks up paint unevenly.
Is it better to spray or paint MDF?
Spraying gives the smoothest, most professional-looking finish and handles edges and profiles evenly, but requires more setup and ventilation. Brush or roller application works fine for most DIY projects with a bit more attention to thin, even coats. Either method works well as long as the edges are sealed first.
Conclusion
MDF paints beautifully once you treat the edges as a separate problem from the faces – seal them with a shellac-based primer, prime the whole piece, and apply thin coats of your chosen paint. Skipping the edge-sealing step is the one shortcut that reliably ruins an otherwise good MDF paint job. If you’re still weighing whether MDF is the right material at all, see our full breakdown on whether you should avoid MDF. Budget the extra time for it up front, and the rest of the project – priming the faces, choosing a paint, applying thin coats – is genuinely no harder than painting solid wood, and often easier thanks to MDF’s grain-free surface.
Sponsored / affiliate links. As an Amazon Associate I earn from qualifying purchases. I may earn additional commission from eligible campaigns.