How to Prime MDF the Right Way: Sealing Edges Without Raised Grain
MDF has two very different surfaces to prime: the smooth factory face, and the rough, porous edge left behind every time you cut it. Most “prime MDF” advice treats the whole panel the same way – which is exactly why so many painted MDF edges end up looking fuzzy or “furry” once the primer dries. The fix isn’t a different painting technique so much as understanding what a cut edge actually is, and picking a primer built to seal it.
Why MDF Cut Edges Absorb Primer Differently Than the Face
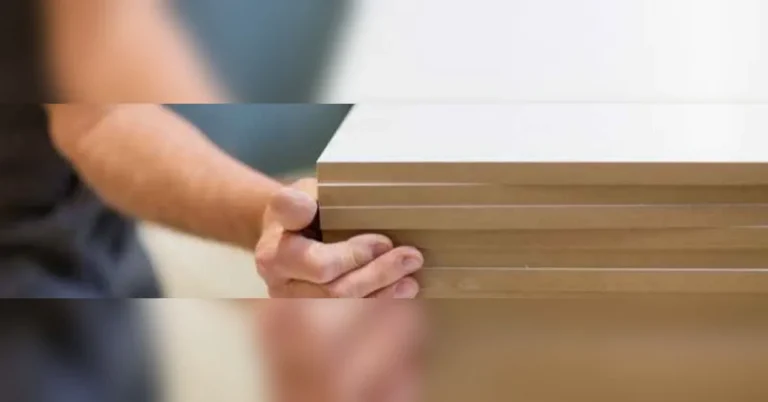
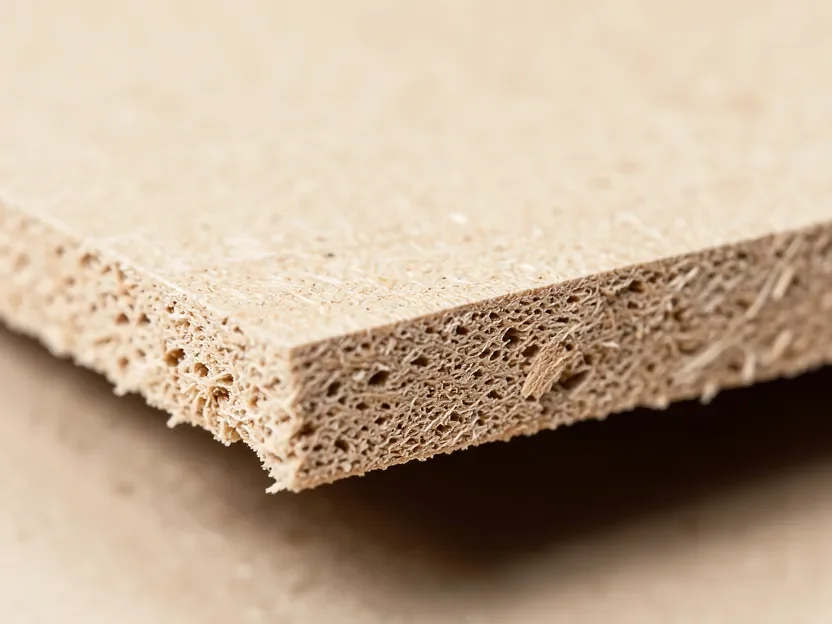
MDF is made from wood fibers compressed with resin under heat and pressure. The factory faces come out sanded smooth, with a dense outer layer that’s already fairly sealed. But the moment you cut, rout, or drill into a sheet, you expose the compressed fiber core directly – a surface that has never been sealed and is far more porous than the face ever was.
That raw core soaks up primer unevenly. Individual fibers absorb moisture from the primer and swell, then stand up once it dries, creating the rough “raised grain” texture that’s the single most common complaint about painted MDF furniture and cabinets. It’s also why a cut edge typically needs one or two more coats than the smooth face just to look the same.
Best Shellac Primer for MDF Edges
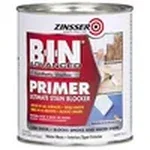 |
Zinsser B-I-N Advanced Shellac Primer and Sealer – $23.03 Seals the porous cut edge of MDF fast, so raised grain doesn’t get the chance to set in before you sand and recoat.
|
Oil-Based and Shellac-Based Primers Seal MDF Edges Better Than Latex
Standard water-based latex primer works fine on the smooth face, but on a raw cut edge it introduces more moisture directly into the exposed fiber core – which is exactly what causes the fibers to swell and raise. Oil-based and shellac-based primers dry mainly through solvent evaporation rather than water absorption, so they seal that porous core with less swelling and, usually, fewer coats.
Shellac-based formulas like the one above are the fastest of the three: they dry to a hard, sandable film in under an hour and lock the exposed fibers down so they can’t absorb anything else applied on top. That’s why plenty of cabinet shops reach for a shellac-based sealer specifically for cut edges and drilled holes, even on projects where the flat faces get an ordinary latex primer.
Sanding and Sealing Raw Edges Before You Prime
Before the first coat touches a cut edge, run 150-180 grit sandpaper along it to knock down the loose fuzz left by the saw blade, then wipe it with a barely damp cloth to pull dust out of the exposed fibers – not soaking wet, since MDF’s core will swell if it sits with standing moisture on it.
Some woodworkers add one more step: a thin coat of wood glue diluted about 50/50 with water, brushed onto the raw edge and left to dry before the primer goes on. It works as a pore-filler that pre-seals the fiber core, and on edges headed for a dark or glossy topcoat, it can cut the number of primer coats needed roughly in half.
Step-by-Step: Priming an MDF Edge Without Raised Grain
- Sand the raw cut edge with 150-180 grit sandpaper to remove loose fiber fuzz.
- Wipe the edge with a barely damp cloth to pull dust out of the exposed fibers, then let it dry fully.
- Brush on a thin first coat of oil-based or shellac-based primer, working it into the fibers rather than laying it on top like paint.
- Let the coat dry completely – about 45 minutes for most shellac-based primers, longer for oil-based (check the can).
- Sand lightly with fine-grit paper (220 or higher) to knock down any fibers that raised.
- Apply a second coat the same way, and a third if the edge is headed for a dark or glossy topcoat.
Common Mistakes That Cause a Rough or Peeling Finish
- Stopping at one coat on the edges because a single coat looked fine on the face
- Skipping the pre-primer sanding pass on the cut edge
- Using a plain latex primer on edges that will get a dark or glossy topcoat, where any texture shows
- Sanding between coats before the previous coat has dried fully, which smears wet fiber instead of leveling it
If you’re still deciding whether MDF is the right material for a project in the first place, our guide to MDF cabinet pros and cons, including its moisture risk, is a good next stop. And for a broader look at wood primers beyond just MDF edges, see our wood primer and undercoat guide.
Frequently Asked Questions
Why do MDF edges look rough or fuzzy after priming?
Because the cut edge exposes MDF’s compressed wood-fiber core, which is far more porous than the smooth factory face. Water-based primer makes those exposed fibers swell as they absorb moisture, then stand up once the primer dries – that’s the “raised grain” or “furry” texture. Sanding lightly between coats and using an oil-based or shellac-based primer largely prevents it.
Do you need a different primer for MDF edges than for the face?
You can use the same primer on both, but many woodworkers switch to an oil-based or shellac-based primer just for the edges, since it seals the exposed fiber core with fewer coats and less swelling than a standard latex primer.
How many coats of primer does an MDF edge need?
Plan on two to three coats on a cut edge, versus one to two on the smooth face. Sand lightly with fine-grit paper between each coat and let it dry fully first – each coat should look and feel smoother than the last.
Can you prime MDF without sanding the edges first?
You can skip it, but the finish usually suffers – saw-cut edges have loose fiber fuzz that primer will trap instead of sealing. A quick pass with 150-180 grit sandpaper before the first coat gives a noticeably smoother result for very little extra time.
Sponsored / affiliate links. As an Amazon Associate I earn from qualifying purchases. I may earn additional commission from eligible campaigns.