Laminate Countertop Island: Cost, HPL vs Melamine Guide
A laminate countertop island typically costs $20 to $80 per square foot installed — but only high-pressure laminate (HPL) grades like Formica or Wilsonart hold up to daily island use. Low-pressure melamine chips and scratches within a few years. Using the wrong grade means re-laminating sooner than planned. This guide covers HPL vs. melamine, real 2026 installation costs, and the edge profiles that last longest on an island.
HPL vs. Melamine: Which Laminate Grade Should Your Island Use?
Best Laminate Install Adhesive Pick
 |
DAP Weldwood Original Contact Cement (1 Qt) – $23.53 The standard adhesive fabricators use to bond an HPL sheet to a substrate — the same self-edge and top-lamination job covered in the installation steps below.
|
As an Amazon Associate we earn from qualifying purchases.
High-pressure laminate (HPL) is a countertop laminate manufactured under more than 750 psi of pressure per the NEMA LD3 standard, which gives it a thicker, denser wear layer that resists scratches, heat, and impact. Low-pressure laminate (melamine) is pressed at a fraction of that force and is designed for cabinet interiors, shelving, and vertical surfaces — not a heavily used horizontal island top. Melamine costs less per sheet, but it chips at the edges and dulls faster under daily countertop use.
If a laminate island top ever feels thin, flexes slightly when pressed, or the sample sheet has no visible core layer at the edge, it’s melamine, not HPL — ask the fabricator directly which grade they’re quoting before you sign off on a kitchen island, since both are commonly sold as “laminate” in showrooms.
📊 NEMA LD3 defines high-pressure decorative laminate as laminate pressed above 750 psi — the grade the standard requires for countertop-duty laminate, versus low-pressure melamine panels made for cabinet interiors. — Source: NEMA, High-Pressure Decorative Laminates (LD3)
Laminate Countertop Island Cost (2026)
Laminate remains the least expensive countertop material on the market. Material-only sheet laminate runs about $12 to $25 per square foot, while a fully installed laminate island — cut, edge-banded, and mounted — runs $20 to $80 per square foot depending on grade and edge detail. Standard-grade HPL sits at the low end; a stone-look pattern like Wilsonart’s HD line or Formica’s stone-visual grades runs noticeably higher because the printed layer needs finer registration to avoid a repeating pattern across a wide island top.
| Laminate Type | Installed Cost/sq ft | Best For |
|---|---|---|
| Standard HPL (solid color) | $20–$35 | Budget islands, rentals |
| Standard HPL (woodgrain/pattern) | $25–$45 | Most kitchen islands |
| Premium stone-visual HPL (HD/180fx-style) | $45–$80 | Islands meant to mimic quartz or marble |
| Melamine (LPL) | $10–$18 | Cabinet interiors only — not islands |
DIY installation saves most of that labor cost, but a large island top is one continuous piece — a measuring or cutting mistake means buying an entire new sheet. Most first-time DIYers save money hiring a fabricator to cut and edge the sheet, then self-installing it onto the base.
Designing Your Kitchen Island
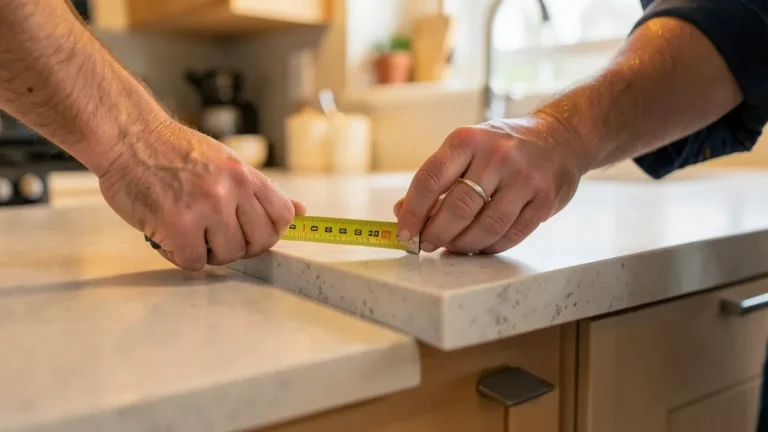
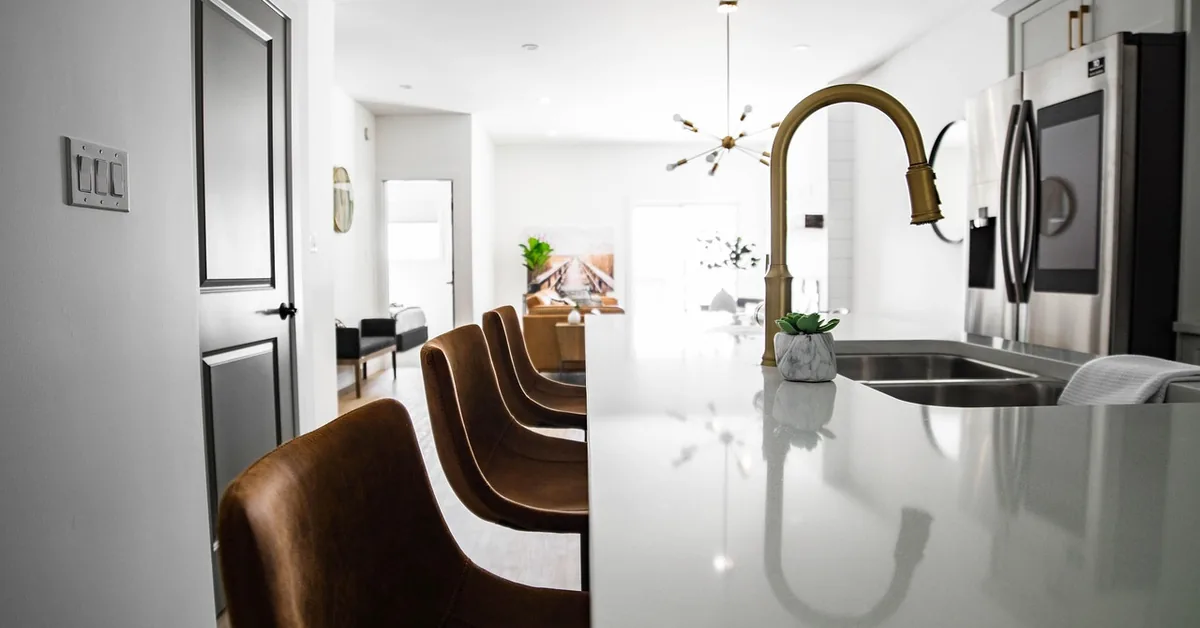
Start with the island’s footprint: measure the base cabinet run and add at least 1.5 inches of overhang on any side people will sit at, so knees clear the cabinet face. Light colors and small-scale patterns make a narrow galley kitchen feel larger; dark solid colors or bold stone-look patterns work better as a deliberate focal point on a larger island.
| Color/Pattern Choice | Effect |
|---|---|
| Light solid colors | Brightens and visually expands the space |
| Dark solid colors | Adds contrast and a defined focal point |
| Stone-look patterns | Reads as quartz/marble at a distance |
| Woodgrain patterns | Pairs well with a stone-look perimeter counter |
Edge profile matters as much as color. A standard self-edge (square, laminated edge banding) is the cheapest and most common. A bullnose or beveled edge costs more in fabrication but feels less sharp against hips and hands at a seating overhang — worth the upcharge specifically on an island people sit at, less so on a perimeter counter.
How to Install a Laminate Countertop Island (Tools + Steps)
Choosing between DIY and professional installation comes down to the island shape. A simple rectangular island with square edges is a realistic weekend DIY project; an island with a waterfall edge, sink cutout, or curved corner is worth paying a fabricator for — a miscut on a single-piece top means buying an entire new sheet.
- Measuring tape and a straightedge
- Circular saw or jigsaw with a fine-tooth (laminate-rated) blade
- Router with a flush-trim laminate bit
- J-roller
- Contact cement and a notched applicator
- Belt sander or file for edge finishing
- Cut the substrate: Cut the particleboard or MDF base to final island dimensions first — the laminate is trimmed to match it, not the other way around.
- Apply contact cement to both surfaces: Coat the substrate and the back of the laminate sheet evenly, then let both sides dry until tacky, not wet.
- Position and bond: Contact cement bonds instantly on touch, so use dowels to hold the sheet above the substrate until alignment is confirmed, then remove them one at a time.
- Roll the surface: J-roll the entire top from the center outward to force out trapped air and ensure full adhesion.
- Trim the edges: Use a router with a flush-trim bit to cut the overhanging laminate flush with the substrate edge.
- Finish the edge: File or sand the trimmed edge at a slight bevel so it doesn’t catch or chip during use.
Common Installation Mistakes
The most common failure isn’t the laminate itself — it’s skipping a moisture-resistant substrate near a sink cutout, which lets the particleboard base swell and lift the laminate at the seam. The second most common mistake is under-coating the contact cement: a thin or uneven coat leaves weak spots that bubble months later, usually right where hands rest most.
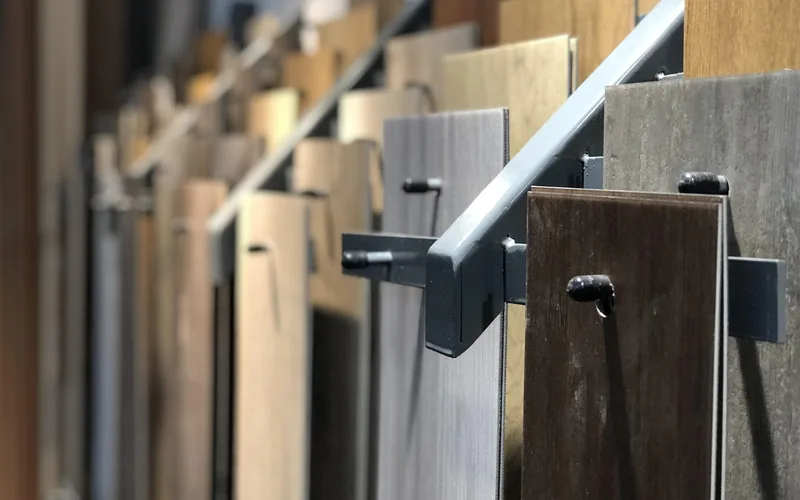
A third mistake is skipping a full-size sample before ordering. Laminate swatch cards are lit and photographed to look their best; the same pattern under warm kitchen pendant lighting, next to real cabinet wood, can read noticeably darker or more orange than expected.
Maintenance and Care
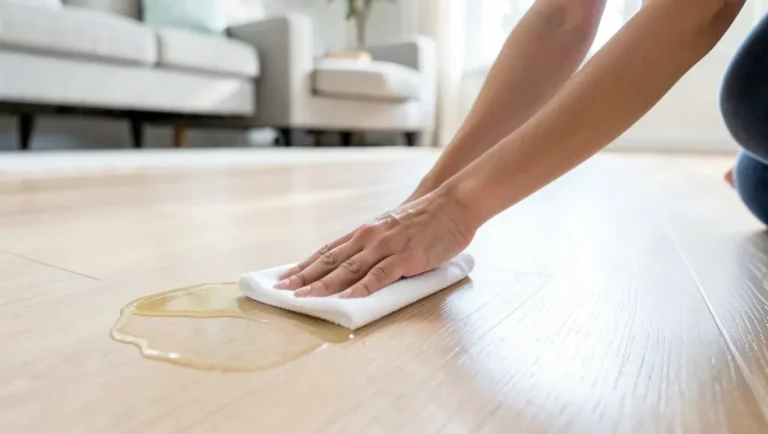
Clean a laminate island with a soft cloth, warm water, and mild dish soap. Avoid abrasive powders or scouring pads, which dull the wear layer’s sheen over time. For dried food or mineral stains, a paste of baking soda and water lifts residue without scratching; rinse fully afterward so no residue dulls the finish.
Always use a cutting board — laminate’s wear layer resists everyday abrasion but a knife blade will score it permanently. Use a trivet under anything straight from the oven or stovetop; HPL tolerates brief warmth but sustained direct heat above roughly 275°F can discolor or delaminate the surface at the seam.
Can You Repair a Chip in a Laminate Countertop?
Yes. Small chips can be filled with a color-matched laminate repair paste or seam filler, sanded flush once cured. The repair is visible up close but blends well from normal viewing distance. Deep gouges that expose the substrate underneath usually need the whole panel replaced, since laminate can’t be re-surfaced like solid wood or stone.
How Long Does a Laminate Countertop Island Last?
A properly installed HPL island typically lasts 10 to 20 years with normal care. Life span depends mostly on heat exposure and edge impact, not general wear — the flat surface itself resists scratching far longer than the edges and seams do, which are the first place chips and lifting appear.
Is Laminate or Butcher Block Better for a Kitchen Island?
Laminate wins on cost and stain resistance; butcher block wins on the ability to sand out scratches and refinish the surface instead of replacing it. Choose laminate for a budget-focused island that sees heavy daily use, and butcher block if you want a surface you can restore yourself over decades rather than eventually re-laminate.
Can I Install Laminate Countertops Myself?
Yes, for a simple rectangular island with square edges and no cutouts. A sink cutout, waterfall edge, or curved corner raises the risk of a costly miscut on a single continuous sheet, so those shapes are usually worth paying a fabricator to cut and edge before you self-install the finished top.
How Do I Clean Laminate Countertops?
Use warm water, mild dish soap, and a soft cloth for daily cleaning. Avoid abrasive cleaners or scouring pads, which dull the surface sheen. For tougher stains, a baking-soda paste lifts residue without scratching; rinse fully afterward to prevent any cleaner residue from dulling the finish.
Watch: DIY Kitchen Island Top Installation
Conclusion
A laminate countertop island delivers a stone-look surface for a fraction of quartz or granite cost — as long as it’s HPL, not melamine, and the substrate near any sink cutout is moisture-resistant. Budget $20 to $80 per square foot installed depending on grade and edge detail, choose a self-edge for the lowest cost or a bullnose edge for comfort at a seating overhang, and request a full-size sample before ordering so the color reads correctly under your own kitchen lighting.
Sponsored / affiliate links. As an Amazon Associate I earn from qualifying purchases. I may earn additional commission from eligible campaigns.