Miter Saw Wings: What They Are & Why Long Boards Need Them
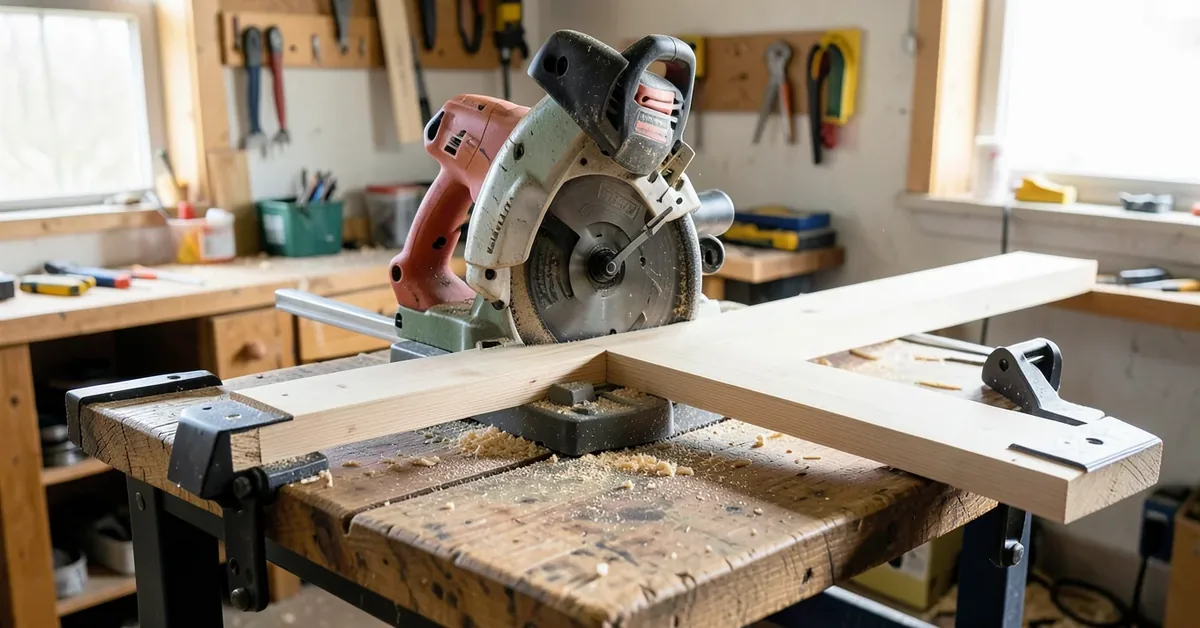
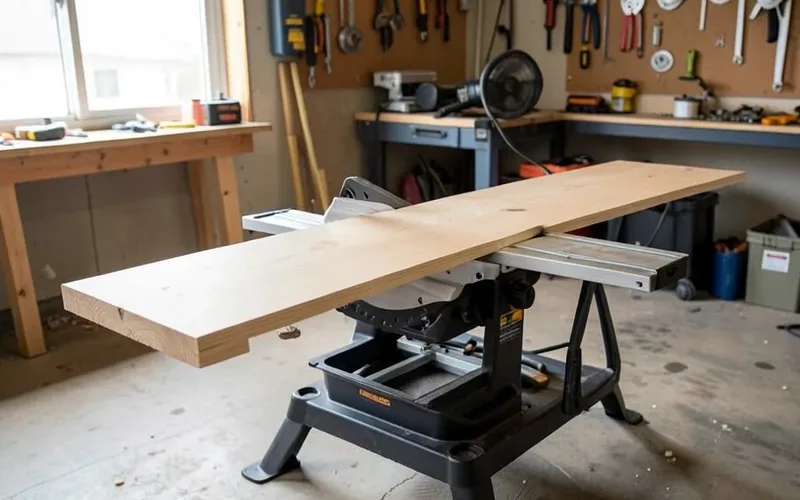
Miter saw wings are side support extensions that keep long boards level with the saw table during a cut — without them, an 8-foot board droops past the table edge and throws off your cut angle. A wing can be a $50 DIY plywood panel or a $250+ dedicated support system like Red House Tools’ EZ-Wings. This guide covers wing types, how to size and install one, and which option fits your saw and budget.
Miter Saw Wings: Essential Additions for Woodworkers
Best Miter Saw Wings Pick
 |
Red House Tools EZ-Wings LITE (36\u2033) – $289.99 A dedicated aluminum wing system rather than a DIY plywood panel — mounts to most stand rails and matches the adjustable/sliding type covered above for mixed board lengths.
|
As an Amazon Associate we earn from qualifying purchases.
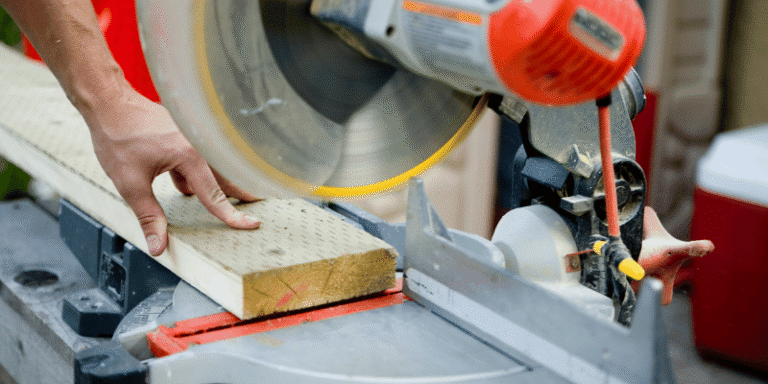
A miter saw table alone typically only supports 12-16 inches of material on either side of the blade. Anything longer needs a wing, or it will pivot and drop as soon as the balance point crosses the table edge — the exact moment your cut is happening.
| Type of Wing | Features | Best for |
|---|---|---|
| Adjustable/sliding | Extends or retracts to match different board lengths | Mixed project sizes |
| Fixed | Consistent support at one set length, simpler hardware | Repetitive cuts at the same length |
| Folding/DIY plywood | Folds flat or unbolts for storage between uses | Small shops, portable setups |
Ready-Made Wings vs. Building Your Own
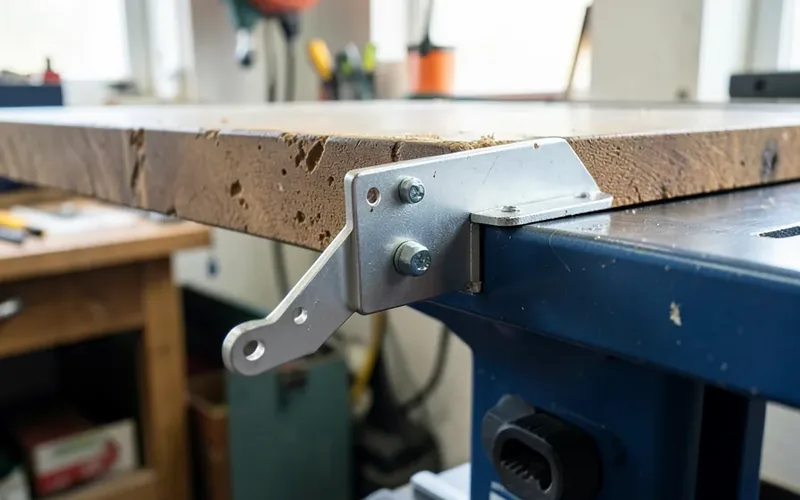
Material choice affects durability and weight. Steel wings are strong and stable but heavier and prone to surface rust without a coating. Aluminum wings are lighter and corrosion-resistant, which matters if the saw lives in an unheated garage or gets used outdoors — a dedicated aluminum wing system also skips the build time a DIY plywood panel requires.
| Material | Advantages | Disadvantages |
|---|---|---|
| Steel | Strong, stable, holds up under heavy boards | Heavier to move, can rust without a coating |
| Aluminum | Lightweight, corrosion-resistant | Less rigid under very heavy loads, can bend if overloaded |
Choosing the Right Wings for Your Saw
Compatibility depends on your stand, not your saw brand — most wing systems clamp to a standard stand rail rather than to a specific miter saw model, so check the stand’s rail dimensions against the wing’s mounting hardware before buying.
Installation Tips for Maximum Efficiency
Installing wings correctly comes down to one thing: matching height. A wing that sits even 1/16″ higher or lower than the saw table will tip the board slightly as it crosses the seam, which throws off the cut angle on long boards more than it would on short ones.
- Measure the saw table height: Note the exact height from the floor or stand base to the top of the saw’s table surface.
- Mount the wing bracket: Attach the wing bracket to the stand rail at that same measured height.
- Level across the seam: Place a level spanning from the saw table onto the wing and adjust until it reads flat in both directions.
- Test with scrap: Run a scrap board across the full setup and check for any dip or tilt before cutting real material.
- Recheck periodically: Vibration from repeated cuts can loosen bracket bolts over time — recheck level every few projects.
Common mistakes to avoid:
- Skipping the level check between the saw table and the wing surface.
- Using thin, flexible material for a DIY wing that sags under a heavy board.
- Mounting the wing at the wrong height instead of measuring the saw table first.
Adjusting Miter Saw Wings for Precision Cuts
Once mounted, check wing alignment with a carpenter’s level before every project that uses them, not just at initial setup — bracket hardware can loosen from vibration. If the wing reads uneven, adjust the mounting screws rather than shimming the board itself, since a shim only fixes that one cut.
Dense hardwoods transmit more vibration through the wing than softwoods, so tighten mounting hardware more often when working hardwood stock. Always test on a scrap piece of the same species and thickness before cutting your actual material.
Dedicated Stands vs. Add-On Wings: What They Cost
📊 A dedicated miter saw stand with built-in wings runs $199-$513 (DEWALT DWX723 at $199, BORA Portacube at $513), while an add-on wing system for a stand you already own runs $50 (DIY plywood) to $290 (Red House Tools EZ-Wings LITE). Source: live Amazon Creators API pricing, pulled September 2026.
If you don’t already own a miter saw stand, a stand with built-in wings is usually the better value than buying a bare stand plus separate wings. If you already have a stand you like, an add-on wing system avoids replacing equipment that still works fine.
Maintenance and Care for Longevity
Wipe wings down after use to clear sawdust from hinges and sliding tracks, since packed dust is what usually makes an adjustable wing bind or stick. Dry steel wings fully after cleaning to prevent surface rust; aluminum wings just need the dust cleared.
| Sign | Action |
|---|---|
| Visible cracks in the wing surface | Replace immediately — a cracked wing can fail under load |
| Dents affecting the support surface | Consider replacement if the dent creates an uneven spot |
| Warped or bent wing panel | Replace — a warped wing can no longer sit level with the saw table |
Frequently Asked Questions
What are miter saw wings used for?
Miter saw wings are extensions that provide extra support for long materials. They keep boards level and stable during cutting, which reduces tipping, prevents the workpiece from drooping mid-cut, and improves accuracy on anything longer than the saw’s own table.
How do I install miter saw wings?
Most wings attach to the sides of a miter saw stand with brackets and bolts rather than to the saw itself. Level the wing surface with the saw table before tightening any hardware — an unlevel wing will throw off your cut angle even if the saw itself is calibrated correctly.
Can I build my own miter saw wings?
Yes. A DIY wing is typically plywood or MDF cut to match your stand’s height, mounted with simple angle brackets. Measure your saw table’s exact height first, since even a small mismatch will cause the board to tilt as it crosses from the saw table onto the wing.
Are miter saw wings adjustable?
Many commercial wings extend or retract to match different board lengths, and some slide along a track to reposition closer to or farther from the blade. Fixed wings cost less but only support one set length, which matters if you regularly cut varying board sizes.
Conclusion
Miter saw wings solve one specific problem: a board longer than your saw table will droop and throw off the cut unless something supports the far end at the same height. Whether that’s a $50 DIY plywood panel or a dedicated system like the EZ-Wings LITE, matching the wing height to the saw table is what actually determines cut accuracy — not the price of the wing itself.
Sponsored / affiliate links. As an Amazon Associate I earn from qualifying purchases. I may earn additional commission from eligible campaigns.