Miter Saw Blade for Aluminum: Right Teeth, RPM & Setup
A blade for cutting aluminum on a miter saw needs a triple-chip grind (TCG), 60-100 teeth, and a negative hook angle around -5°. Anything less and the aluminum grabs the teeth instead of getting cut by them.
Regular wood-cutting blades are built to shear through fiber, not shave metal. Push one through aluminum extrusion and the teeth either grab the material and yank it out of your clamps, or they overheat fast enough to weld a thin skin of molten aluminum right onto the carbide. Both failures ruin the cut and the blade. The fix isn’t a different brand of the same blade design – it’s a completely different tooth geometry, a slower RPM than your saw’s default, and lubrication timed correctly.
The Blade Specs That Actually Matter
Three numbers on the blade’s packaging determine whether it will cut aluminum cleanly or destroy itself on the first pass:
- Tooth count: 60-100 teeth on a 10-inch blade. More teeth mean each tooth removes a smaller bite of material per rotation, which keeps heat down and prevents the aluminum from tearing.
- Grind pattern: Triple Chip Grind (TCG), not the Alternate Top Bevel (ATB) grind used on wood blades. TCG alternates a flat “raker” tooth with a beveled tooth, which scrapes rather than bites – that scraping action is what stops aluminum from self-feeding into the blade.
- Hook angle: a negative hook angle, typically -5°. A standard wood blade runs a positive hook angle (it pulls itself into the cut). On aluminum, a positive hook angle means the blade grabs the stock and yanks it – a negative angle keeps the cut under your control instead of the blade’s.
A blade that hits all three – like the Diablo D1080N below, an 80-tooth TCG blade with a -5° hook angle built specifically for aluminum in the 3/32″-1/4″ wall-thickness range – is the benchmark most aluminum-cutting guides point to for a reason: it’s the actual spec combination, not just a “metal-rated” label on the box.
Best Miter Saw Blade for Aluminum
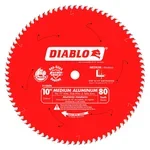 |
Diablo D1080N 10″ 80-Tooth TCG Non-Ferrous Blade – $63.80 This is the exact TCG geometry and -5° hook angle spec’d in this guide, built specifically for medium-thickness aluminum on a 10-inch miter saw.
|
Why a Wood Blade Fails on Aluminum
Aluminum has a melting point of about 1,220°F – low compared to steel, but well within reach of the heat a fast-spinning blade generates through friction alone. A wood blade’s ATB teeth are ground to shear long fibers, not to scrape a ductile metal. On aluminum, those same teeth act more like a plow: they push the metal ahead of the cut instead of removing it cleanly, which builds friction and heat with every pass.
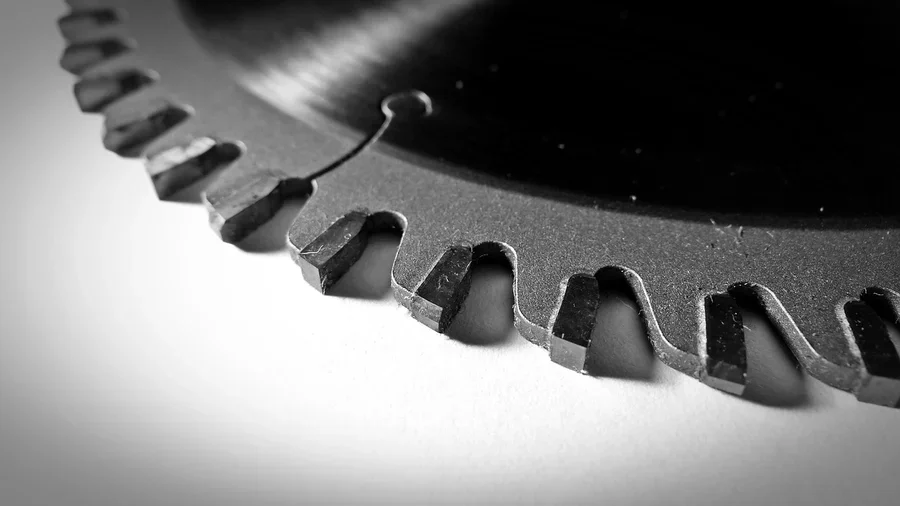
Once the aluminum near the teeth passes roughly 800-900°F – well short of melting but hot enough to soften – it starts smearing onto the carbide instead of chipping away. That smeared aluminum builds up on the tooth face, rounds off the cutting edge, and turns a sharp new blade into a dull one in a handful of cuts. It’s the same reason a fine-tooth blade “gums up” faster on aluminum than on wood: the material itself is welding to the tool.
Slow the RPM Down – This Is the Step Most Guides Skip
Most 10-inch and 12-inch miter saws spin at a fixed 3,800-4,500 RPM, tuned for wood. That speed is too fast for aluminum even with the correct blade. If your saw has variable speed, drop it to roughly 2,000-3,000 RPM – the lowest setting that still clears the cut without bogging the motor down. Slower rotation means less heat generated per second of contact, which is the single biggest factor in whether the blade stays sharp or starts smearing.
If your miter saw is single-speed, you can’t change the RPM, but you can control feed rate instead: push the blade through slower and with lighter pressure, and let the tooth count and TCG geometry do the work rather than forcing it. A blade rated for a 6,000 max RPM (like most aluminum-specific blades) still performs better run well under that ceiling – the “max RPM” number is a safety limit, not a performance target.
Lubrication Timing Matters More Than the Product You Use
Cutting fluid or a beeswax cutting stick isn’t optional past the first cut. Without it, heat builds fast enough that by the third or fourth cut on a piece of 1/8-inch aluminum angle, the material can start welding itself directly to the blade’s carbide tips – not a gradual dulling, a sudden loss of cut quality mid-project.
Apply the wax stick directly to the blade’s teeth (carefully, with the saw off) or to the cut line on the aluminum itself before every few cuts, not just at the start of the session. The lubricant does two things: it reduces the friction that generates heat in the first place, and it helps flush loose aluminum chips out of the gullets between teeth so they don’t get re-cut and packed into the blade.
Clamp It – Don’t Hand-Hold It
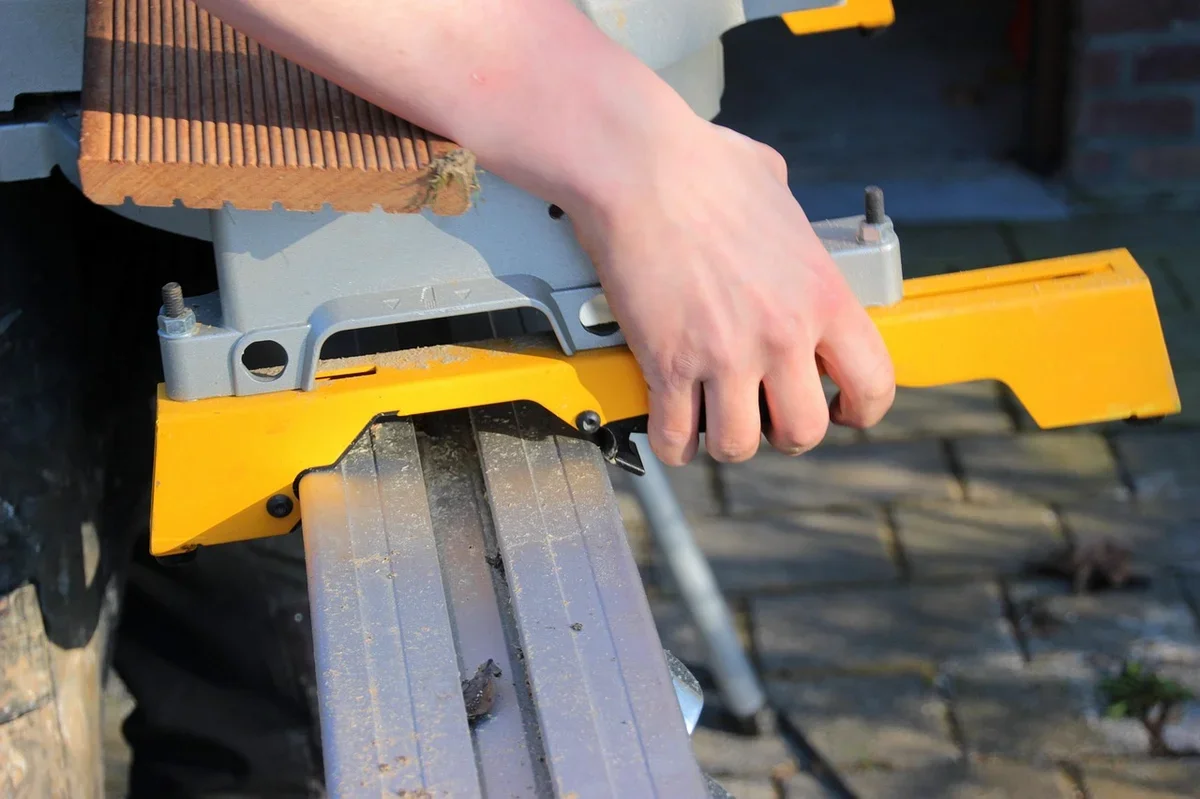
Aluminum is light enough that it’s tempting to just hold a short piece against the fence with one hand. Don’t. If the blade grabs – and even a correctly-specced blade can grab a piece that isn’t fully supported – a hand-held workpiece gets pulled toward the blade instead of staying put. Use at least two clamps, positioned so the offcut side is supported too, not just the piece you’re keeping.
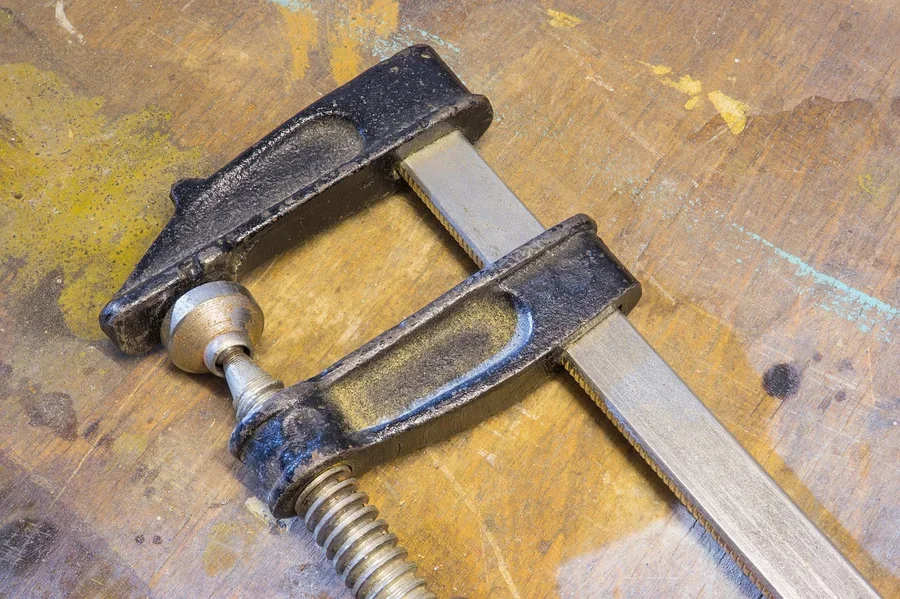
Wear a full face shield rather than just safety glasses – aluminum chips come off hot and can throw farther than wood sawdust. Keep hands and the clamp hardware itself well clear of the blade’s path, and double-check that no clamp screw or handle sits in line with where the blade will travel.
Step-by-Step: Making the Cut
- Mark the cut line clearly on the aluminum with a fine-point marker – pencil doesn’t show well on bare metal.
- Clamp the piece on both sides of the intended cut, supporting the offcut as well as the keeper piece.
- Drop the saw’s RPM if it’s variable, or plan on a slower, lighter feed if it isn’t.
- Apply wax stick or cutting fluid to the blade or cut line.
- Start the saw, let it reach full speed before contact, then lower it into the cut slowly and steadily – don’t plunge.
- Let the blade do the cutting; forcing the feed rate is what causes grabbing and burr-out on the exit side.
- Re-apply lubricant every few cuts, especially on a multi-piece job.
Cleaning Residue and Extending Blade Life
Aluminum residue on the teeth looks like a dull gray smear rather than the dark pitch buildup you’d see from wood resin. Left on the blade, it acts as insulation that traps heat right where the cutting happens, accelerating the next round of smearing. Clean it off with a blade cleaner formulated for aluminum and pitch (an oven-cleaner spray works in a pinch, followed by a thorough rinse and dry) and a stiff nylon brush – never a wire brush, which can damage the carbide tips.
Inspect the teeth for chipping after any cut that felt like it grabbed or bogged down; a single chipped tooth on a TCG blade unbalances the scraping action and accelerates wear on the teeth around it. Store the blade separately from other blades, ideally in its original case, so the carbide edges don’t knock against anything.
Frequently Asked Questions
What tooth count is best for cutting aluminum on a miter saw?
60 to 100 teeth on a 10-inch blade works for most aluminum extrusion and bar stock. Higher tooth counts in that range give a smoother, less burred cut on thinner-wall material, while the lower end of the range still clears chips well on thicker sections.
Can I use a regular wood-cutting blade on aluminum?
No. A standard ATB wood blade has a positive hook angle that grabs and pulls into the material – on aluminum, that means the blade yanks the stock instead of shearing it cleanly, which can pull the piece out of your hands or clamps. Use a TCG blade with a negative hook angle instead.
What RPM should a miter saw run at when cutting aluminum?
Around 2,000-3,000 RPM if your saw has variable speed – well below the 3,800-4,500 RPM most miter saws default to for wood. Lower RPM generates less friction heat, which is what keeps aluminum from softening and smearing onto the blade’s teeth.
Do I need to lubricate the blade when cutting aluminum?
Yes, past the first cut. Without a wax stick or cutting fluid, heat builds up fast enough that aluminum can start welding onto the carbide teeth within three or four cuts on thinner material, which ruins both the cut quality and the blade’s edge.
The right blade gets you most of the way there, but RPM, lubrication timing, and clamping are what actually determine whether that blade lasts through a full project or gums up on the fourth cut. Get all four right and a single quality TCG blade will outlast a stack of the wrong ones.
Sponsored / affiliate links. As an Amazon Associate I earn from qualifying purchases. I may earn additional commission from eligible campaigns.