Master Wood Burning Techniques: Shading, Layering & Tool Control
Wood-burning shading comes from temperature and dwell time, not pressure — press harder on a cool tip and you’ll scratch the wood instead of darkening it. Basswood burns cleanly around 500 to 700°F, while denser hardwoods like maple need 700 to 900°F for the same result. This guide covers tool control, shading and layering technique, wood selection, and the safety gear every session needs.
What Is Wood Burning (Pyrography)?
Best Wood Burning Kit Pick
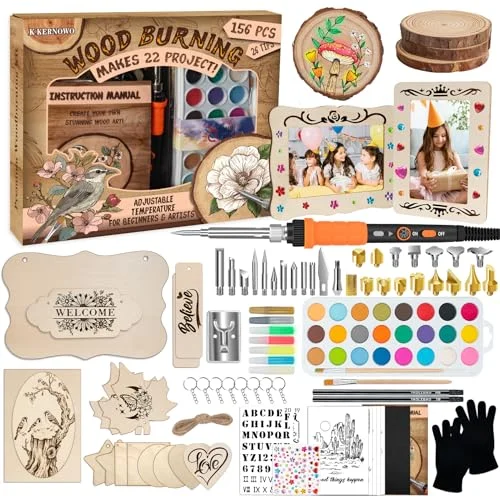 |
K KERNOWO 156-Pc Wood Burning Kit, Adjustable Temperature – $29.99 An adjustable-temperature pen with a full set of interchangeable tips is exactly what this guide’s shading and tip-switching techniques need – fixed-temperature basic burners can’t hit the 500-900F range different woods require.
|
Wood burning, or pyrography, decorates wood by scorching its surface with a heated metal tip rather than cutting or carving it. The tip’s temperature and how long it stays in contact with the wood control the result — a quick pass leaves a light tan line, while a slow, held pass at higher heat produces a dark, near-black mark. Ancient Egyptian, Chinese, and African artisans practiced early forms of the craft with heated sticks and stones long before electric pens existed.
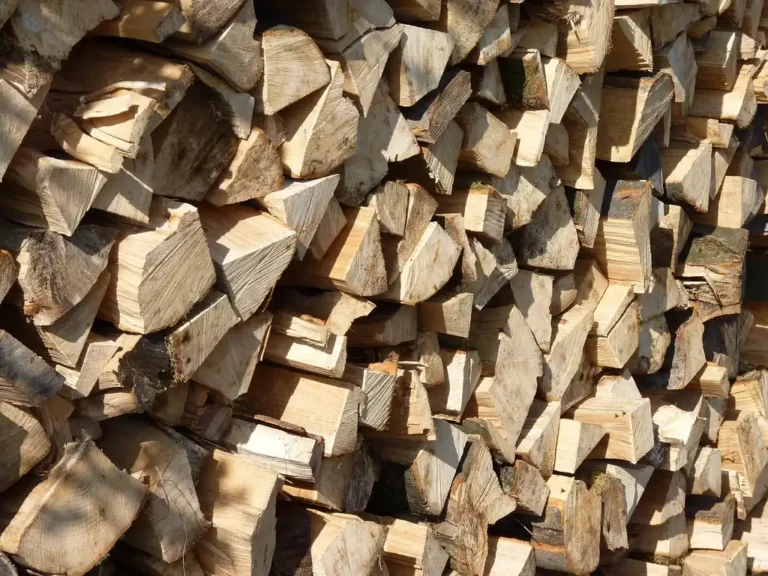
Choosing the right wood matters as much as the tool. Softwoods like basswood and pine burn cleanly at lower temperatures and show fine detail well; hardwoods like oak and maple need more heat but hold up better to handling. Avoid resinous or heavily knotted wood, and always confirm the wood is untreated — burning finished or chemically treated lumber releases harmful fumes.
An adjustable-temperature pen with interchangeable tips is what makes hitting the right heat for each wood type below actually practical, instead of fighting one fixed setting.
Temperature by Wood Type
| Wood | Typical Temperature | Notes |
|---|---|---|
| Basswood | 500–700°F | The pyrography standard – fine, even grain, burns cleanly |
| Pine / softwoods | 400–600°F | Watch for resin pockets, which burn unevenly |
| Maple / hardwoods | 700–900°F | Denser grain needs more heat for the same darkness |
Start any new wood or tip combination on a scrap offcut at the low end of its range, then work up. For a full breakdown of dialing in exact settings by project type, see our wood burning pen temperature guide.
Essential Tools
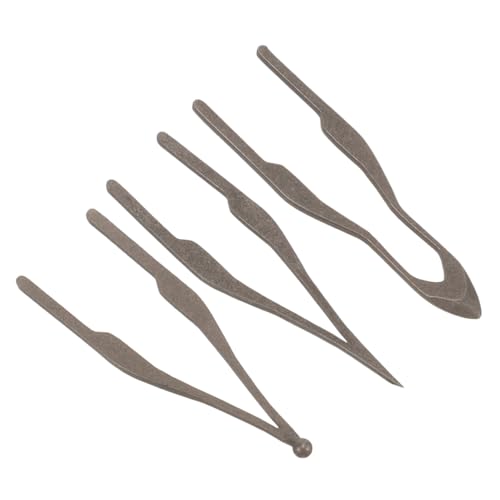
An adjustable-temperature pen is worth the extra cost over a fixed-heat burner (see the pick above) — it’s the difference between fighting one setting on every wood and material, and dialing in the right heat for each. A set of interchangeable tips (round, flat, skew, and shading tips) covers most techniques below. Round out the kit with graphite transfer paper for moving designs onto wood, and fine-grit sandpaper to prep the surface before burning. For a full comparison of kits at different price points, see our best wood burning kits for adults roundup.
Safety Precautions
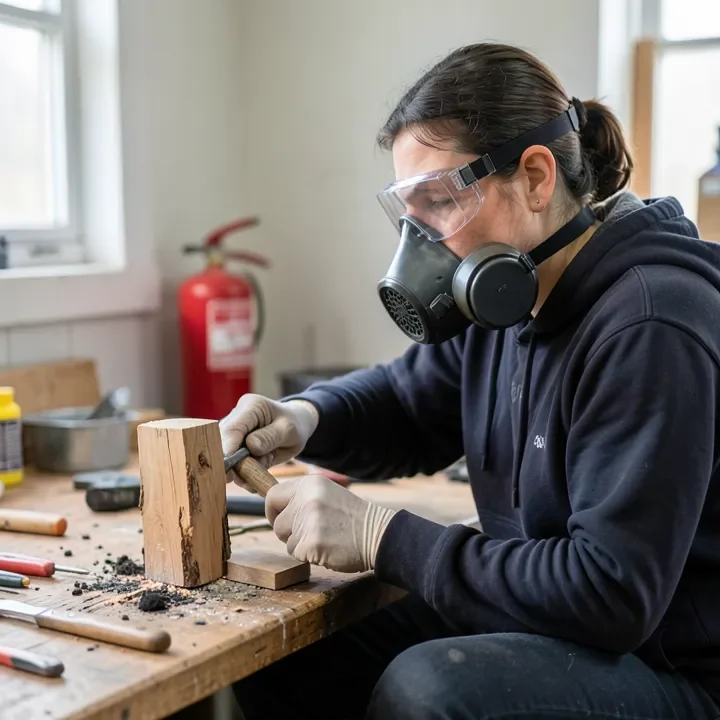
Wood burning produces smoke and fine particulates, so ventilation and protective gear aren’t optional extras.
- Wear safety goggles: shield your eyes from smoke and flying debris.
- Use a respirator or dust mask: wood smoke carries fine particulates worth filtering out, especially during long sessions.
- Wear heat-resistant gloves: for handling the tool and repositioning hot workpieces.
- Work in a well-ventilated space: open a window or run a fan to keep smoke moving away from your face.
- Keep a fire extinguisher within reach: and work on a stable, non-flammable surface.
Basic Techniques: Lines, Dots & Tip Selection
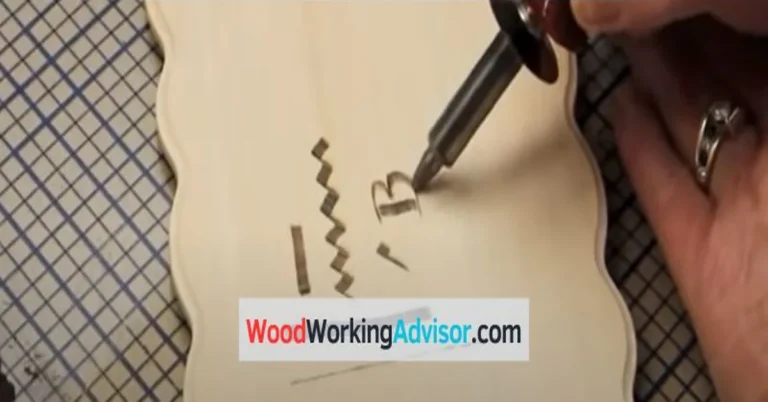
Start with basic shapes on scrap wood before committing to a real project. Transfer a simple design with graphite paper, then follow the lines with light, even strokes — consistent speed matters more than pressure for a clean line. Each tip shape serves a different purpose: a rounded tip produces smooth flowing lines, a pointed tip handles fine detail, and a flat or shading tip covers broader areas quickly. Test any new tip on scrap wood first so you know what it does before using it on a real piece.
Advanced Techniques: Shading and Layering
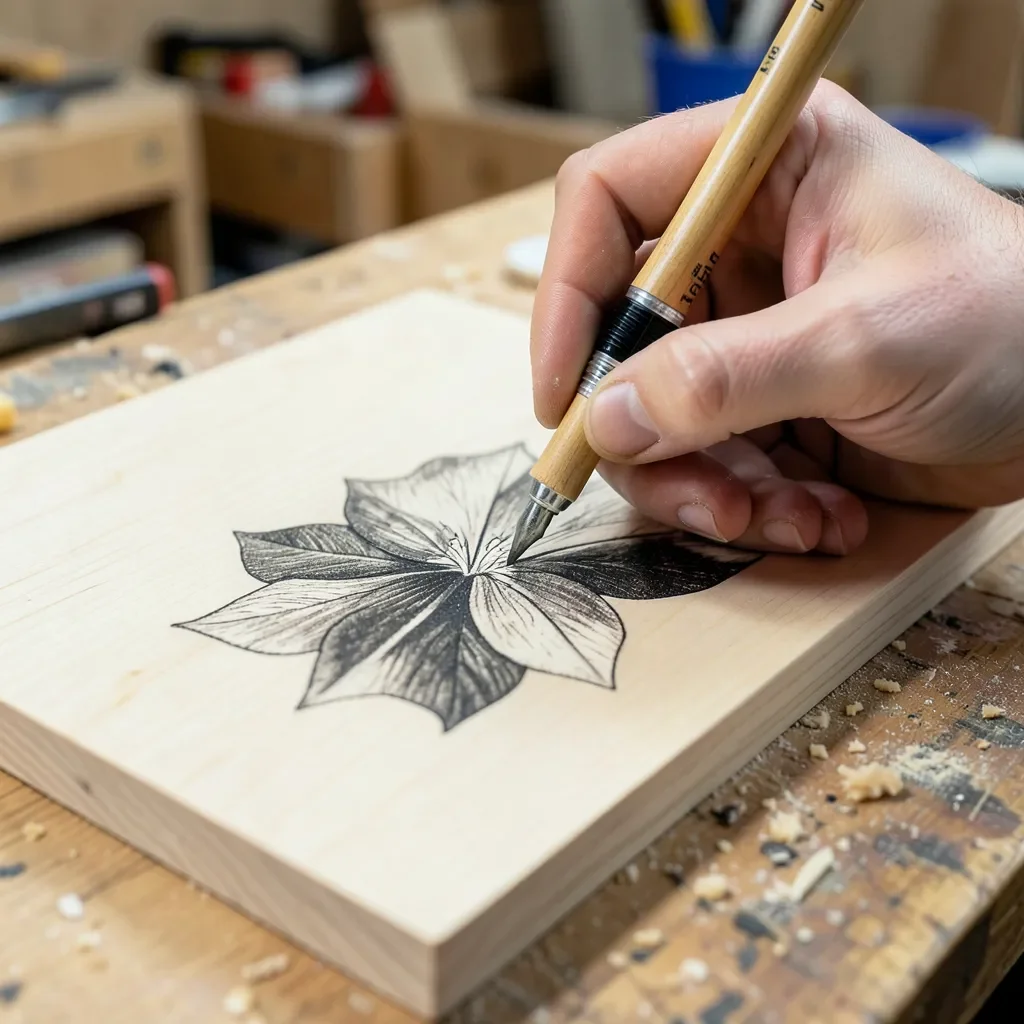
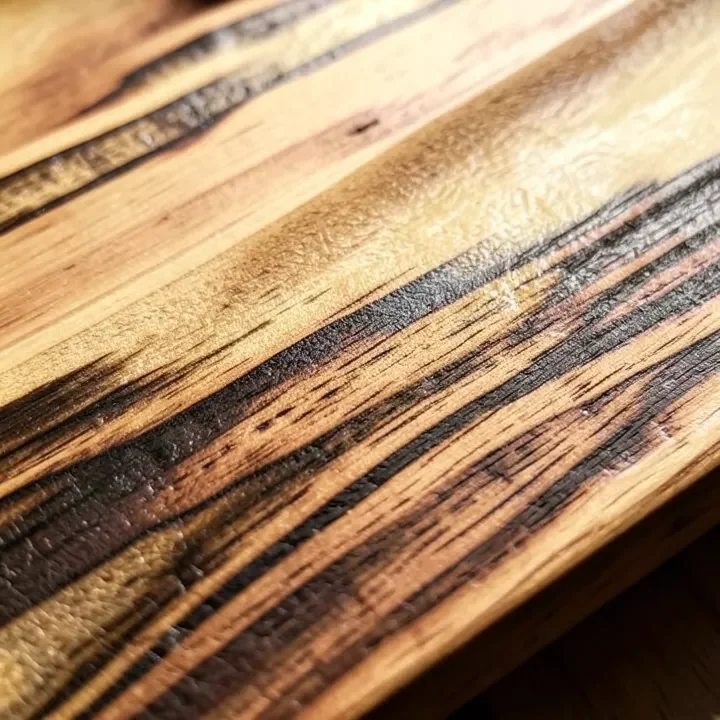
Shading comes from varying temperature and dwell time, not pressure. A quick pass at a given temperature produces a lighter tone; holding the tip in place longer, or raising the temperature, darkens it. A ball-shaped tip creates a stippled texture; a skew tip lays down fine directional lines for hair, fur, or fine linework.
Layering builds a design in stages rather than trying to finish an area in one pass. Block in the lightest tones first at a lower temperature, then progressively darken specific areas with additional passes at a higher temperature or slower speed. This staged approach is what gives finished pyrography pieces real depth instead of a flat, single-tone burn.
For a dedicated walkthrough of using different pen tips for specific effects, see our guide to wood burning pen technique.
Design Inspiration and Project Ideas
Nature-inspired designs — leaves, trees, animals — translate well to pyrography’s tonal shading. Geometric patterns (straight lines, circles, symmetrical shapes) give a more modern look and are more forgiving for beginners since small imperfections are less visible in a repeating pattern.
Decorative plaques are a natural first project — simple enough for practice, but display-worthy once finished. Personalized items (name signs, coasters, cutting boards, wedding or anniversary date plaques) make popular gifts since the customization adds real value beyond the material cost. As you gain confidence, portraits and landscapes push shading and layering skills further; see our portrait wood burning guide for the sealing mistake most beginners make on detailed pieces.
Care and Maintenance
Wipe wood-burning tips with a damp cloth after each session to prevent carbon buildup, and gently polish stubborn residue off with fine-grit sandpaper or a cotton swab dipped in rubbing alcohol — avoid heavy pressure, which can bend or damage the tip.
Seal finished pieces with a few light coats of polyurethane or shellac, letting each coat dry fully in a well-ventilated space before adding the next. Store and display finished work out of direct sunlight, which fades burned tones over time, and dust regularly with a soft cloth rather than harsh chemical cleaners.
Frequently Asked Questions
What is the difference between pyrography and wood burning?
They’re the same craft. Pyrography is the formal term for decorating wood (or other materials, like leather or gourds) with burn marks; wood burning is the common name specifically for doing it on wood.
How do you get smooth, consistent lines when wood burning?
Use a steady hand, light and even pressure, and a consistent travel speed – speed changes shading more than pressure does. Sand the wood smooth beforehand, draw guidelines in pencil first, and always practice a new tip or design on scrap wood before the real piece.
What temperature should I use for wood burning?
Basswood, the pyrography standard, typically runs 500 to 700°F. Softwoods like pine can run a bit cooler (400-600°F), while denser hardwoods like maple need 700 to 900°F for the same depth of burn. Always test on scrap wood at the low end of the range first.
What are the different styles of wood burning?
Common styles include line work and outlining, stippling (dot-based shading), freehand shading with dwell time and temperature control, and layering for tonal depth. Most finished pieces combine two or three of these rather than relying on just one.
Conclusion
Wood burning rewards patience over speed — matching temperature and dwell time to the wood you’re using, rather than pressing harder, is what separates clean shading from scratched, uneven marks. Start with basswood and simple shapes, practice tip control on scrap before every new project, and build up to layered shading and portraits as your control improves.
Sponsored / affiliate links. As an Amazon Associate I earn from qualifying purchases. I may earn additional commission from eligible campaigns.